
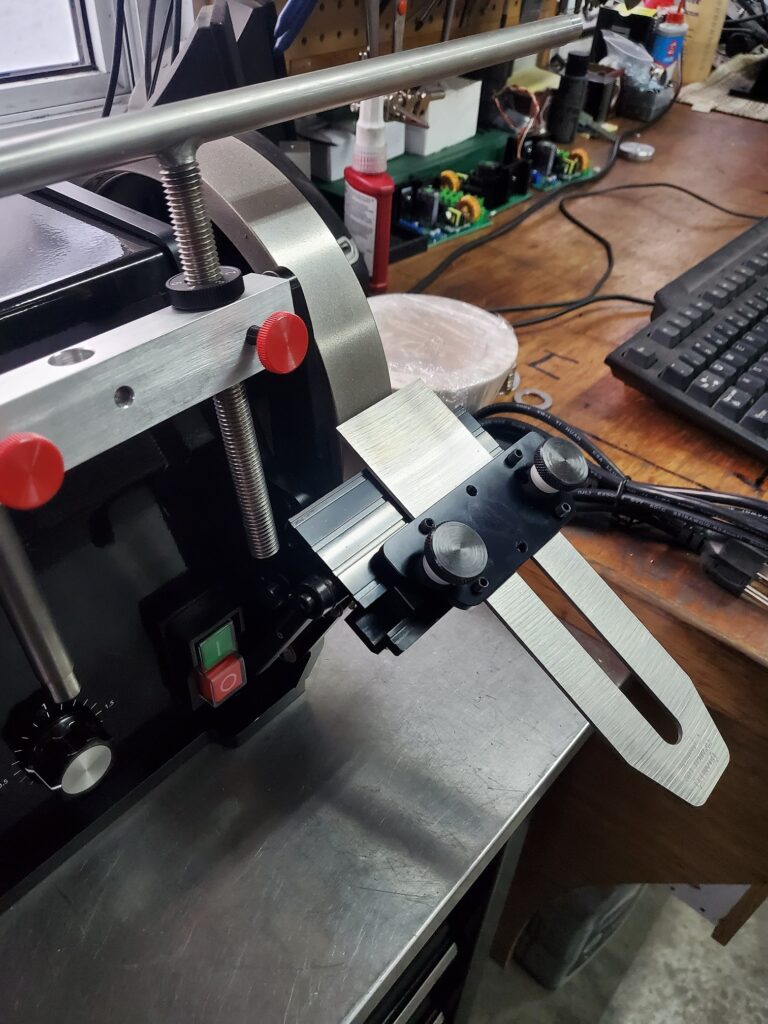
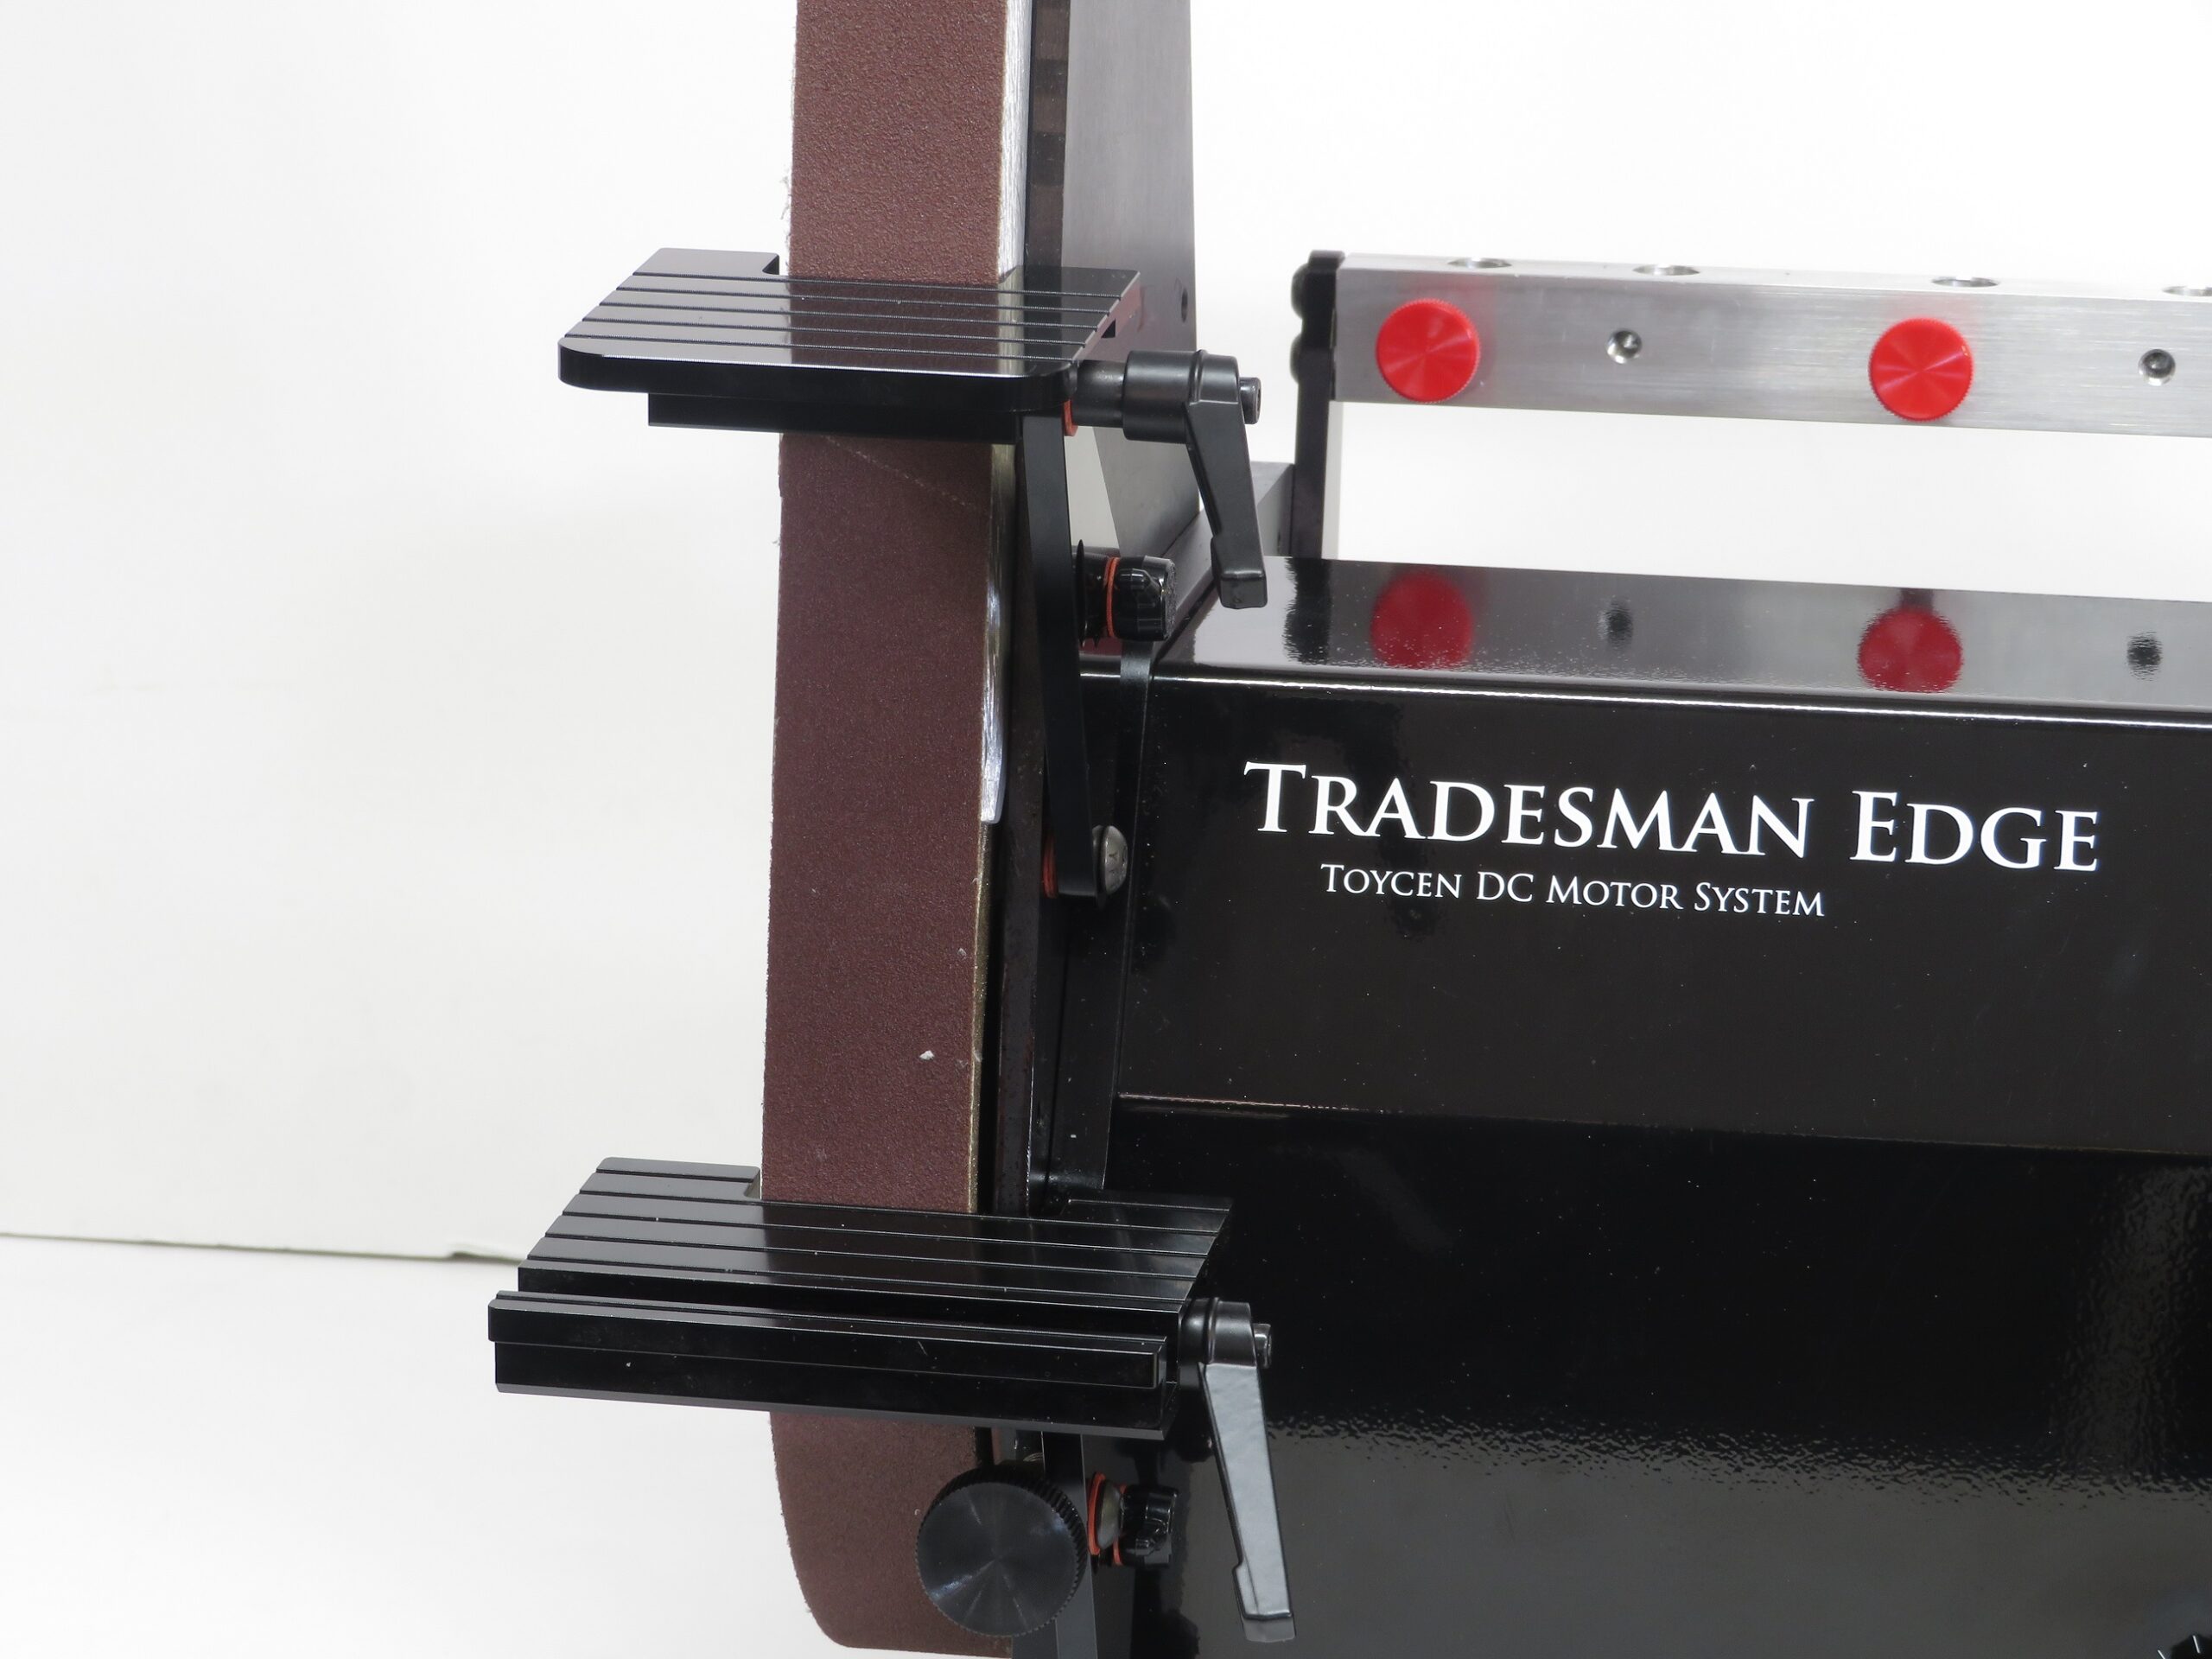
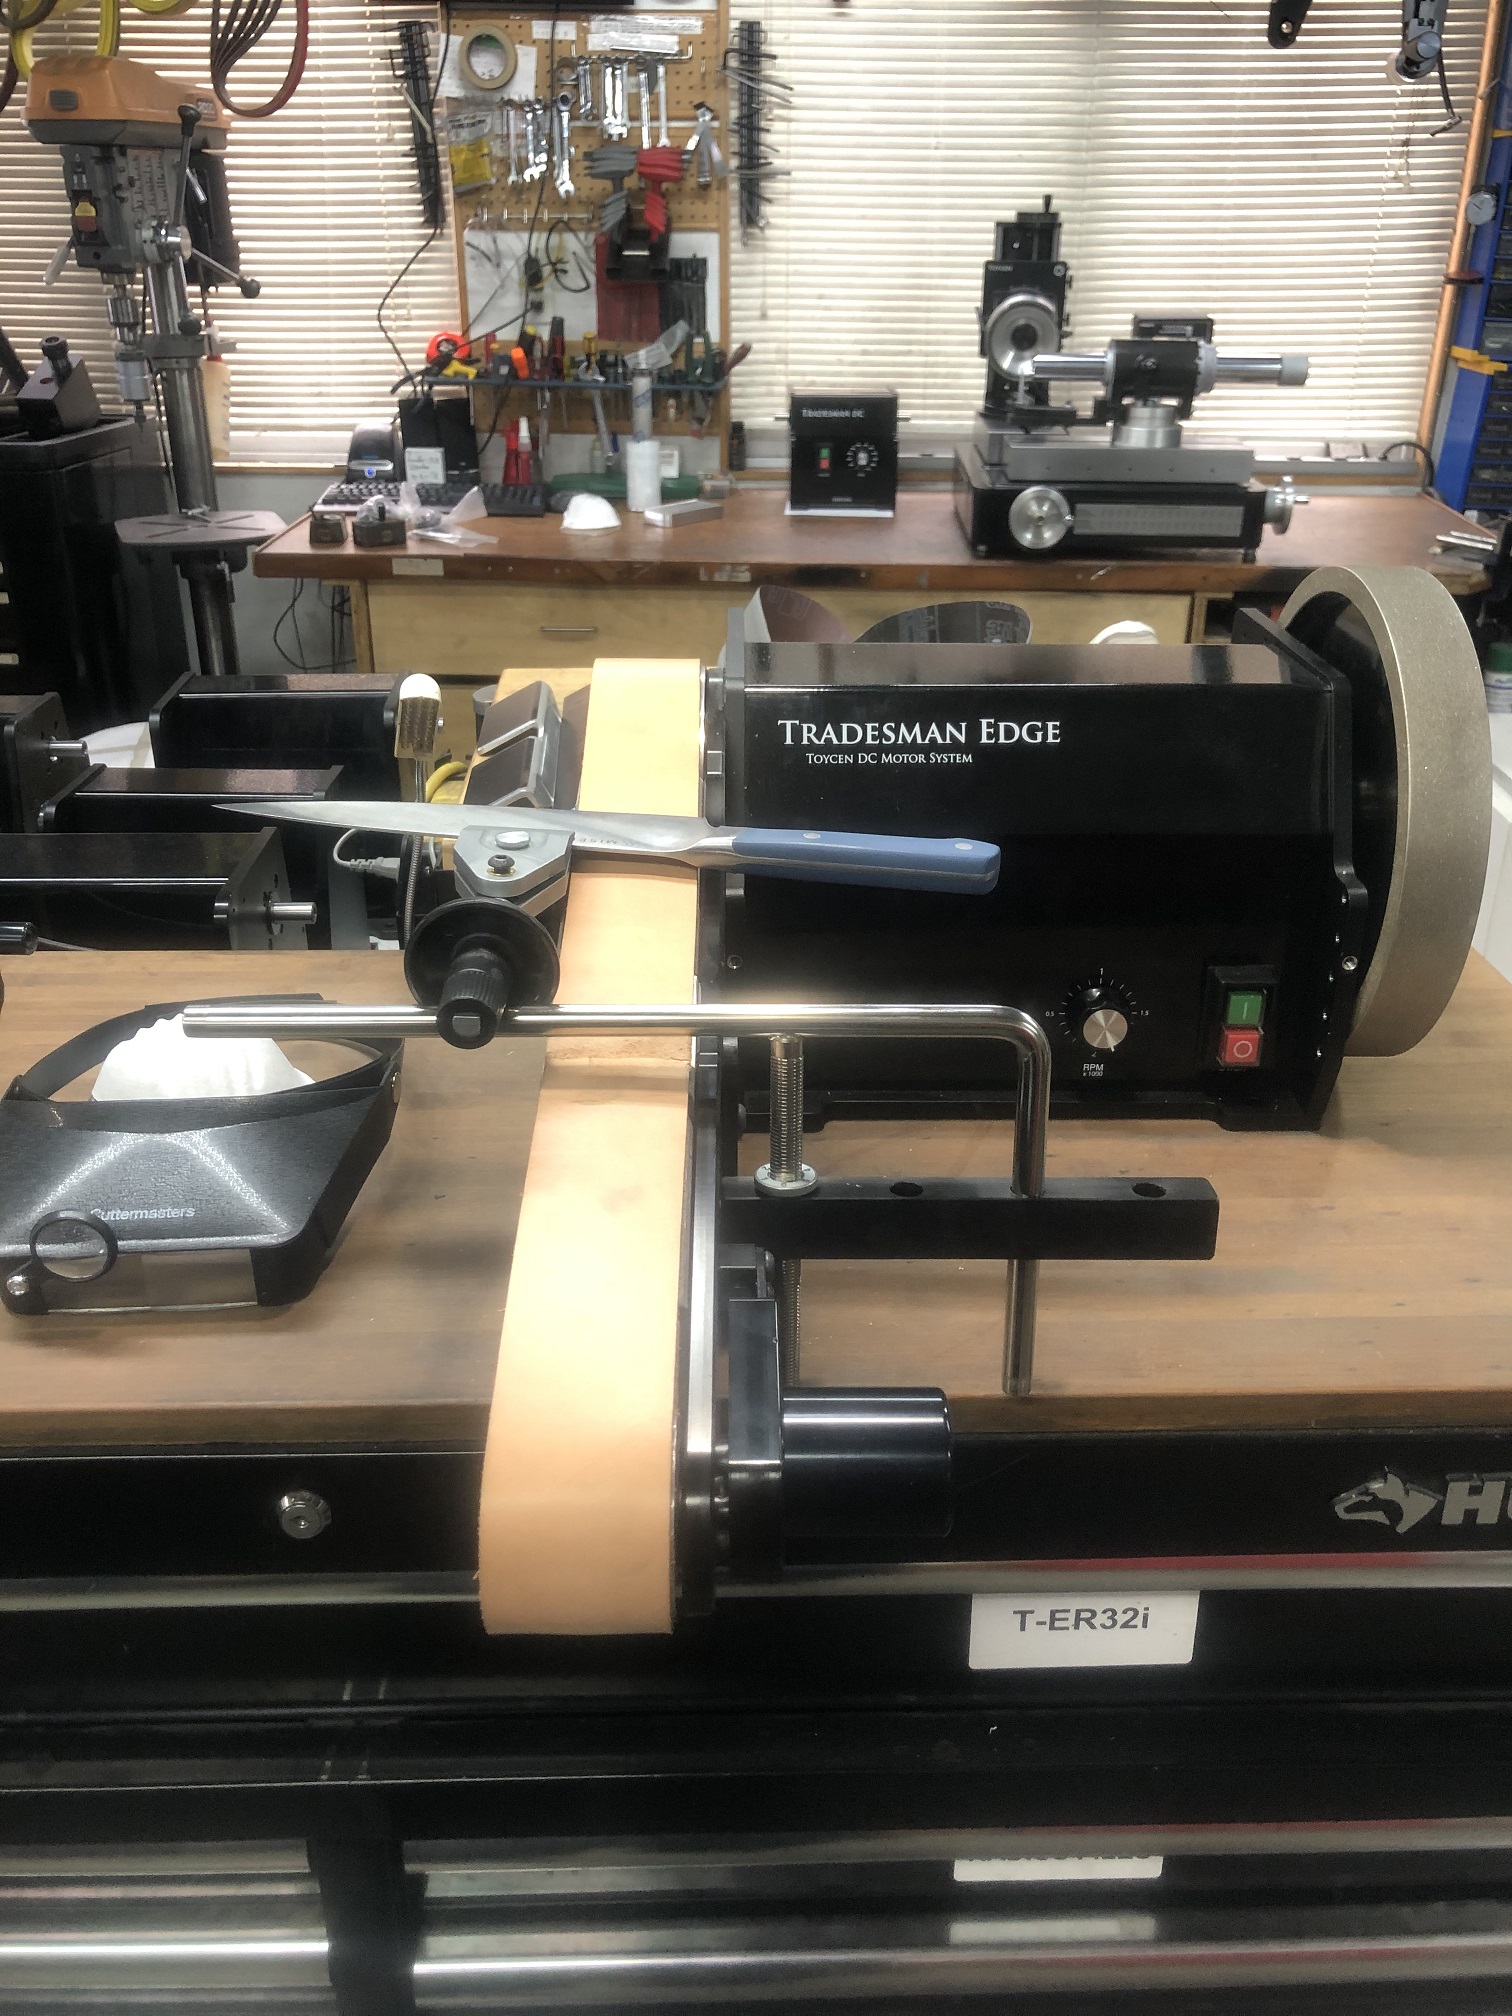
Tradesman Edge Mitre Jig (Micro feed rest) and Tormek Mount Leave both in place


Note: the existing Tormek rails have long legs this length is not really needed on the Edge
The edge has been designed to be fairly versatile
Regarding the Veritas miter rest, This is a no brainer
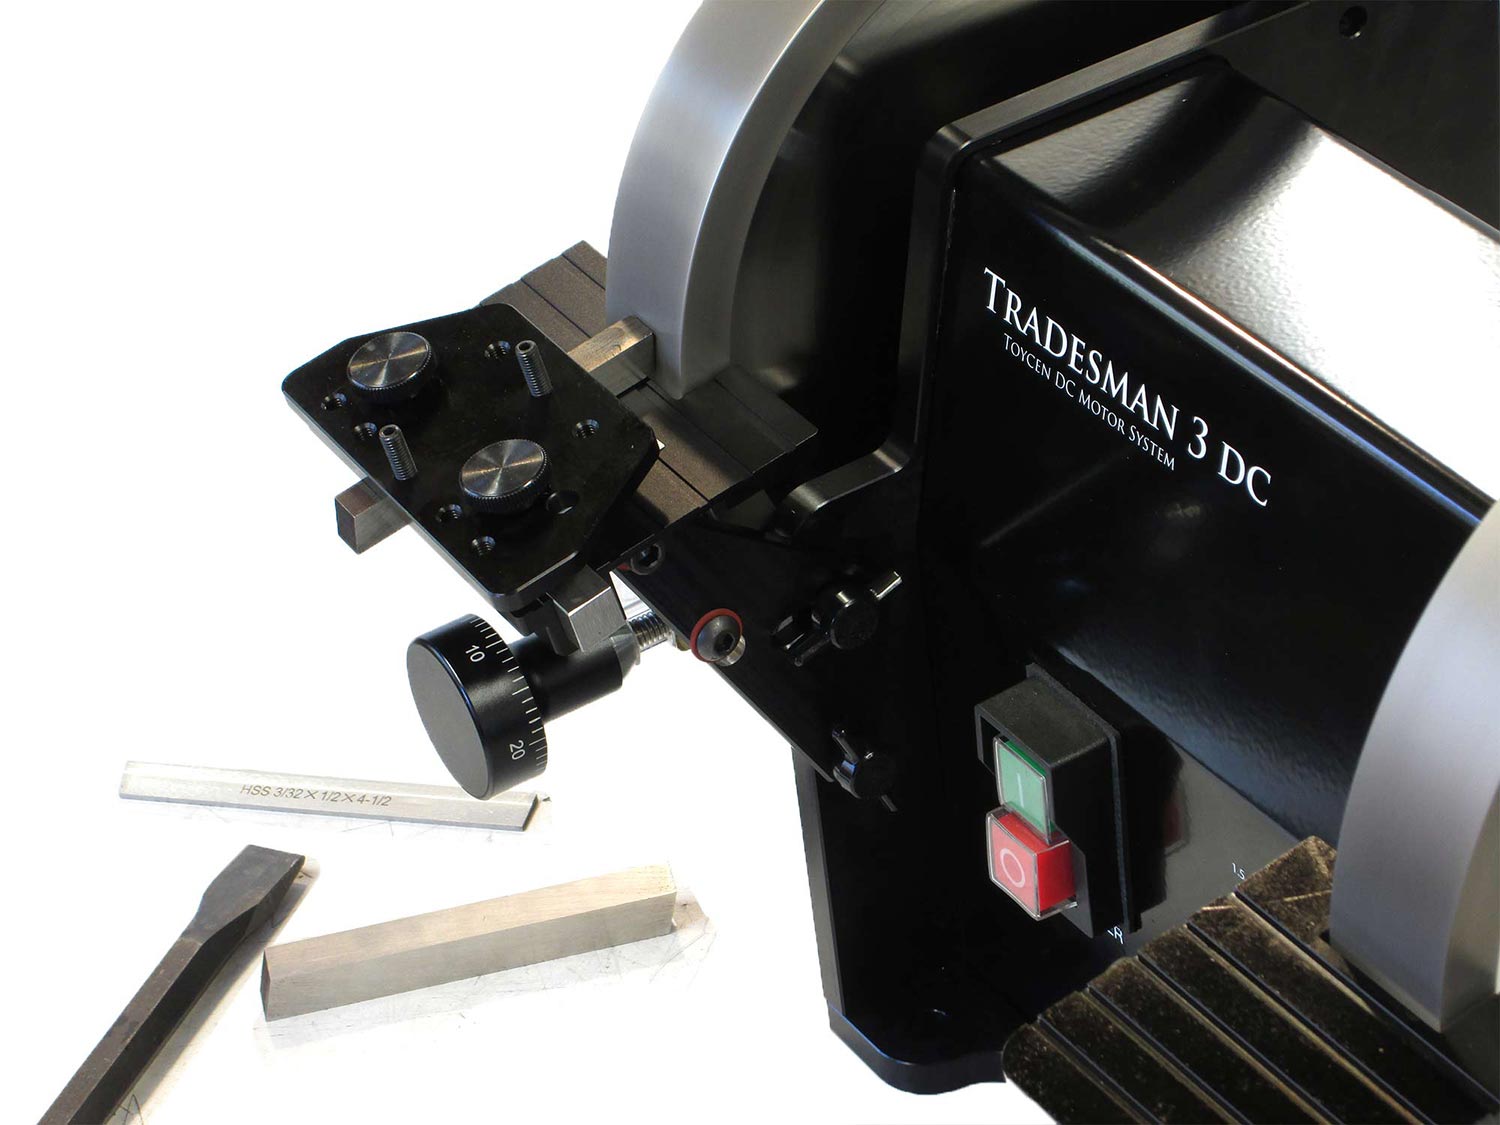
It is marginally useful if you cant adjust the feed while leaving the tool clamped.
Toycen solution: we added a feed mechanism no need to unclamp the tool and lose your angle to take another pass.
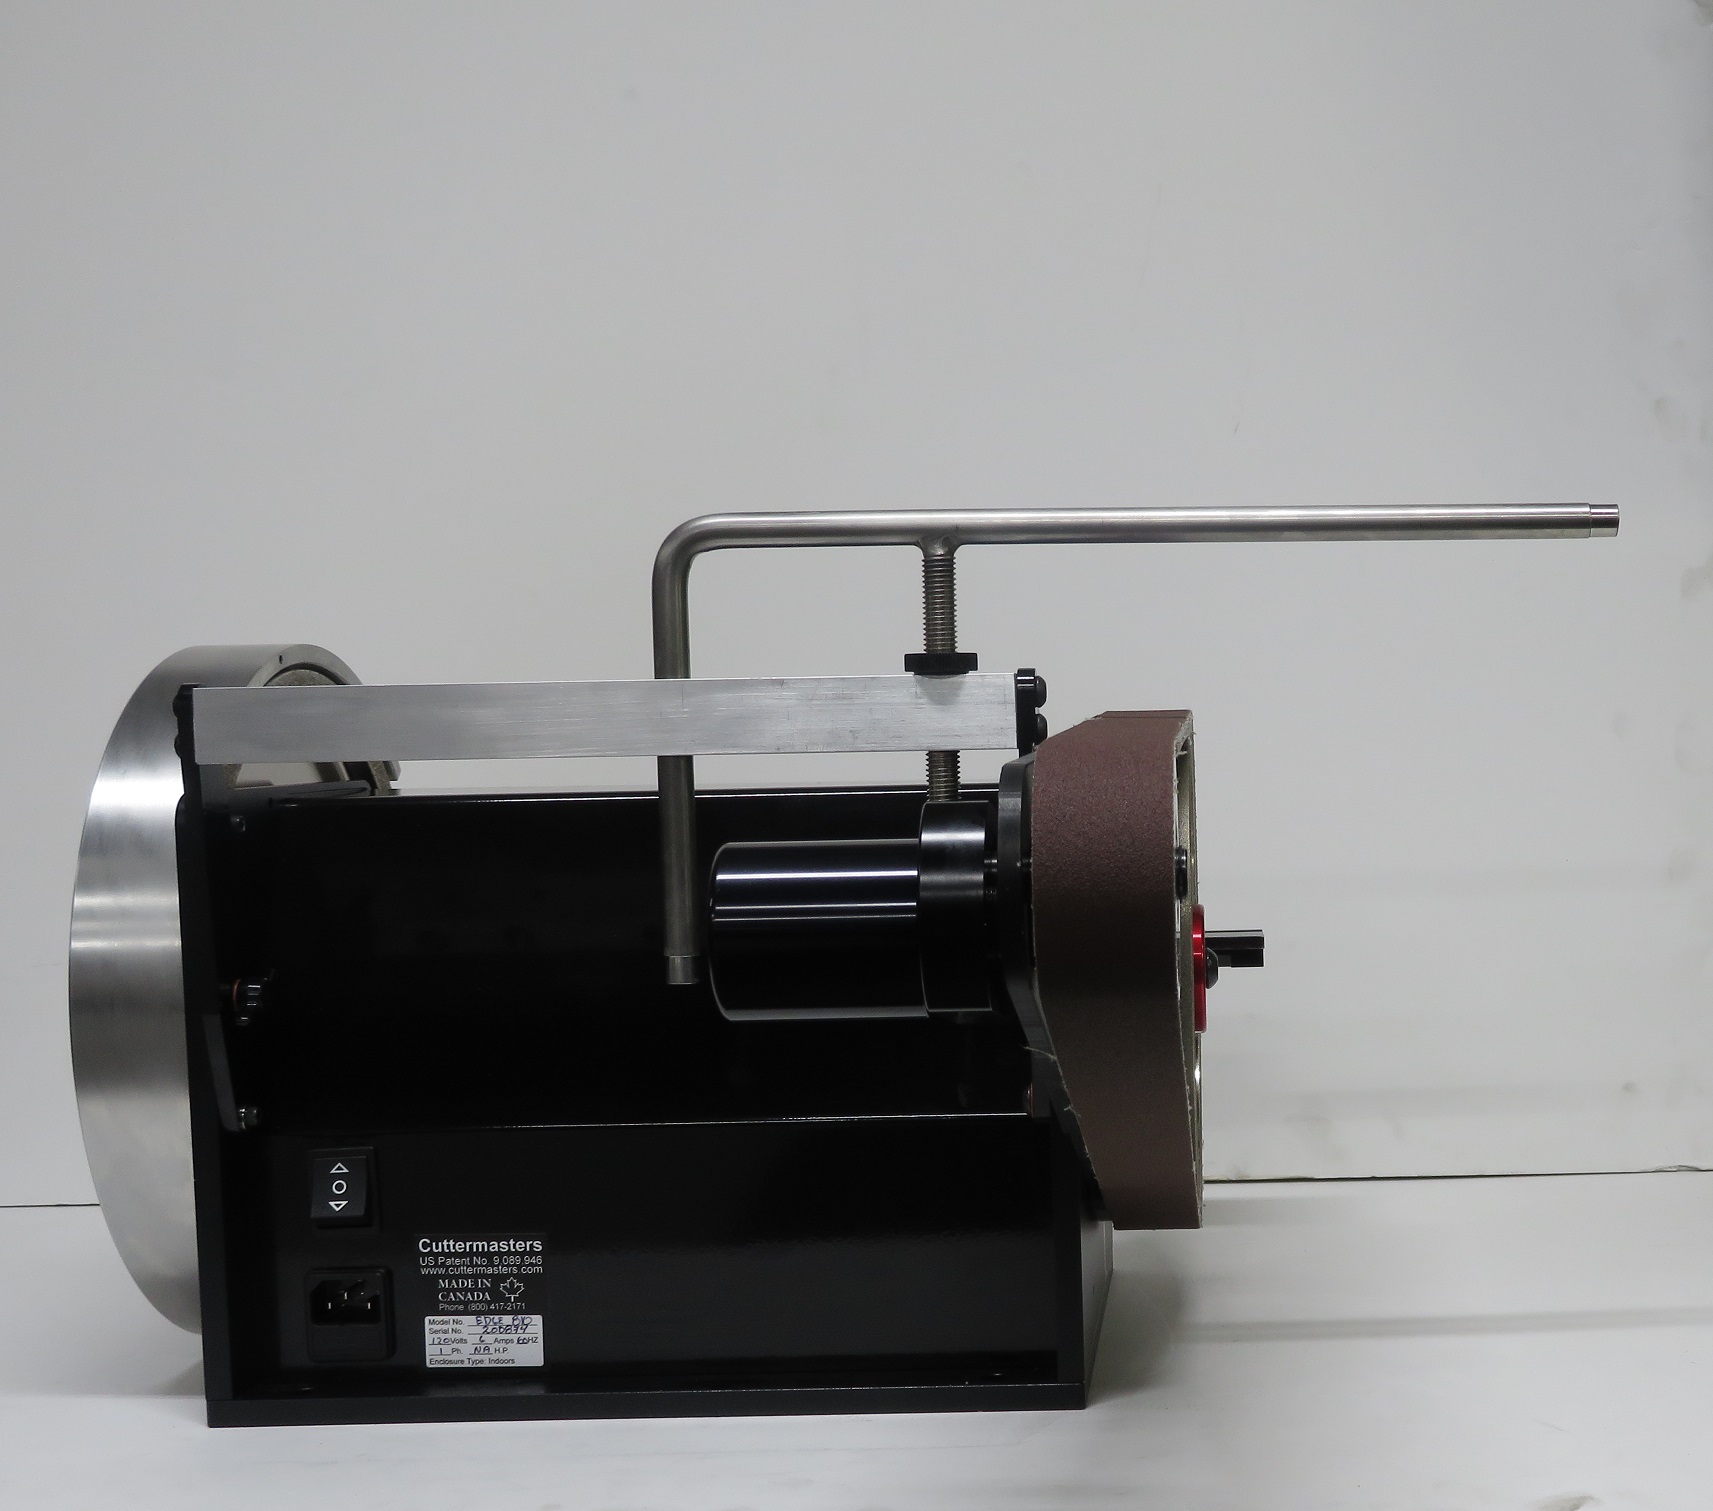
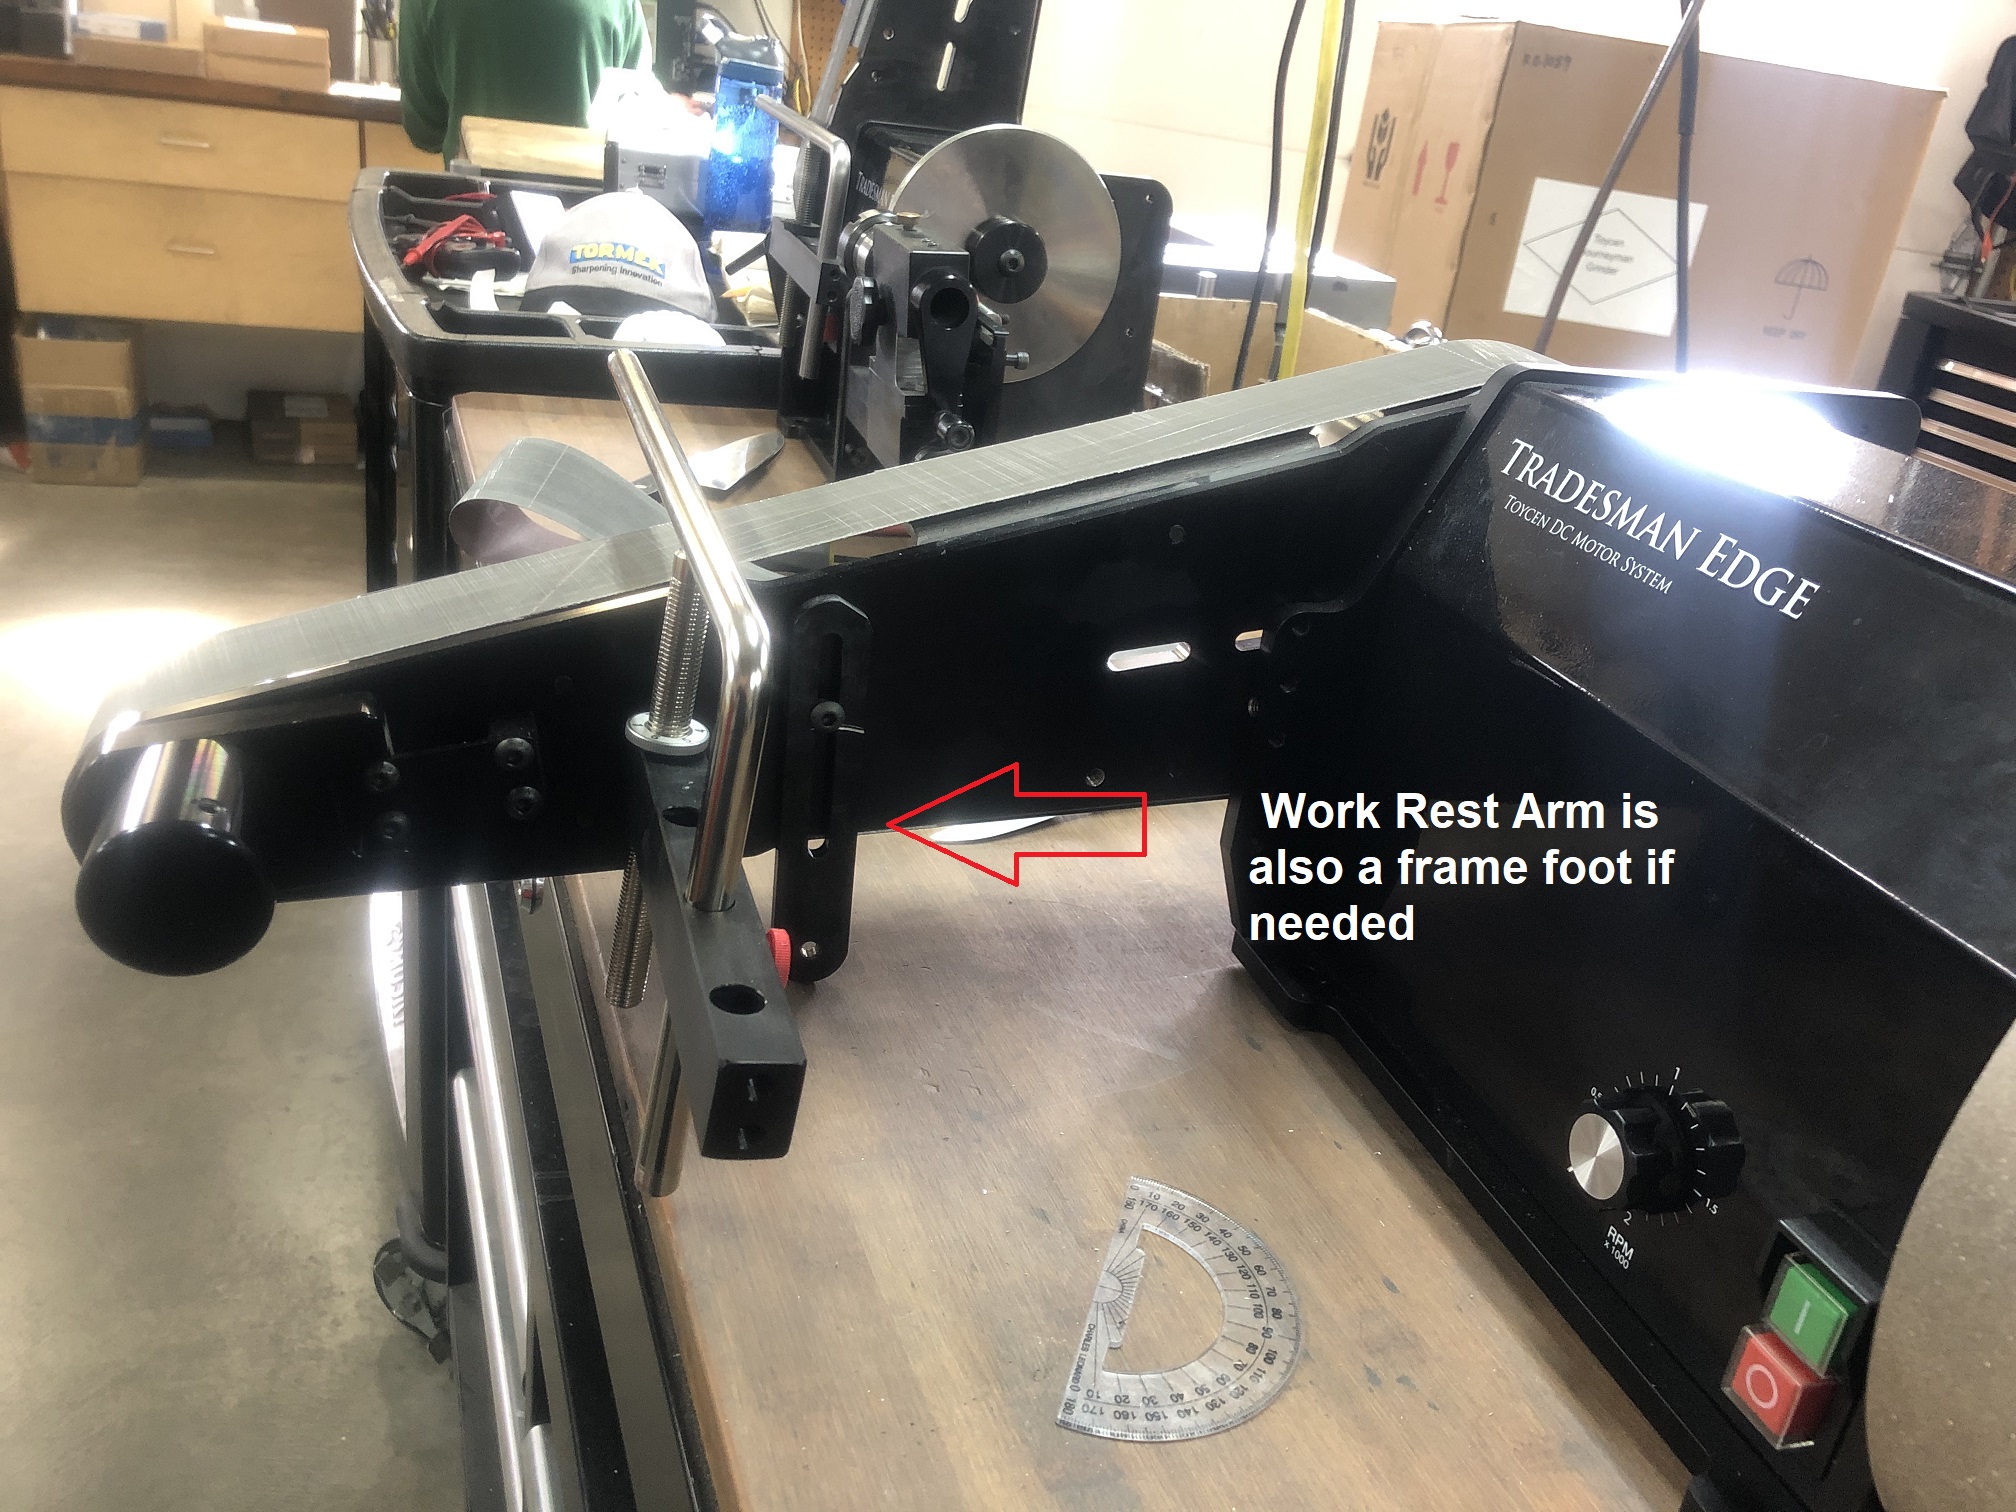
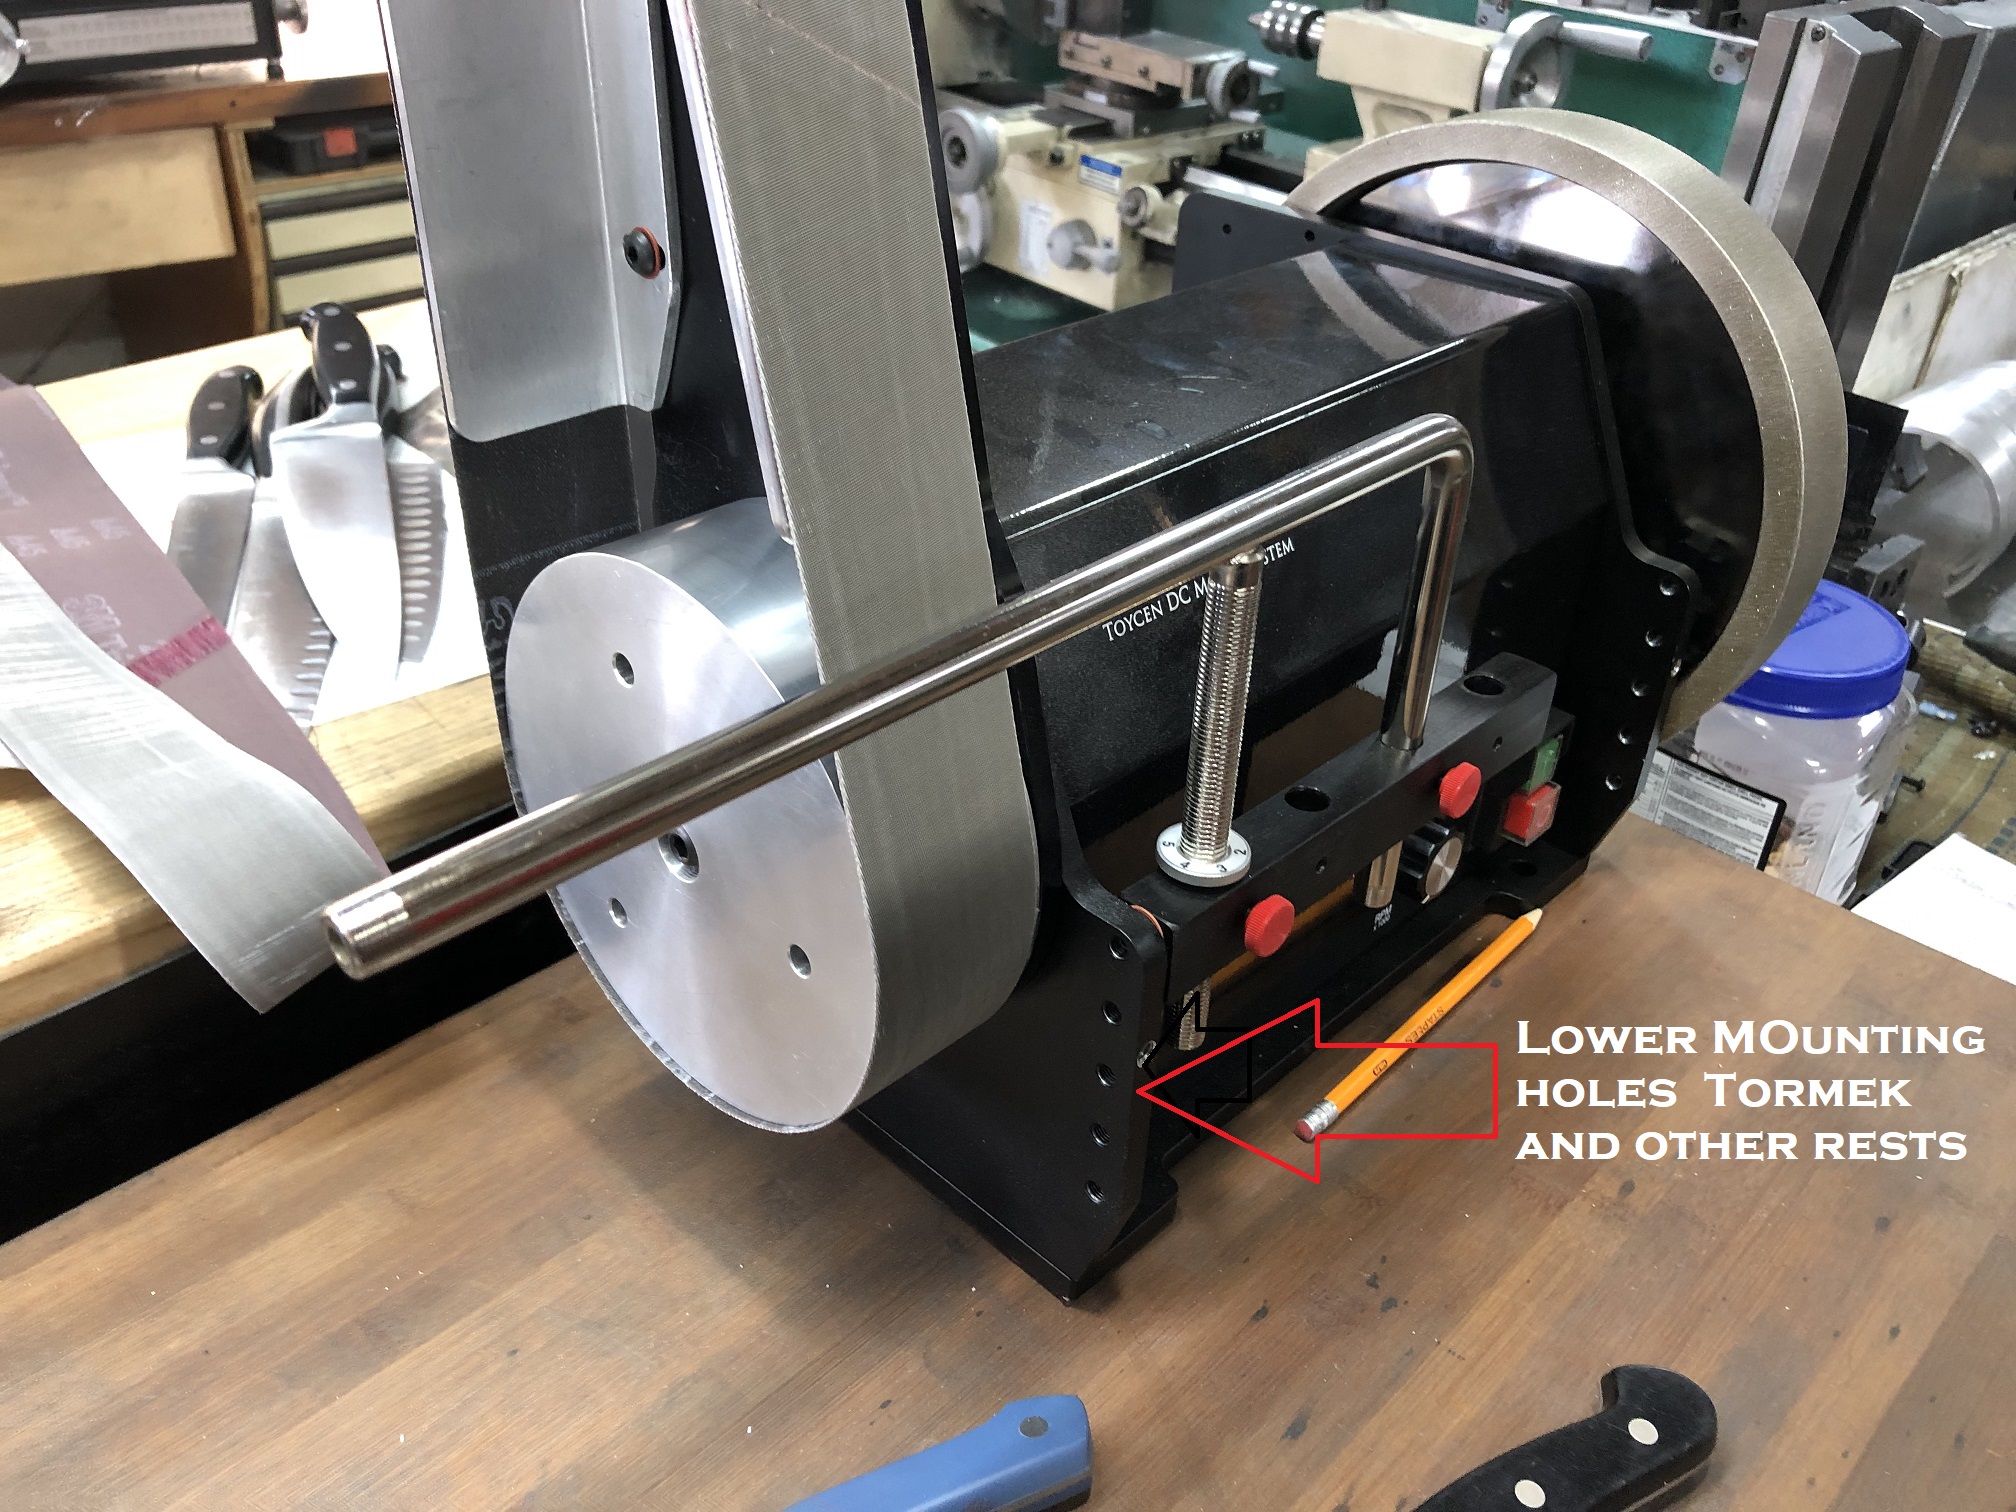
Here you can see our standard Feed rest and Tormek bracket mounted at the same time
no need to unmount our feed rests to use the standard work rest
Static Electricity
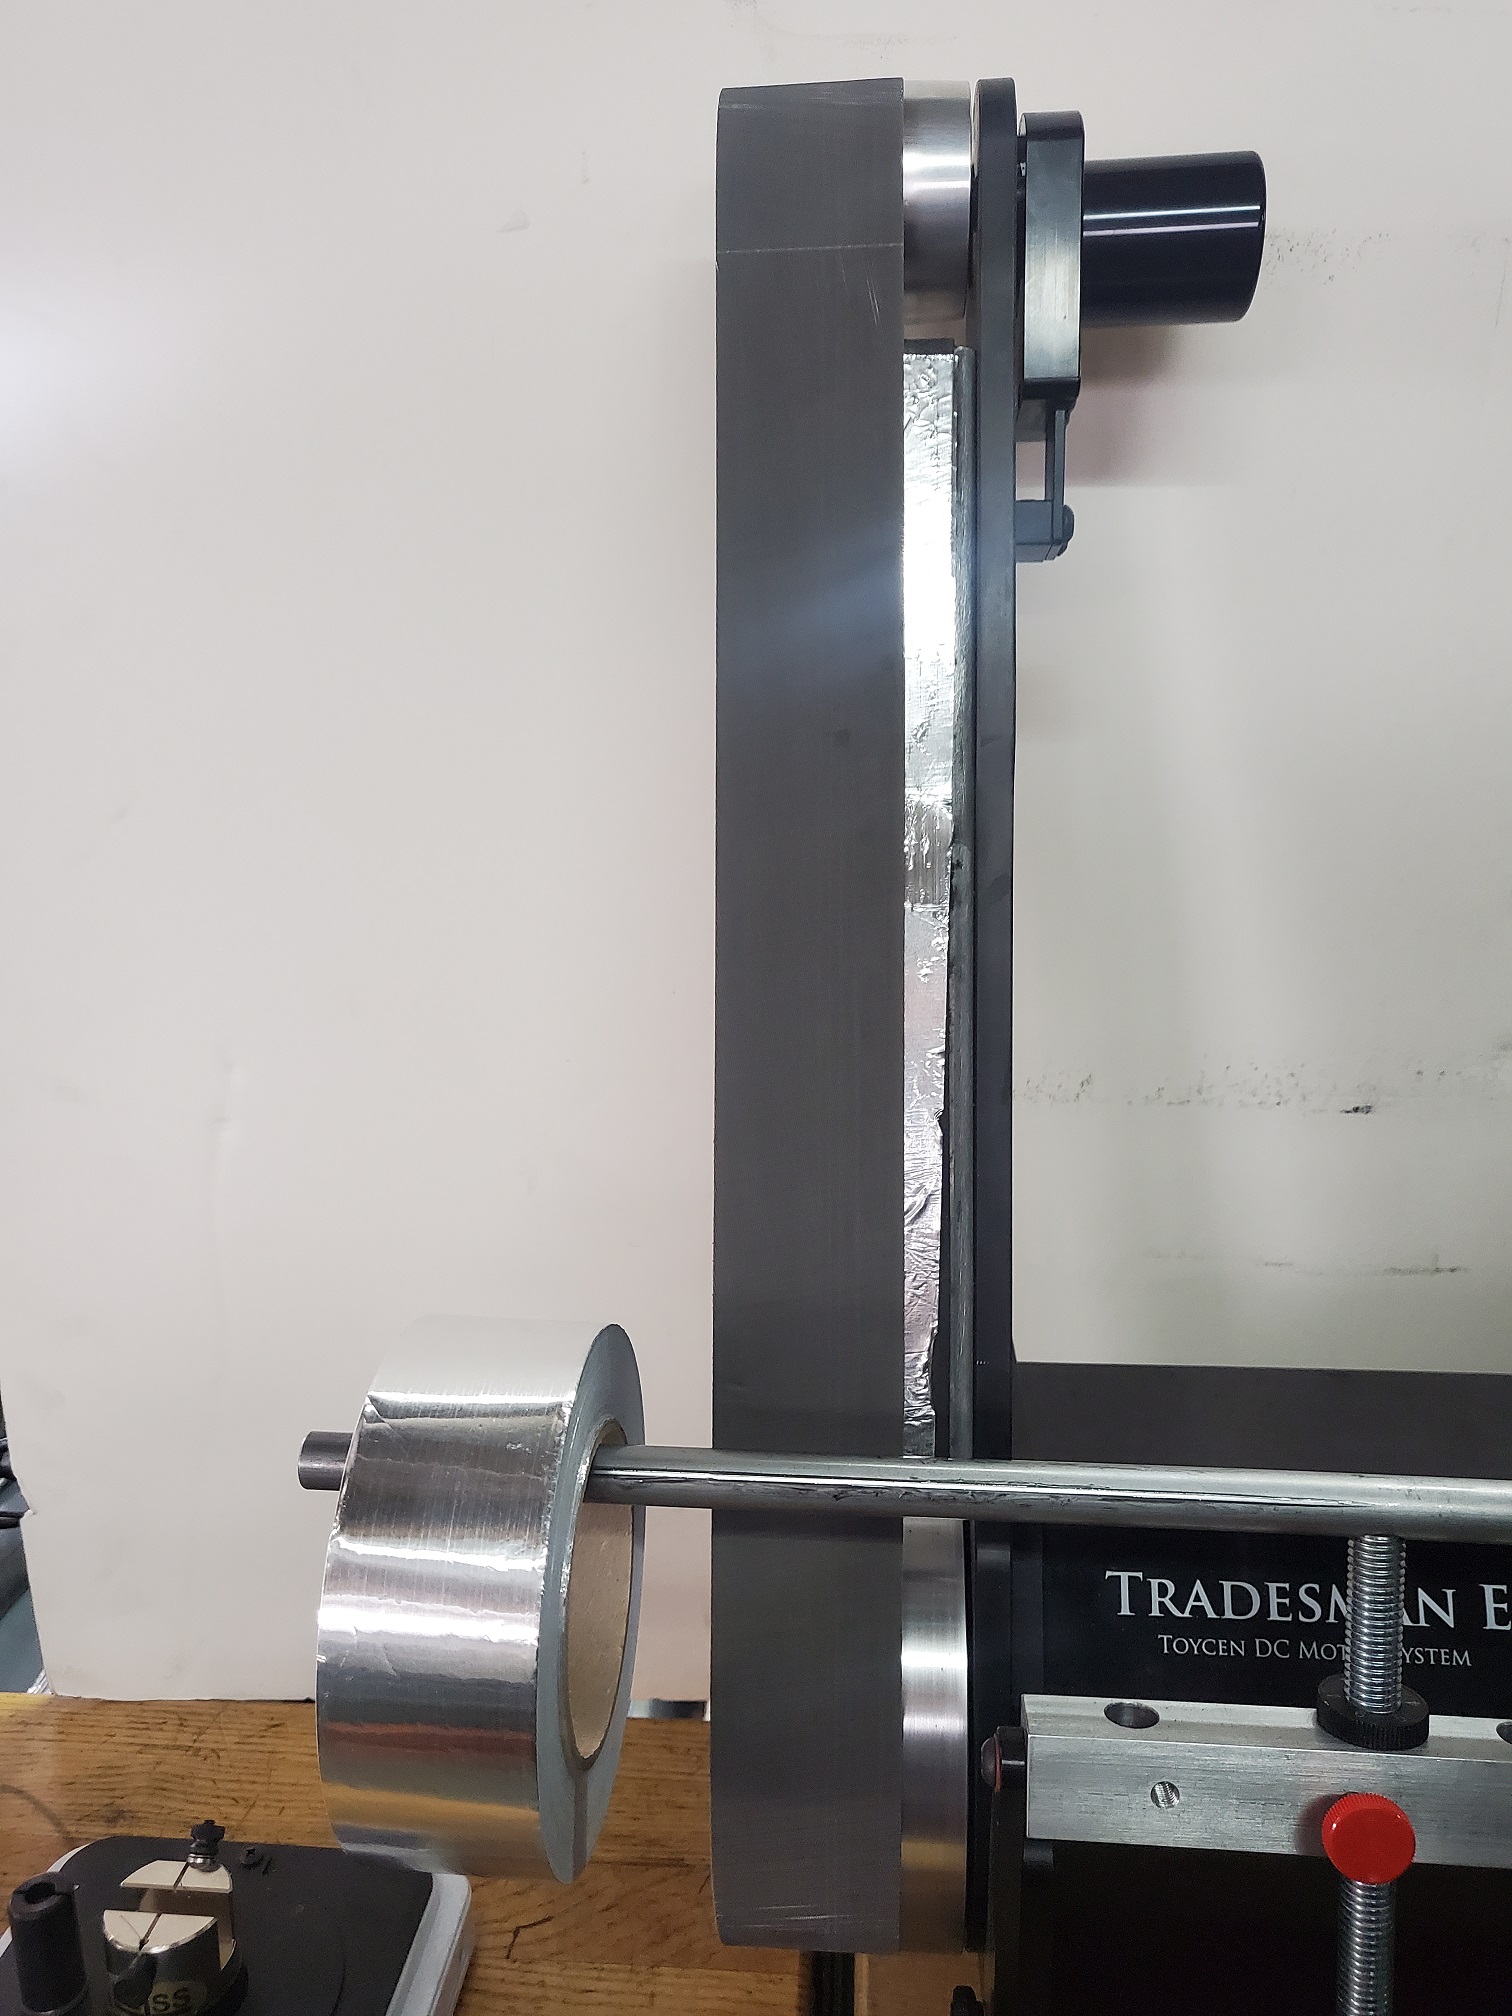
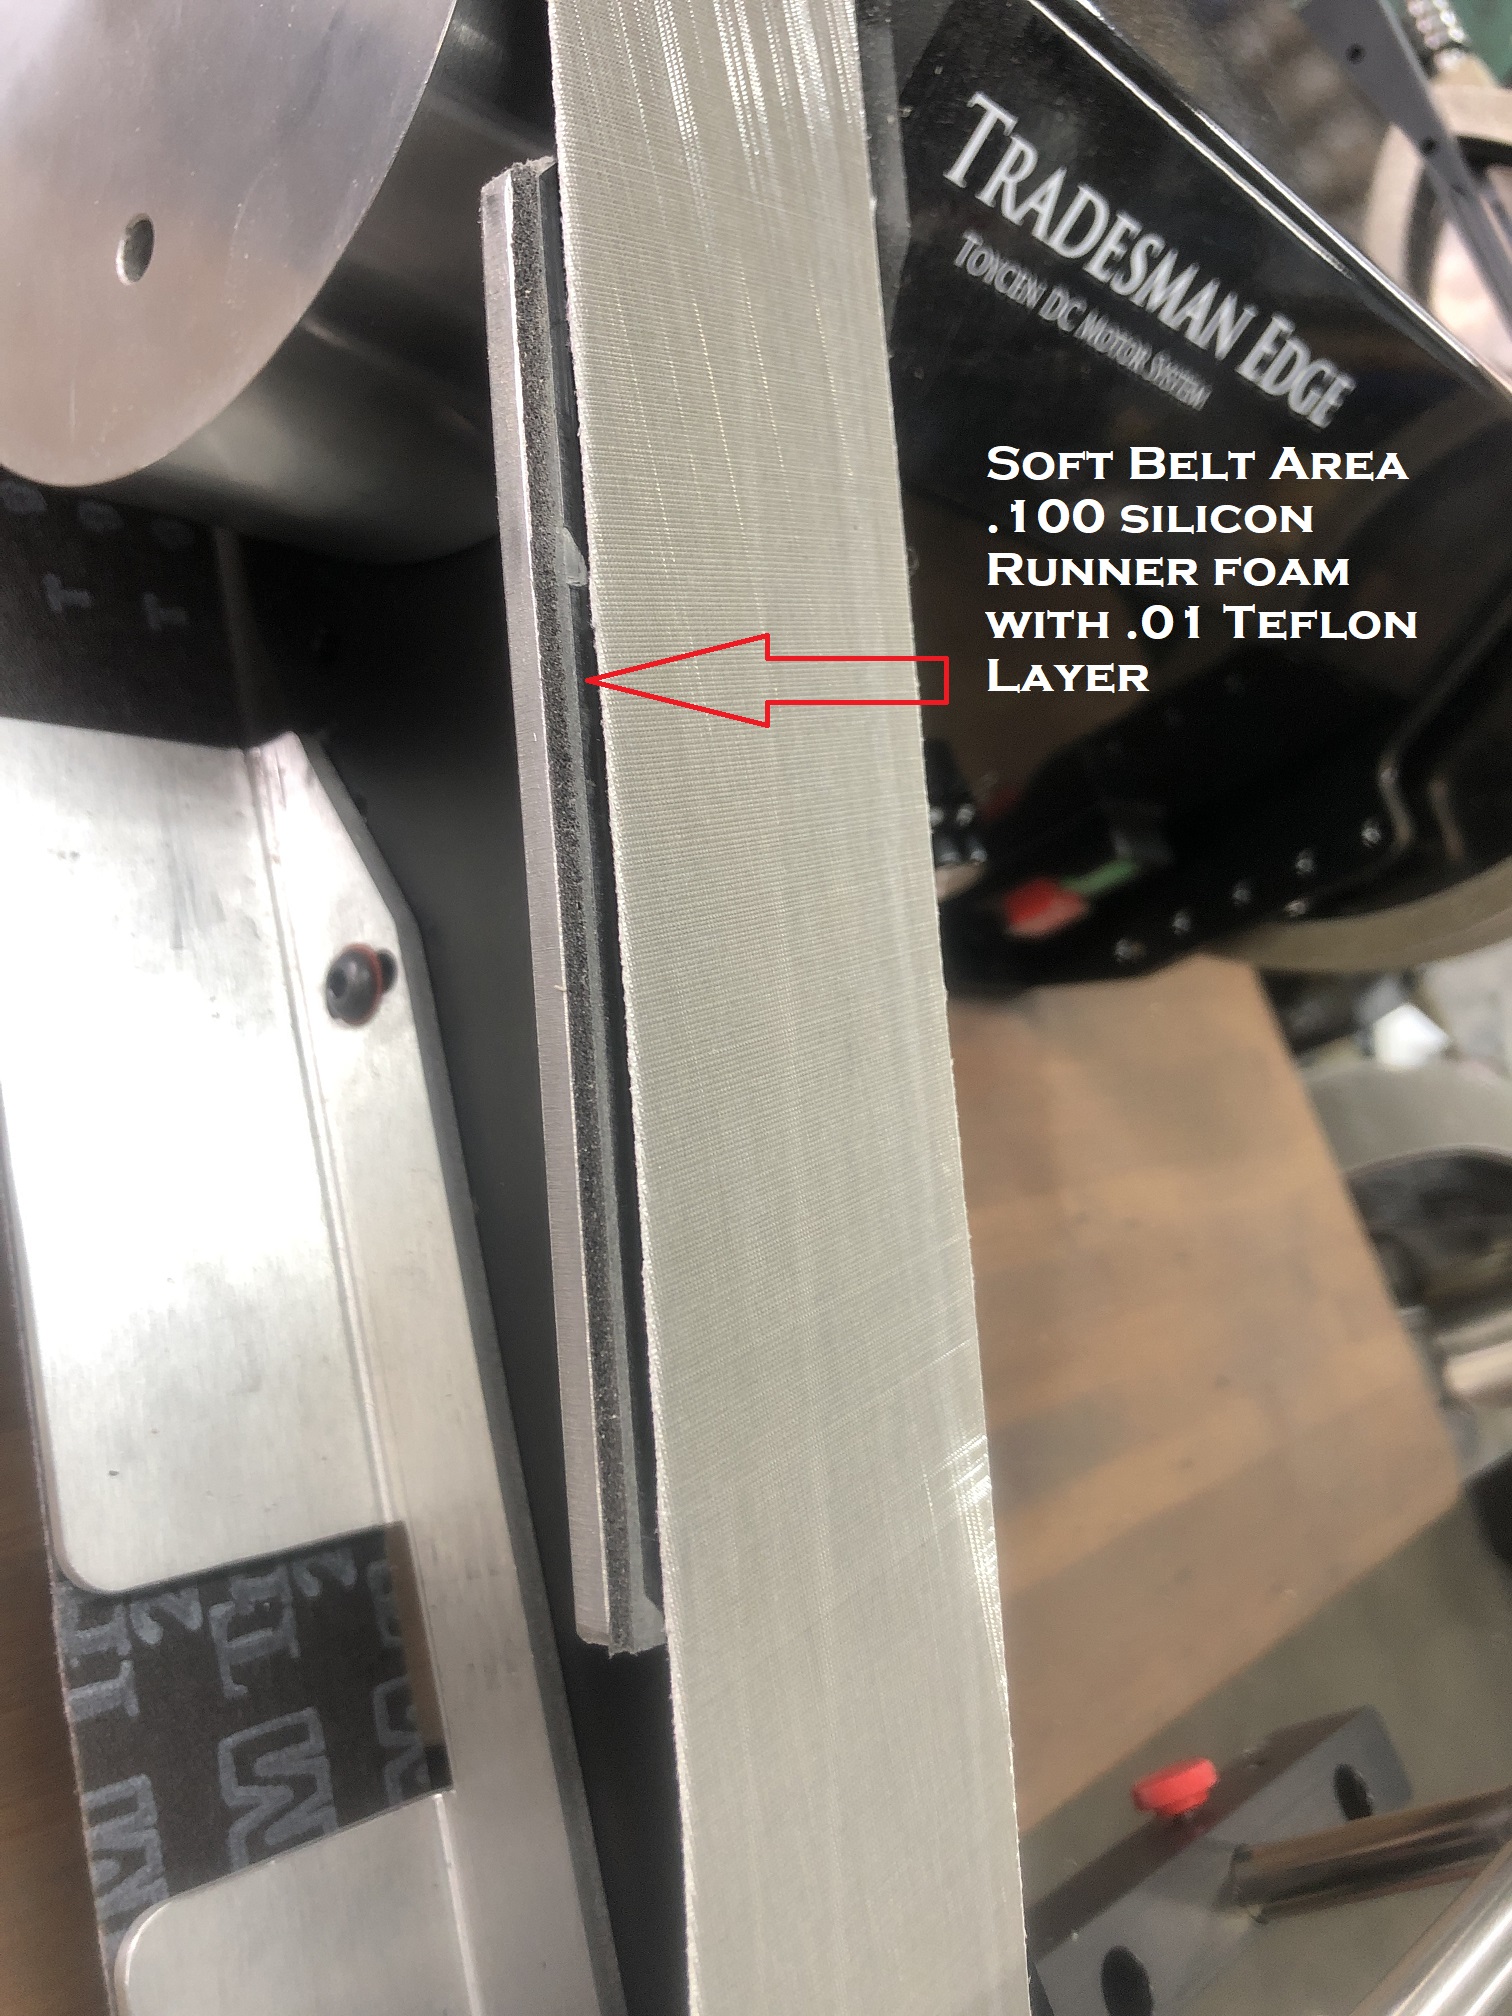
With our smart platen, there is a 1/8 inch layer of 30 durometer closed-cell foam.
This isolates the belt from the machine ground, using our 3M belts static electricity builds up.
This will discharge thru your fingers for a little wake-up jolt if your the ground.
Either you can spray some laundry static guard on the back of the belt
Or you can use Aluminum Tape which is a good replaceable wear surface.
works well
Jeff
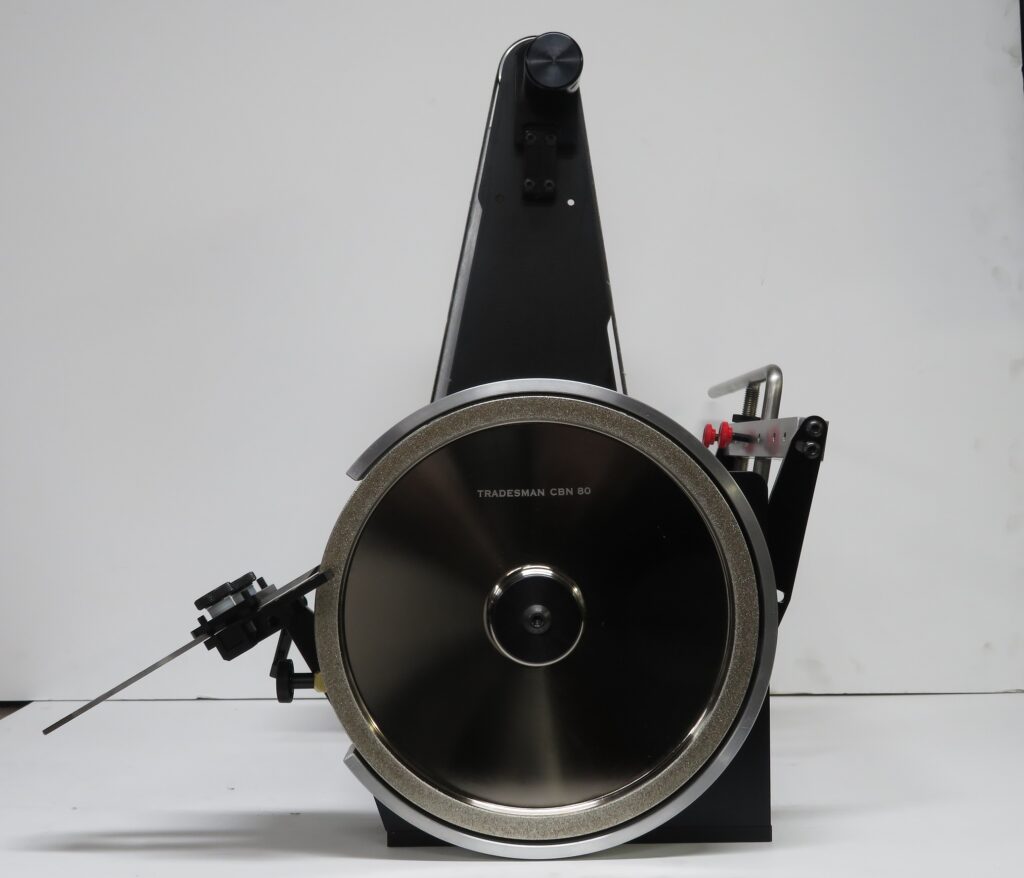
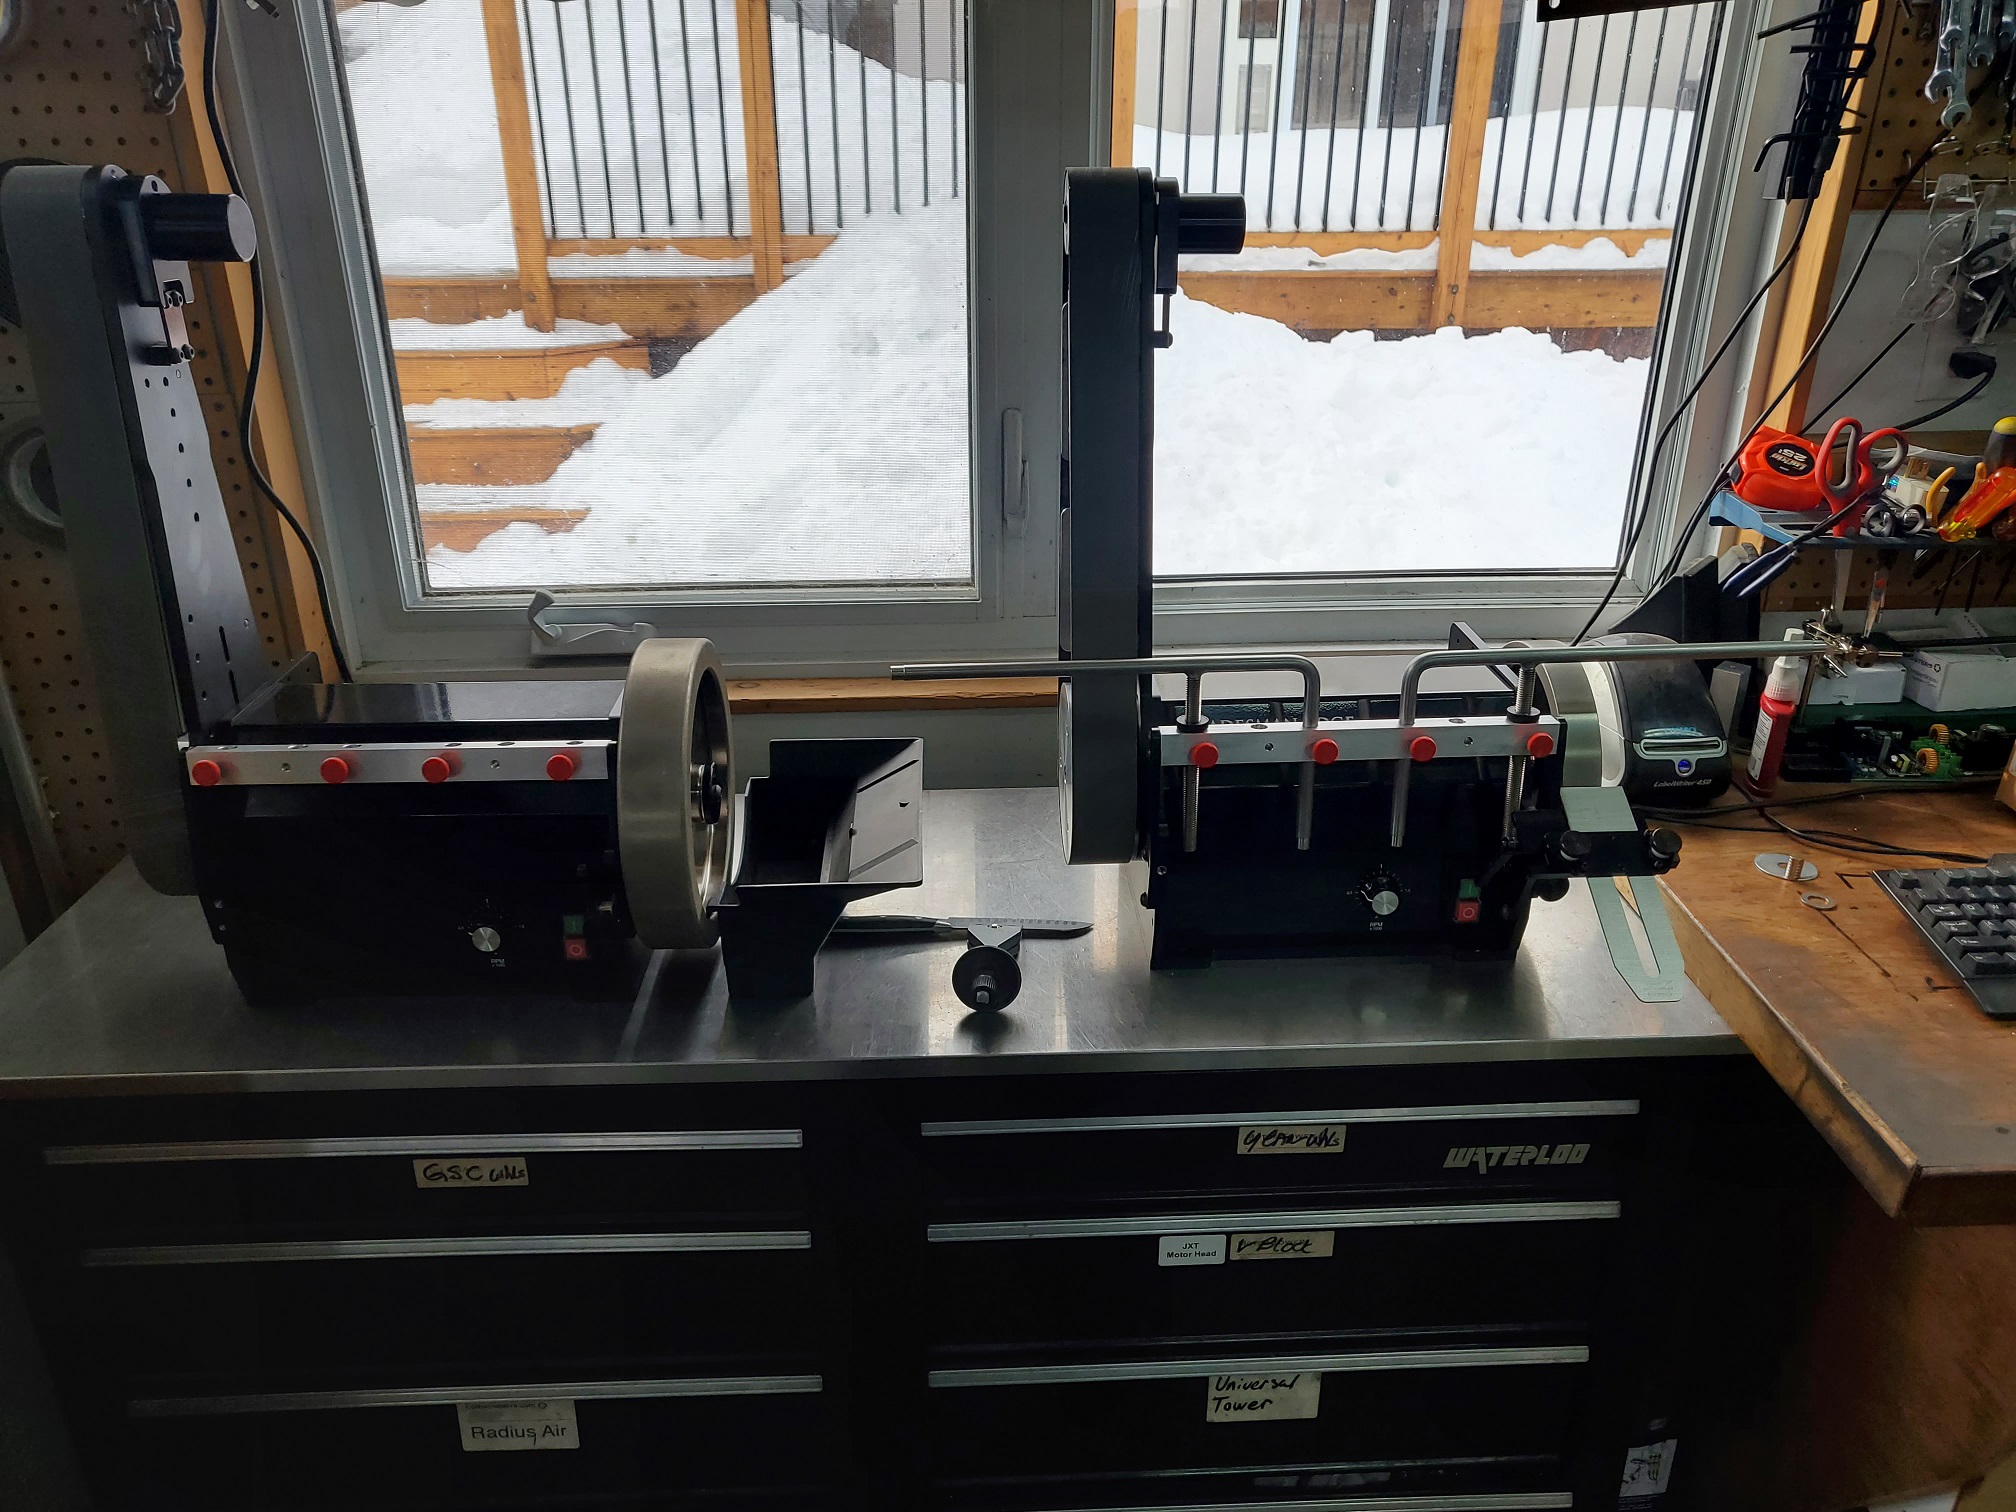
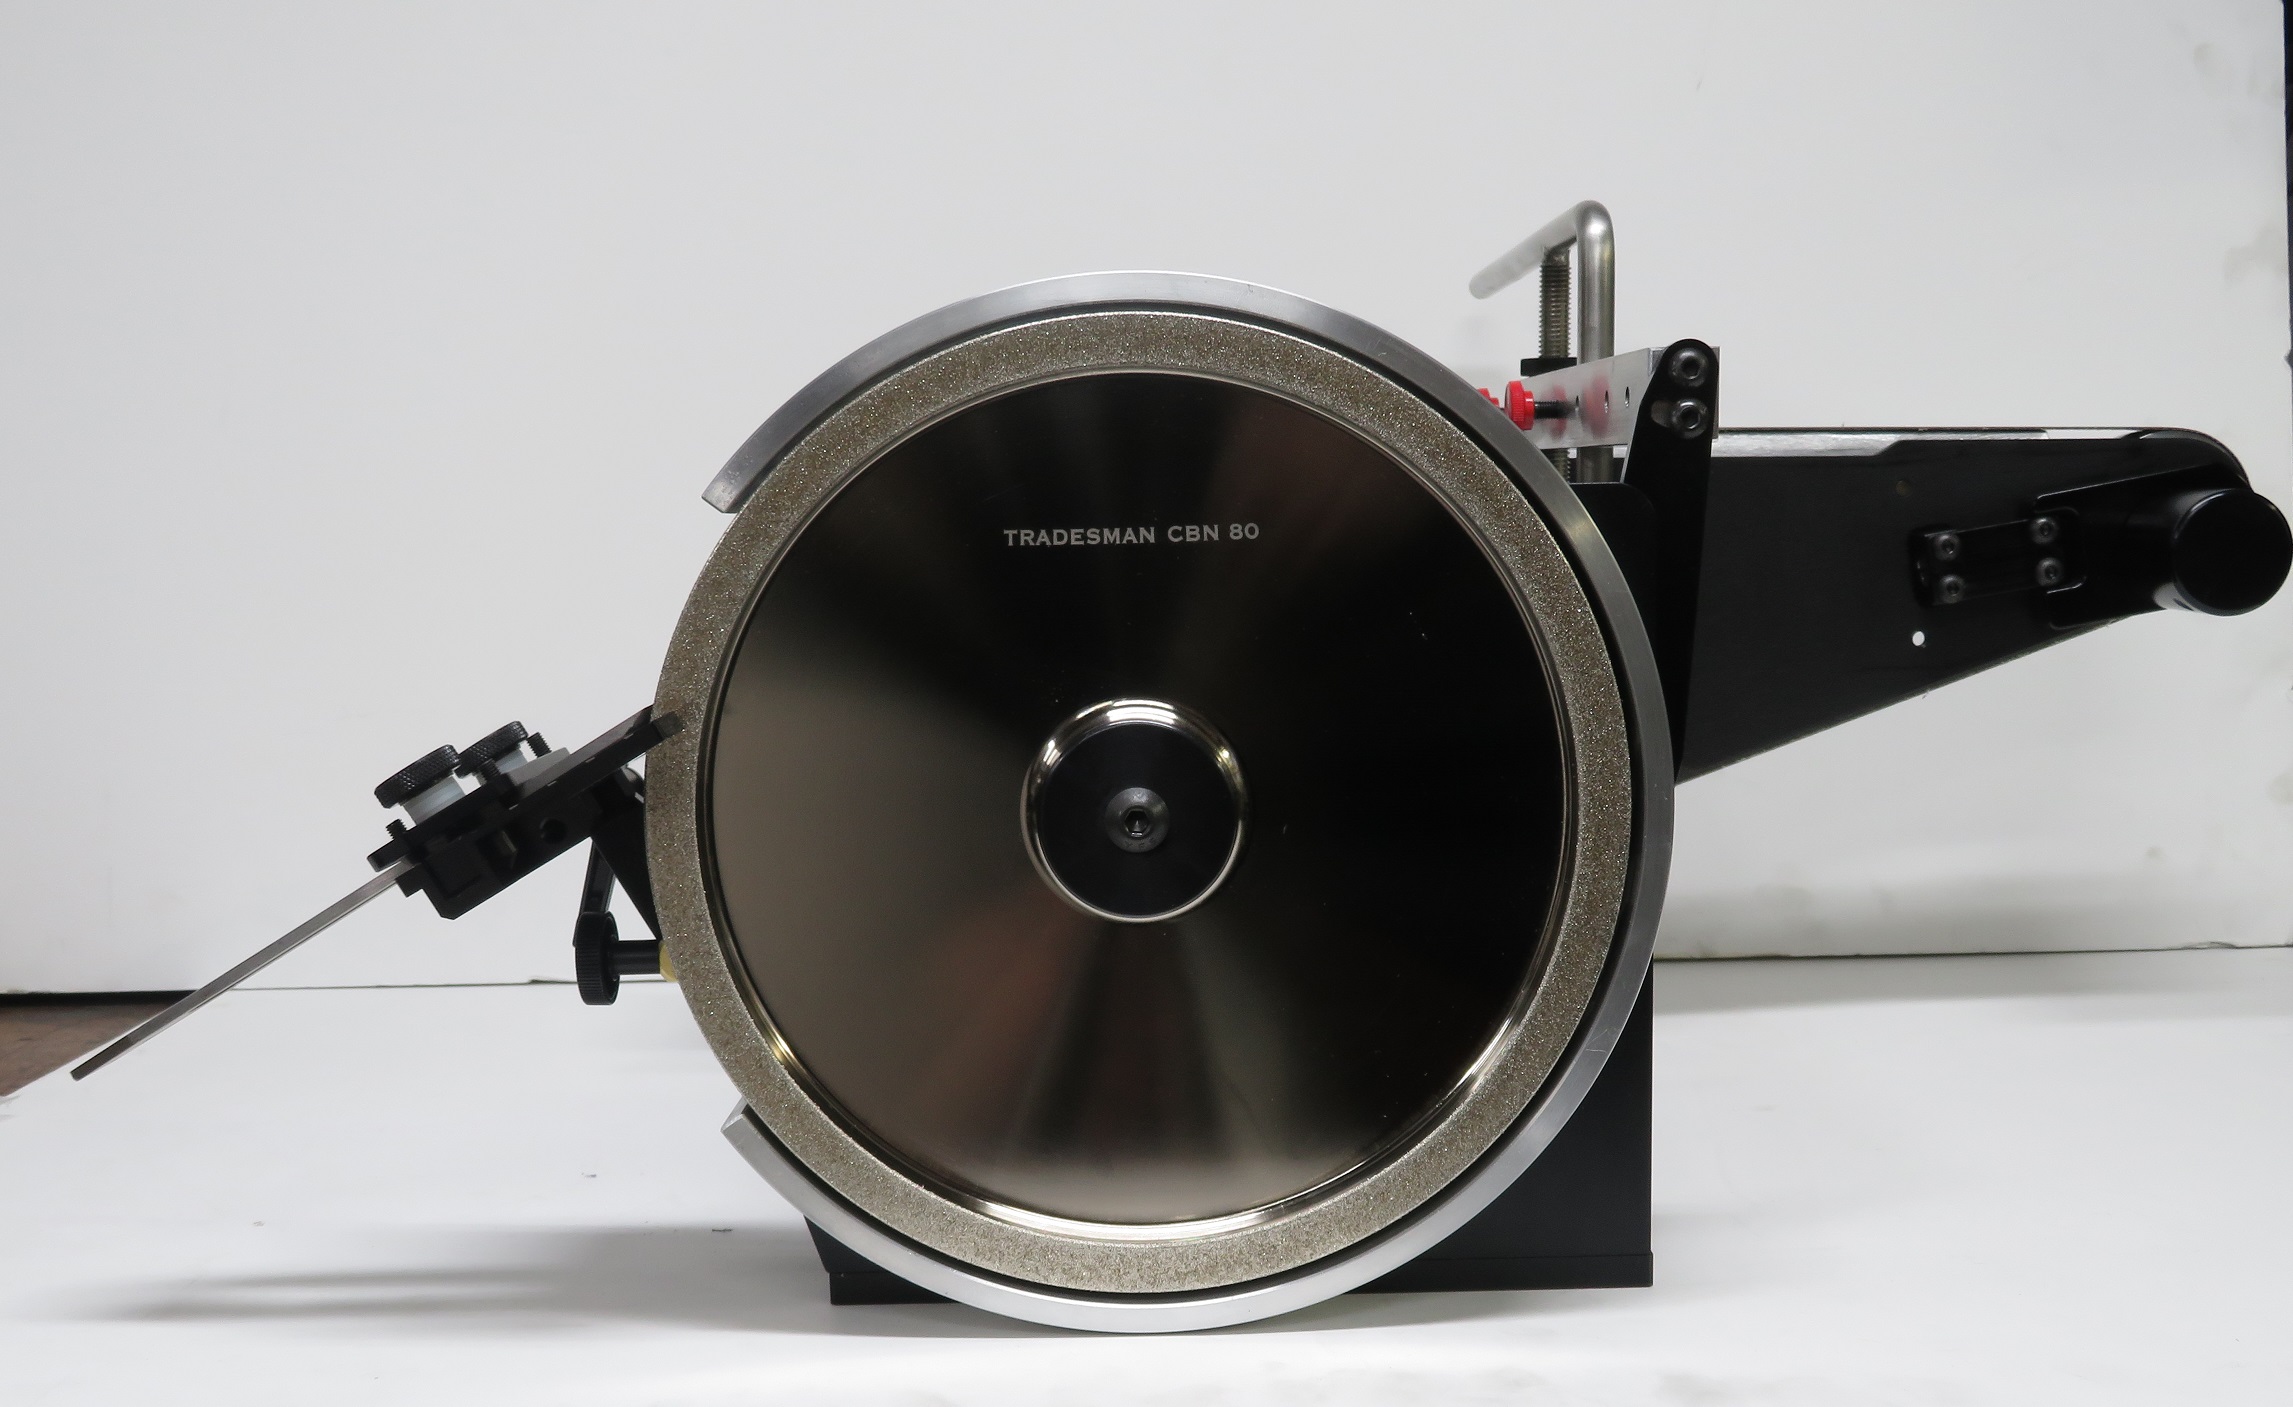
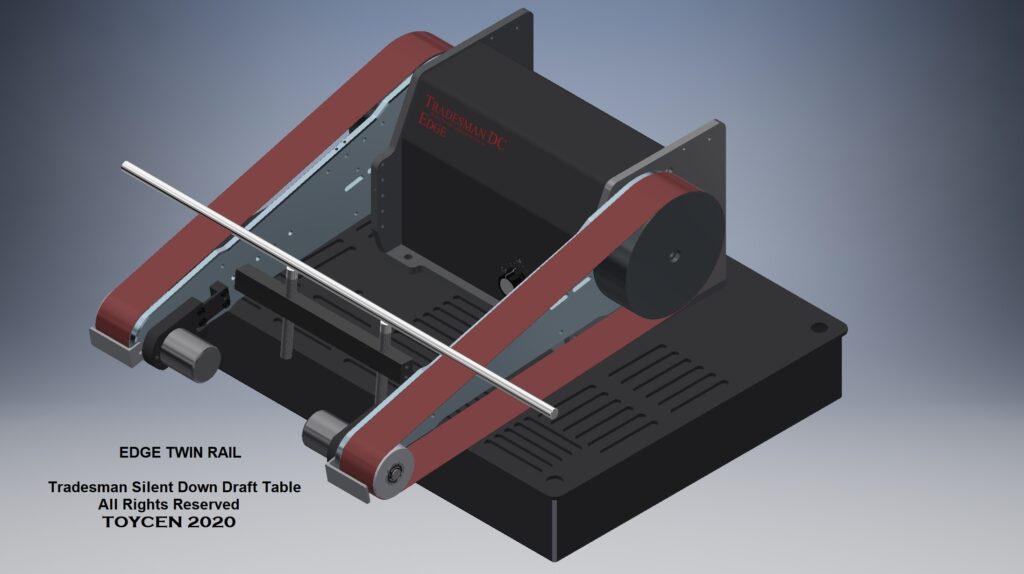
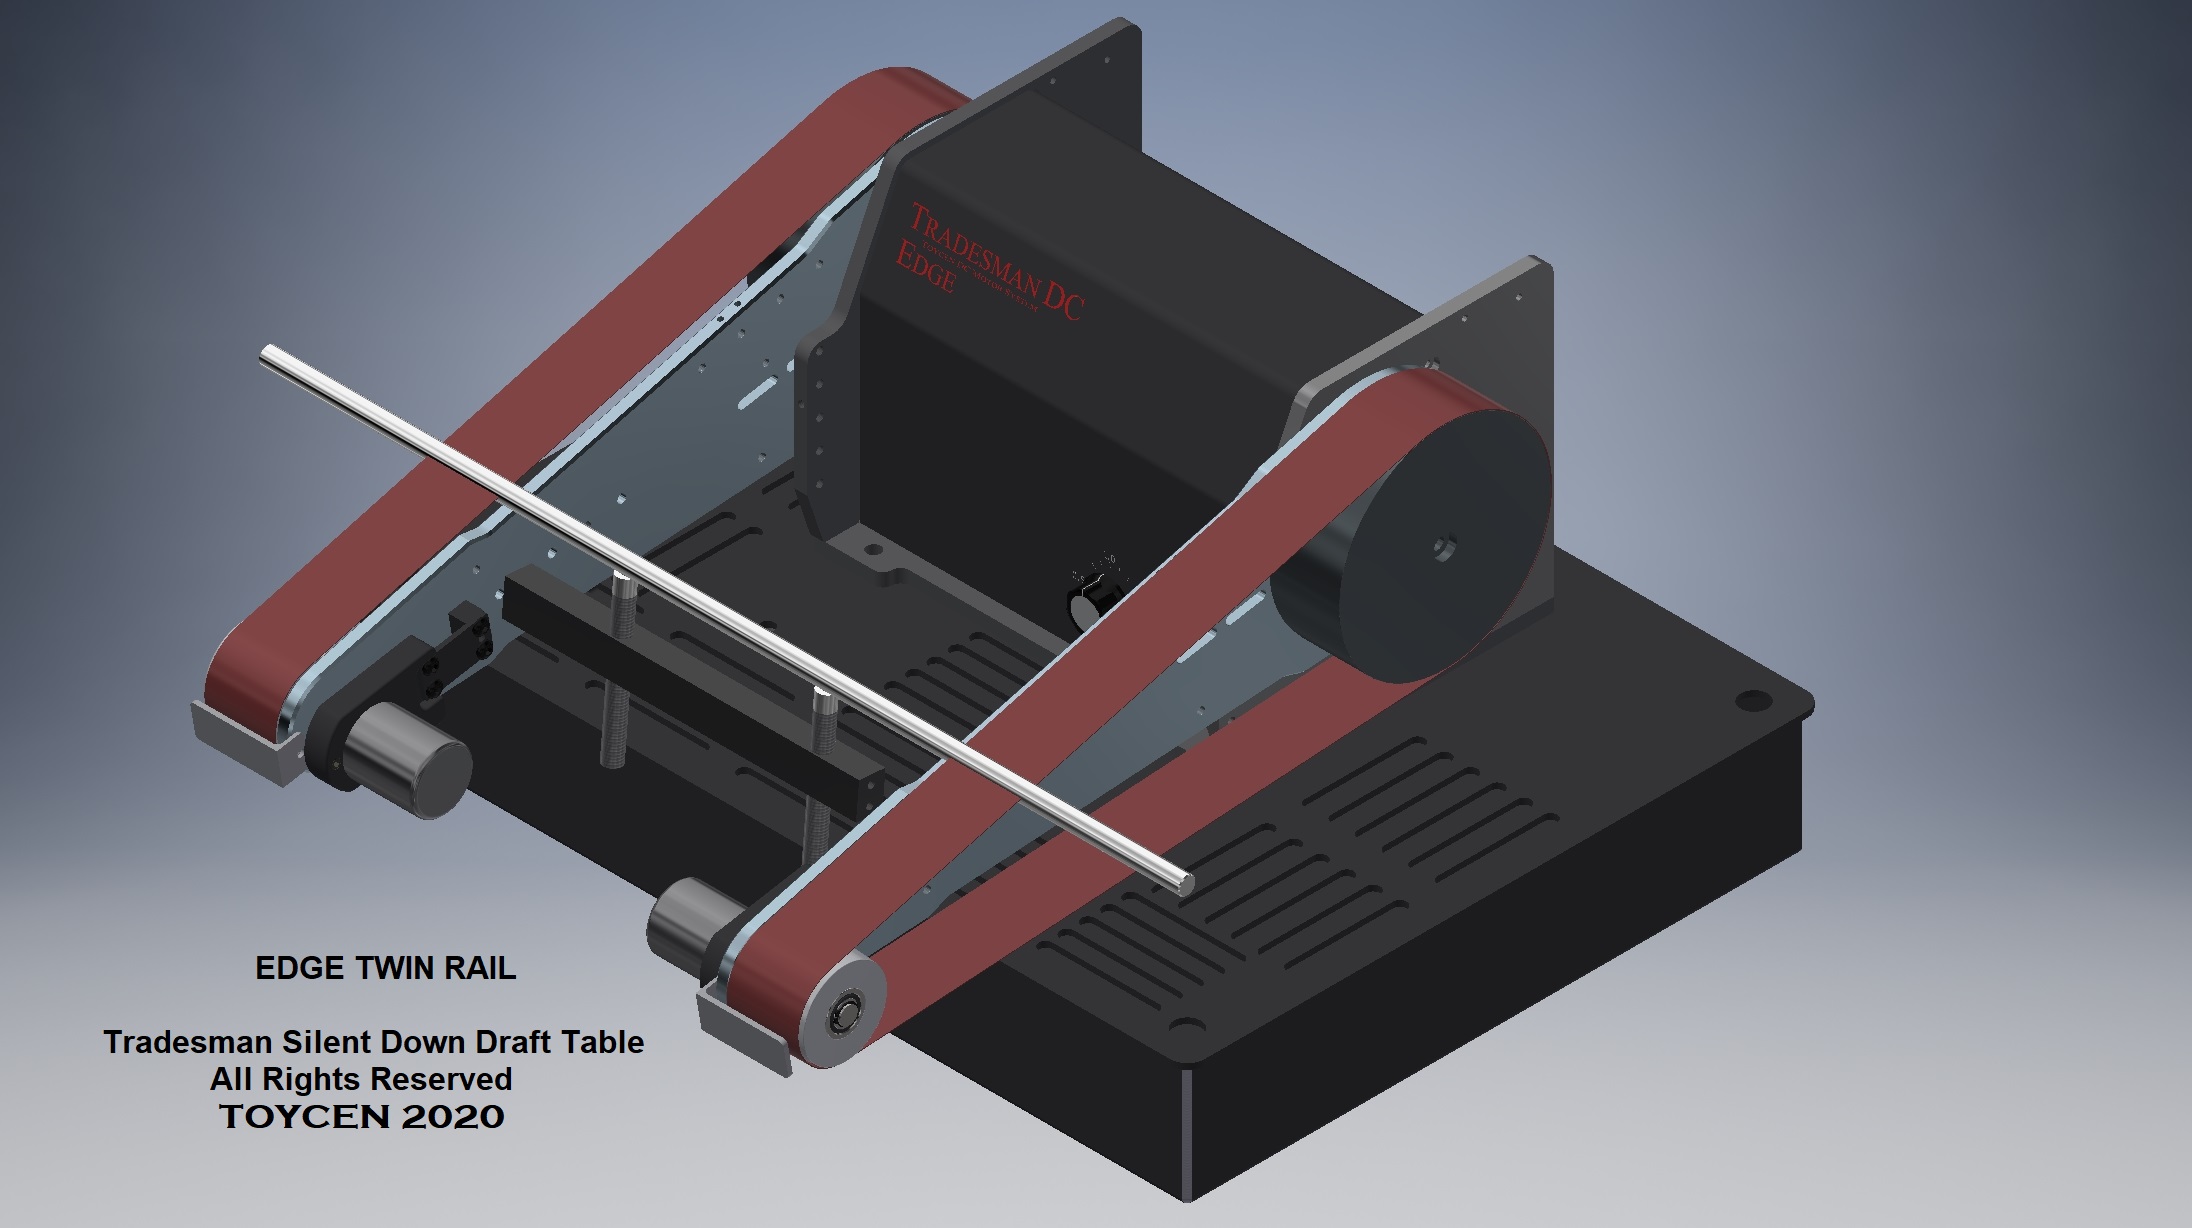
Tradesman EDGE work station Belt Over Wheel Twin Feed rest New : Rear Tormek Mount
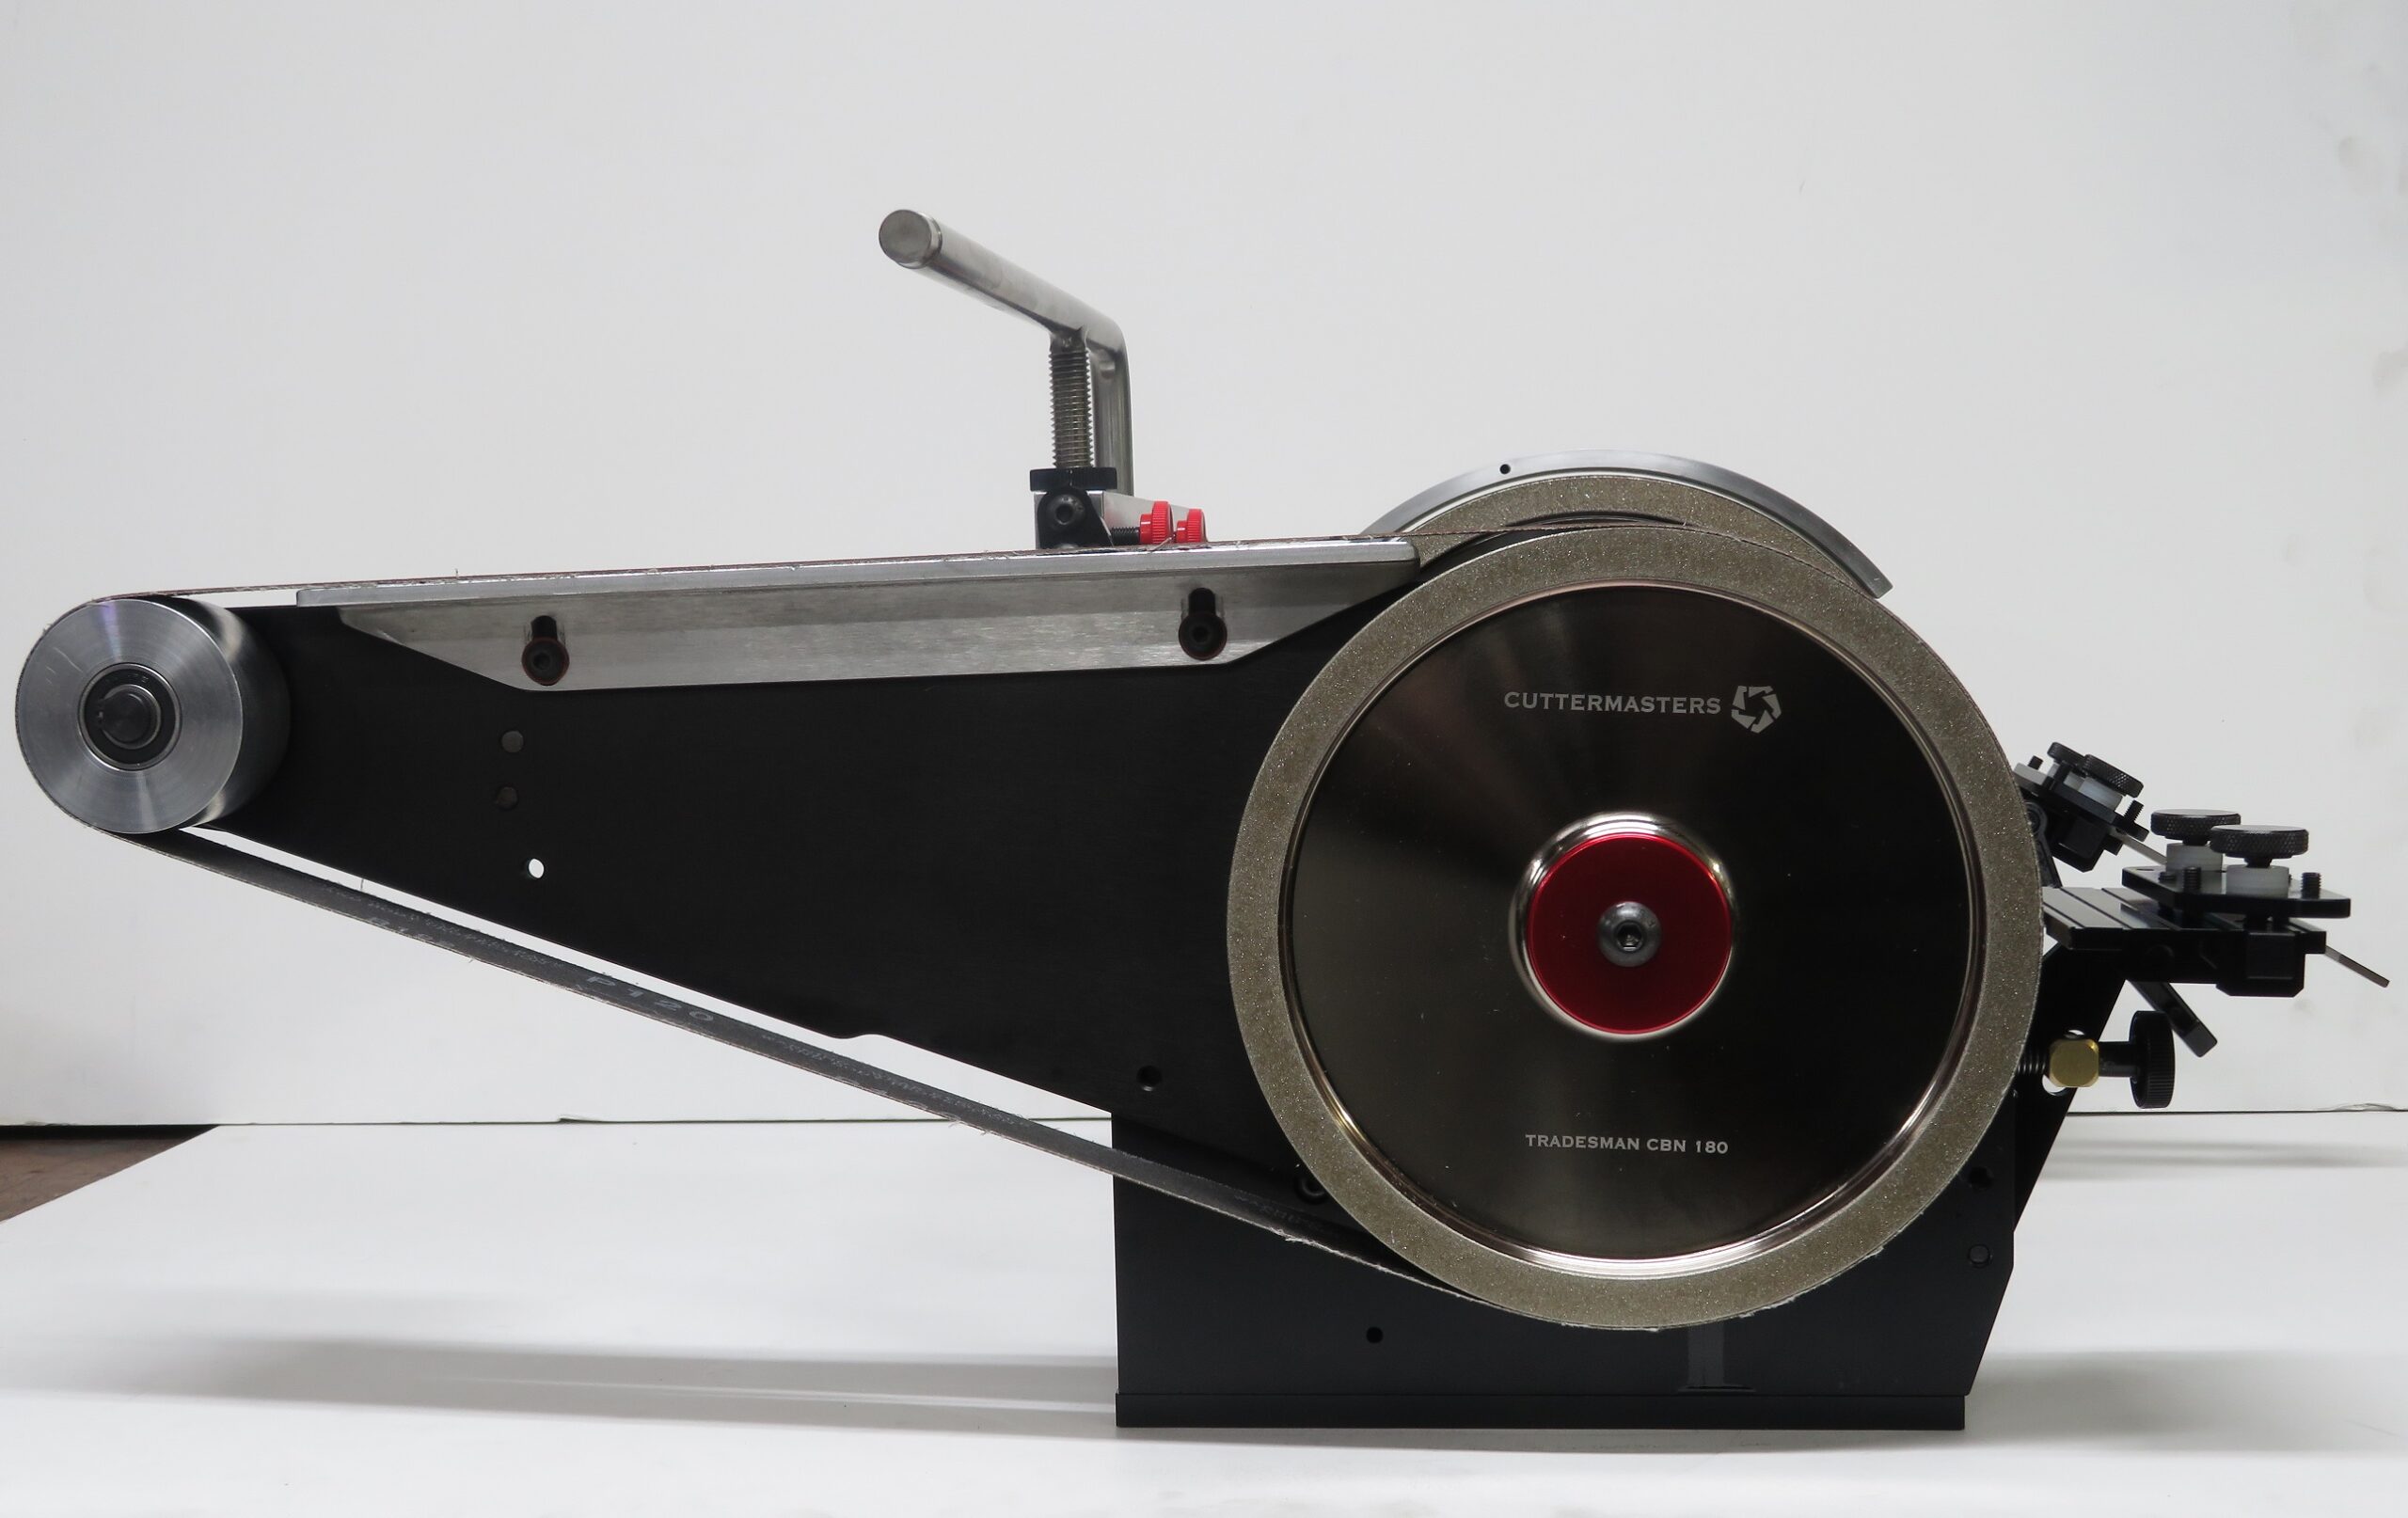

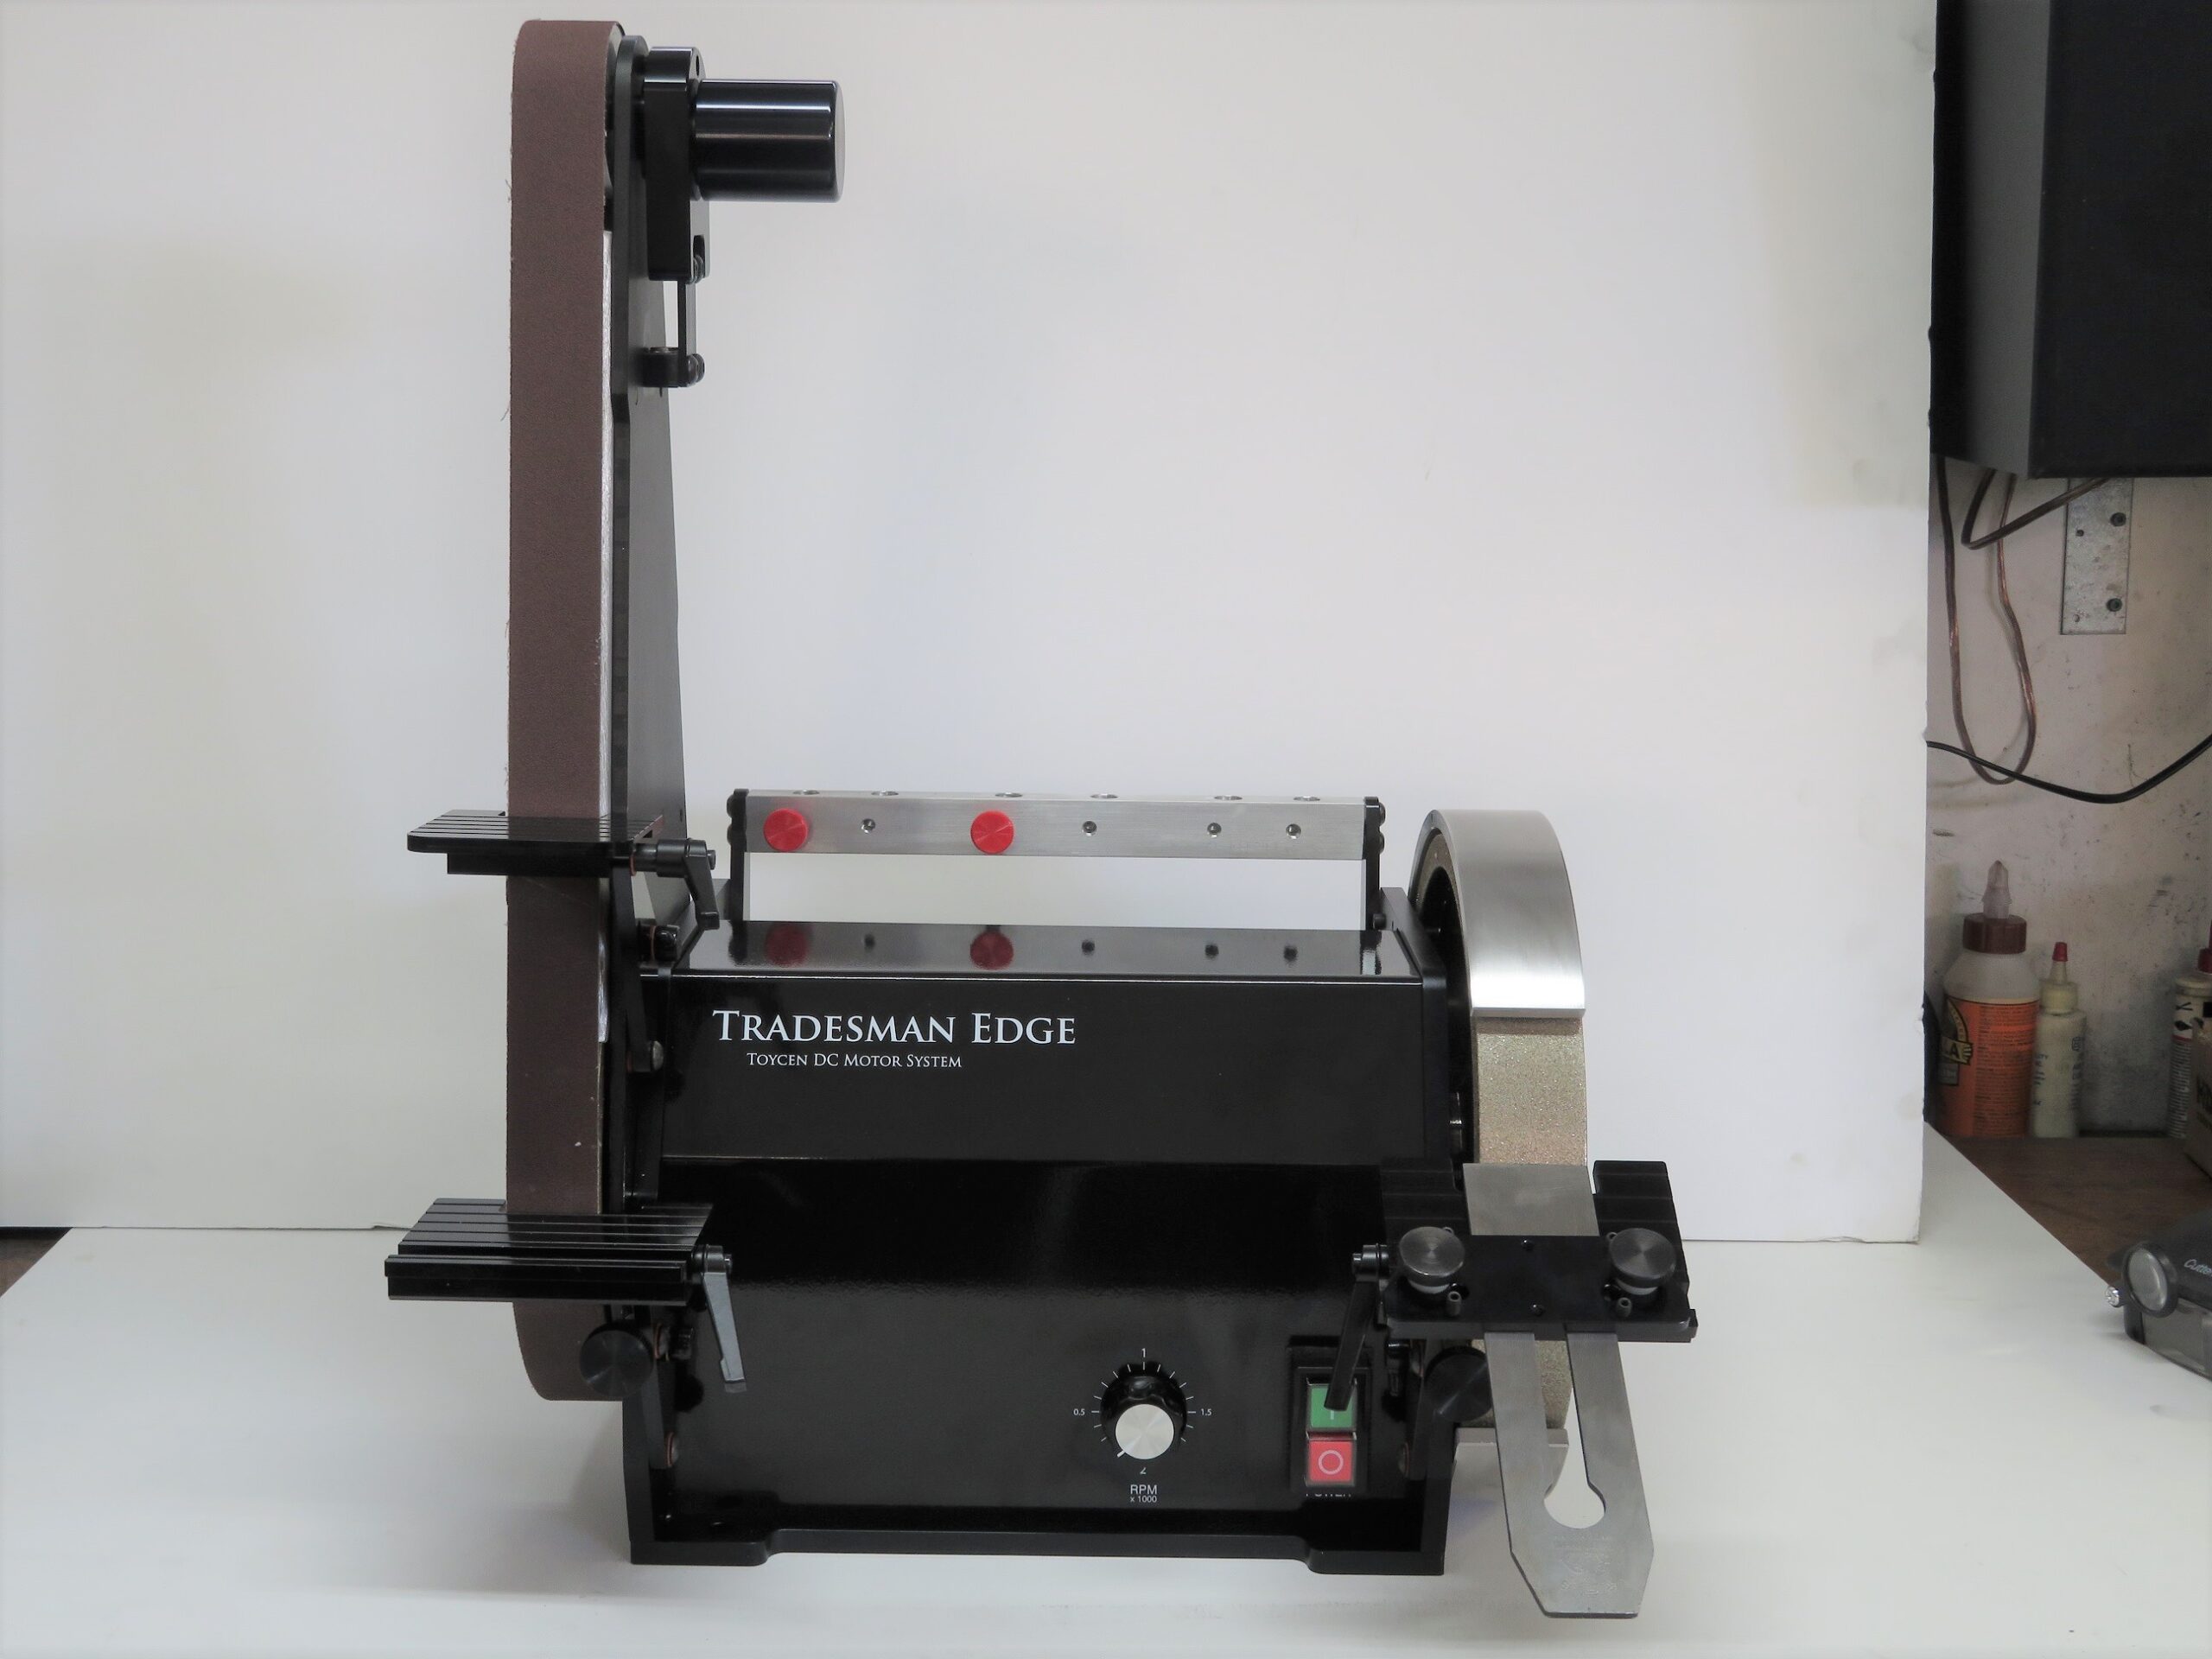
Jeff designed the Belt-Over-Wheel attachment originally for the 8″ Tradesman. The main benefits being that you can change grits (from wheel to belts) without breaking setups, and also save the life of your CBN or diamond grinding wheel. We recently had a customer ask for this set up on the Tradesman Machinist.
Here the BOW attachment is shown on the Tradesman edge 10 inch wheel one end 8 inch other end
Notice the Tormek Bracket on the back of the machine leaving the two from workrests in place
We like this set-up for knife grinding and works great with the Tormek attachments on the belt or wheel.
Tradesman Edge Common Start up questions
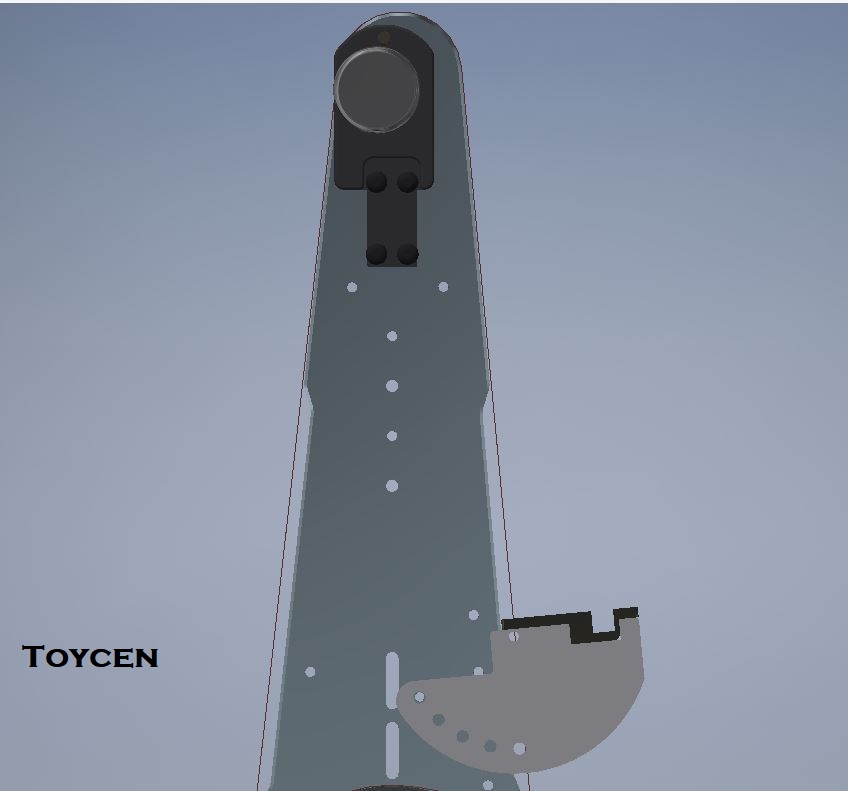
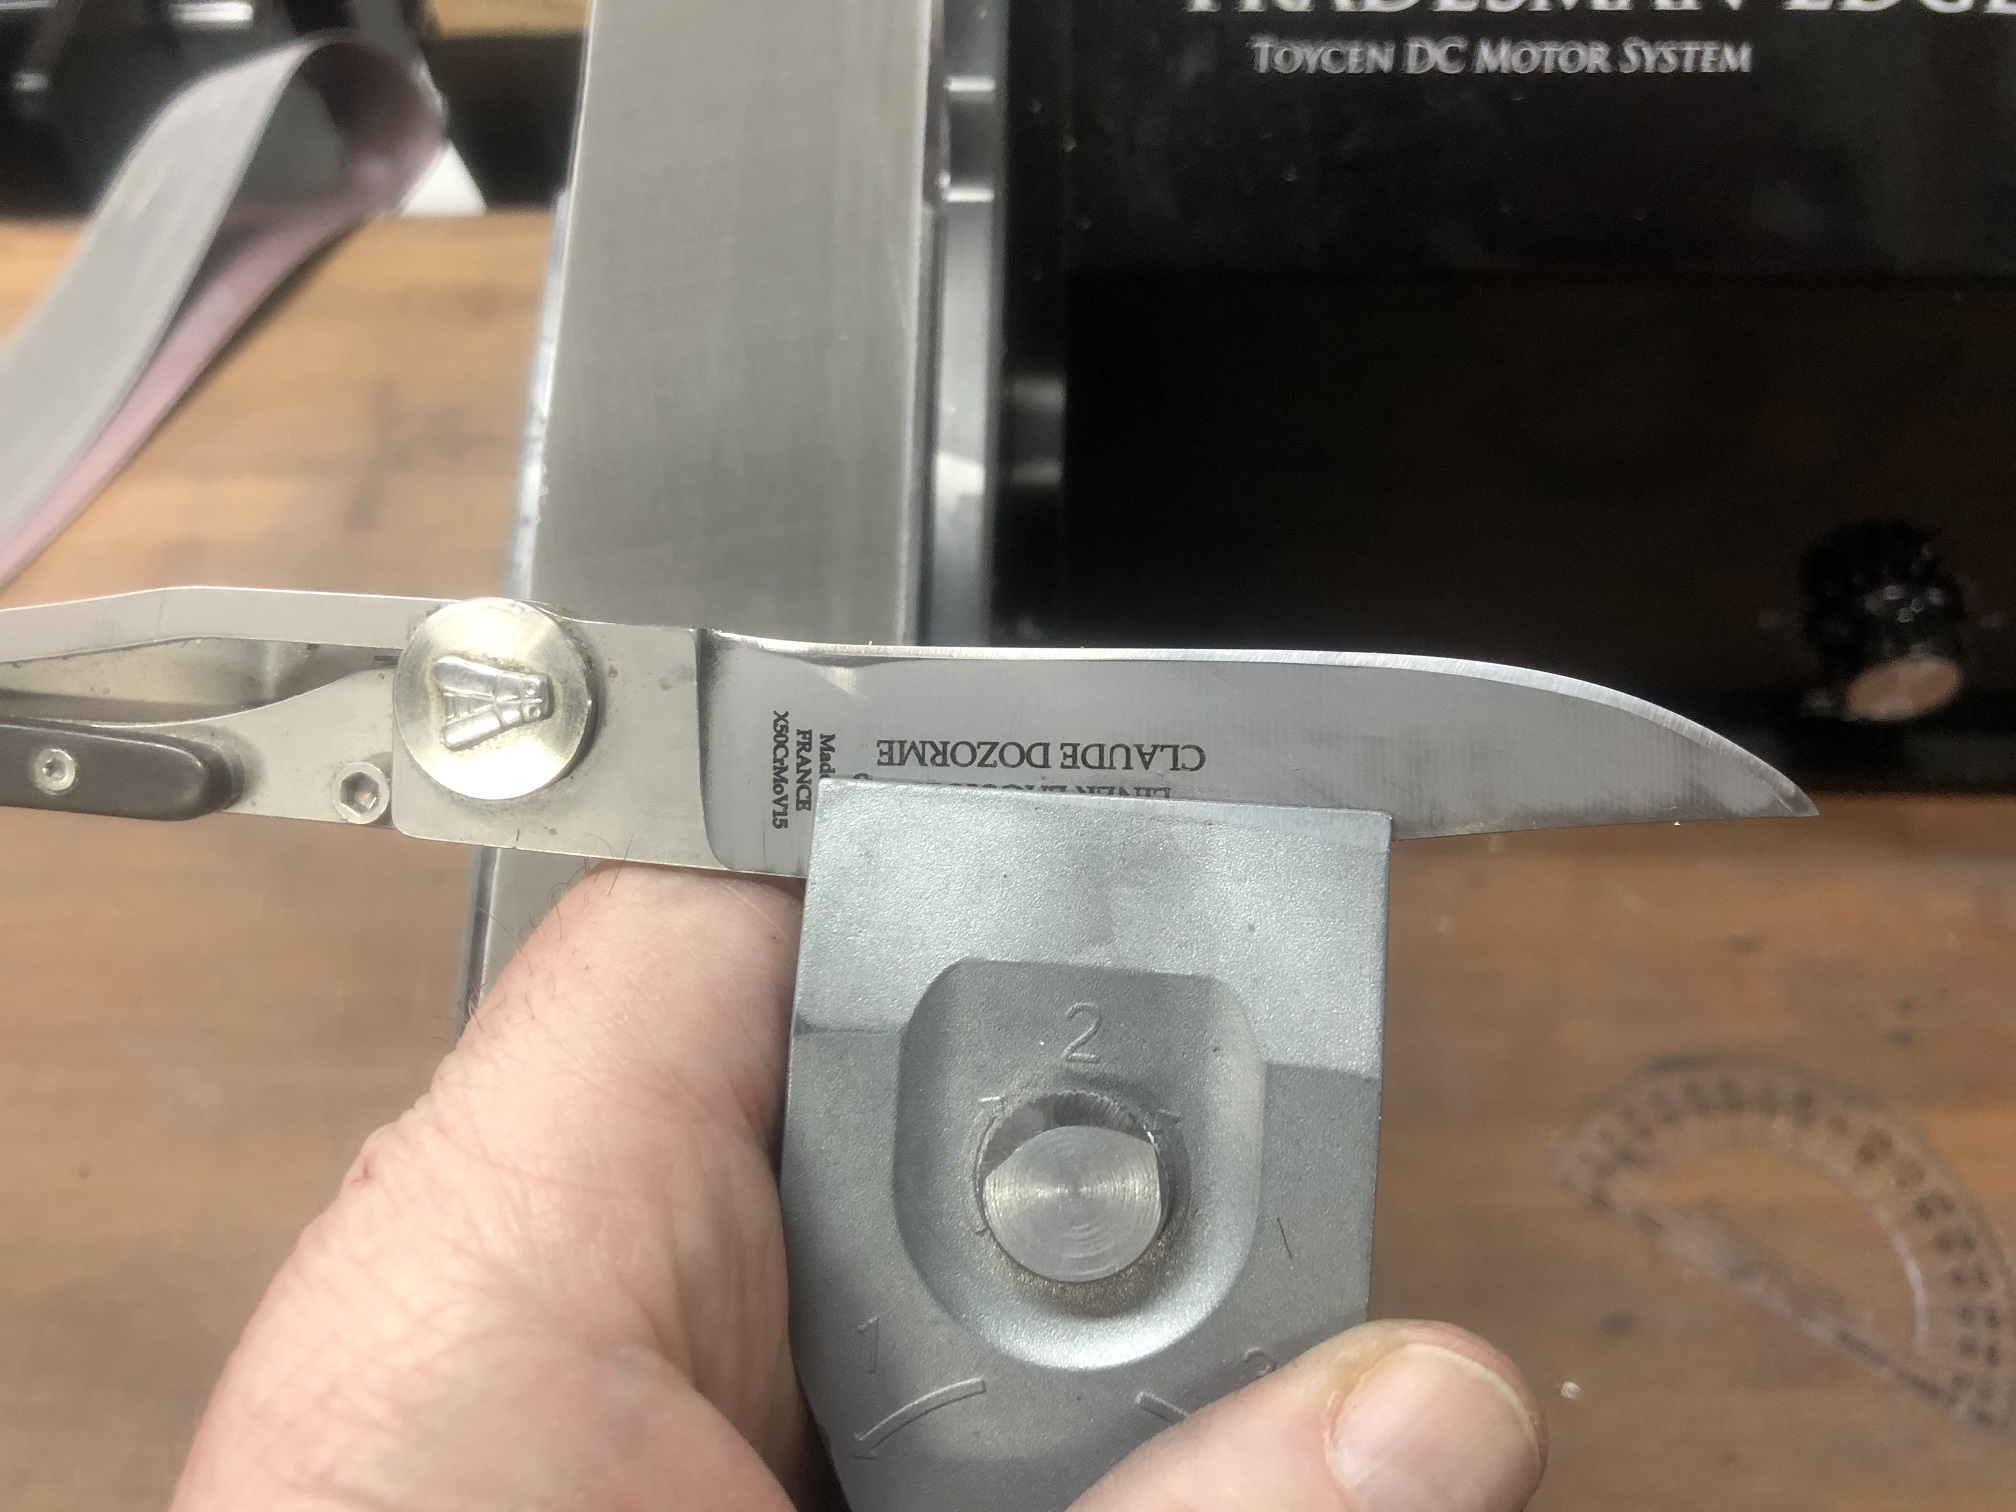
1) Is there a way to adjust the belt tracking? I am finding that the right side belt is running off centre. In general I would run the belt on centre 95% of the time, but there would be 5% of the time where I would actually run the belt off the platen in order to soften a plunge line near a knife bolster (green box in photo). I tried to loosen and retighten the drive wheel but it didn’t help. I haven’t put an indicator on it but it seems true to me.
2) I am not sure the black support arm for the single side Tormek jig was included. I looked through the boxes twice but I can’t seem to find it. I will have one more look in the morning.
3) Could you please outline the installation and use of the dual-ended tormek jig? What about the holder in red? Or do I remove the machine screws on either end to use it in between both arms when horizontal?
4) How do I use and install the mitre jig?
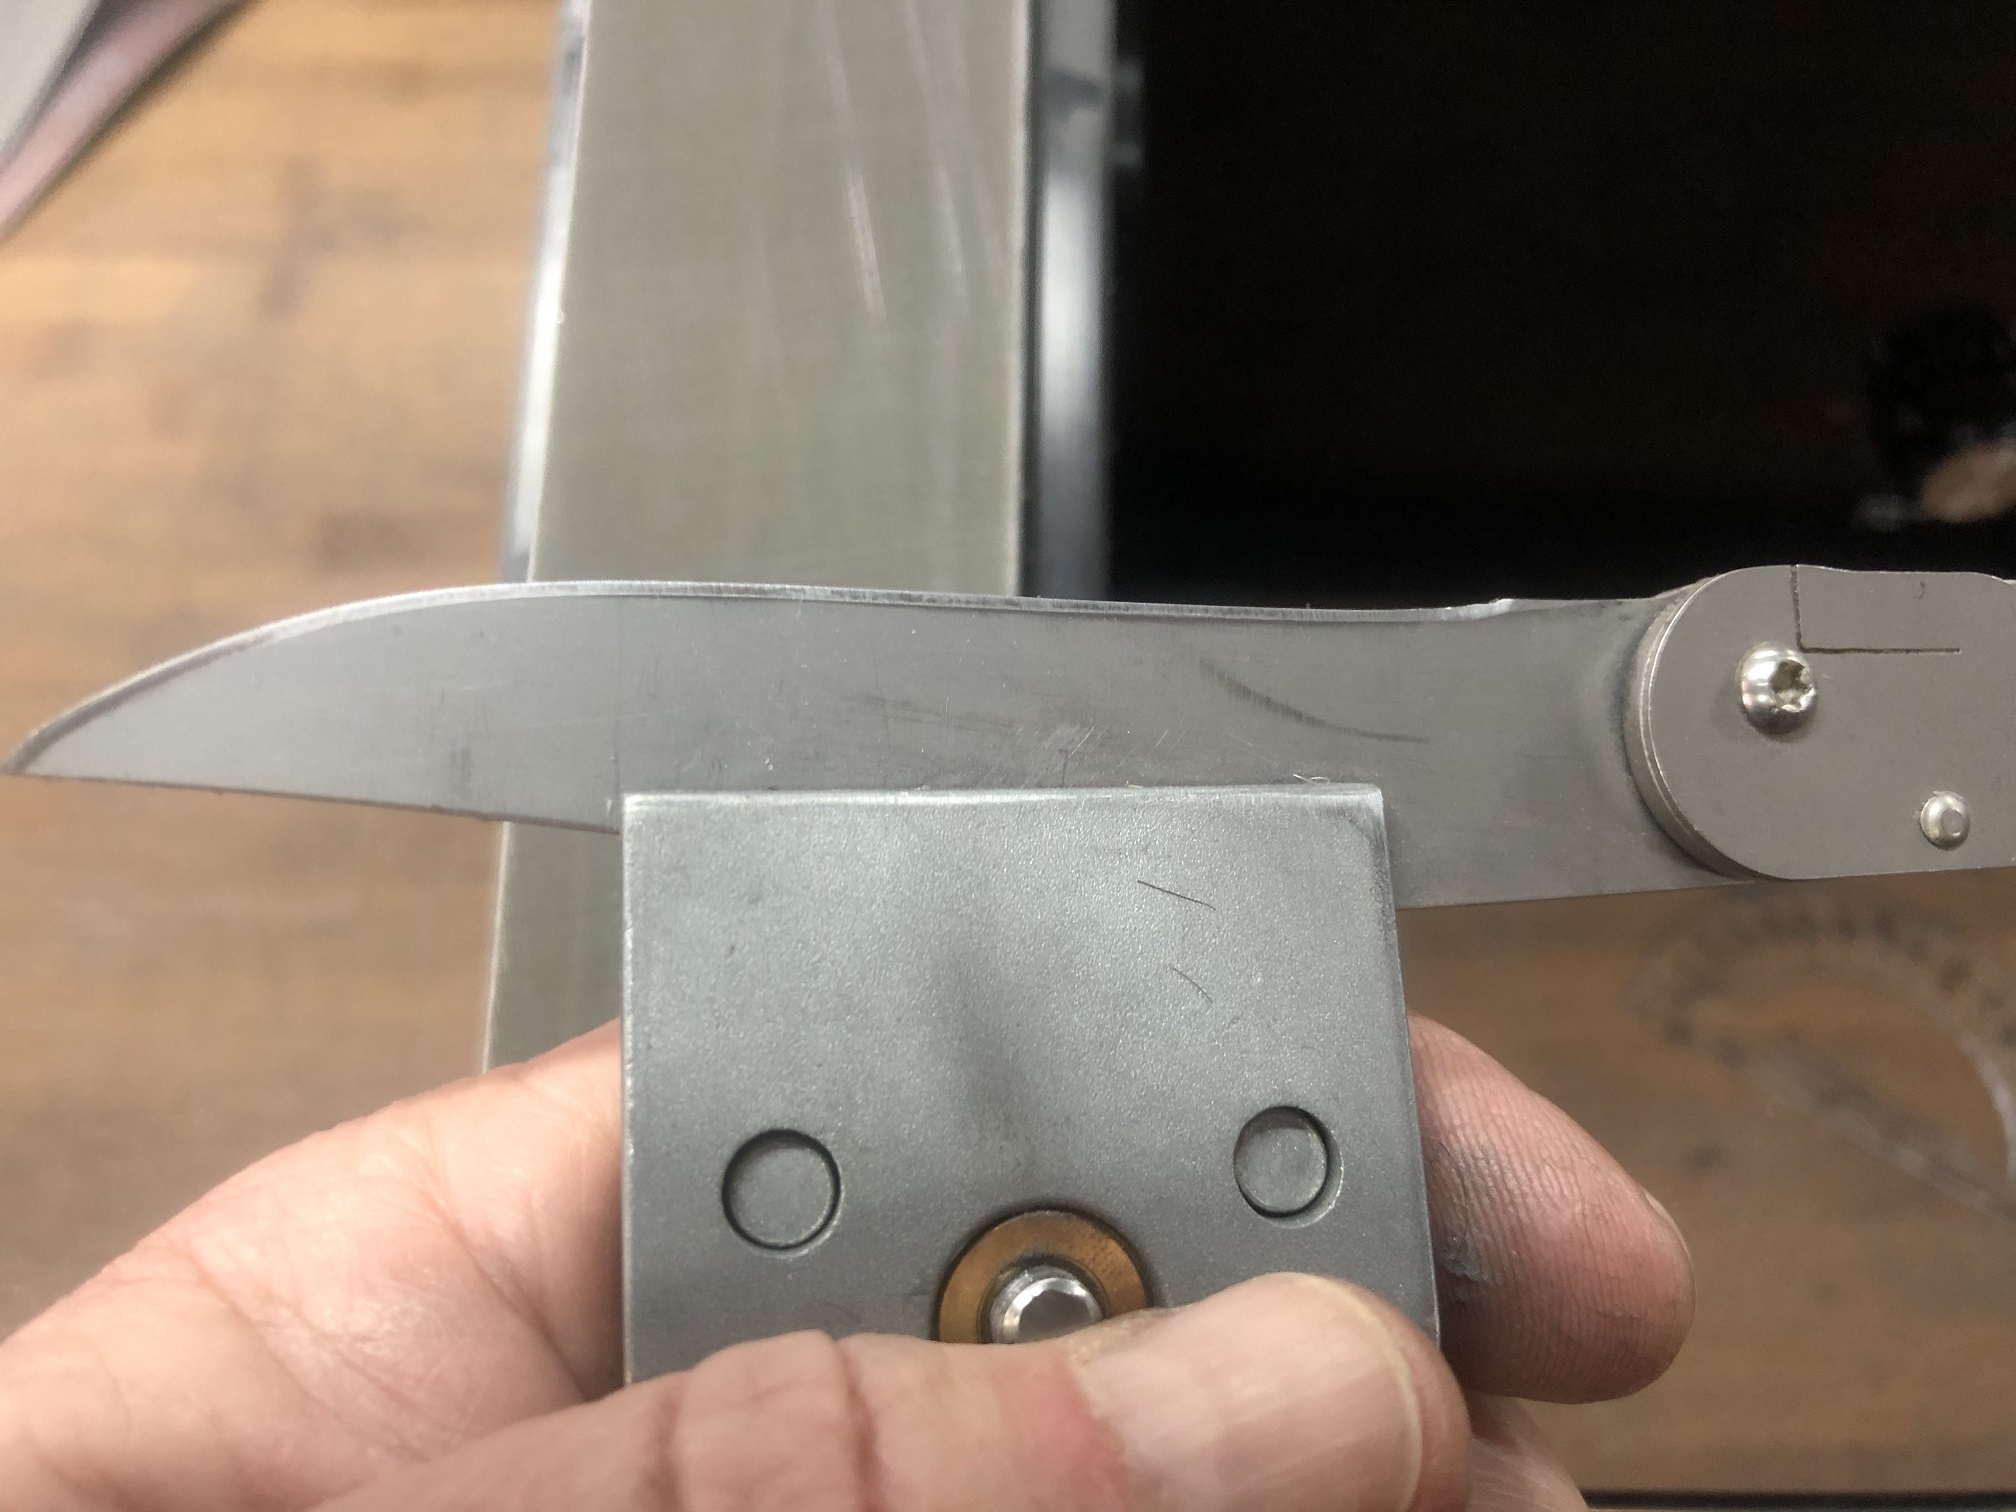
5) The steel piece (Aluminum) on the end of each arm. A safety guard addition? If I wanted to remove it, take off the belt tensioning knob and then unscrew? Right side guard is a little loose. Tighten using same procedure?
6) The plattens can be reversed and run on either side, correct? The tape that is on there is not meant to be removed either, right?
7) Can you outline exactly what you are doing in your video to deburr? Are you using the foam-backed platten? Just applying a little more pressure, edge trailing so the burr sinks into the foam and gets knocked off by the cupping of the belt?
8) Lastly, the bracket on the body of the machine in red. What is this for and what is the adjustment screw for? Any benefit to using the mitre adjustment screw vs the hex screw aside from being able to turn a knob vs use a hex key?
In picture number one that is a regular tormek bracket I was experimanting with fixturing locations, as you can also. The Edge workstation has mounting holes at strategic locations to facilitate a wide selection of wheel / belt approaches.

Science of Sharpening stuff really good
Home
A Comparison of Several Manufactured Blades
Grit, Scratches and Sub-Surface Damage – Part 1
What Does Steeling Do? (part 1)
What Does Steeling Do? (part 2): The Card Scraper
Abrasive Particles Under the SEM
Optical vs Electron Microscopy
Diamond Plate break-in – part 1
Diamond Plate break-in – part 2
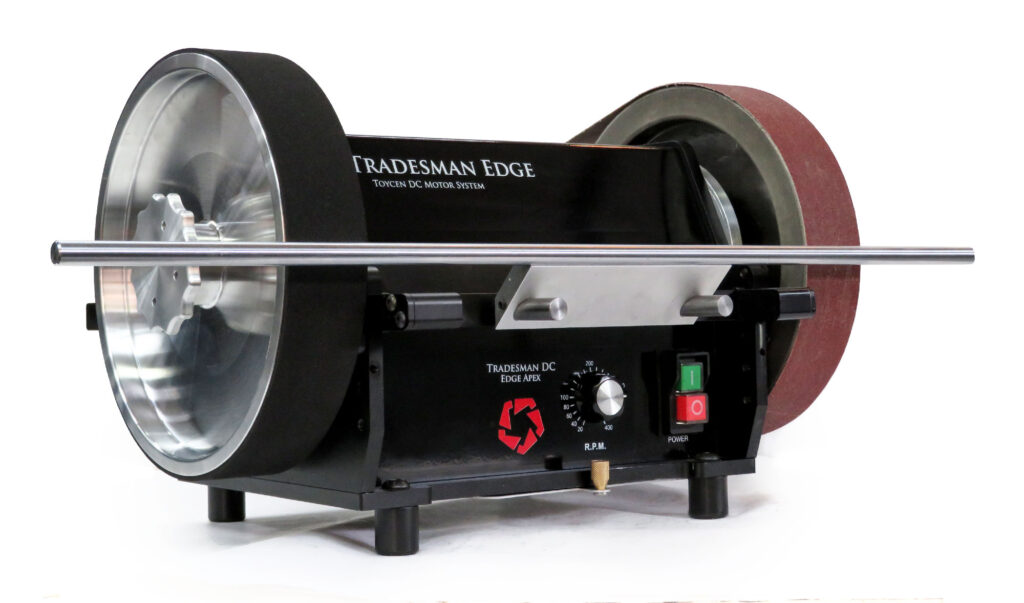
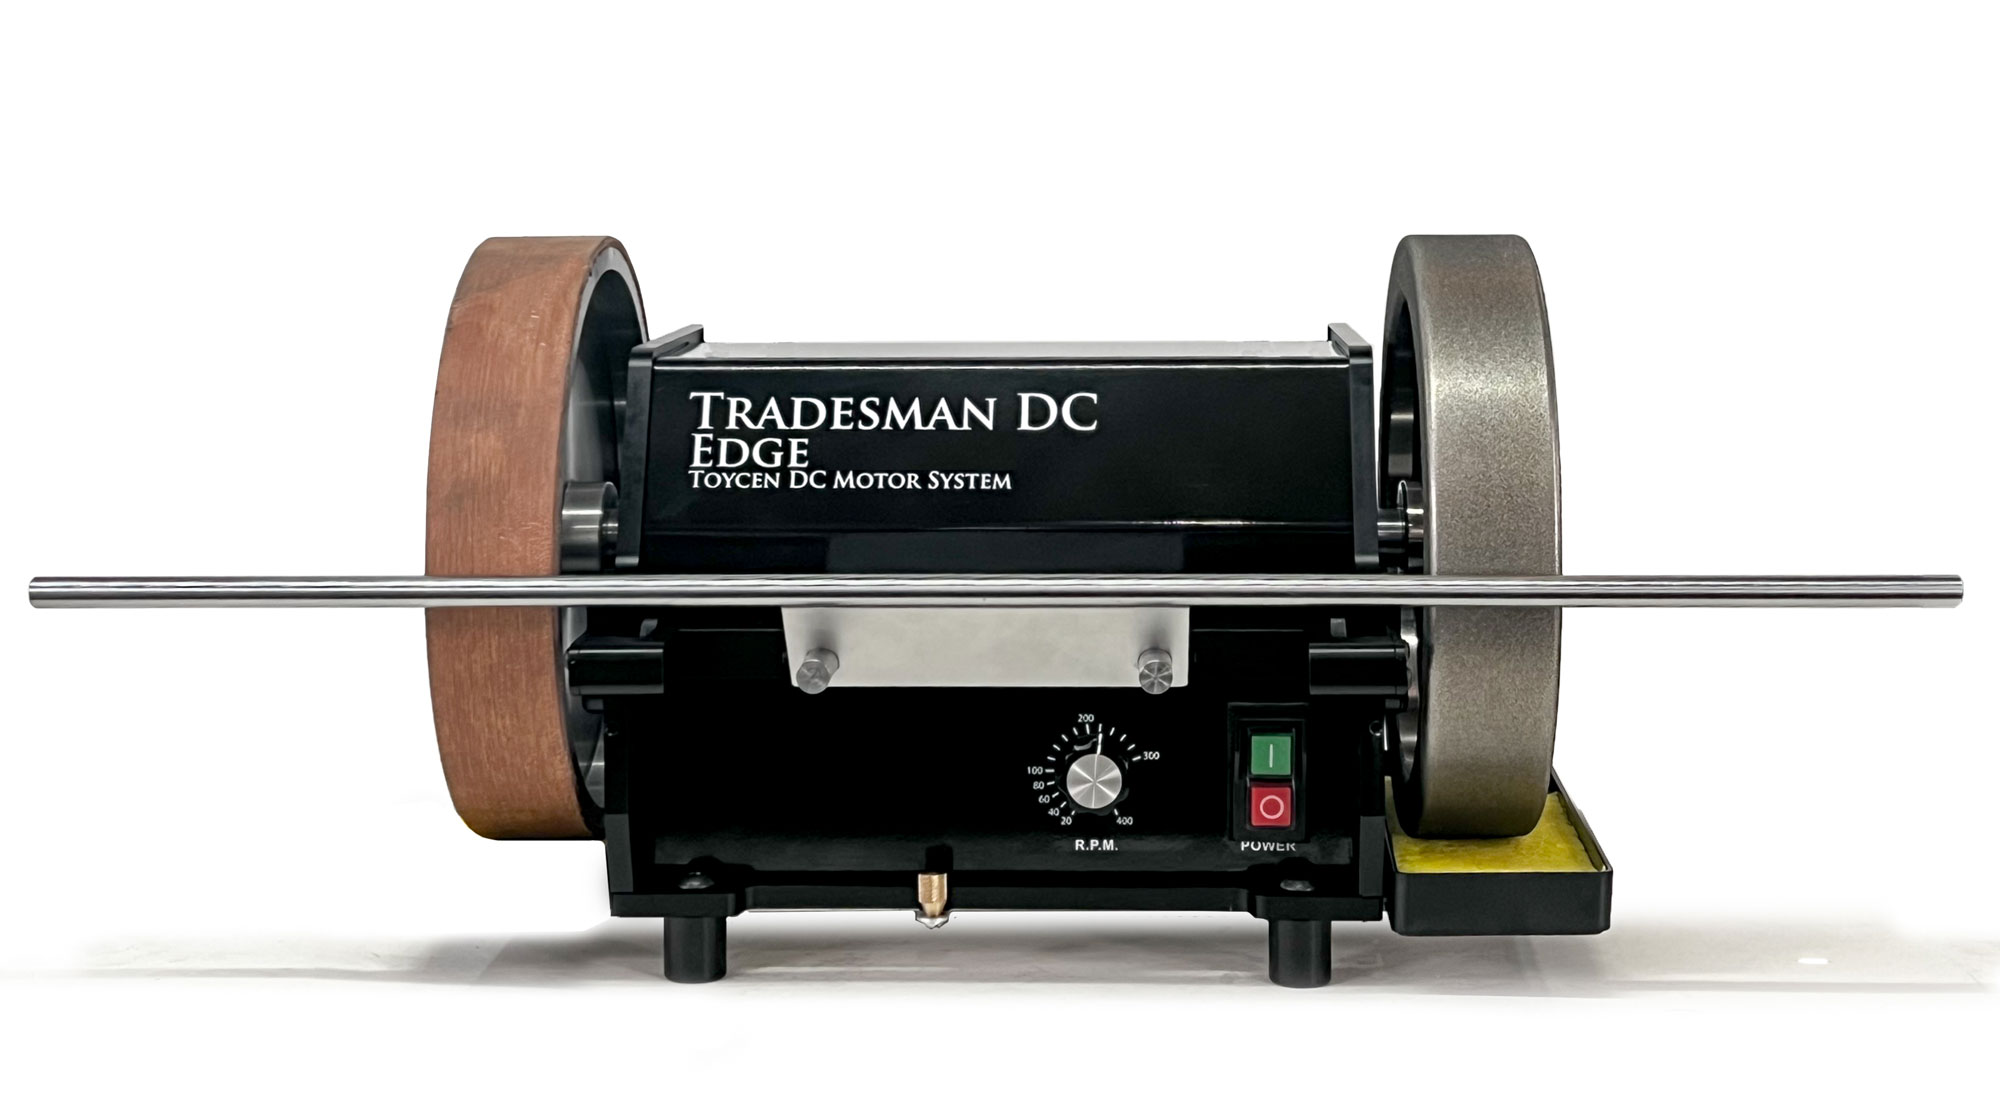
Tradesman DC Edge12 Mount your Tormek wheels (or our 3M Trizact belts) on a variable speed reversing machine


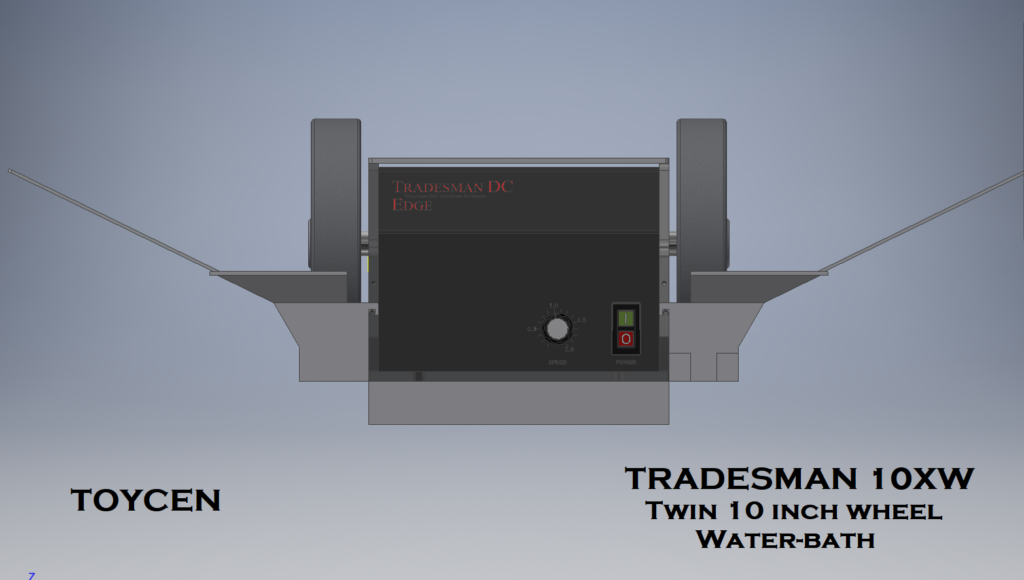
Tradesman Edge12 whisper drive for sharpeners wet or dry Mounts all tormek Attachments
The Tradesman Edge 12 is our Edge with 12mm shafts designed to Mount Tormek 50 x 200 (2x 10 Inch) Wheels
A variable-speed reversing workstation for all of your Tormek attachments
This machine can also mount our Belt system
I really like the work that Tormek has done and what Knifegrinders is doing on their machines, so we wanted to do our part for the sharpening
community
Best of all worlds
Jeff Toycen
Tradesman Partners with 3m for 2 x 48 belts

As of July 2020 All Edges with ship with 3M s37AA Belts
We recommend 3m Cubitron belts if there is a lot of blade fabricating or heavy material removal.
We Stock 100,A45,A30,A16A6
These belts can also be purchased at www.supergrit.com


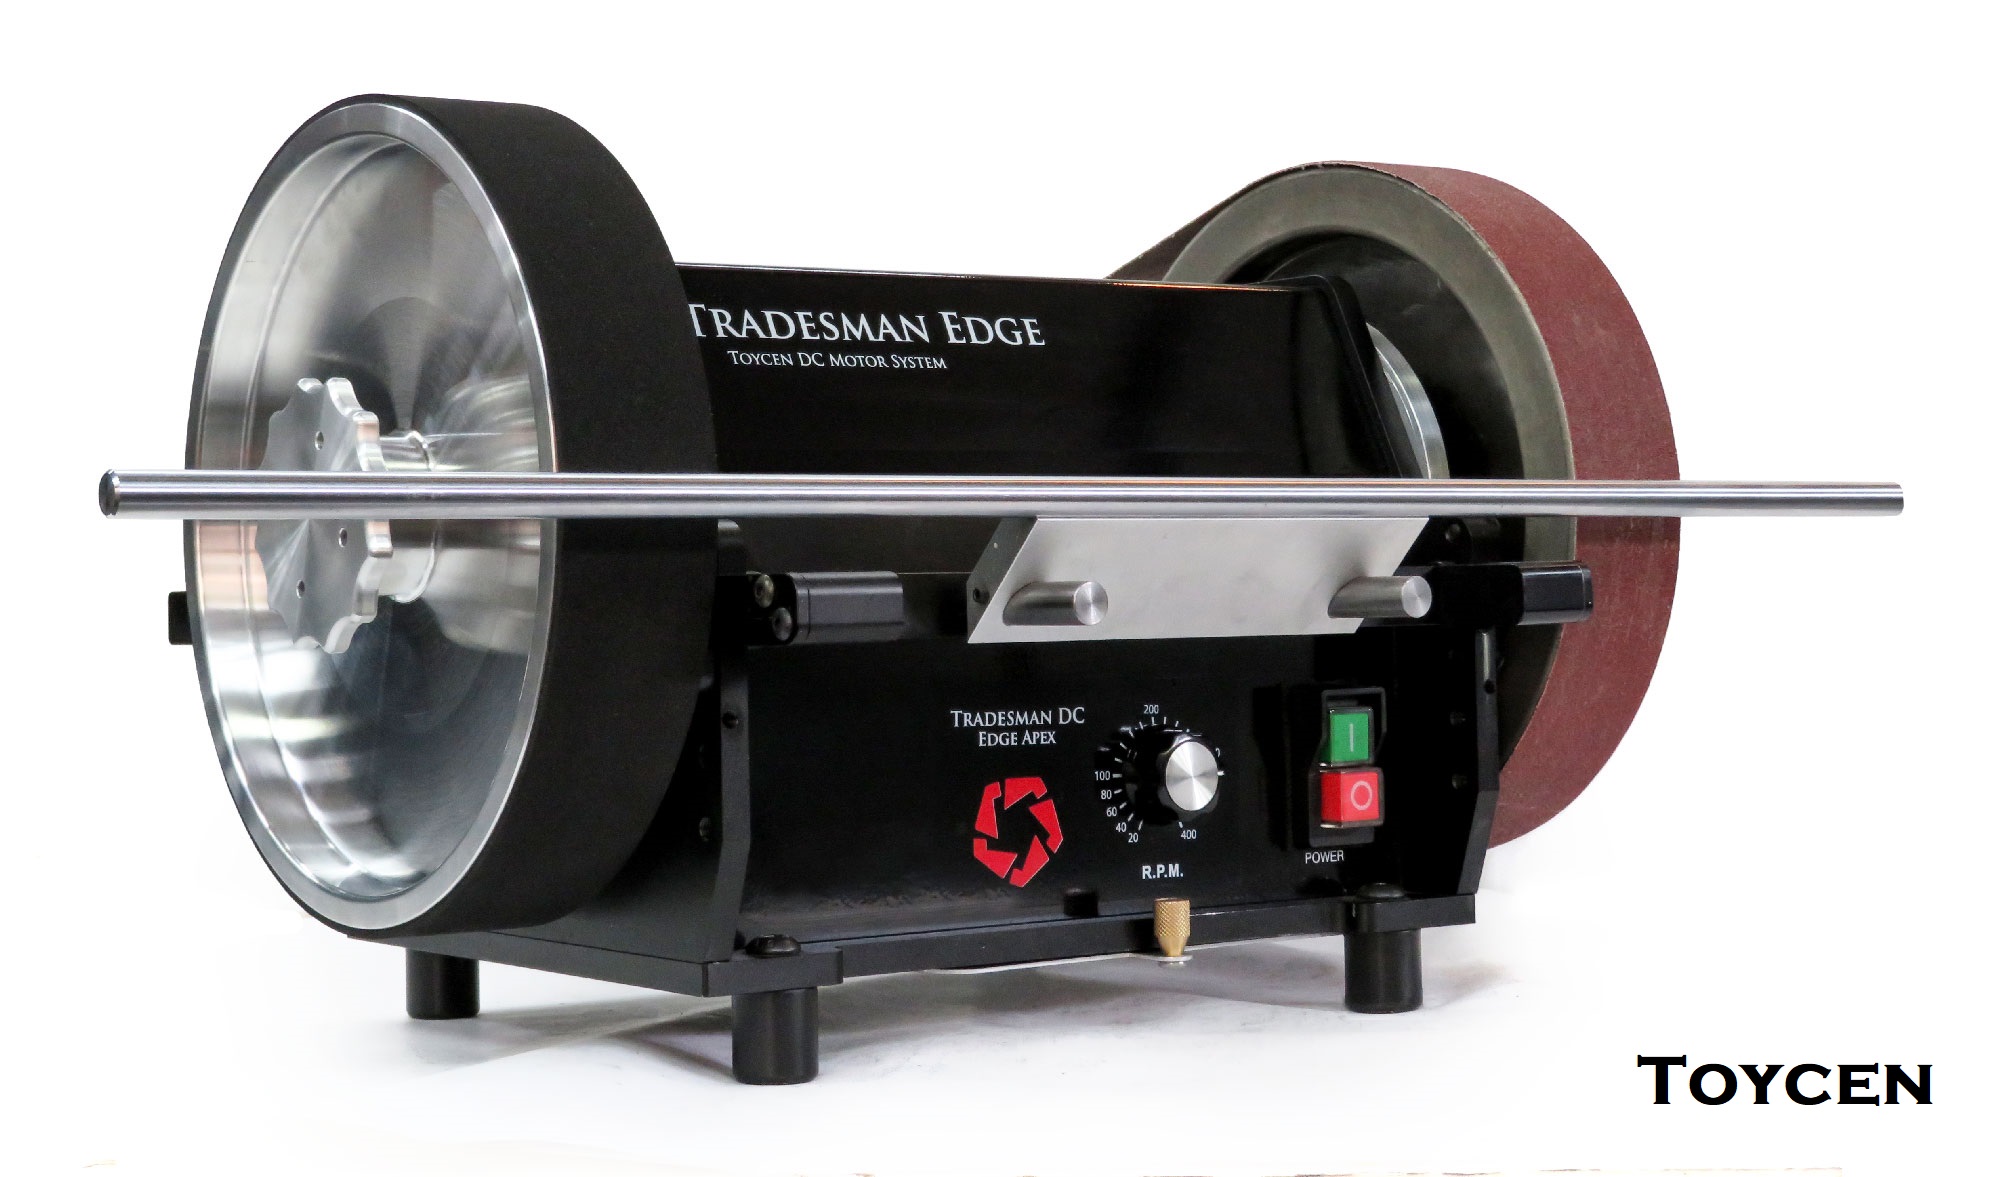
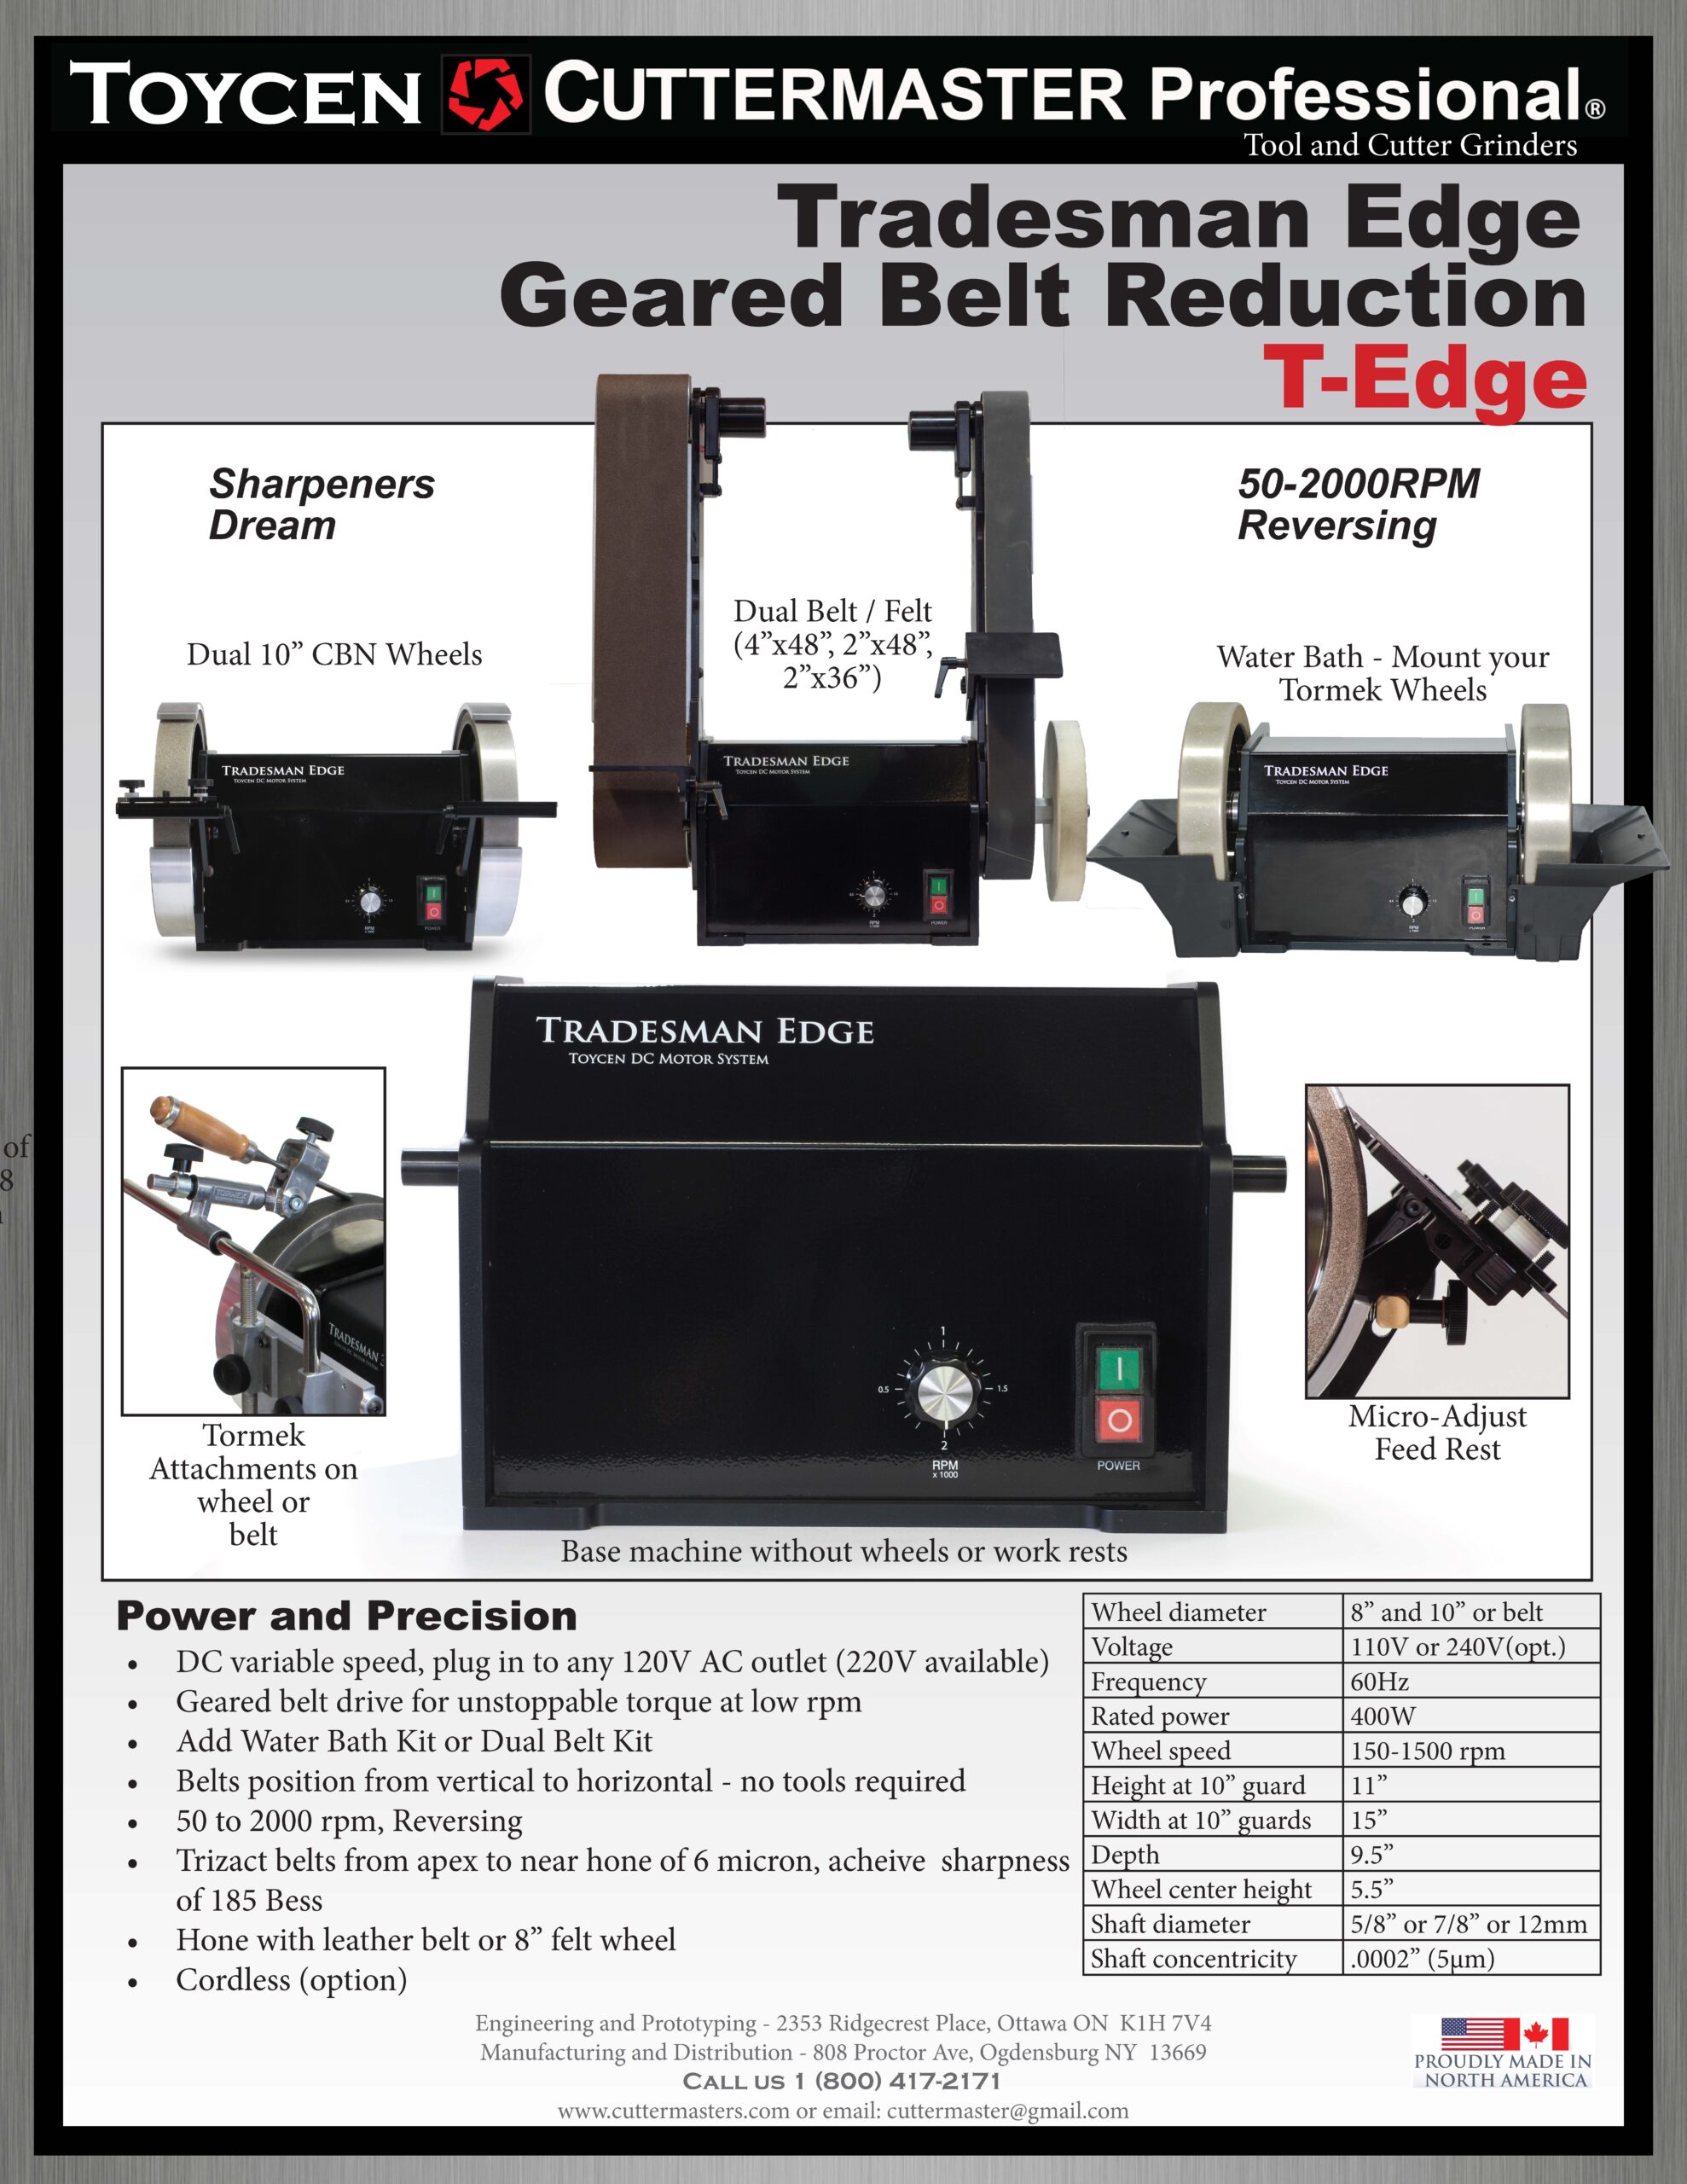
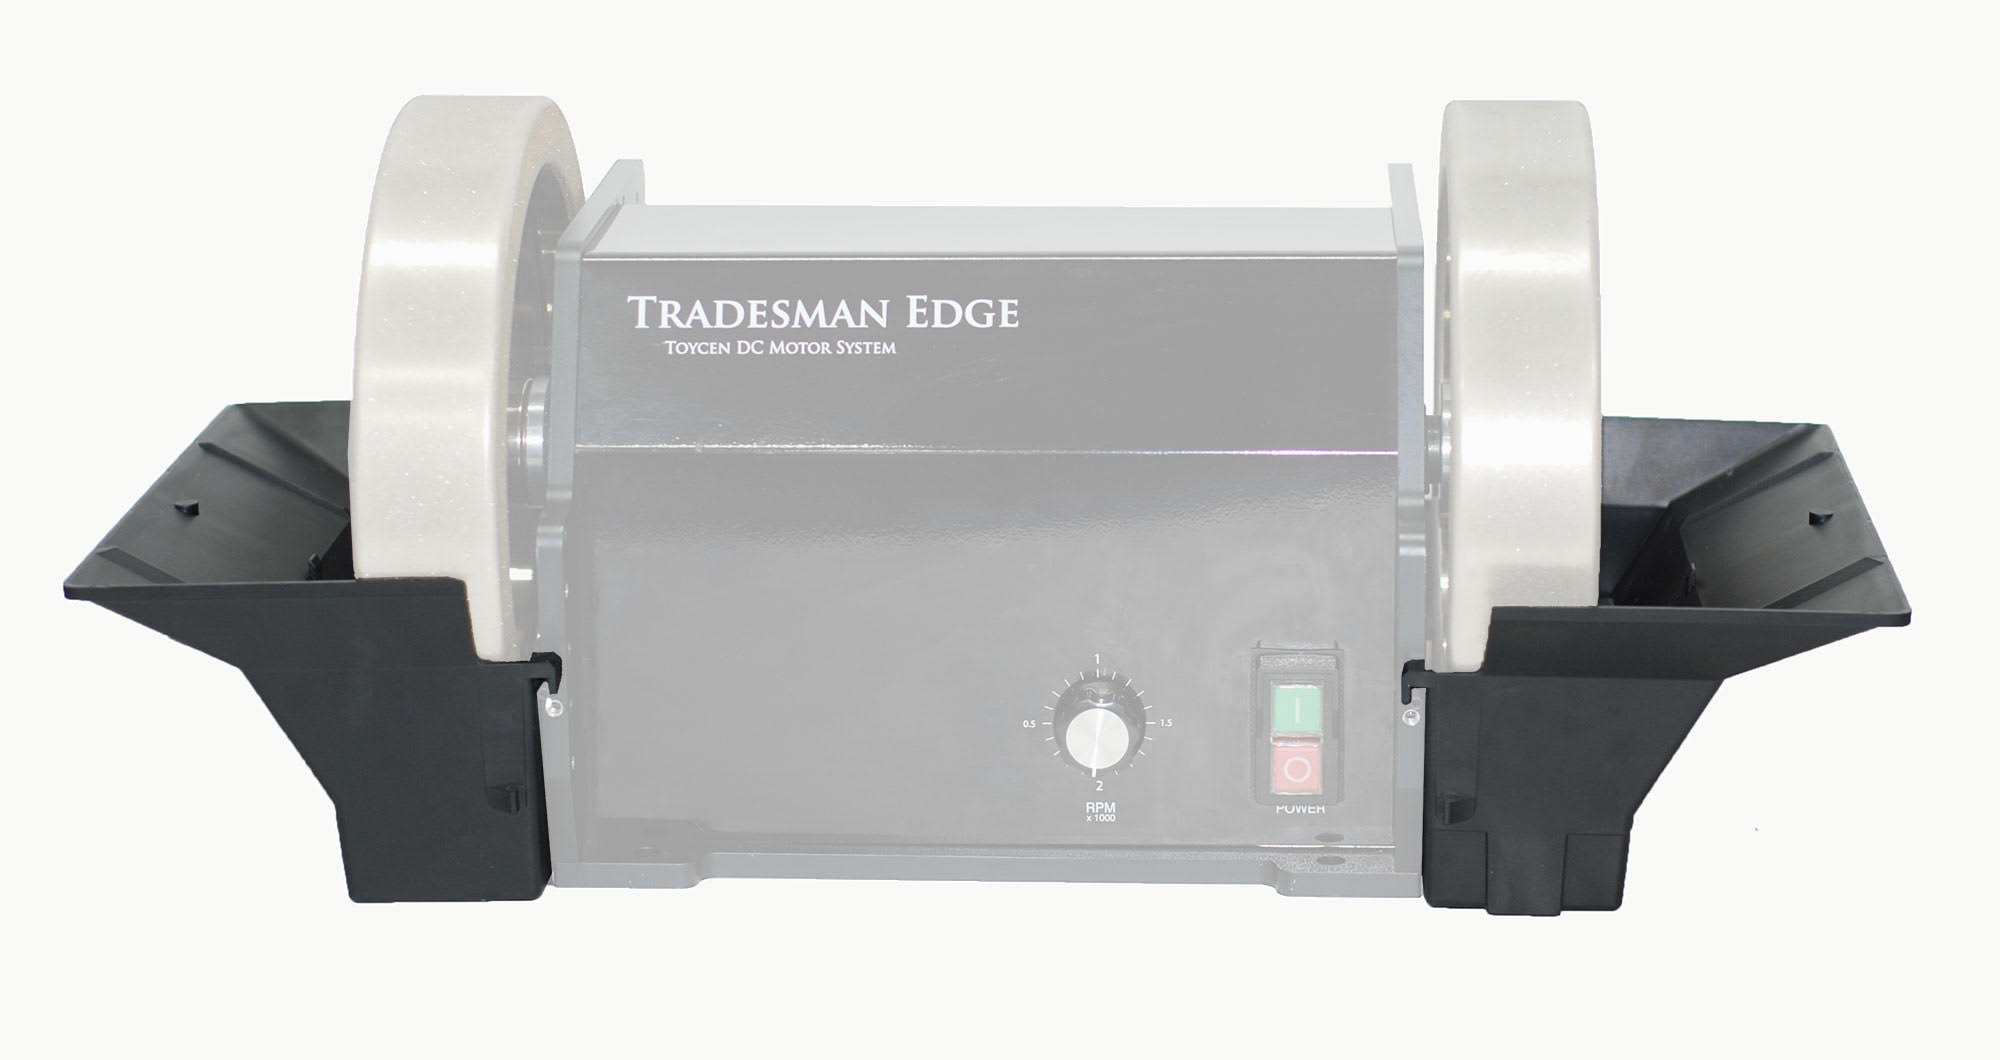
Tradesman Edge 25 to 2000 rpm Reversing Belt sander for Sharpeners and Knife makers


This Machine is a knife sharpeners dream
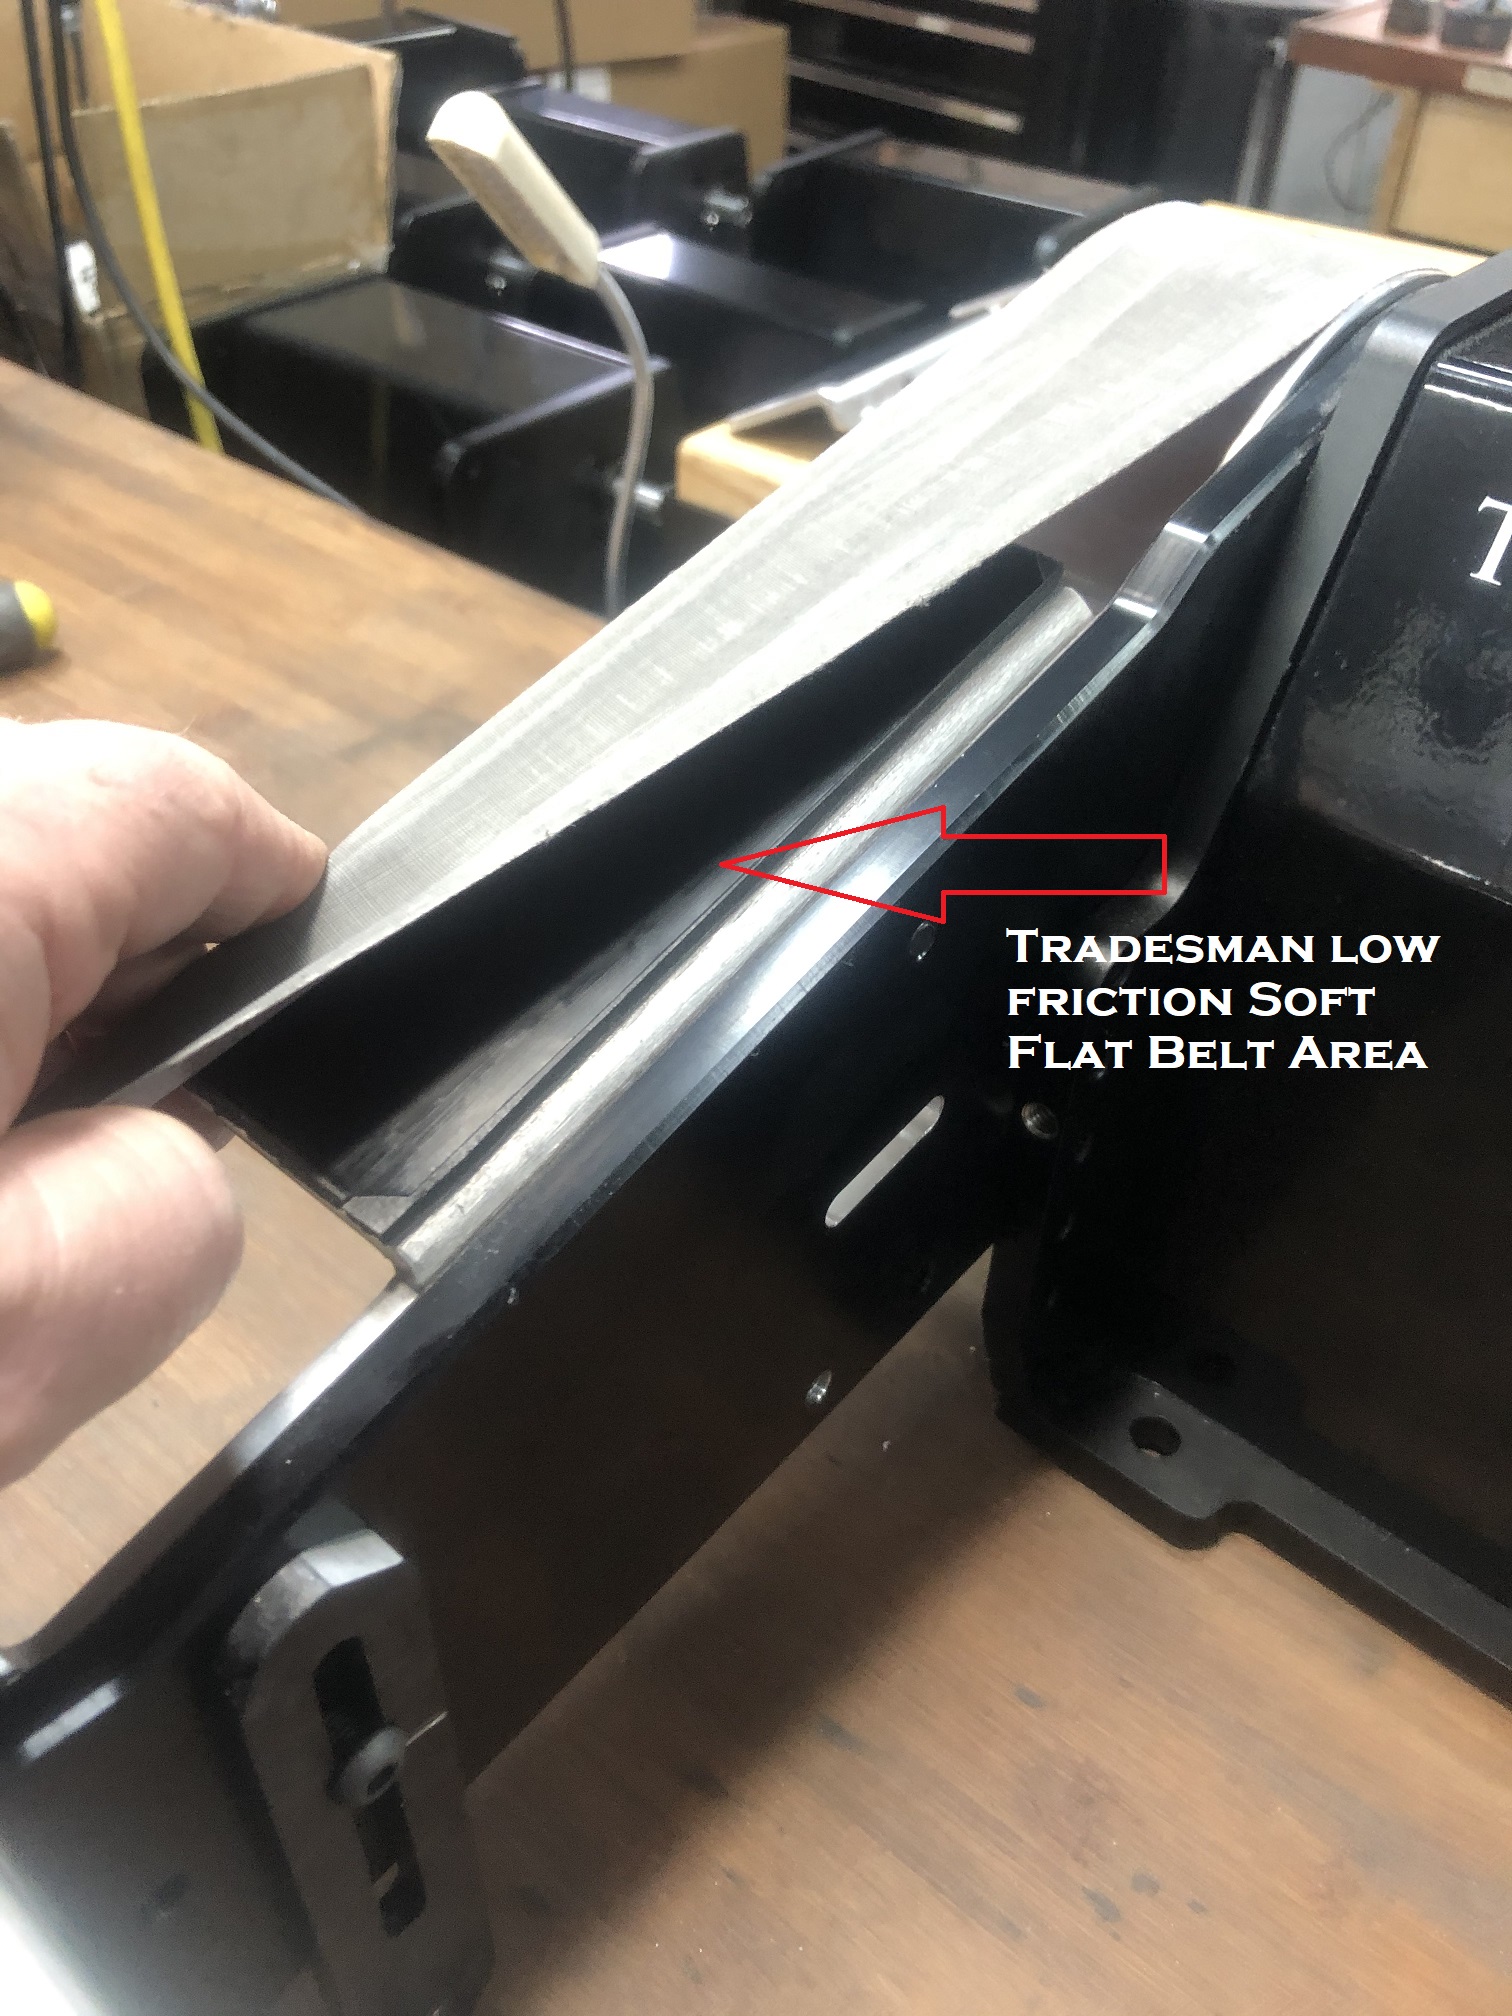
Machined square and flat platens with Foam backed Teflon surfaces Make edge restoration a dream
no more trying to match angles
A well braced supple flat belt area produces a far more accurate edge