
EDGE APEX 2024
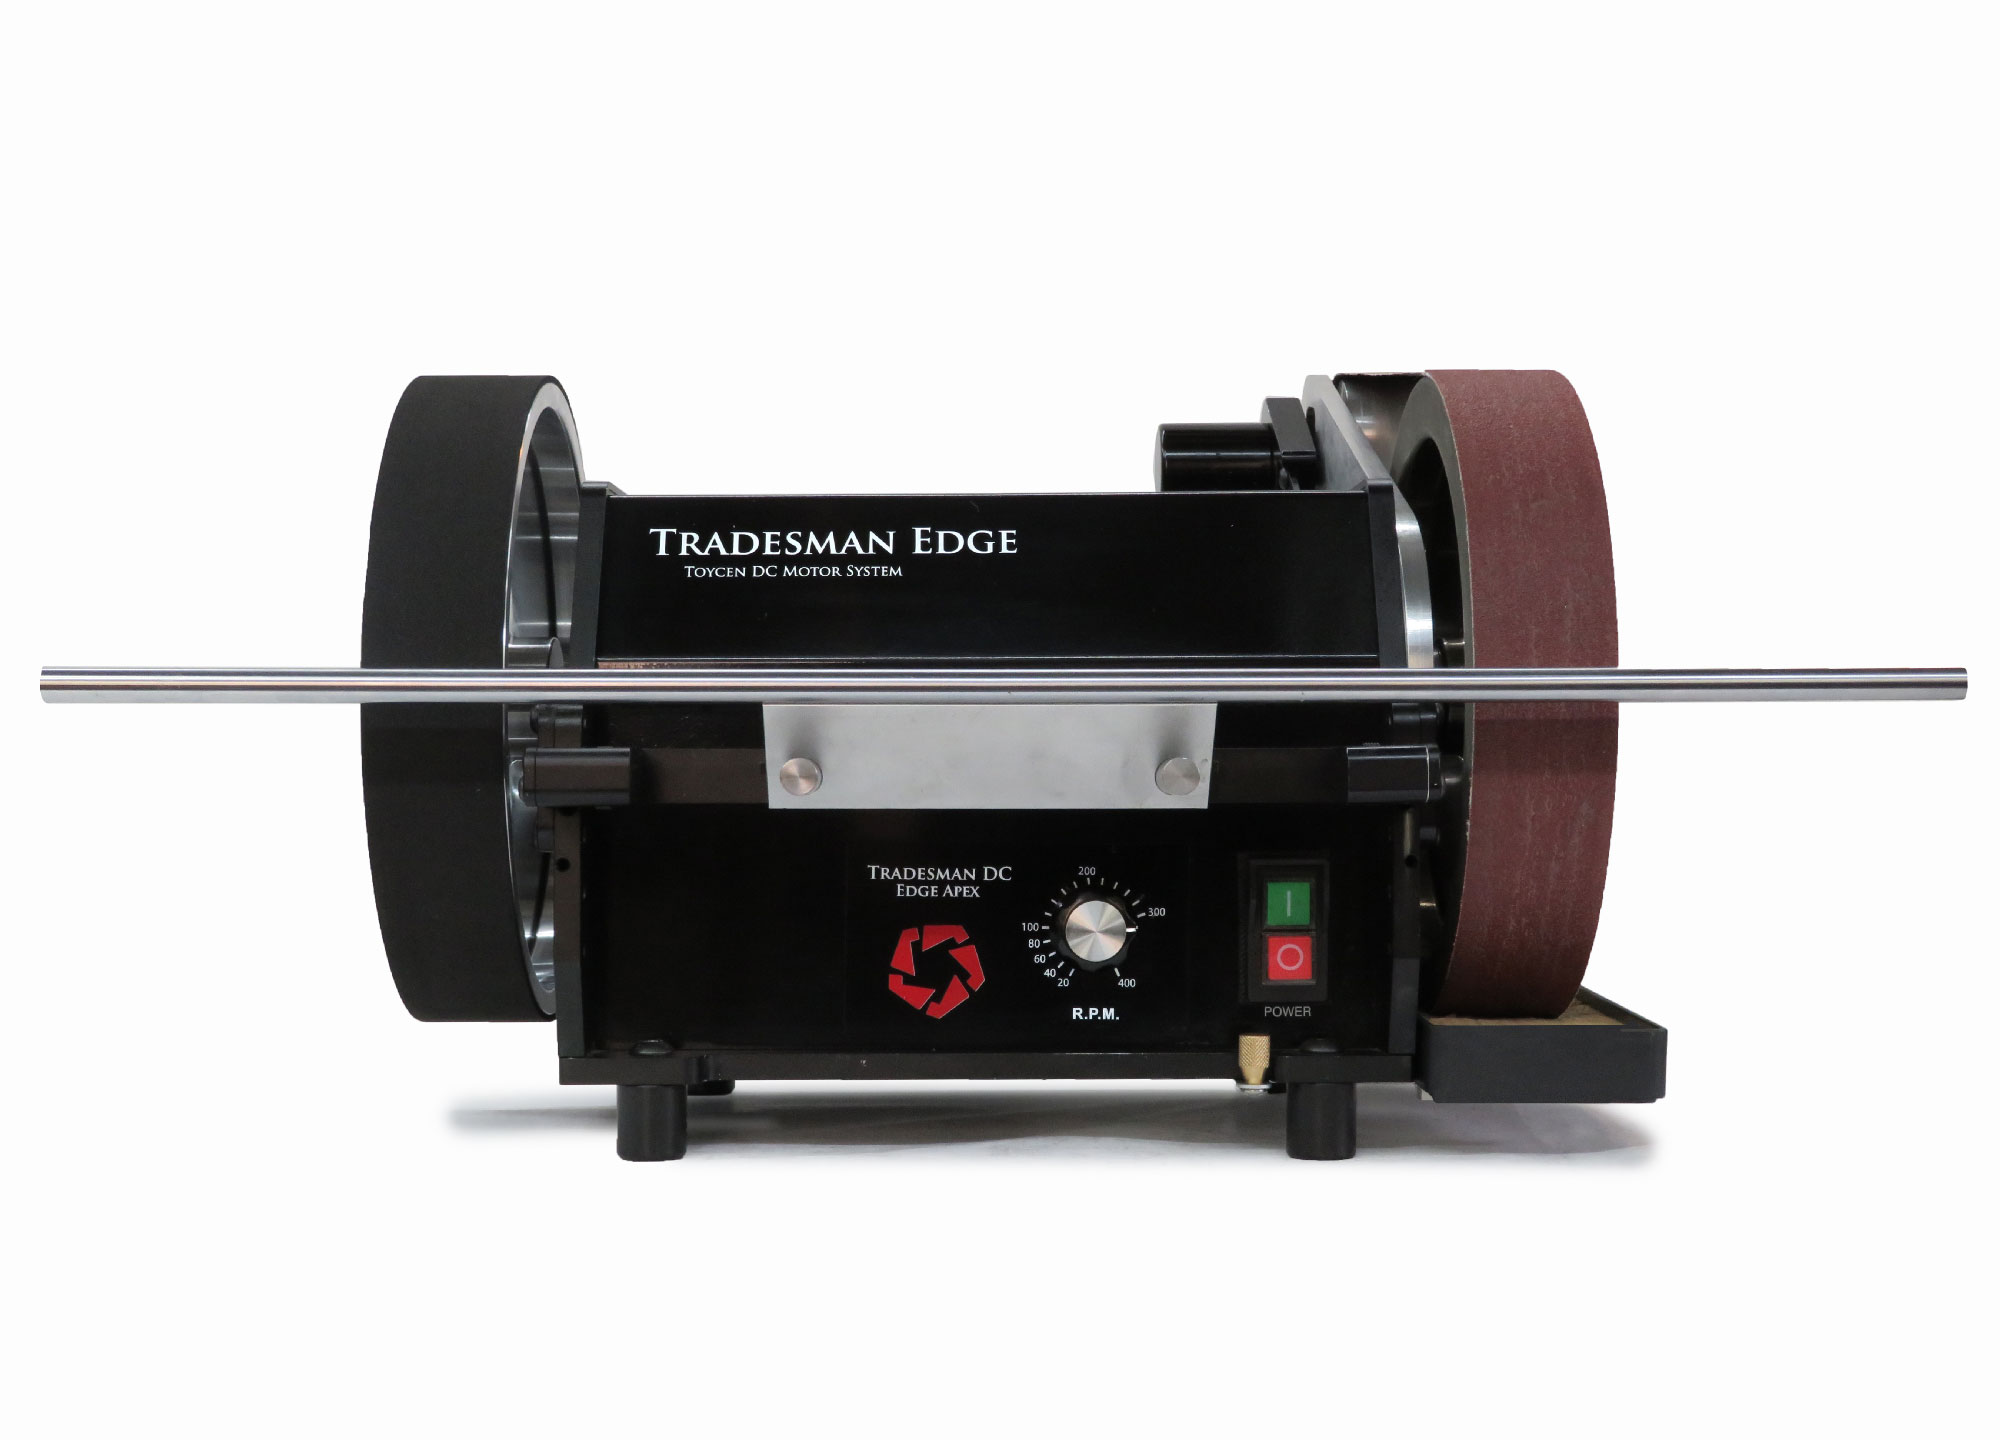
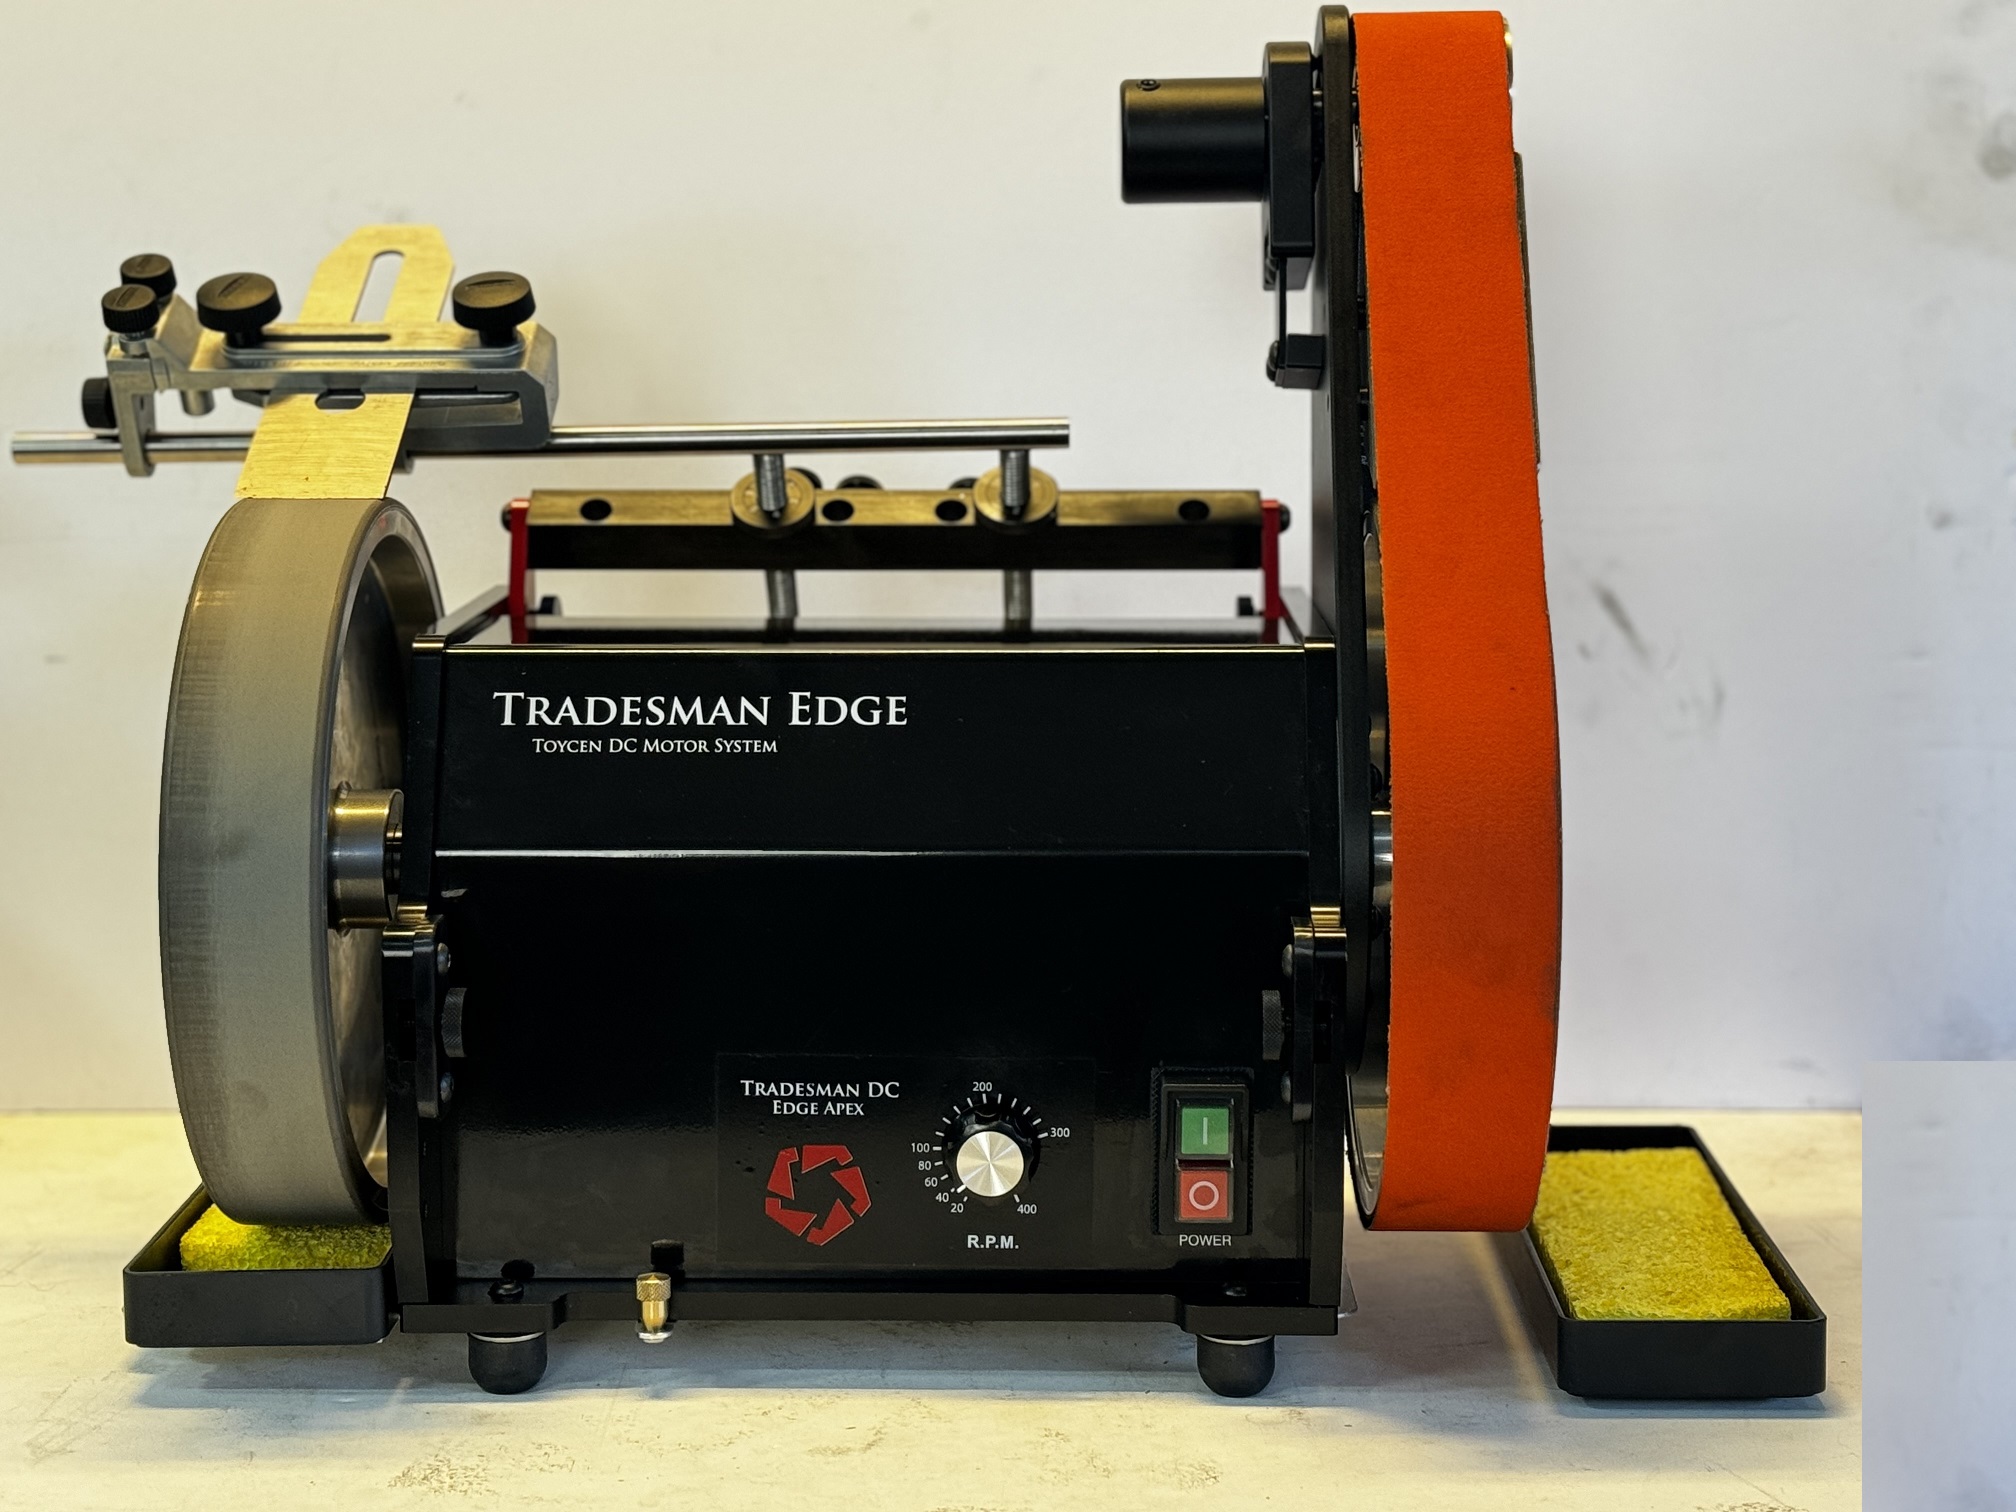

Edge Apex Production Release May 2024
Accurate Easy fast and reliable (wont get damaged in shipping)
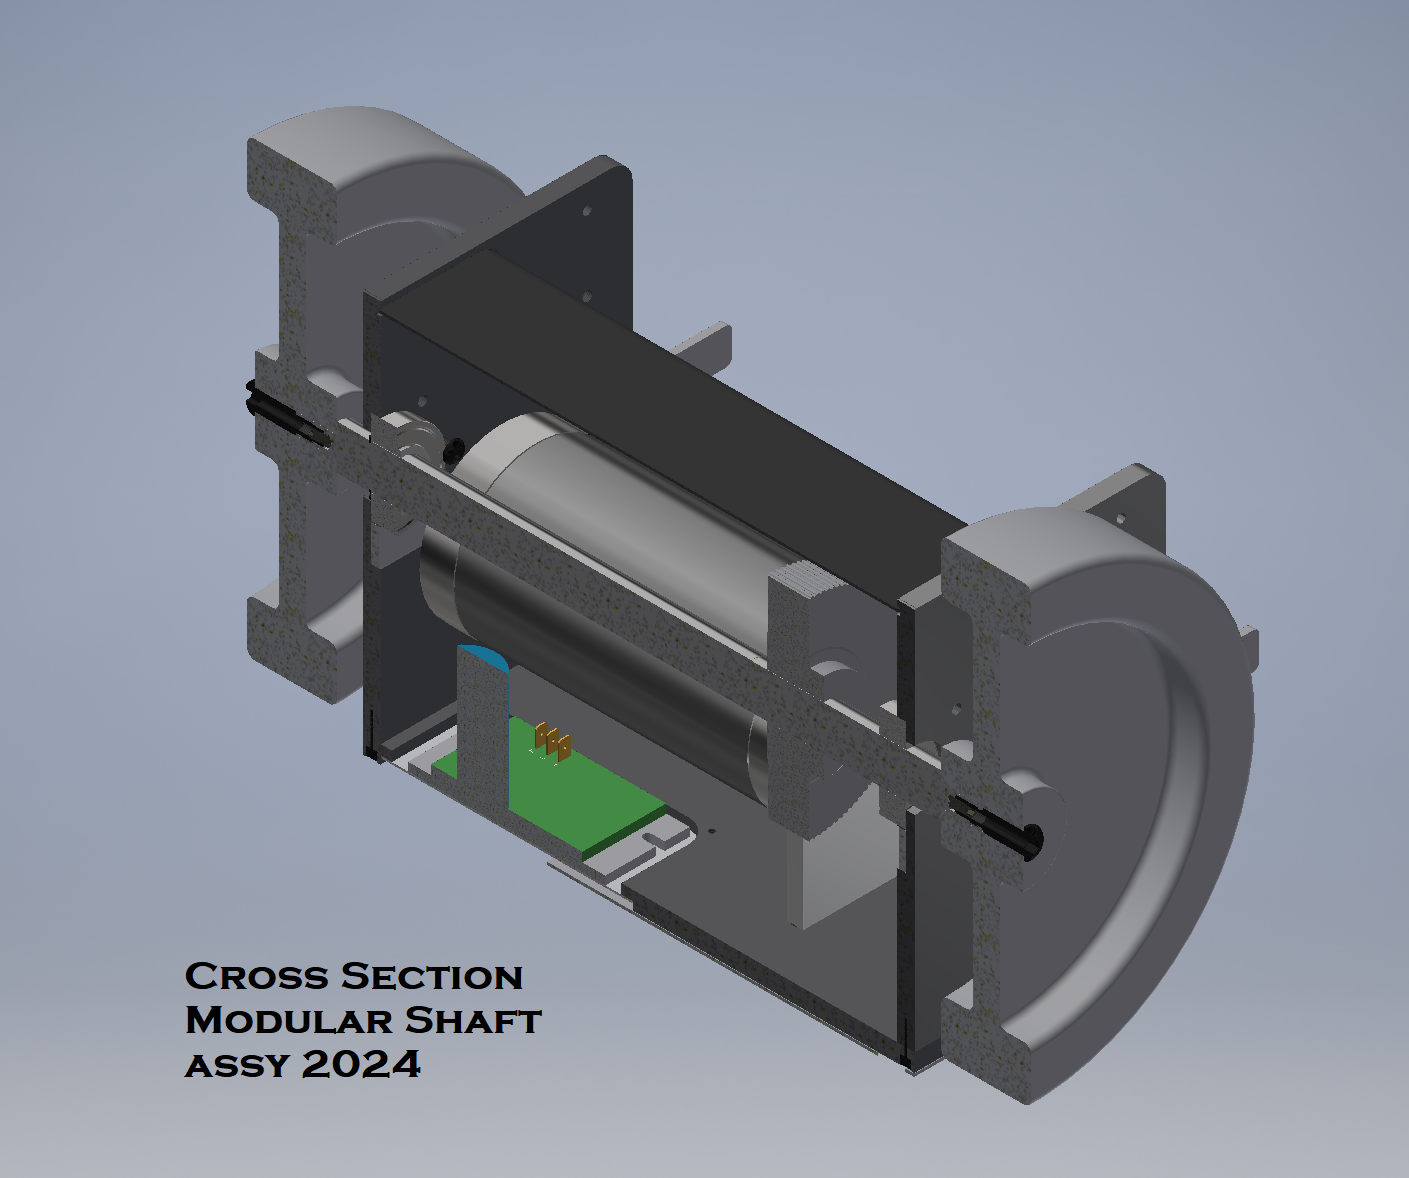
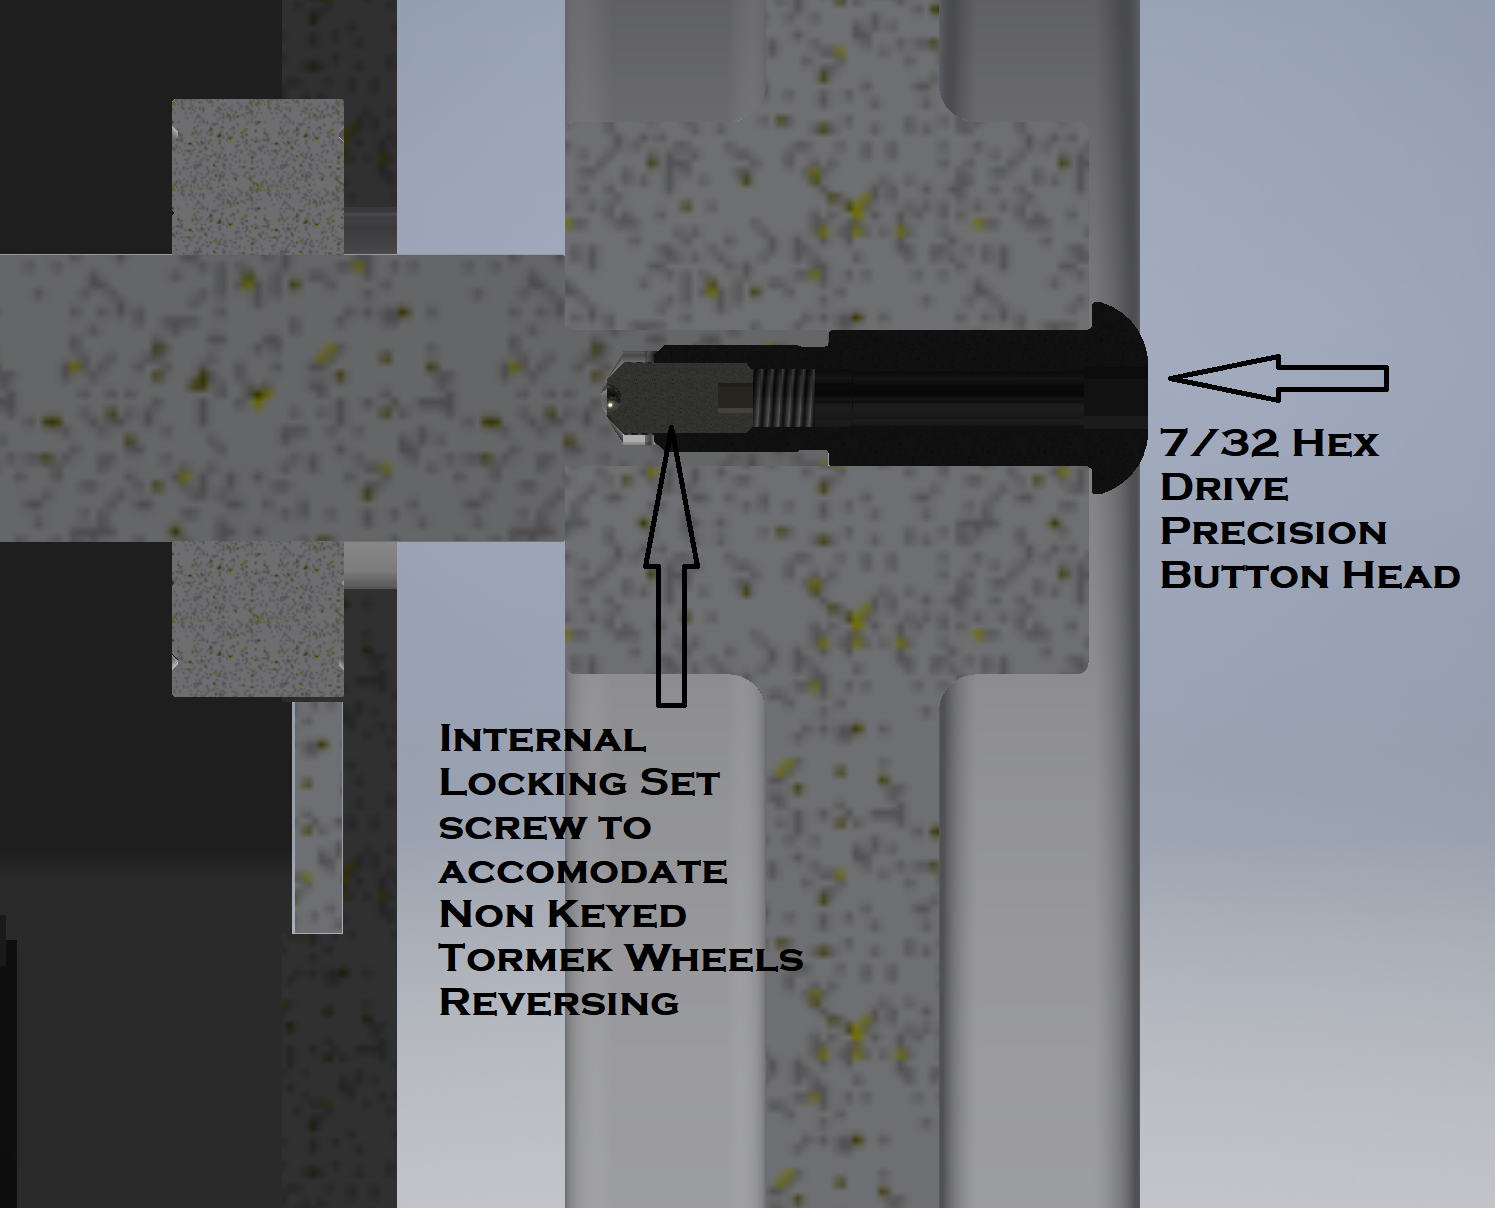
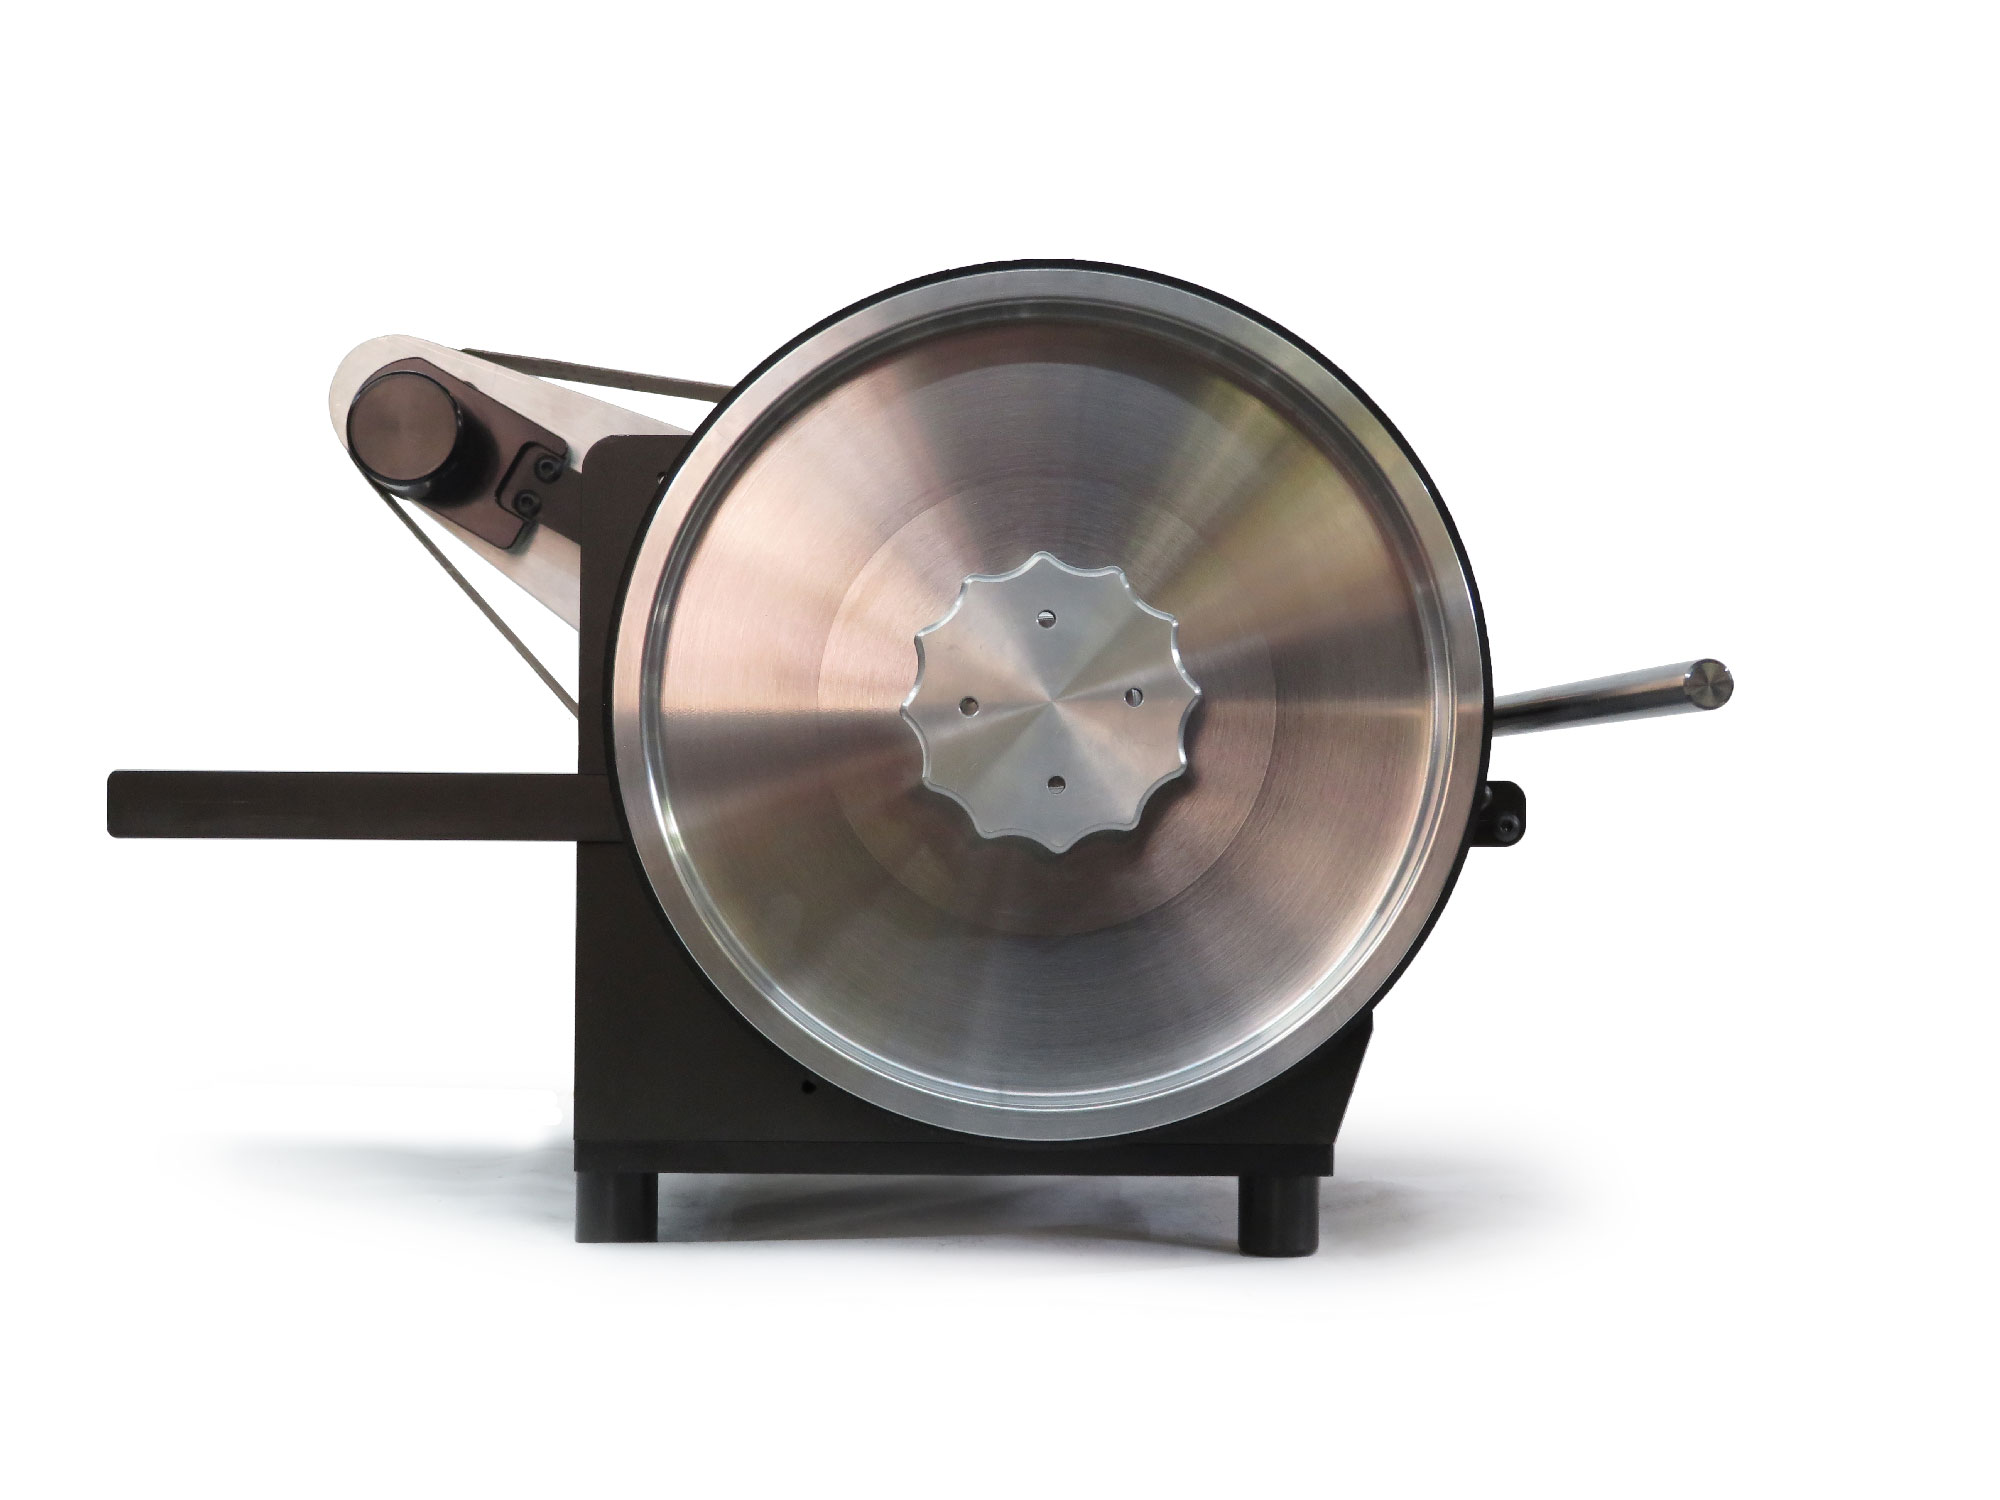
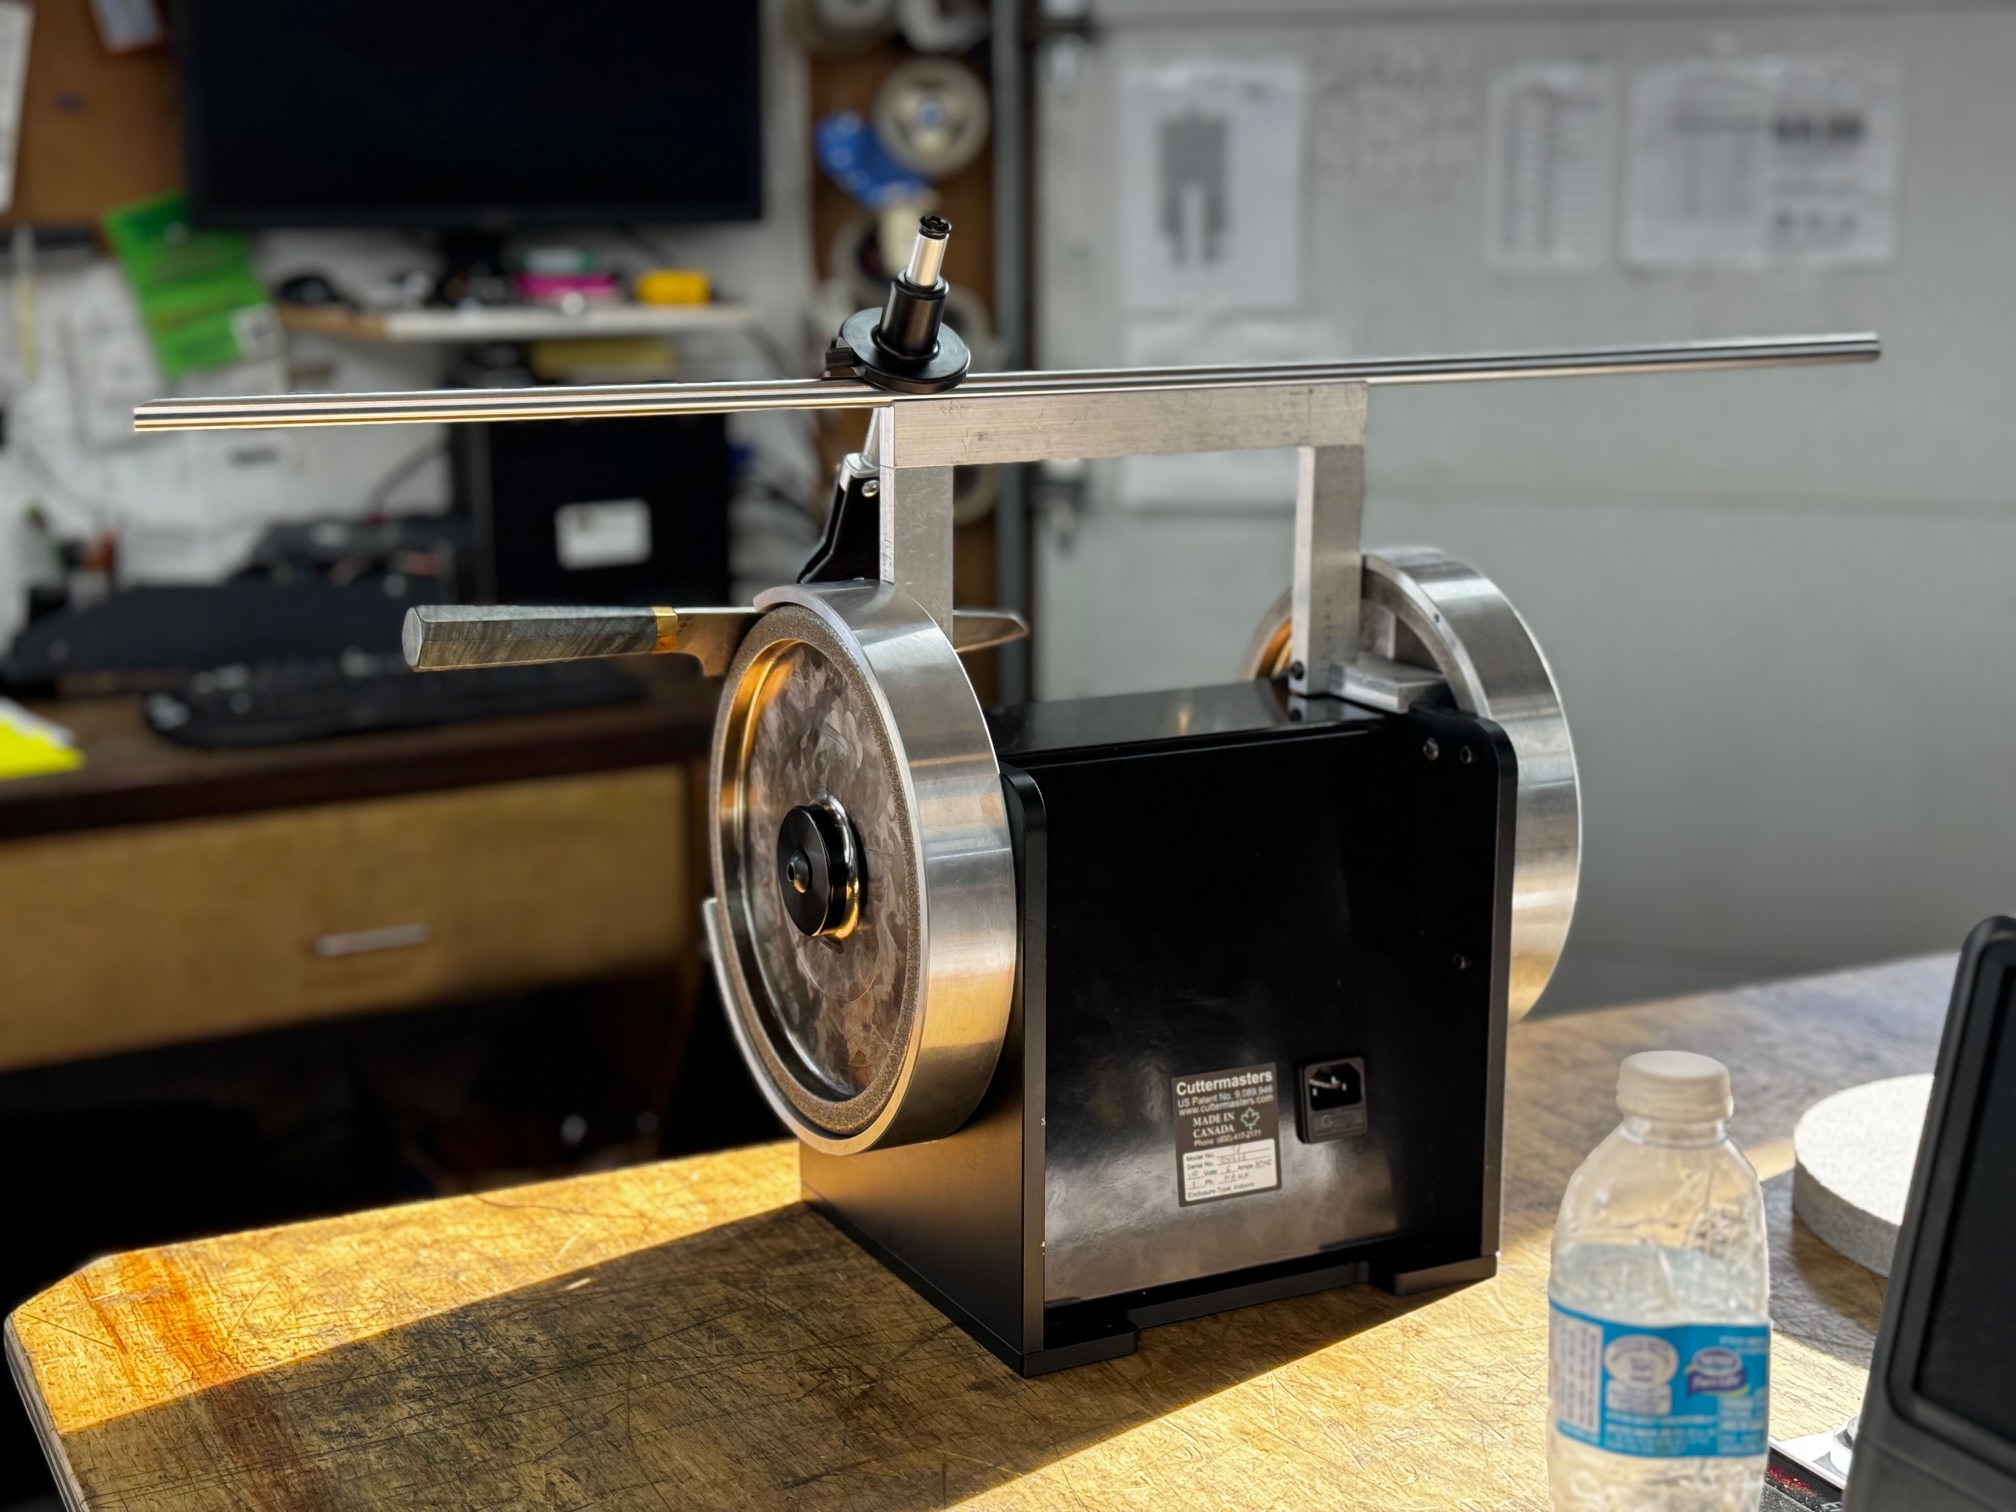
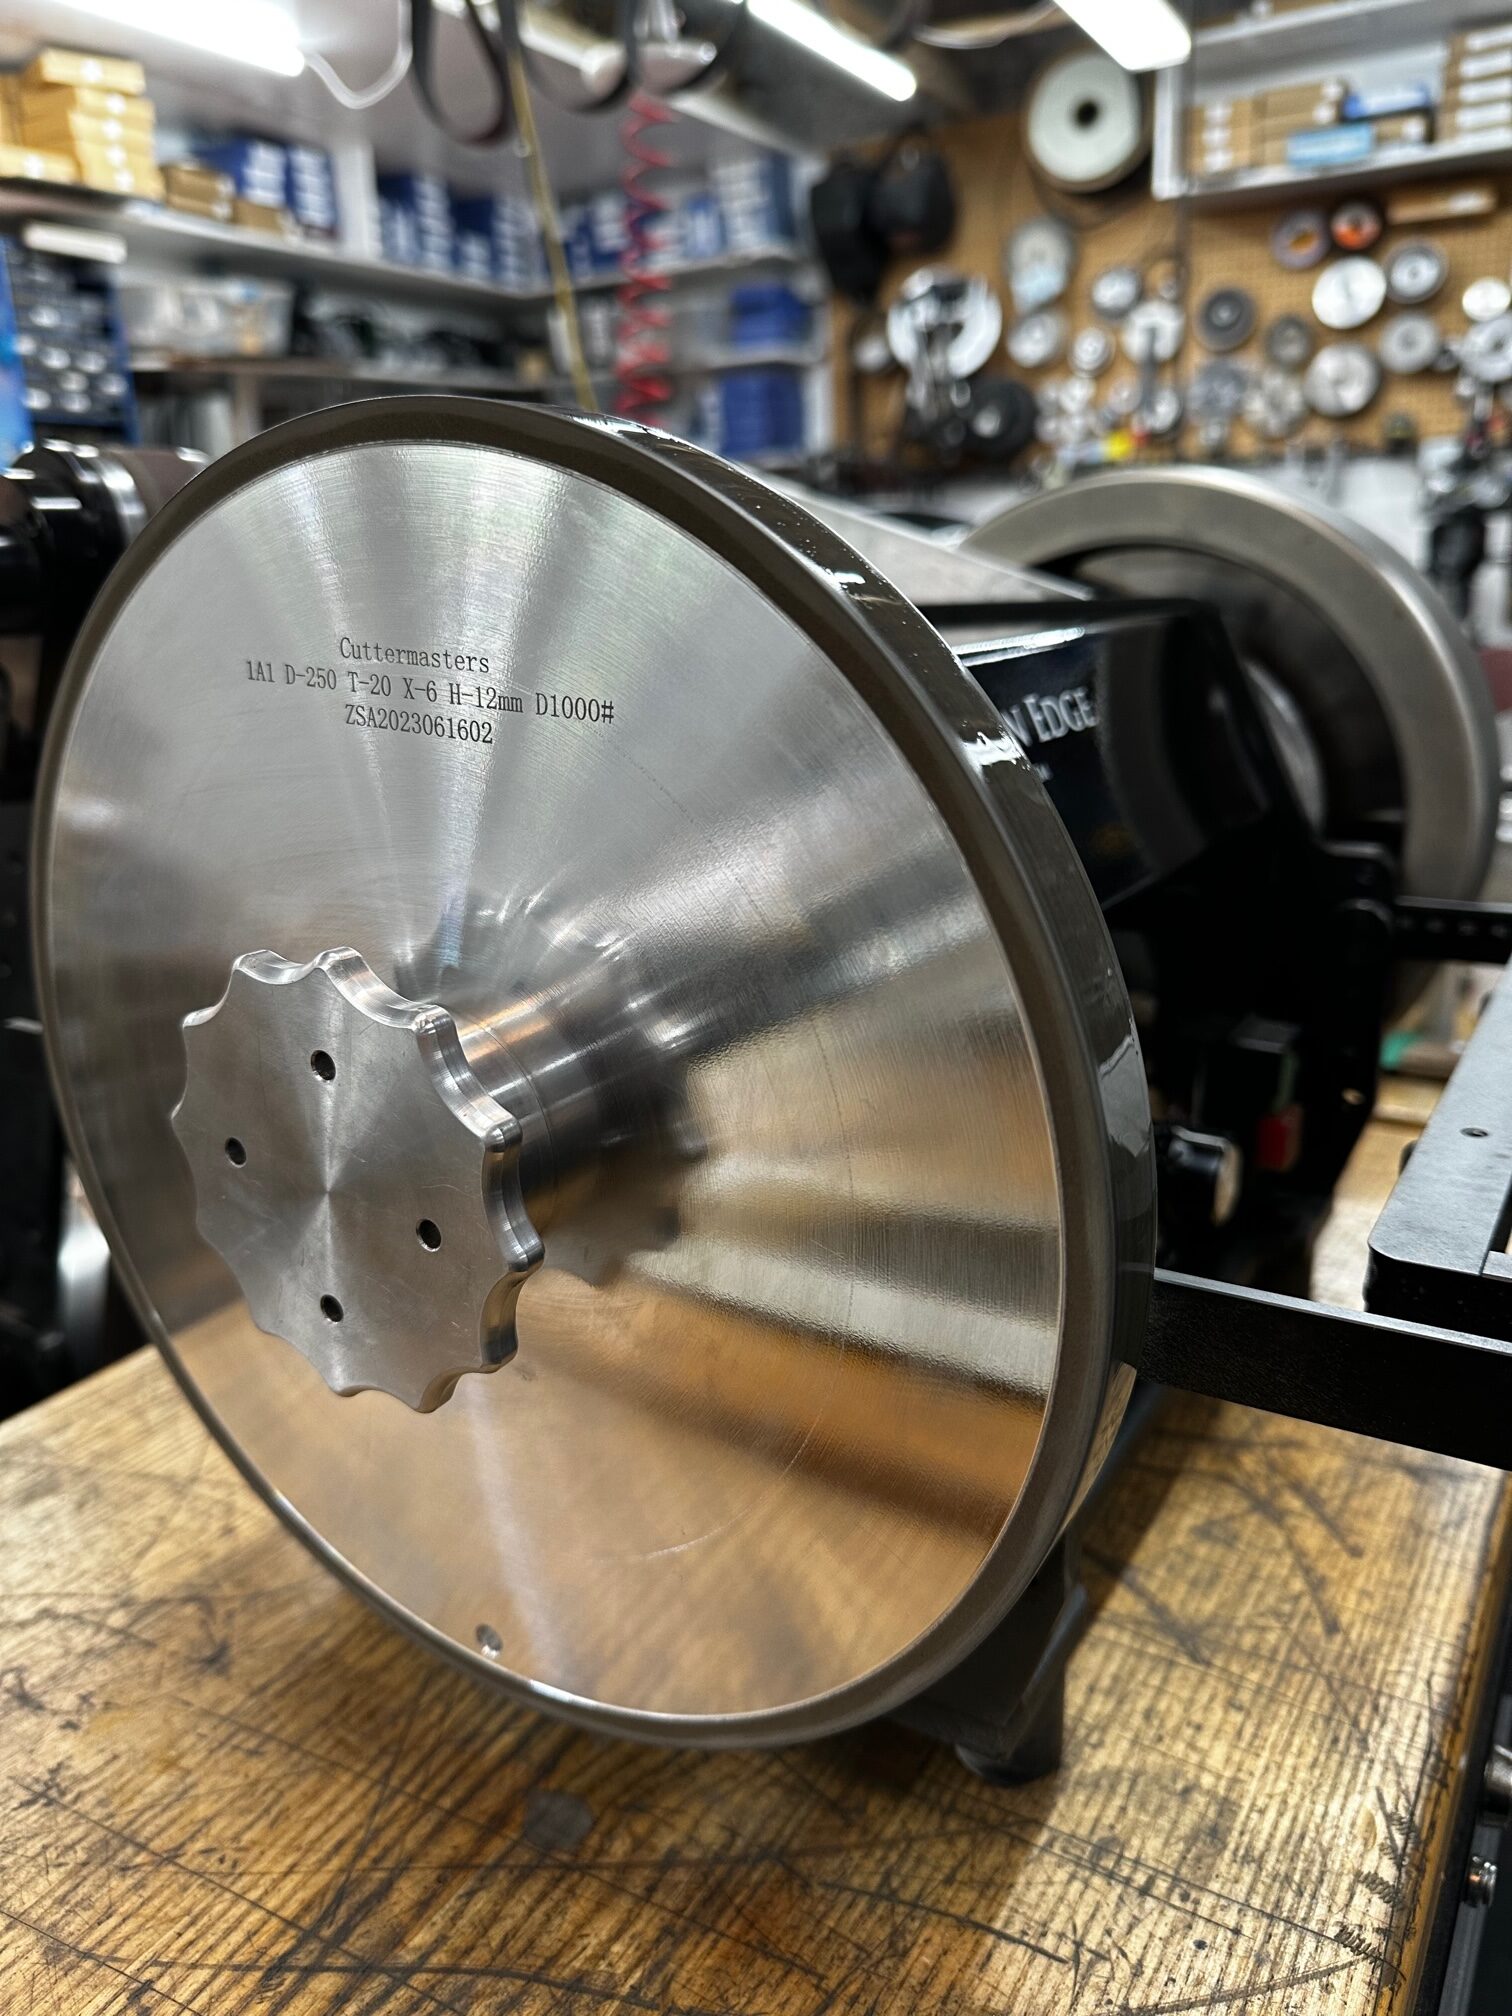
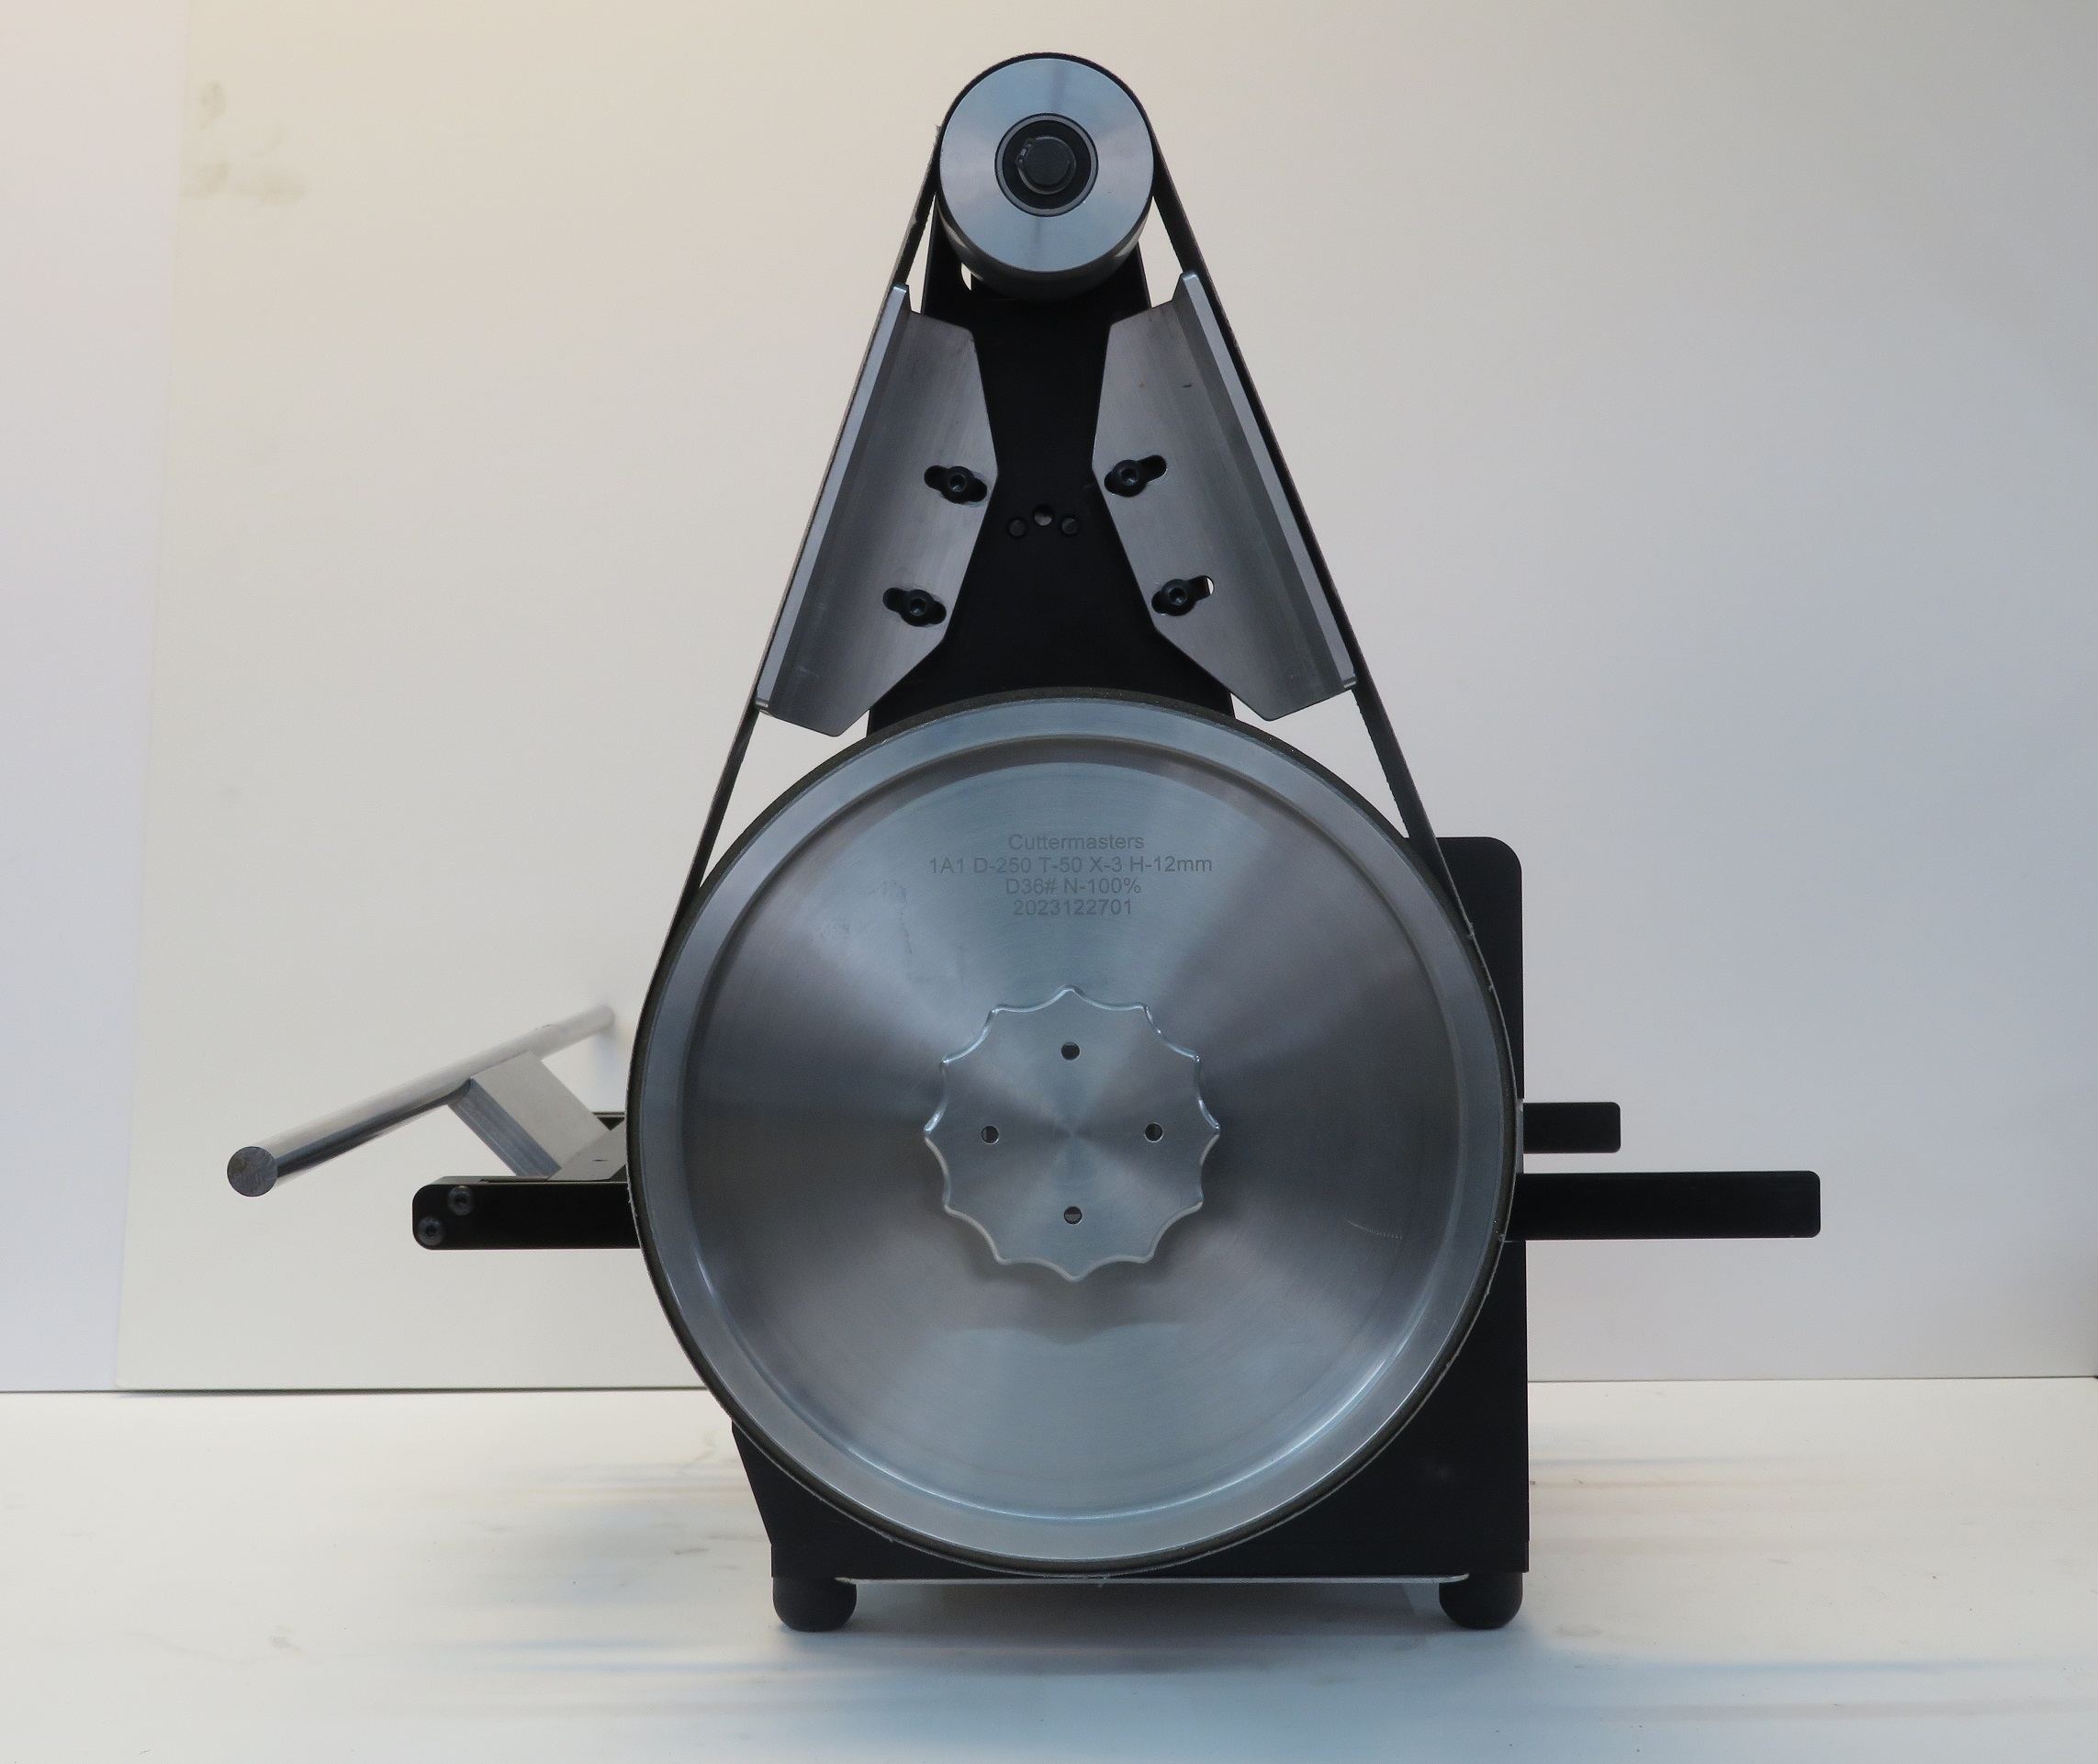
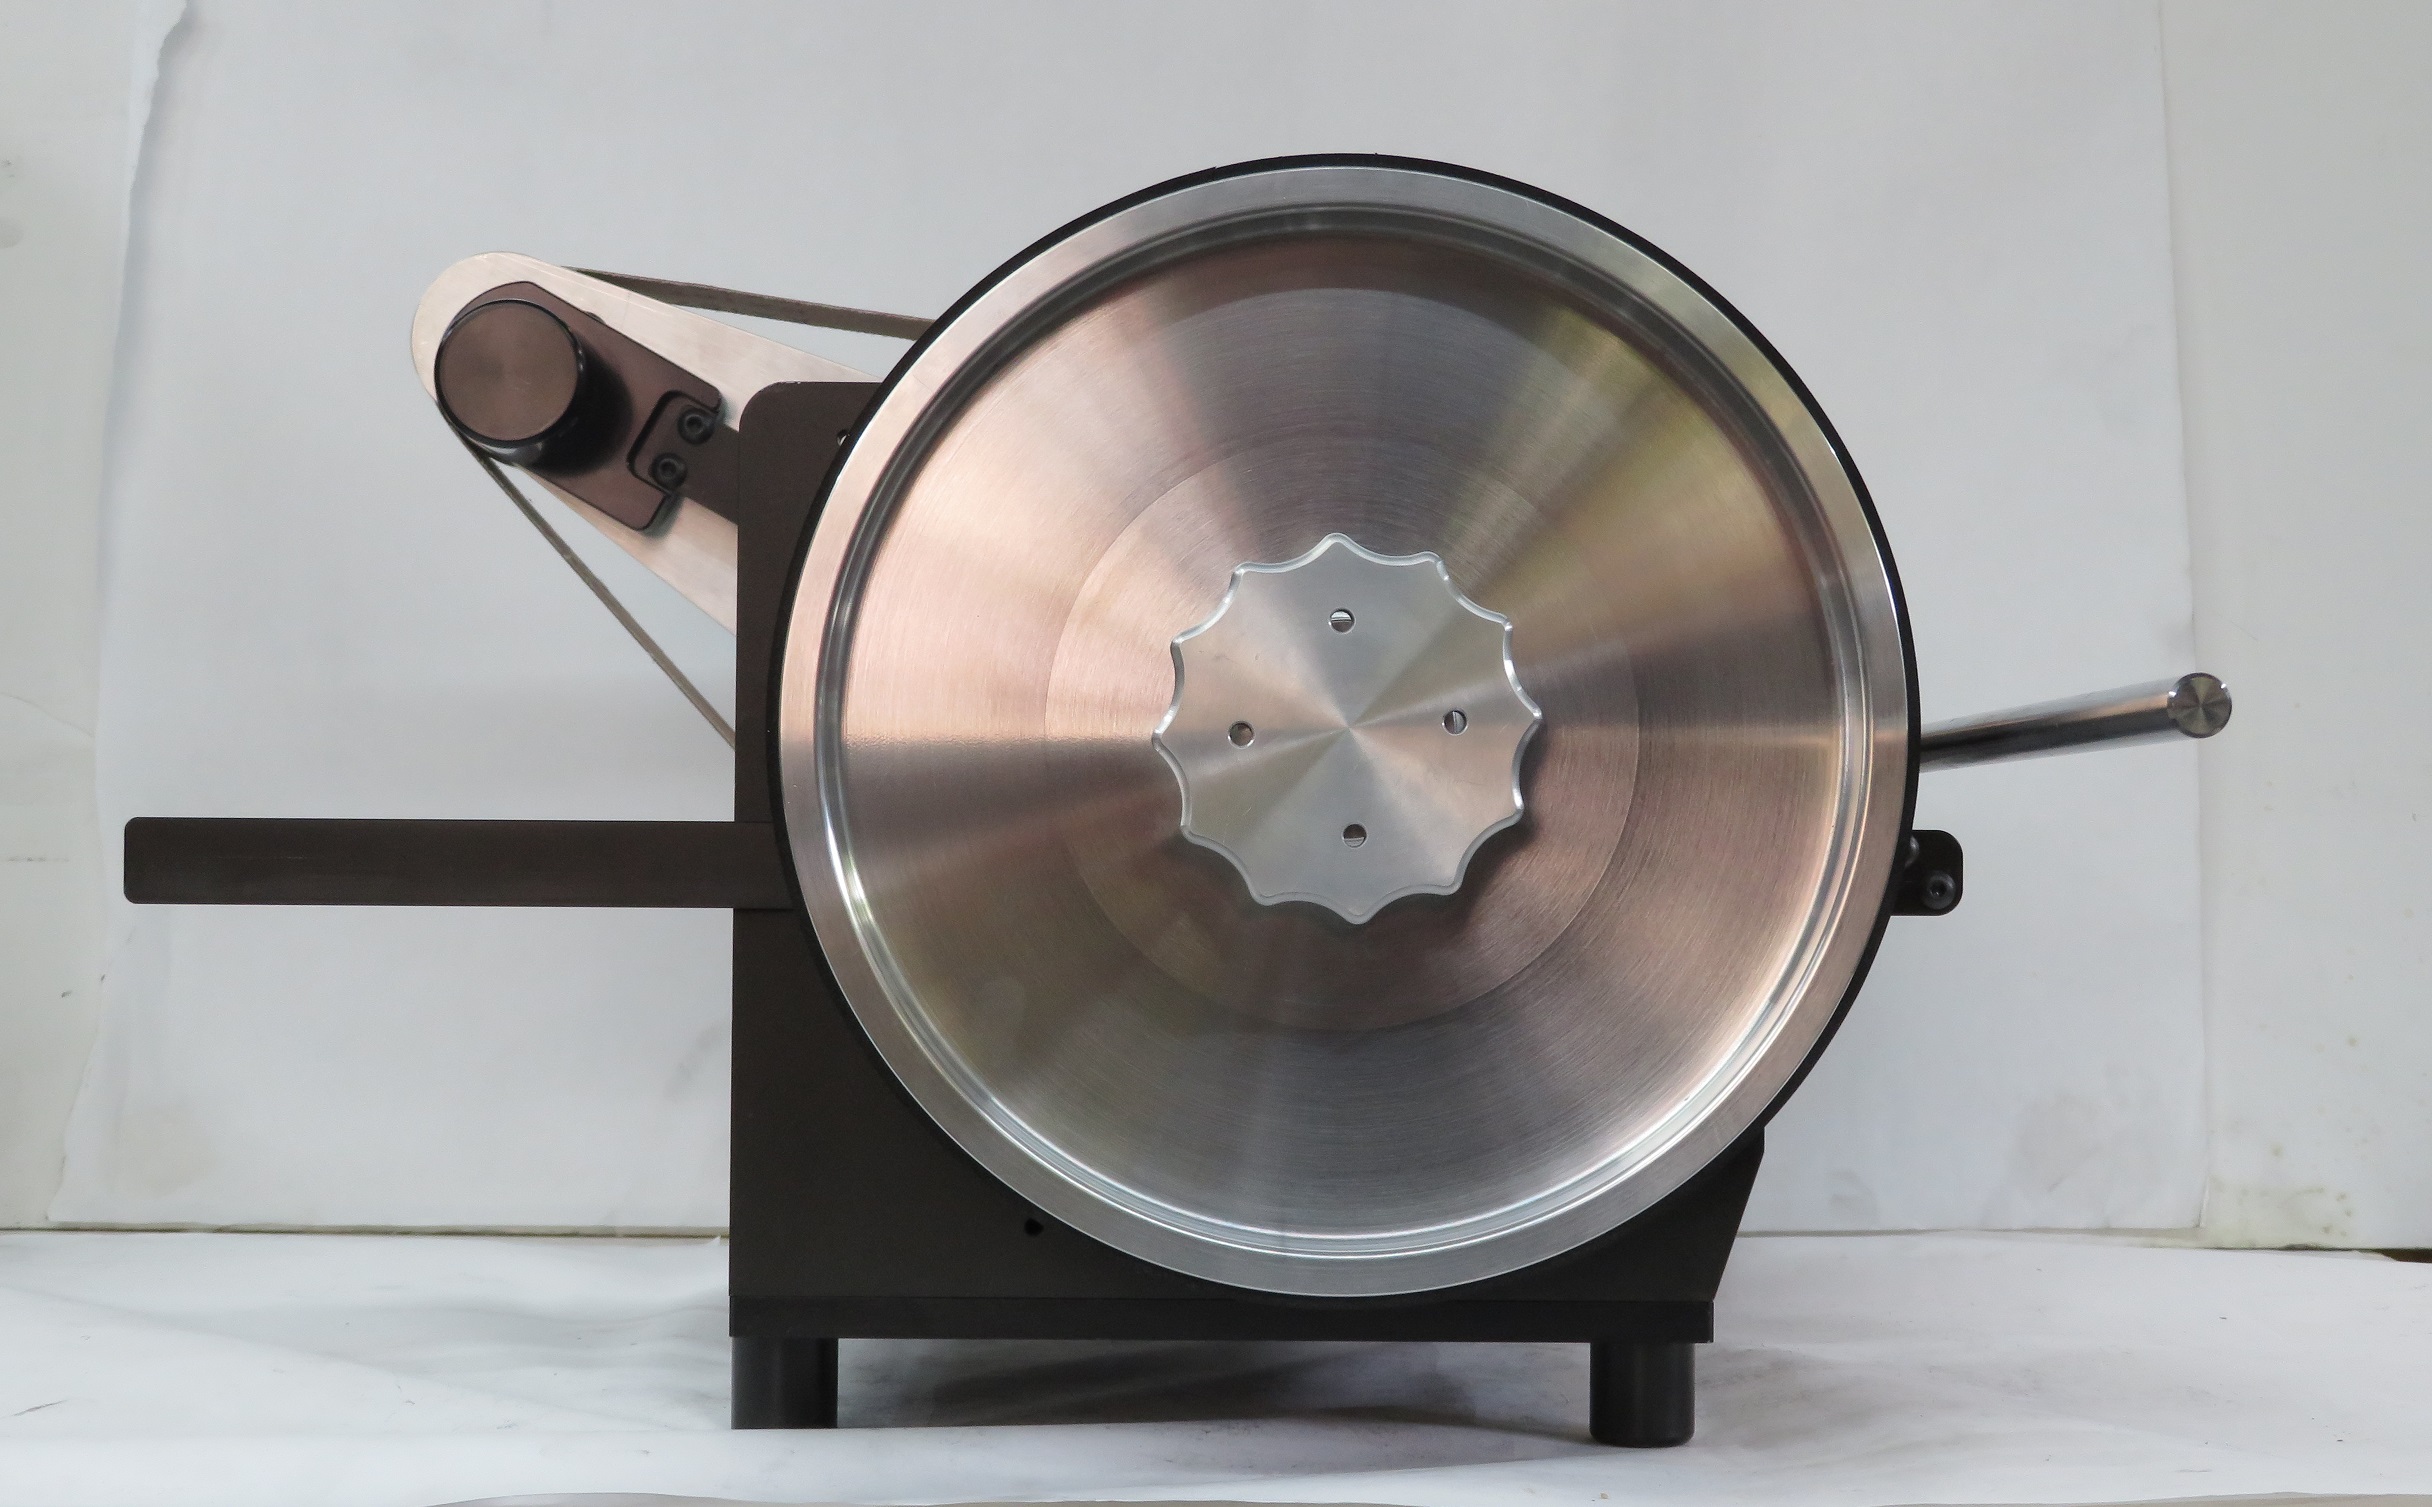
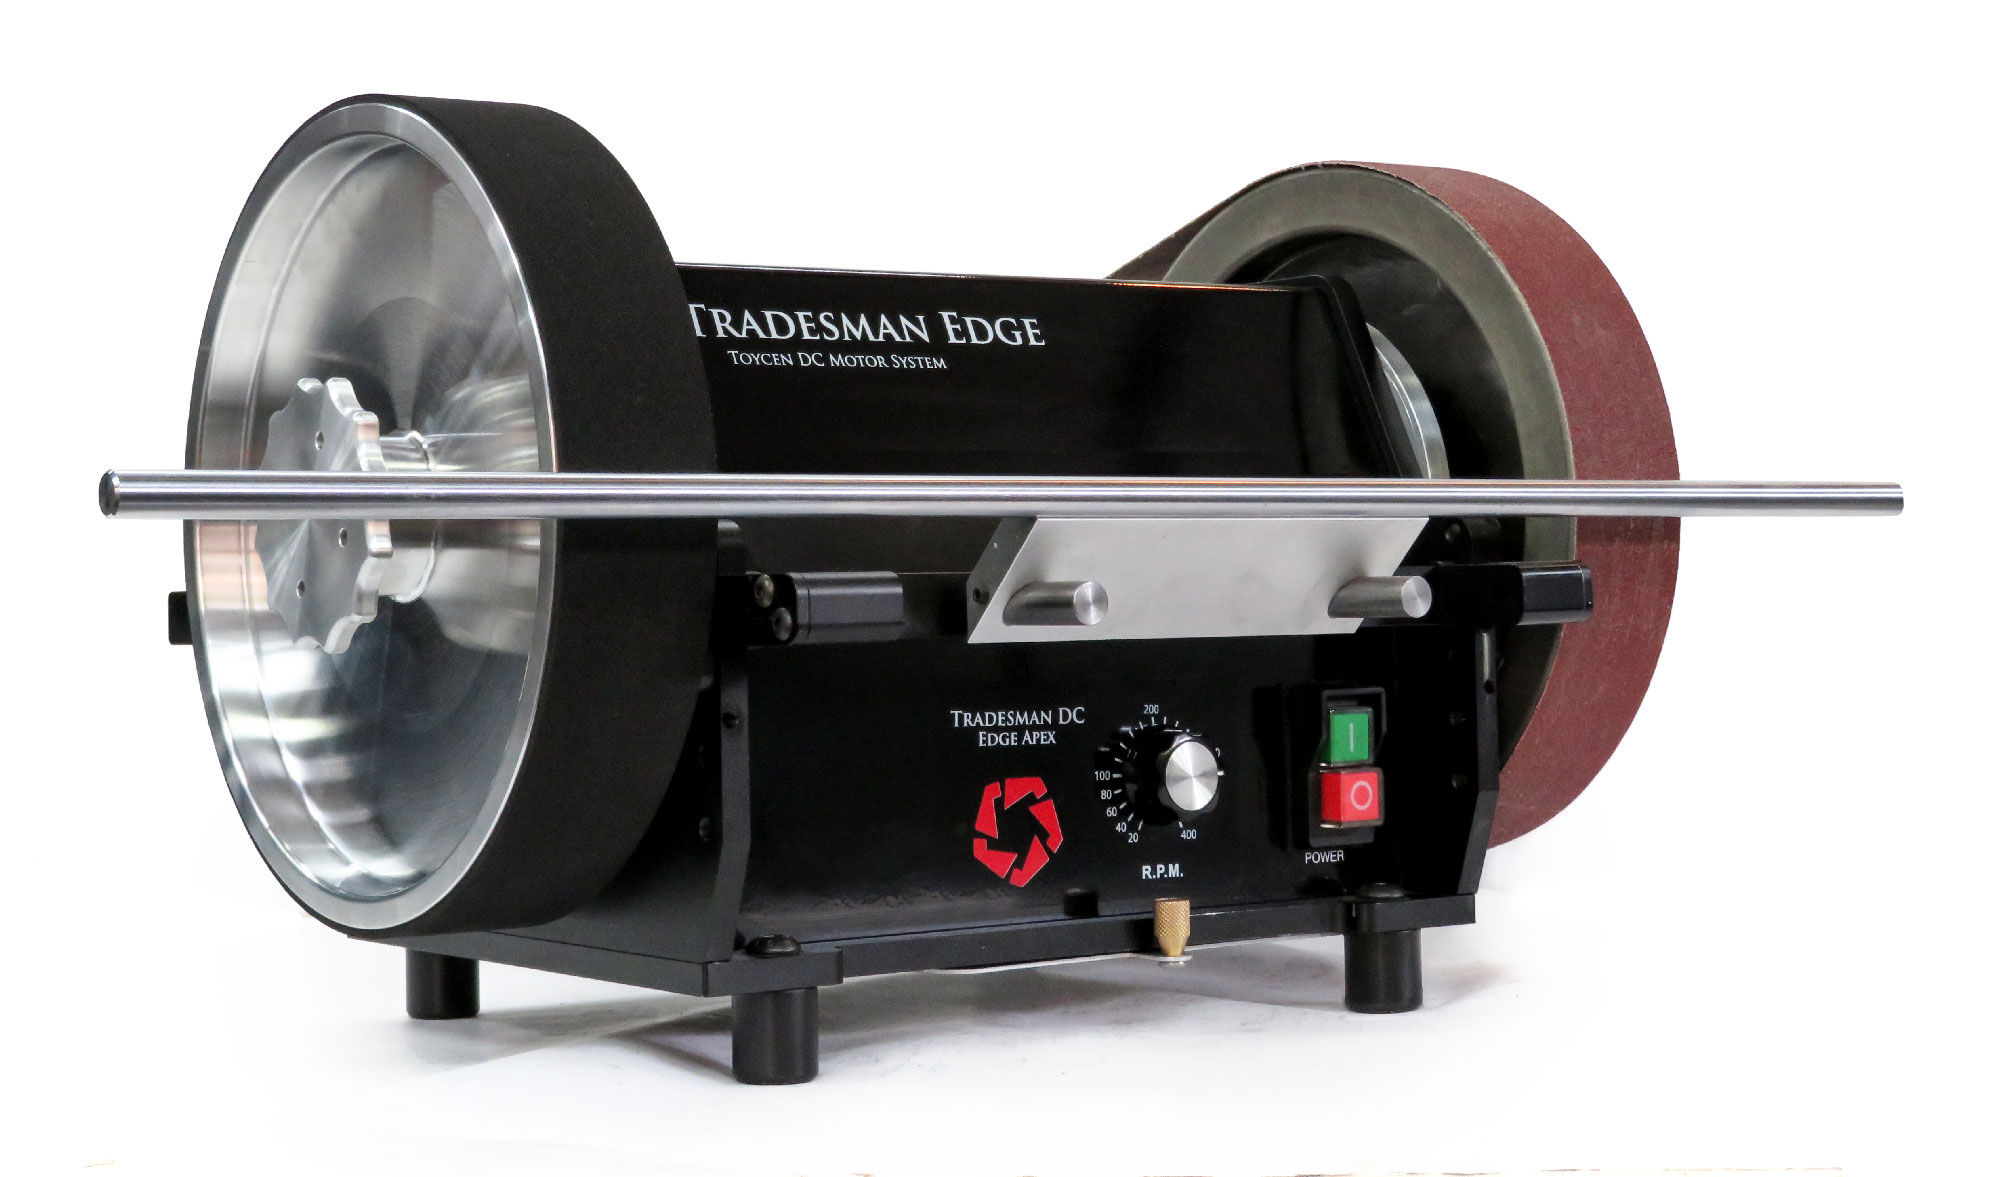
The 250 mm wheels that drive high speed belts and reverse are now keyed to our axles.
There is a new internal locking screw feature for people that want to use 3rd party wheels
This is a simple reliable assembly easy to produce and works well for all metal core wheel types
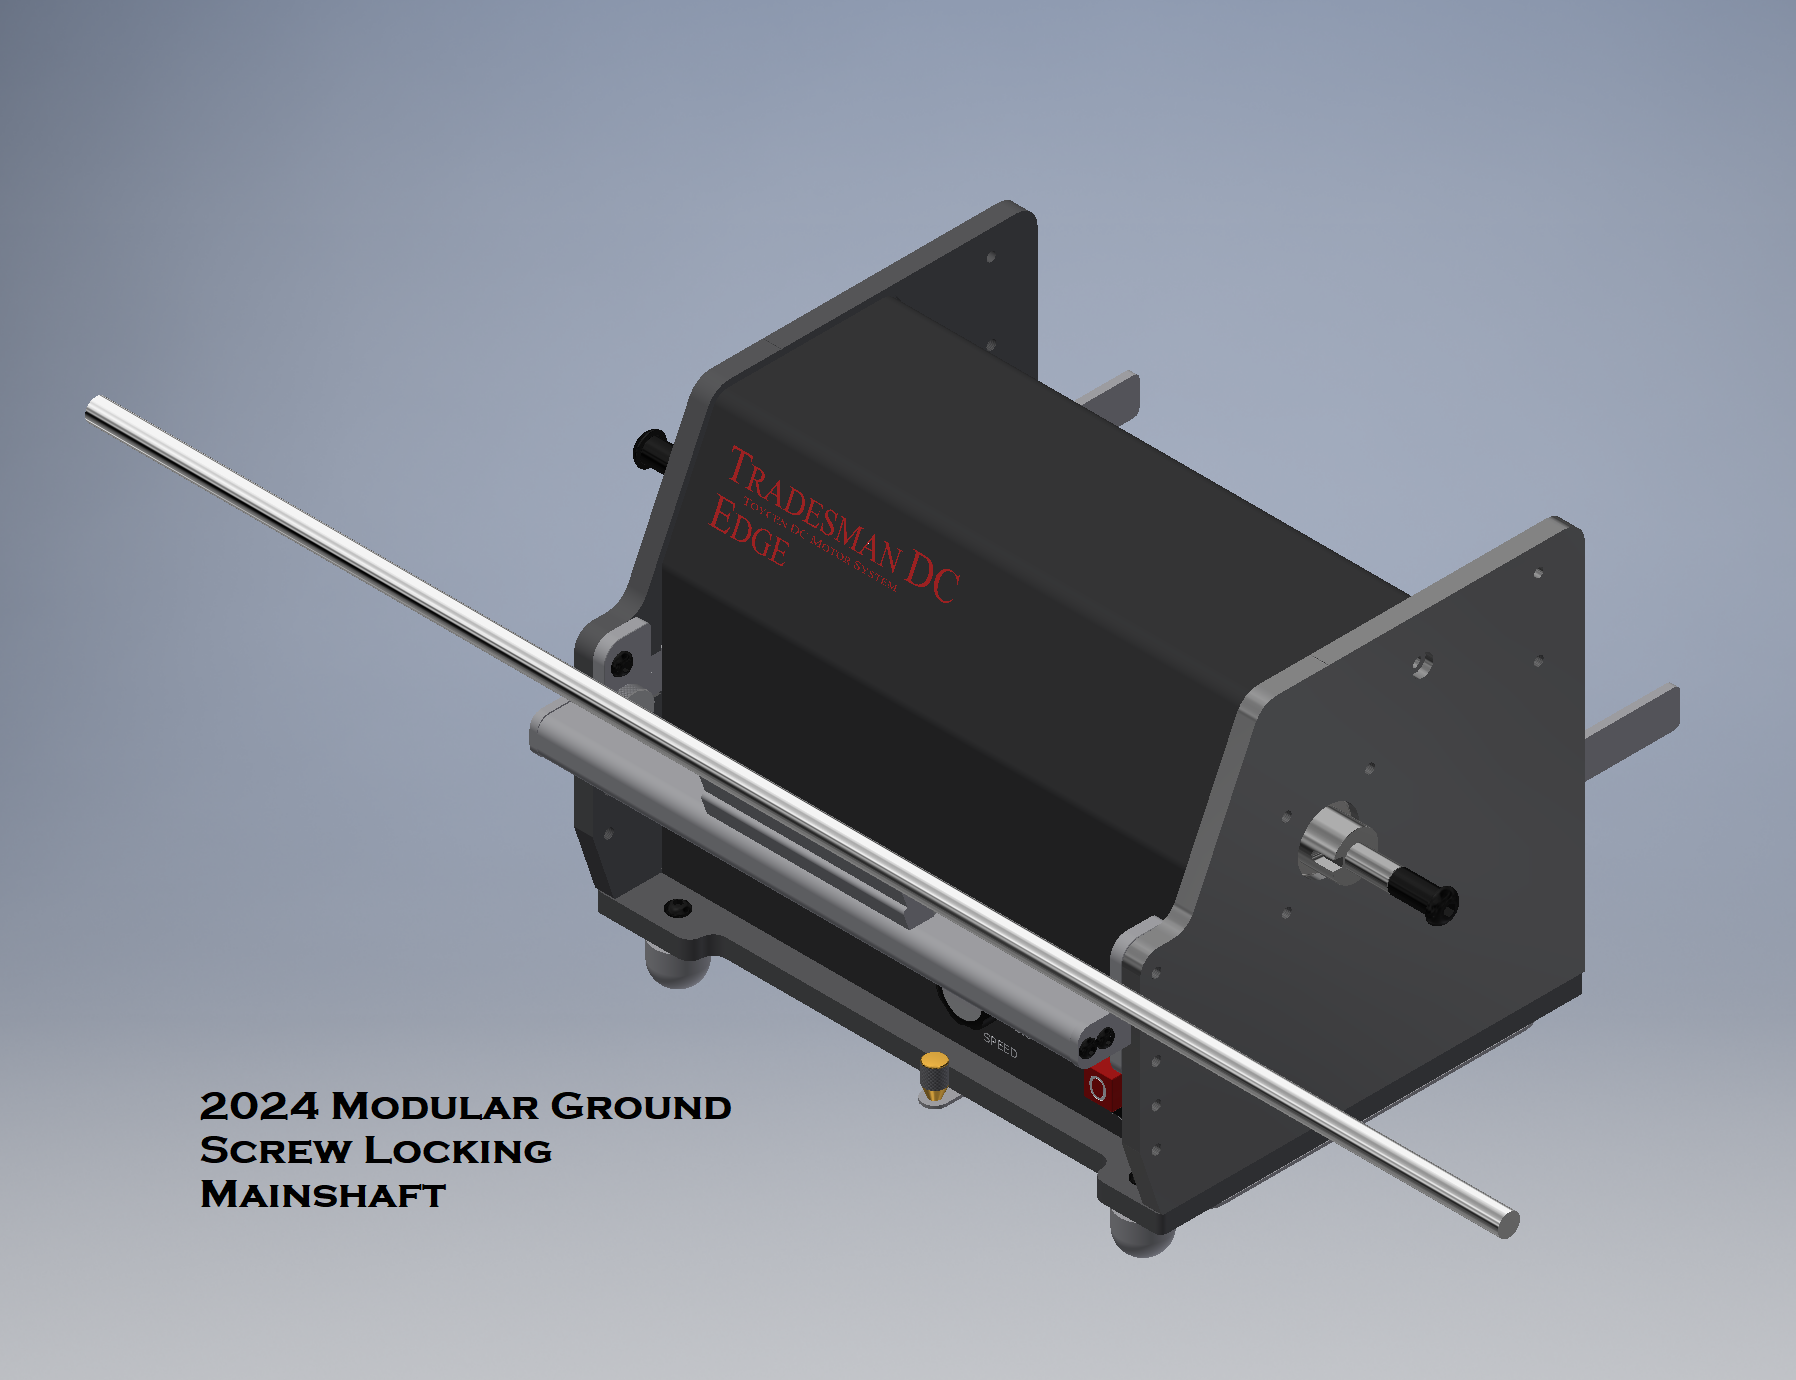
Being a heavier high speed reversing machine, accuracy and safety taken care of with the new shaft design.
The 2024 Edge Apex Unboxing
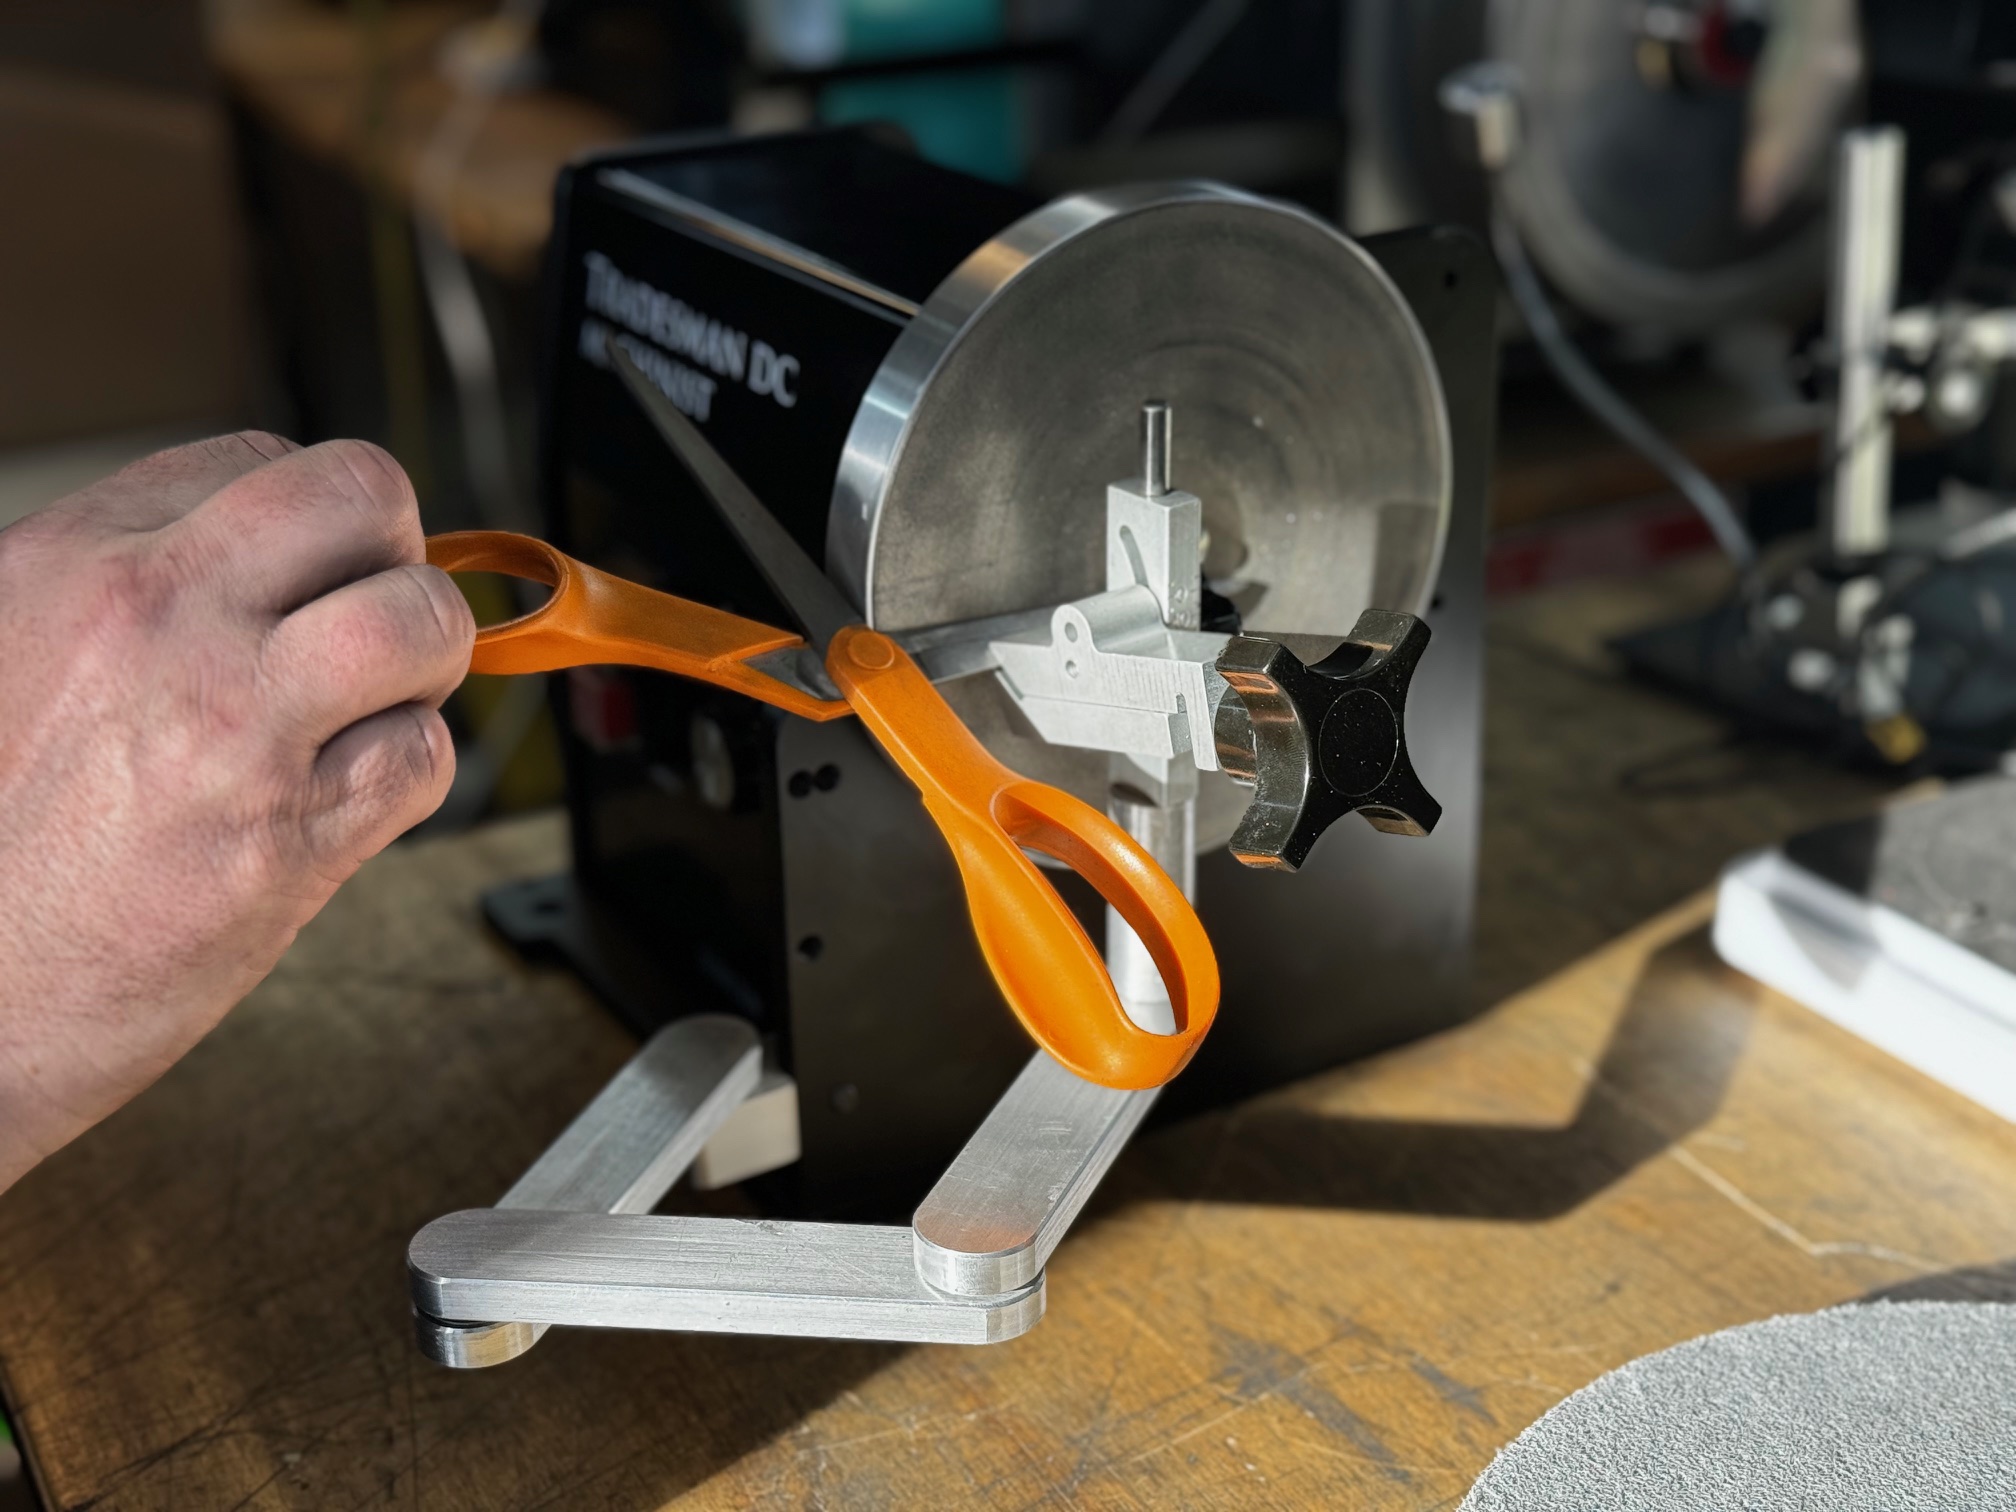
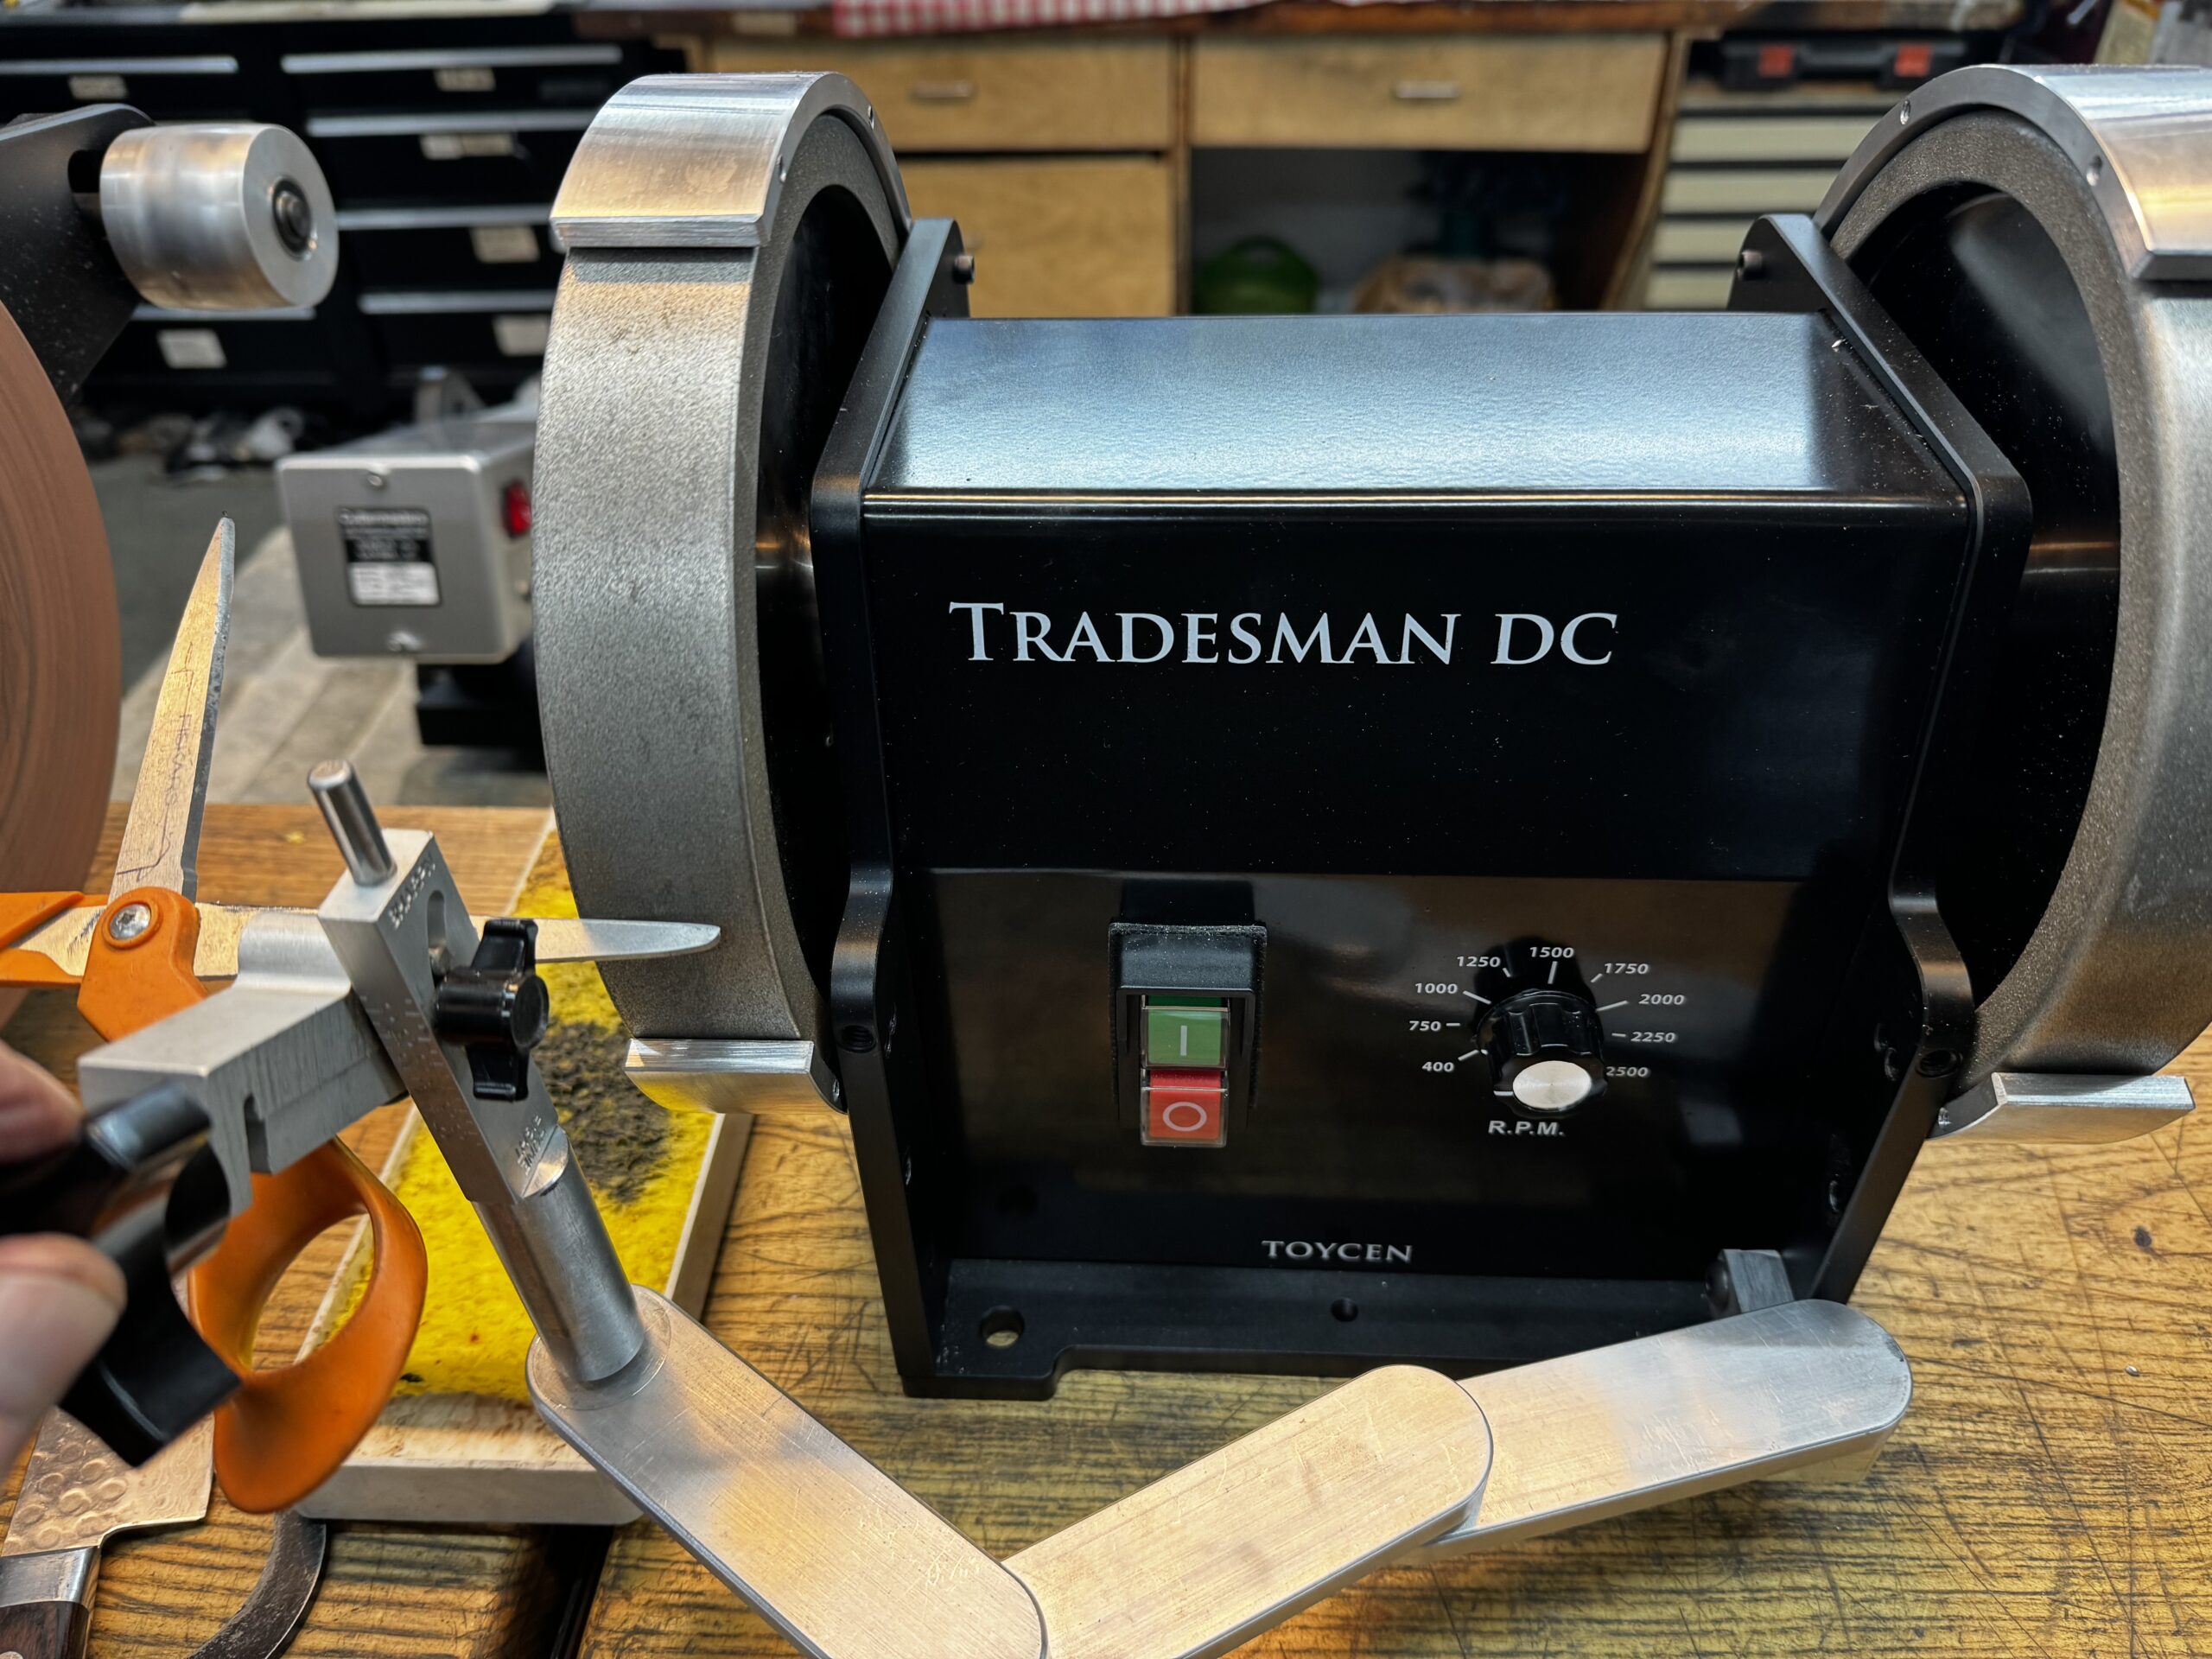
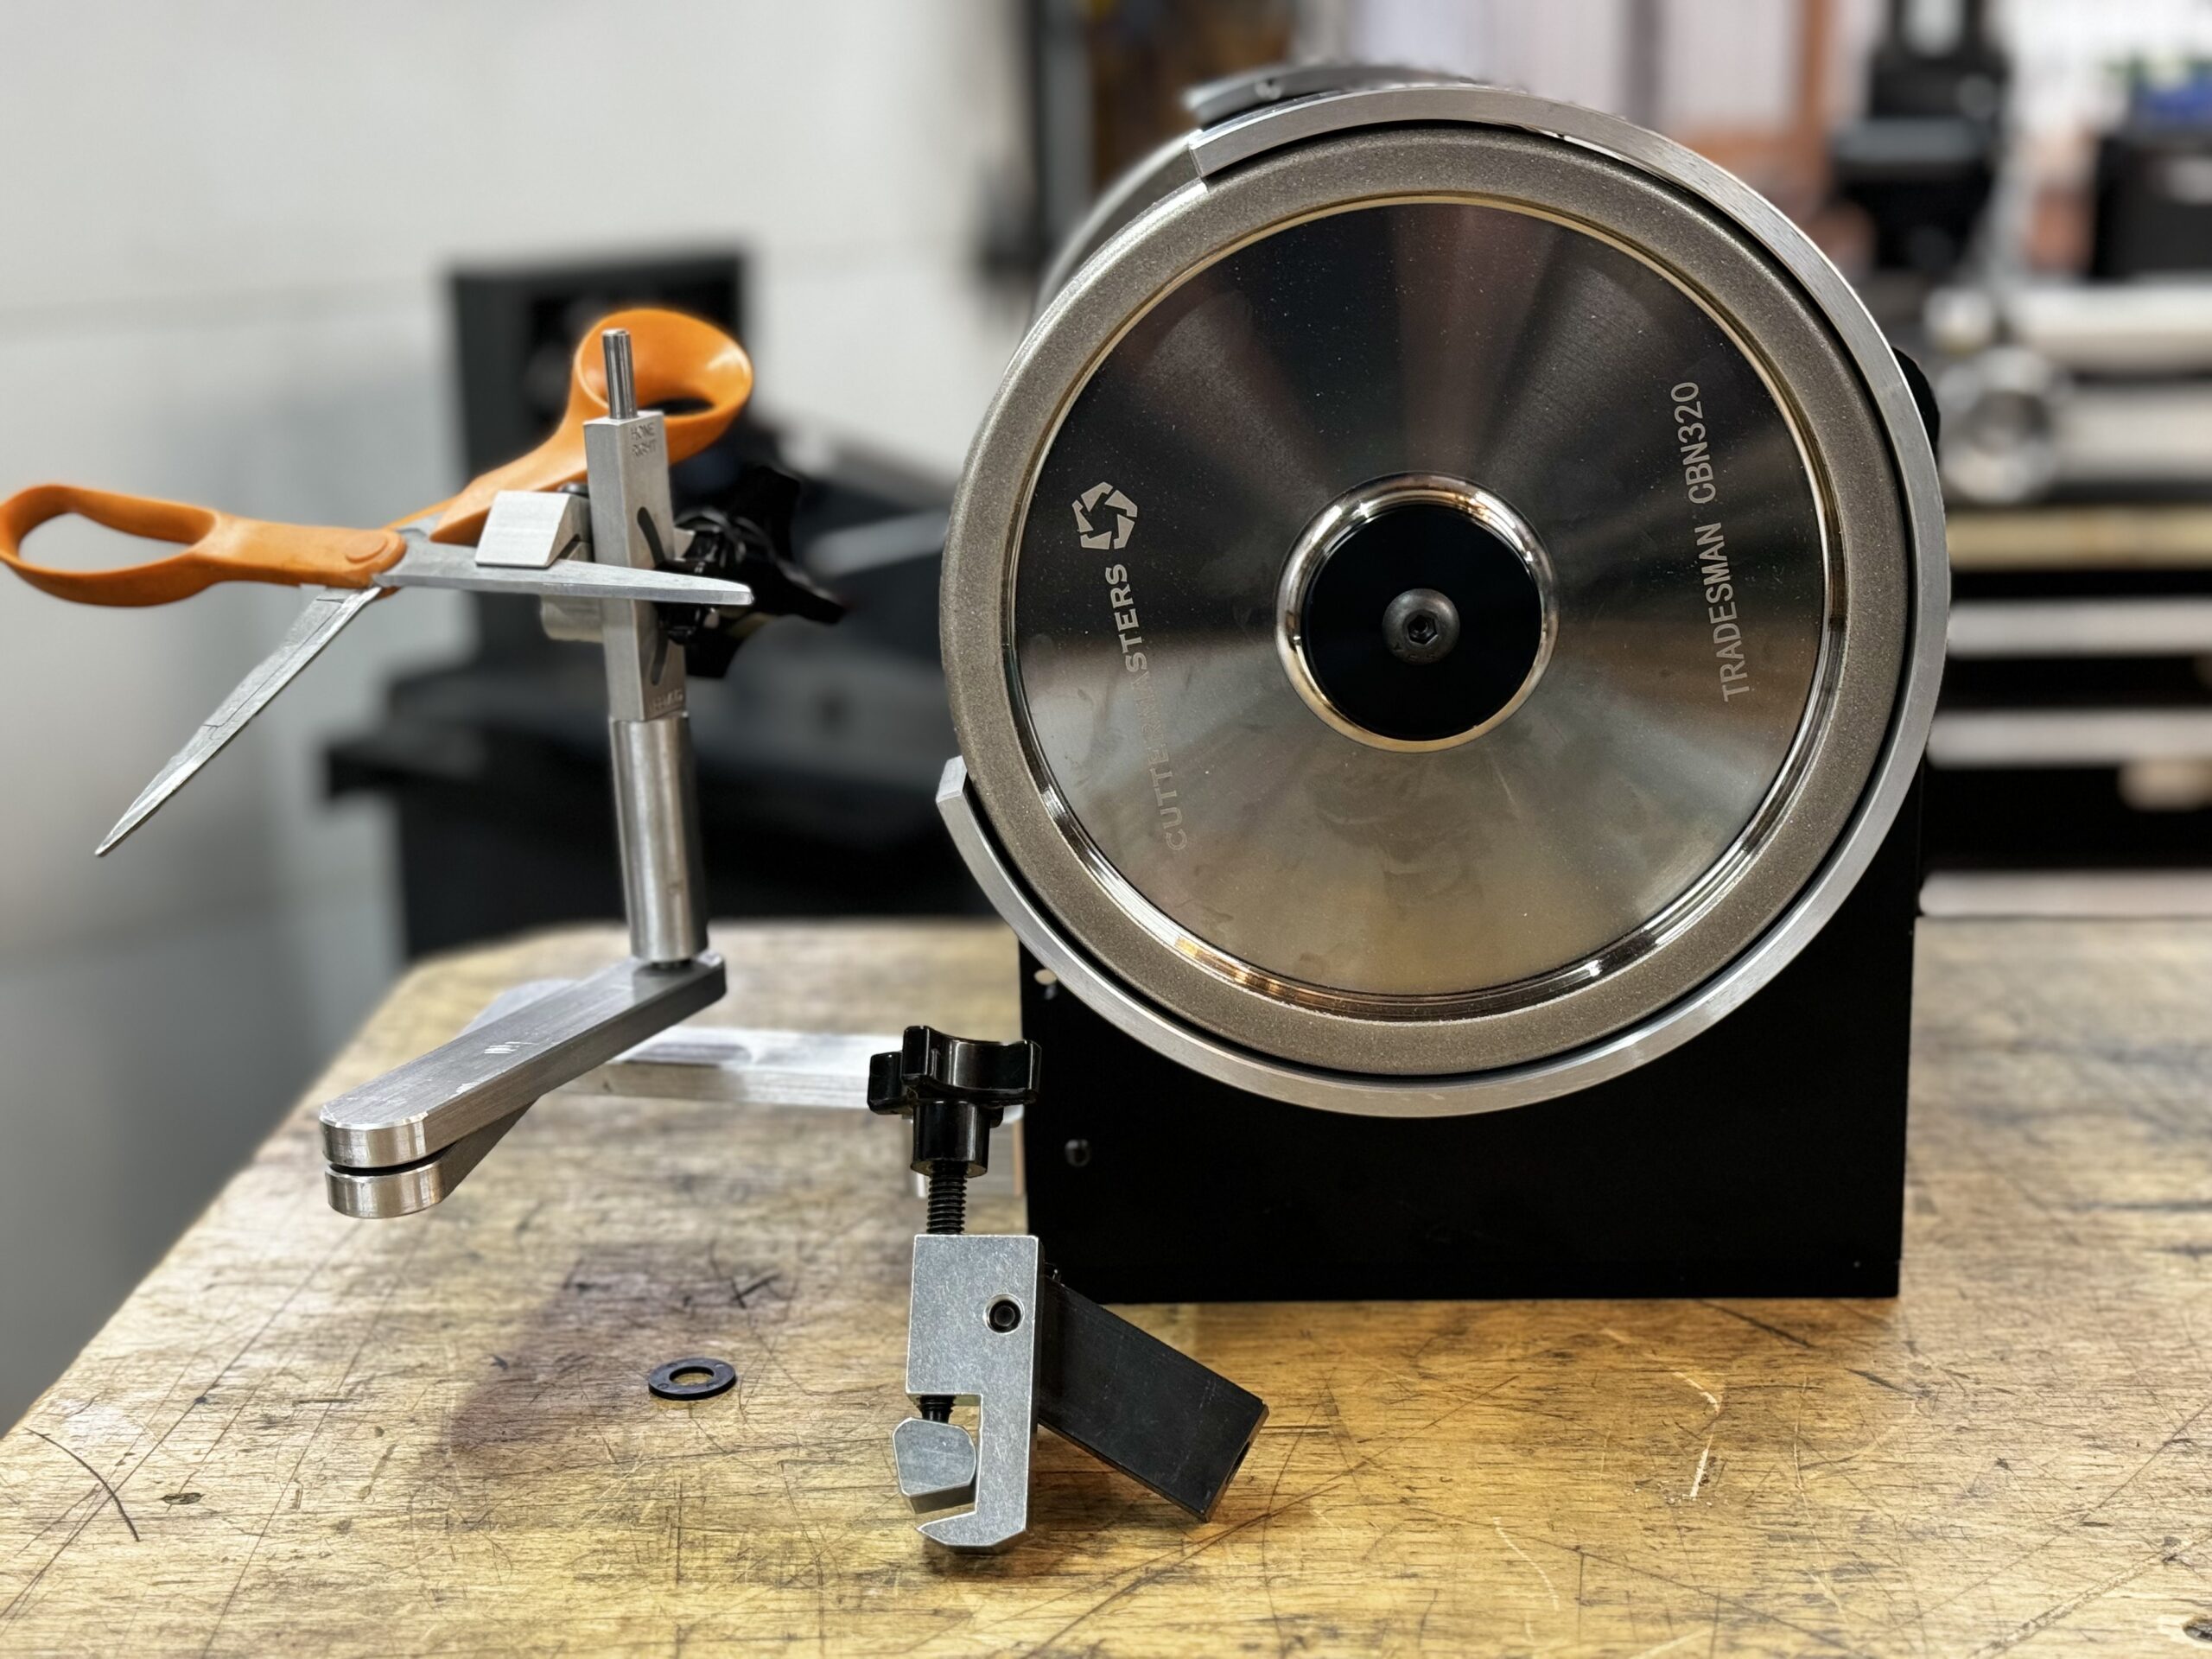
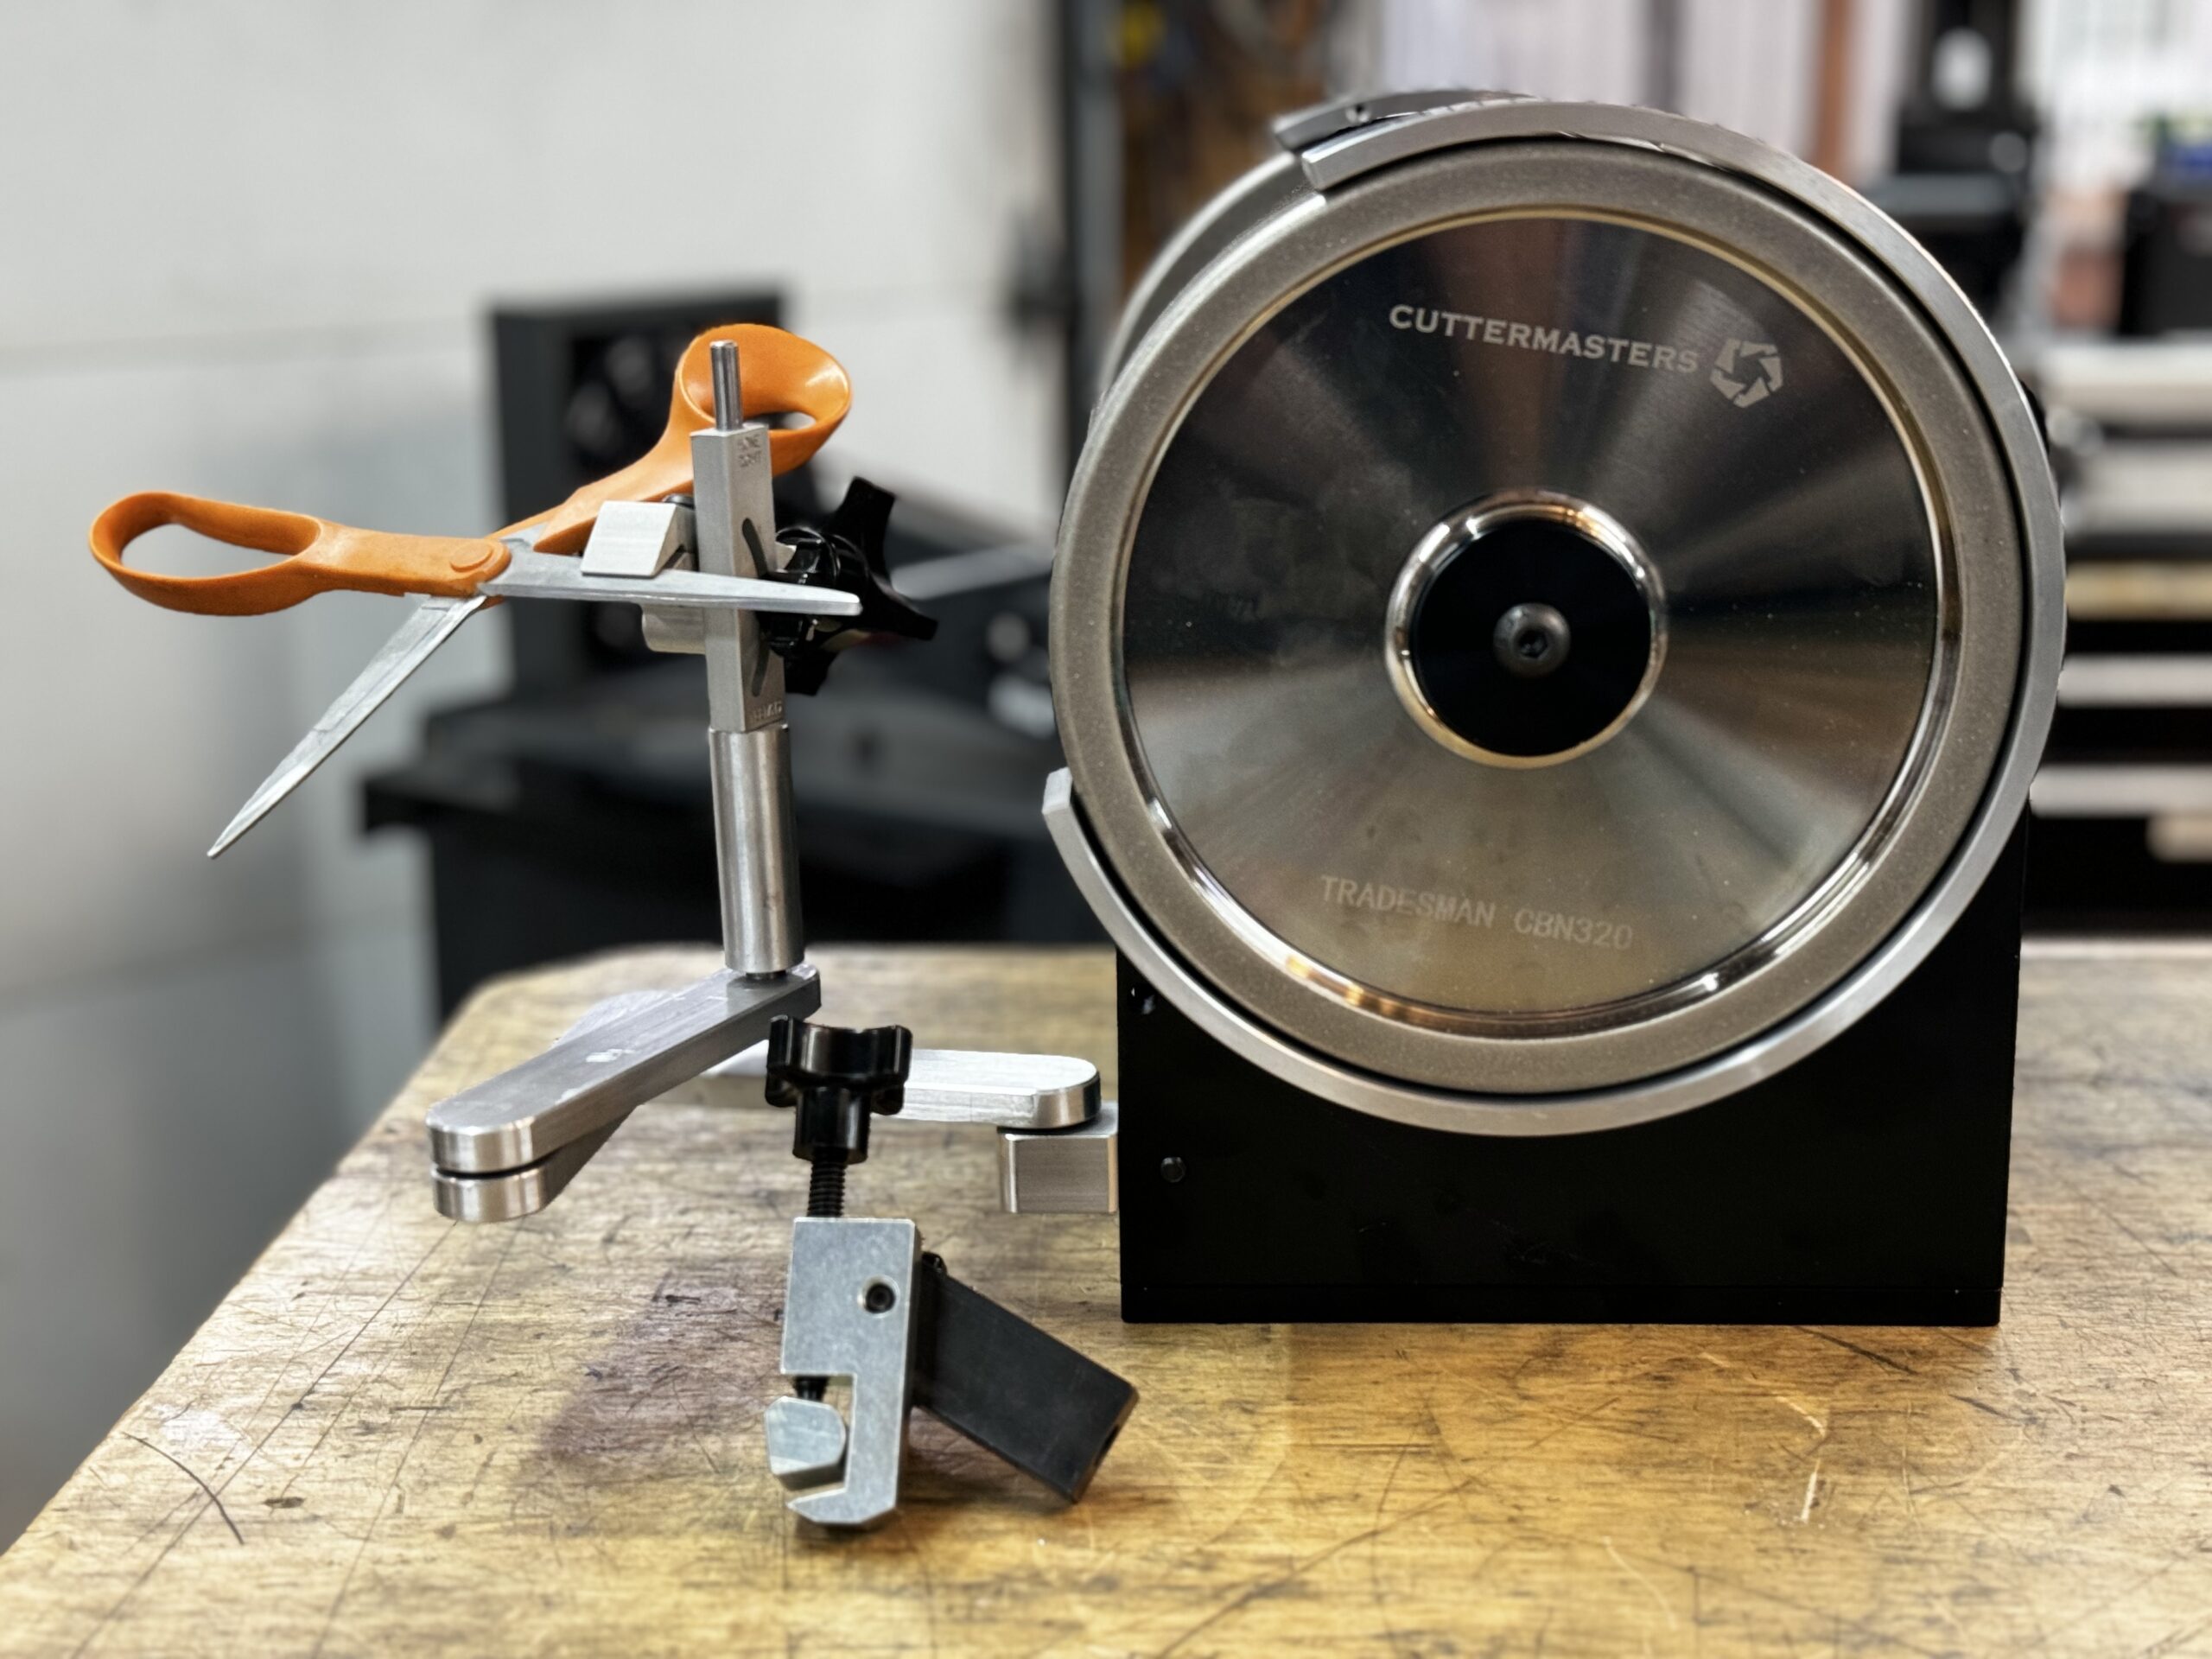
Jeffs’ Recent add ons for Tradesman 8, Scissors and Knife Sharpening
All Tradesman Grinders have these mounting locations
T8 Woodturner Knife Sharpening Kit $299.00
Edge Leading or Edge Trailing Uses the Apex Knife Jig and grip length Angle calculator
Fits all T8 Grinders 30 inch 12mm rail and a Knife Jig.

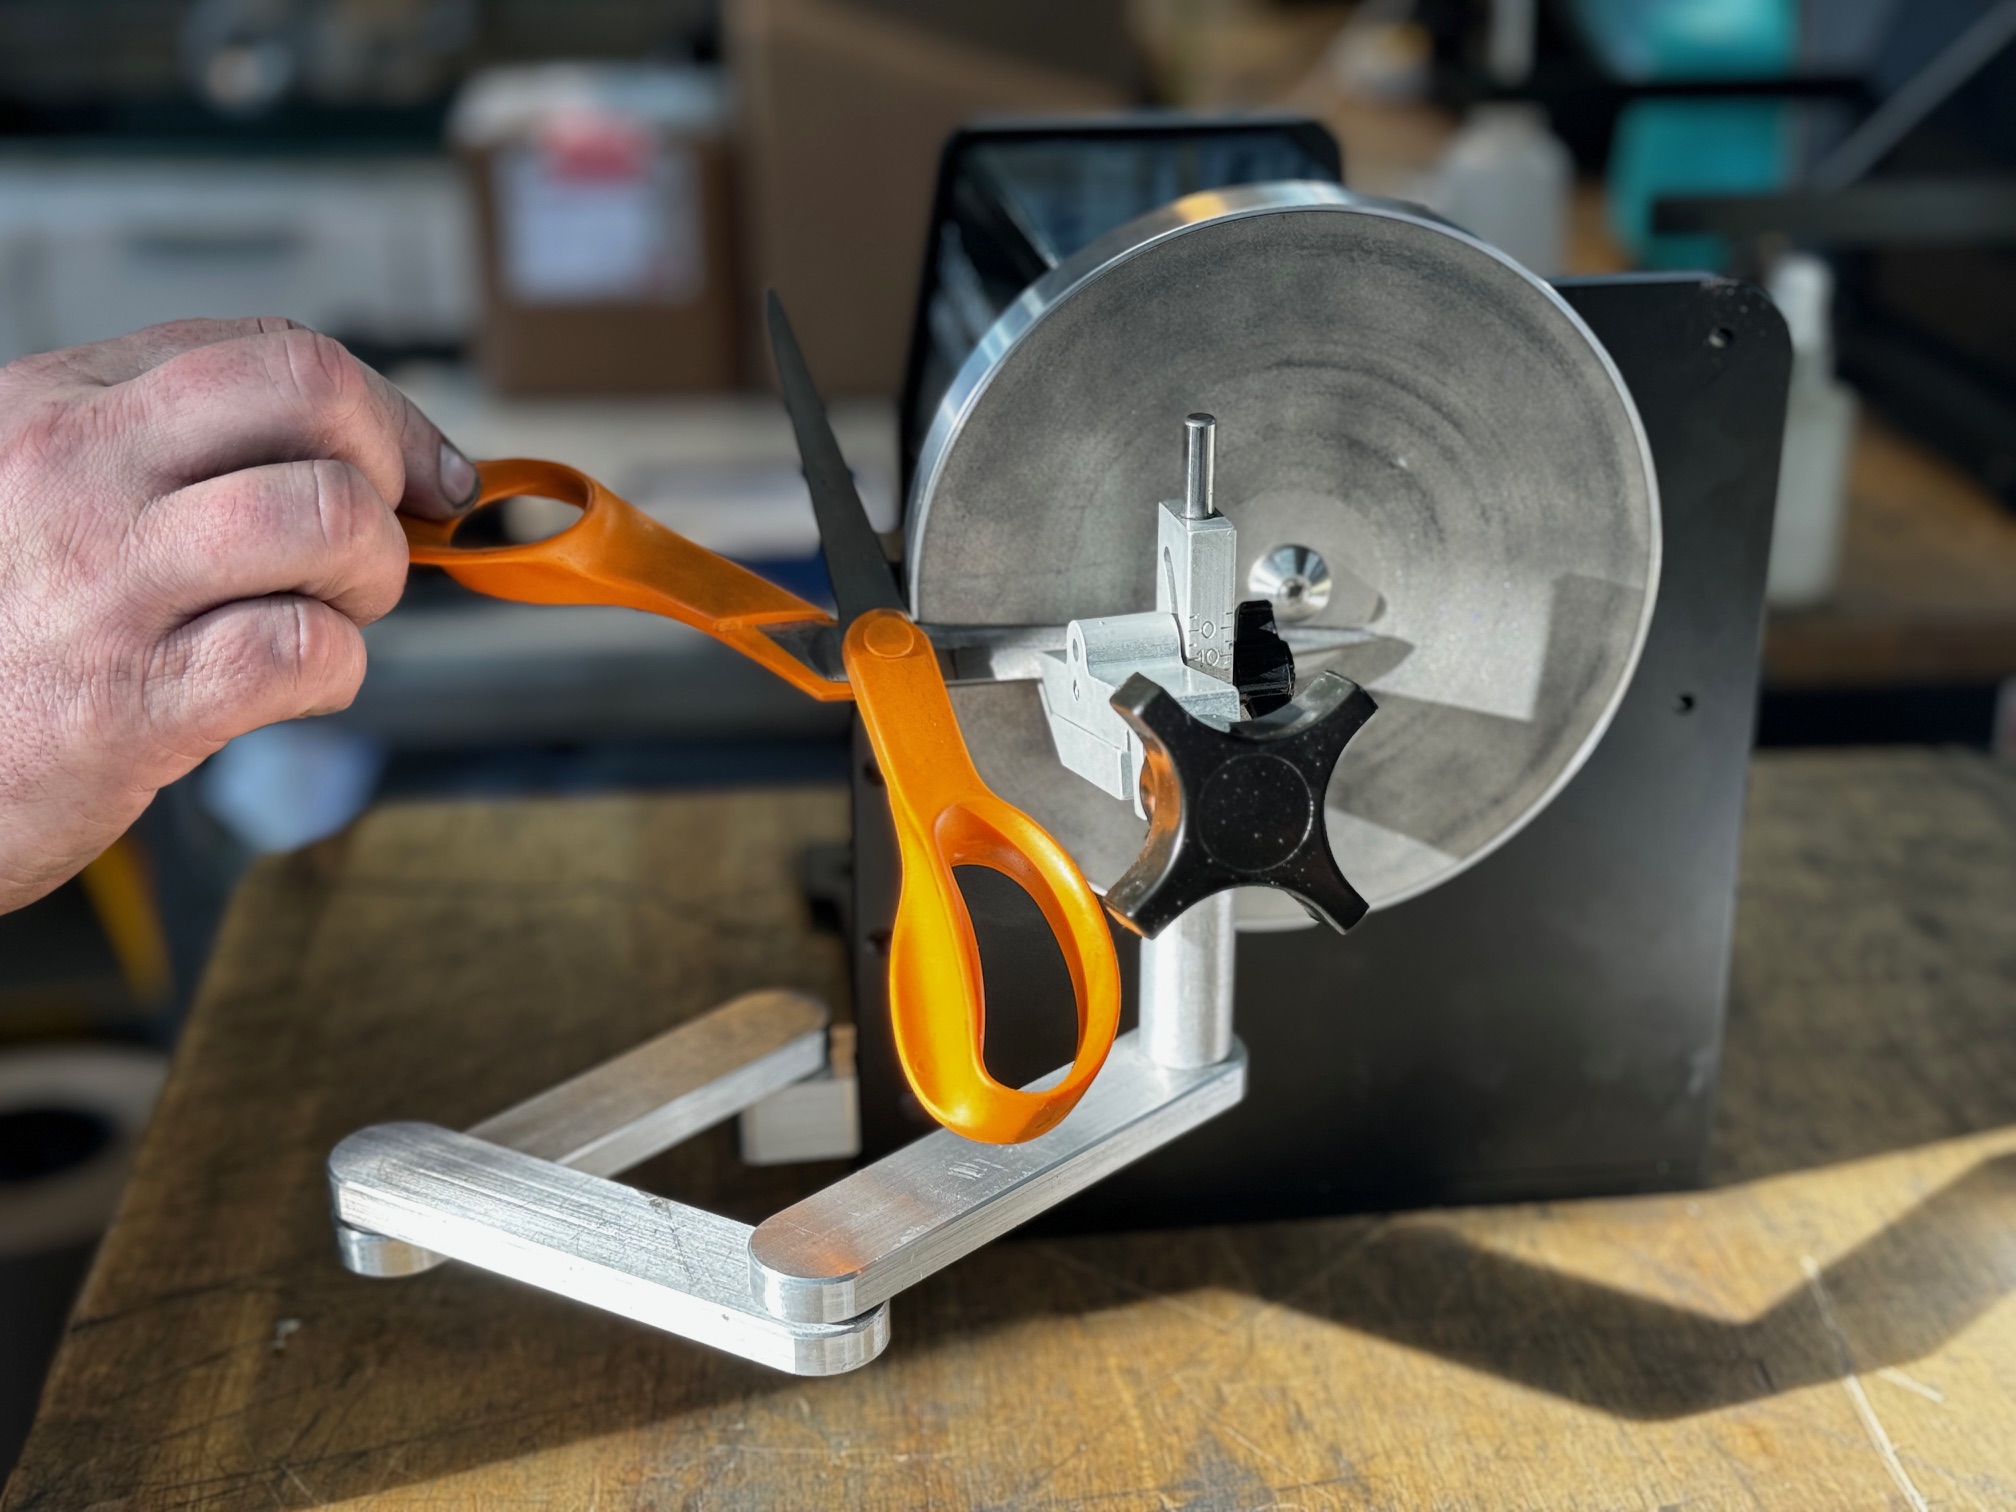
T8 Wood Turner , Tradesman Machinist, and Edge Apex, will all Mount this scissor attachment. (Just had to make Bracket)
Its Coming along Nicely 2024

Water mister systems and Ideas for belt grinders
We are going to use a similar system for the Edge Apex
Please have a look at the
Origin Blade Maker You Tube channel ) and subscribe Nice work !
Links for all the components:
Quick disconnects for airbrush: https://www.amazon.com/dp/B08Z43P1B7?…
Foot pedal: https://www.amazon.com/dp/B08MF2F8GF?…
Flexible nozzle: https://www.amazon.com/dp/B07X89Z1W9?…
8mm hose & fittings set: https://www.amazon.com/dp/B0BTJVBMQ8?…
Compressor with airbrush: https://www.amazon.com/dp/B07N64M2HM?…
Another place for information on setting up a mist system
Power Forge Workshop
Visit and Subscribe hes done some good research
Heres another
Friction Surfaces for Platens
Adhesive Back


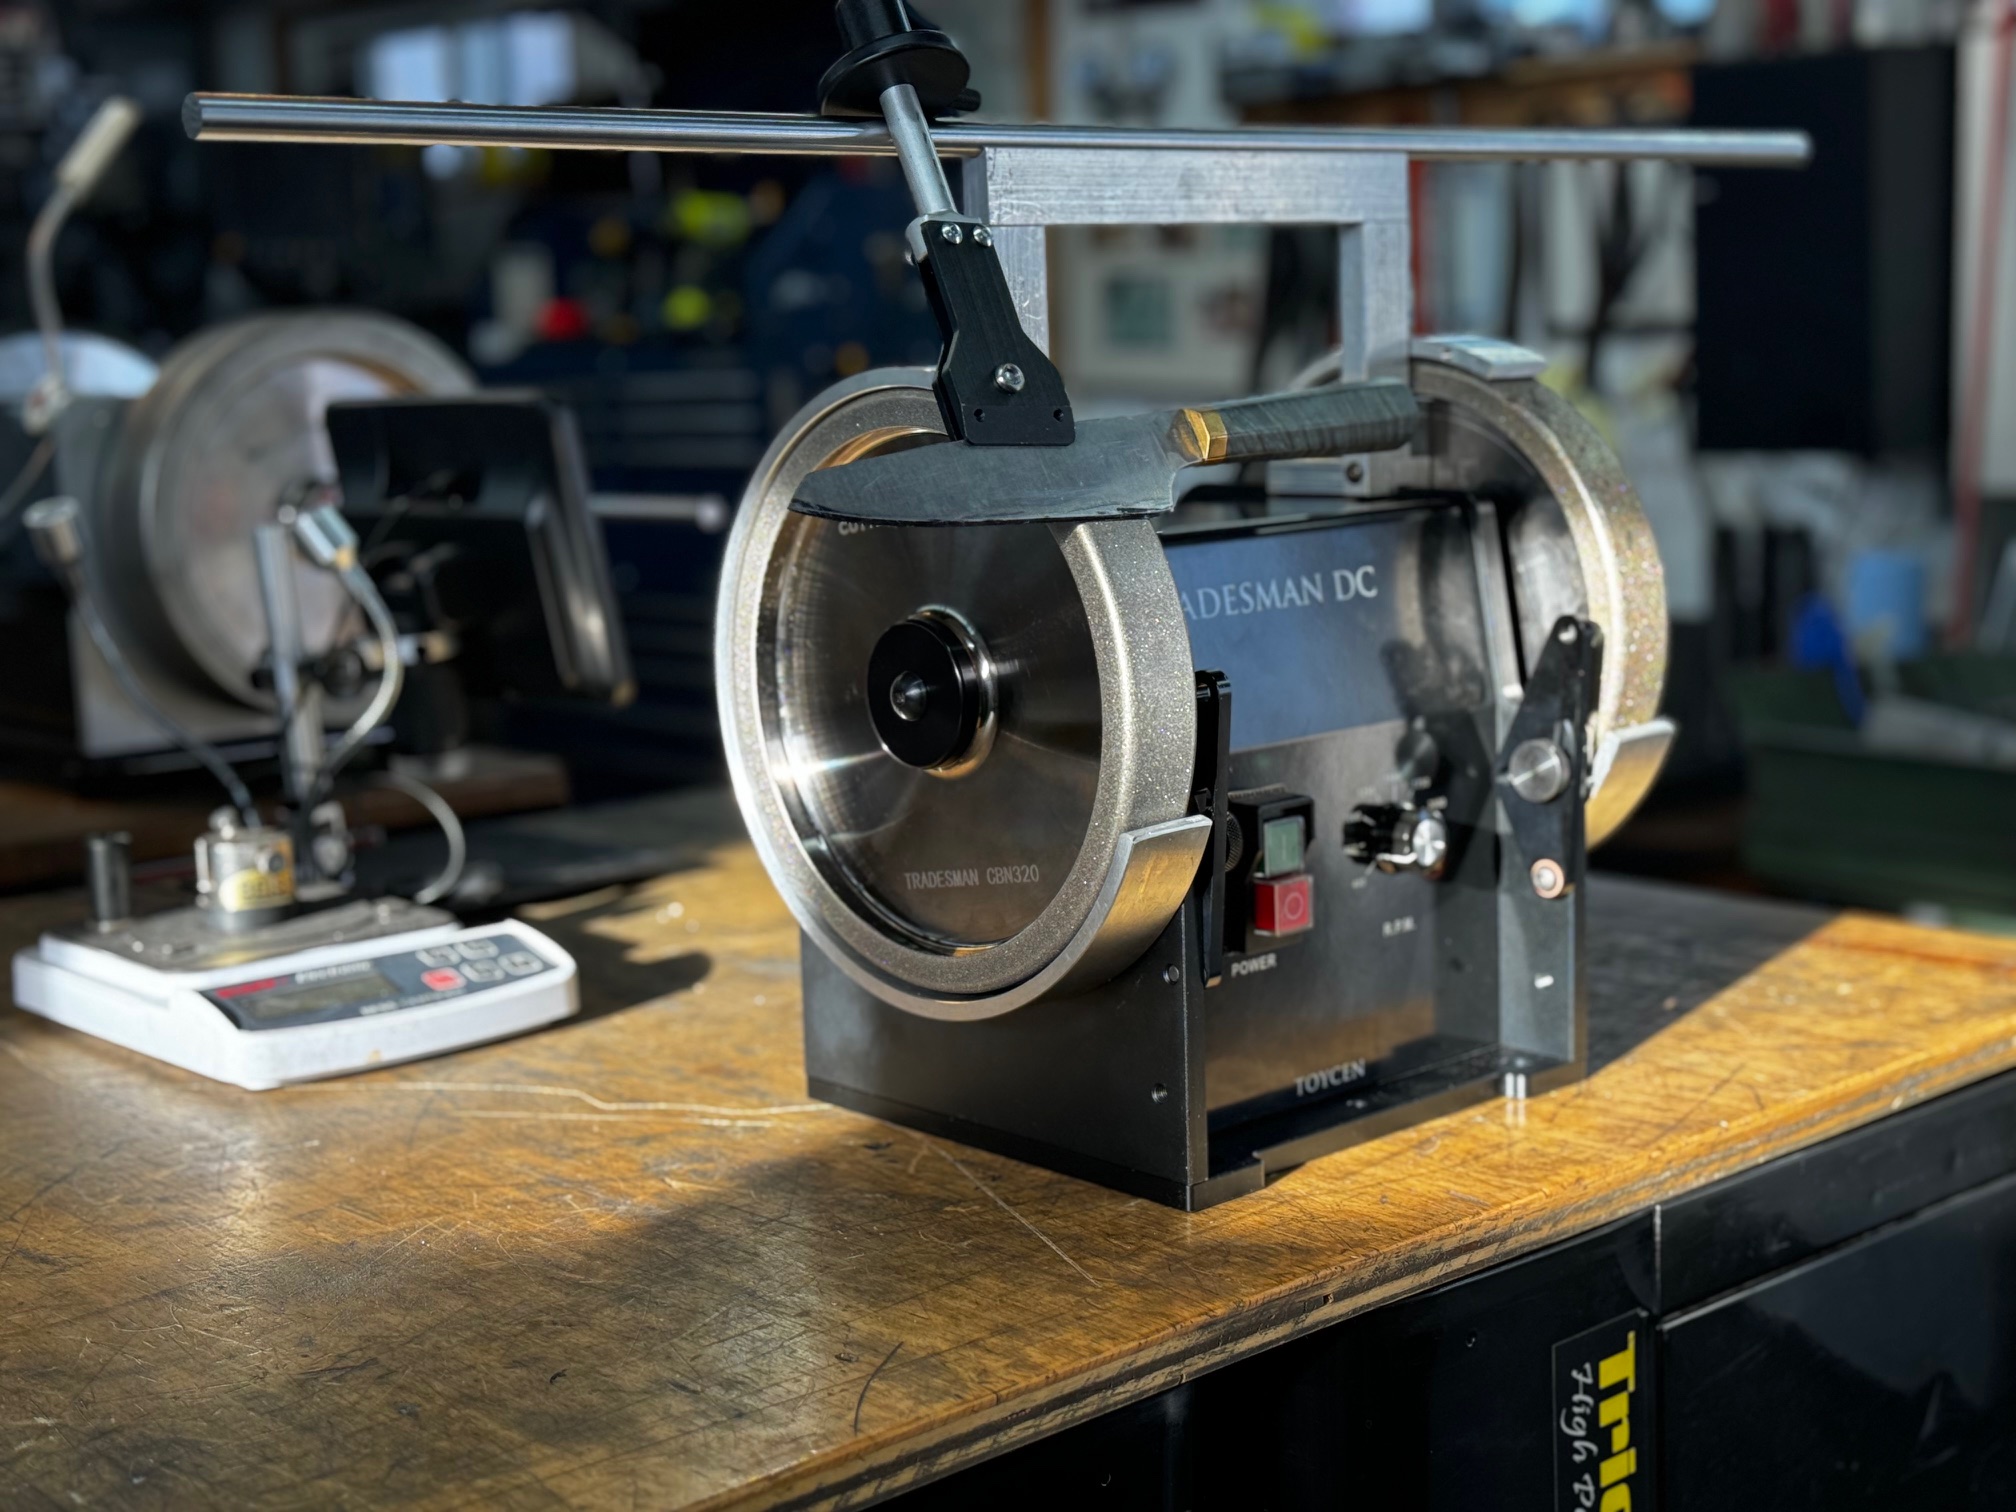
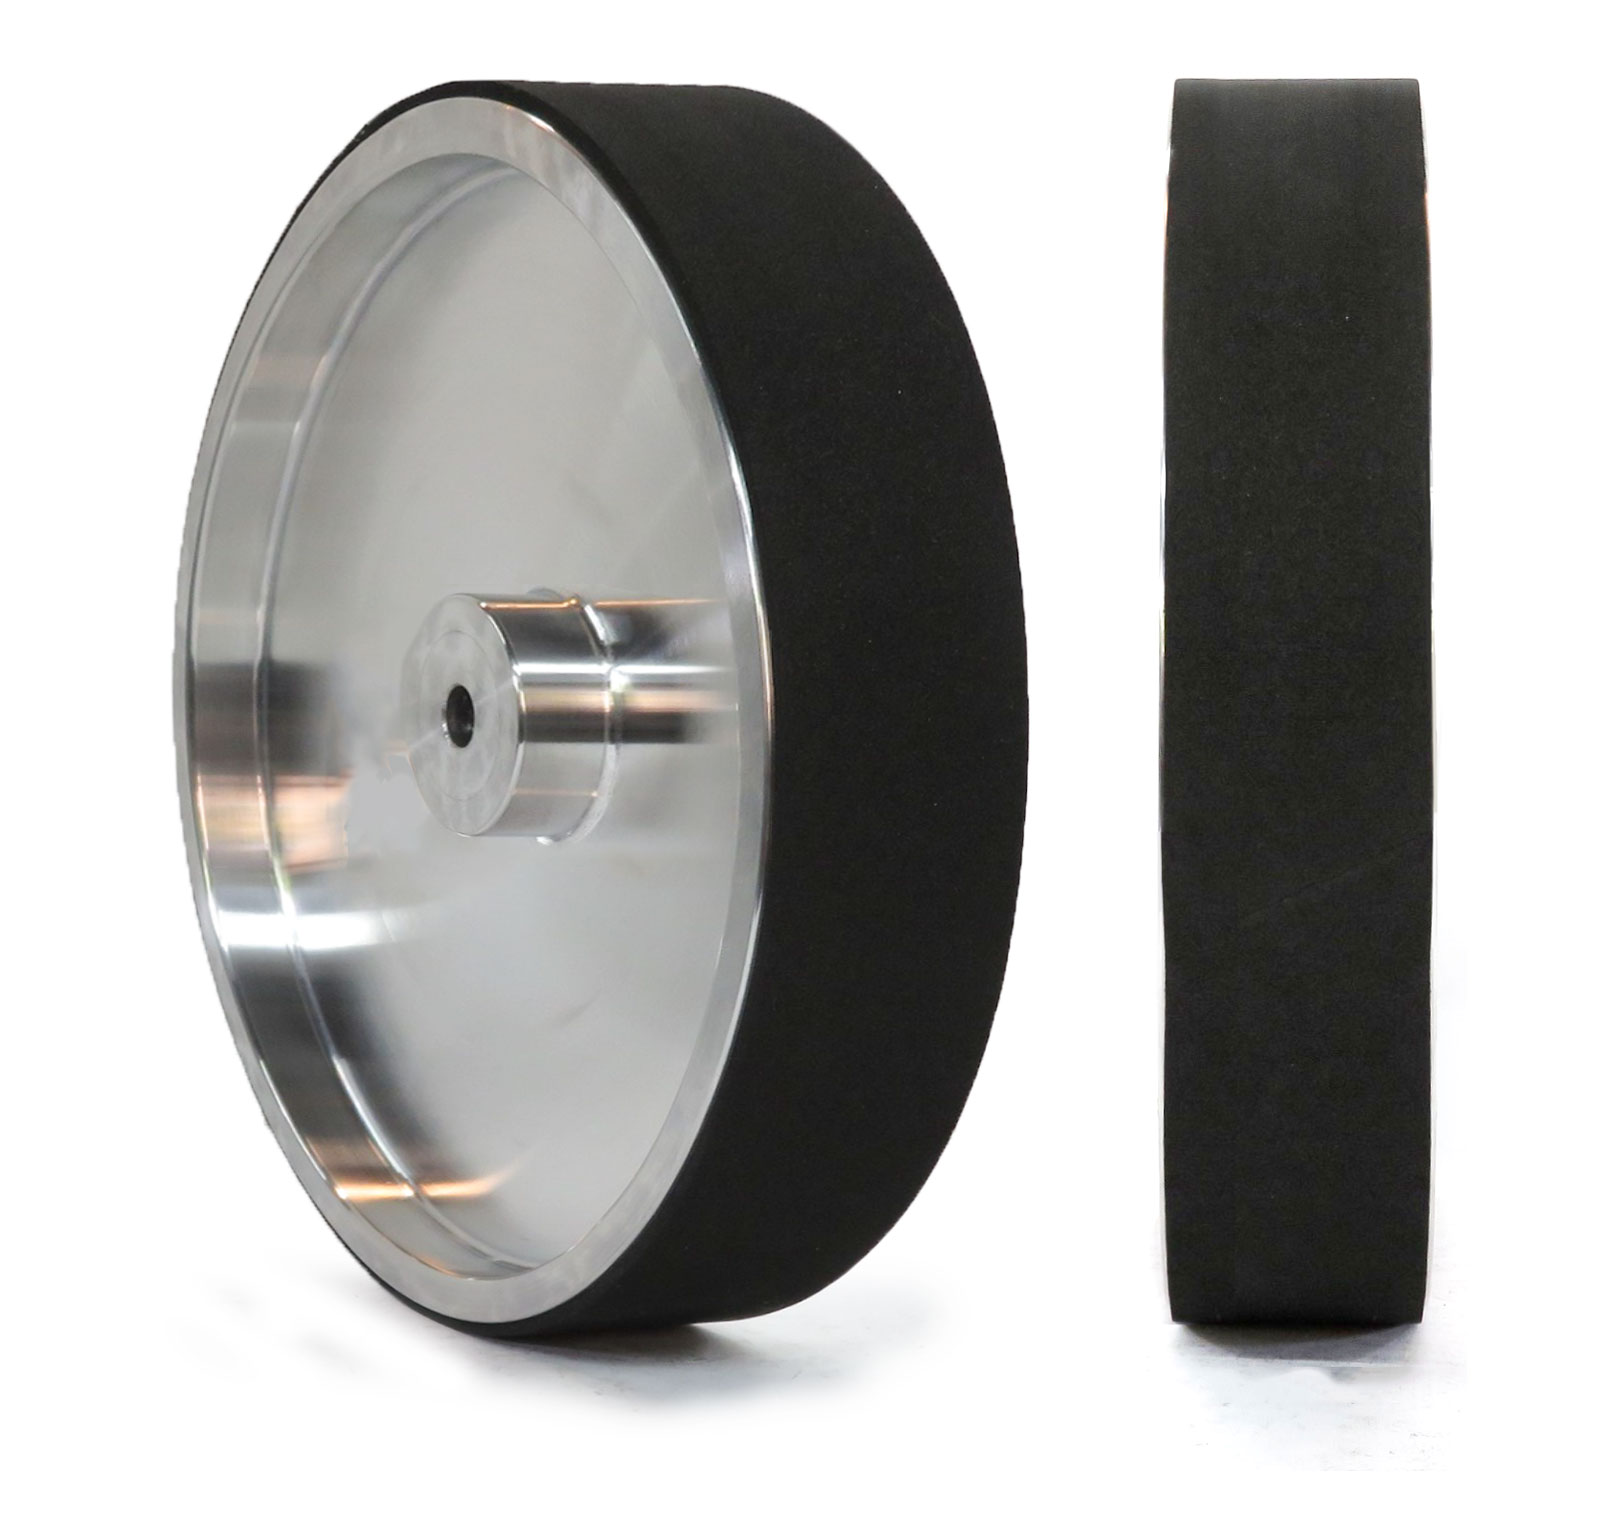
Tradesman EDGE Apex Tradesman long life Composite wheels
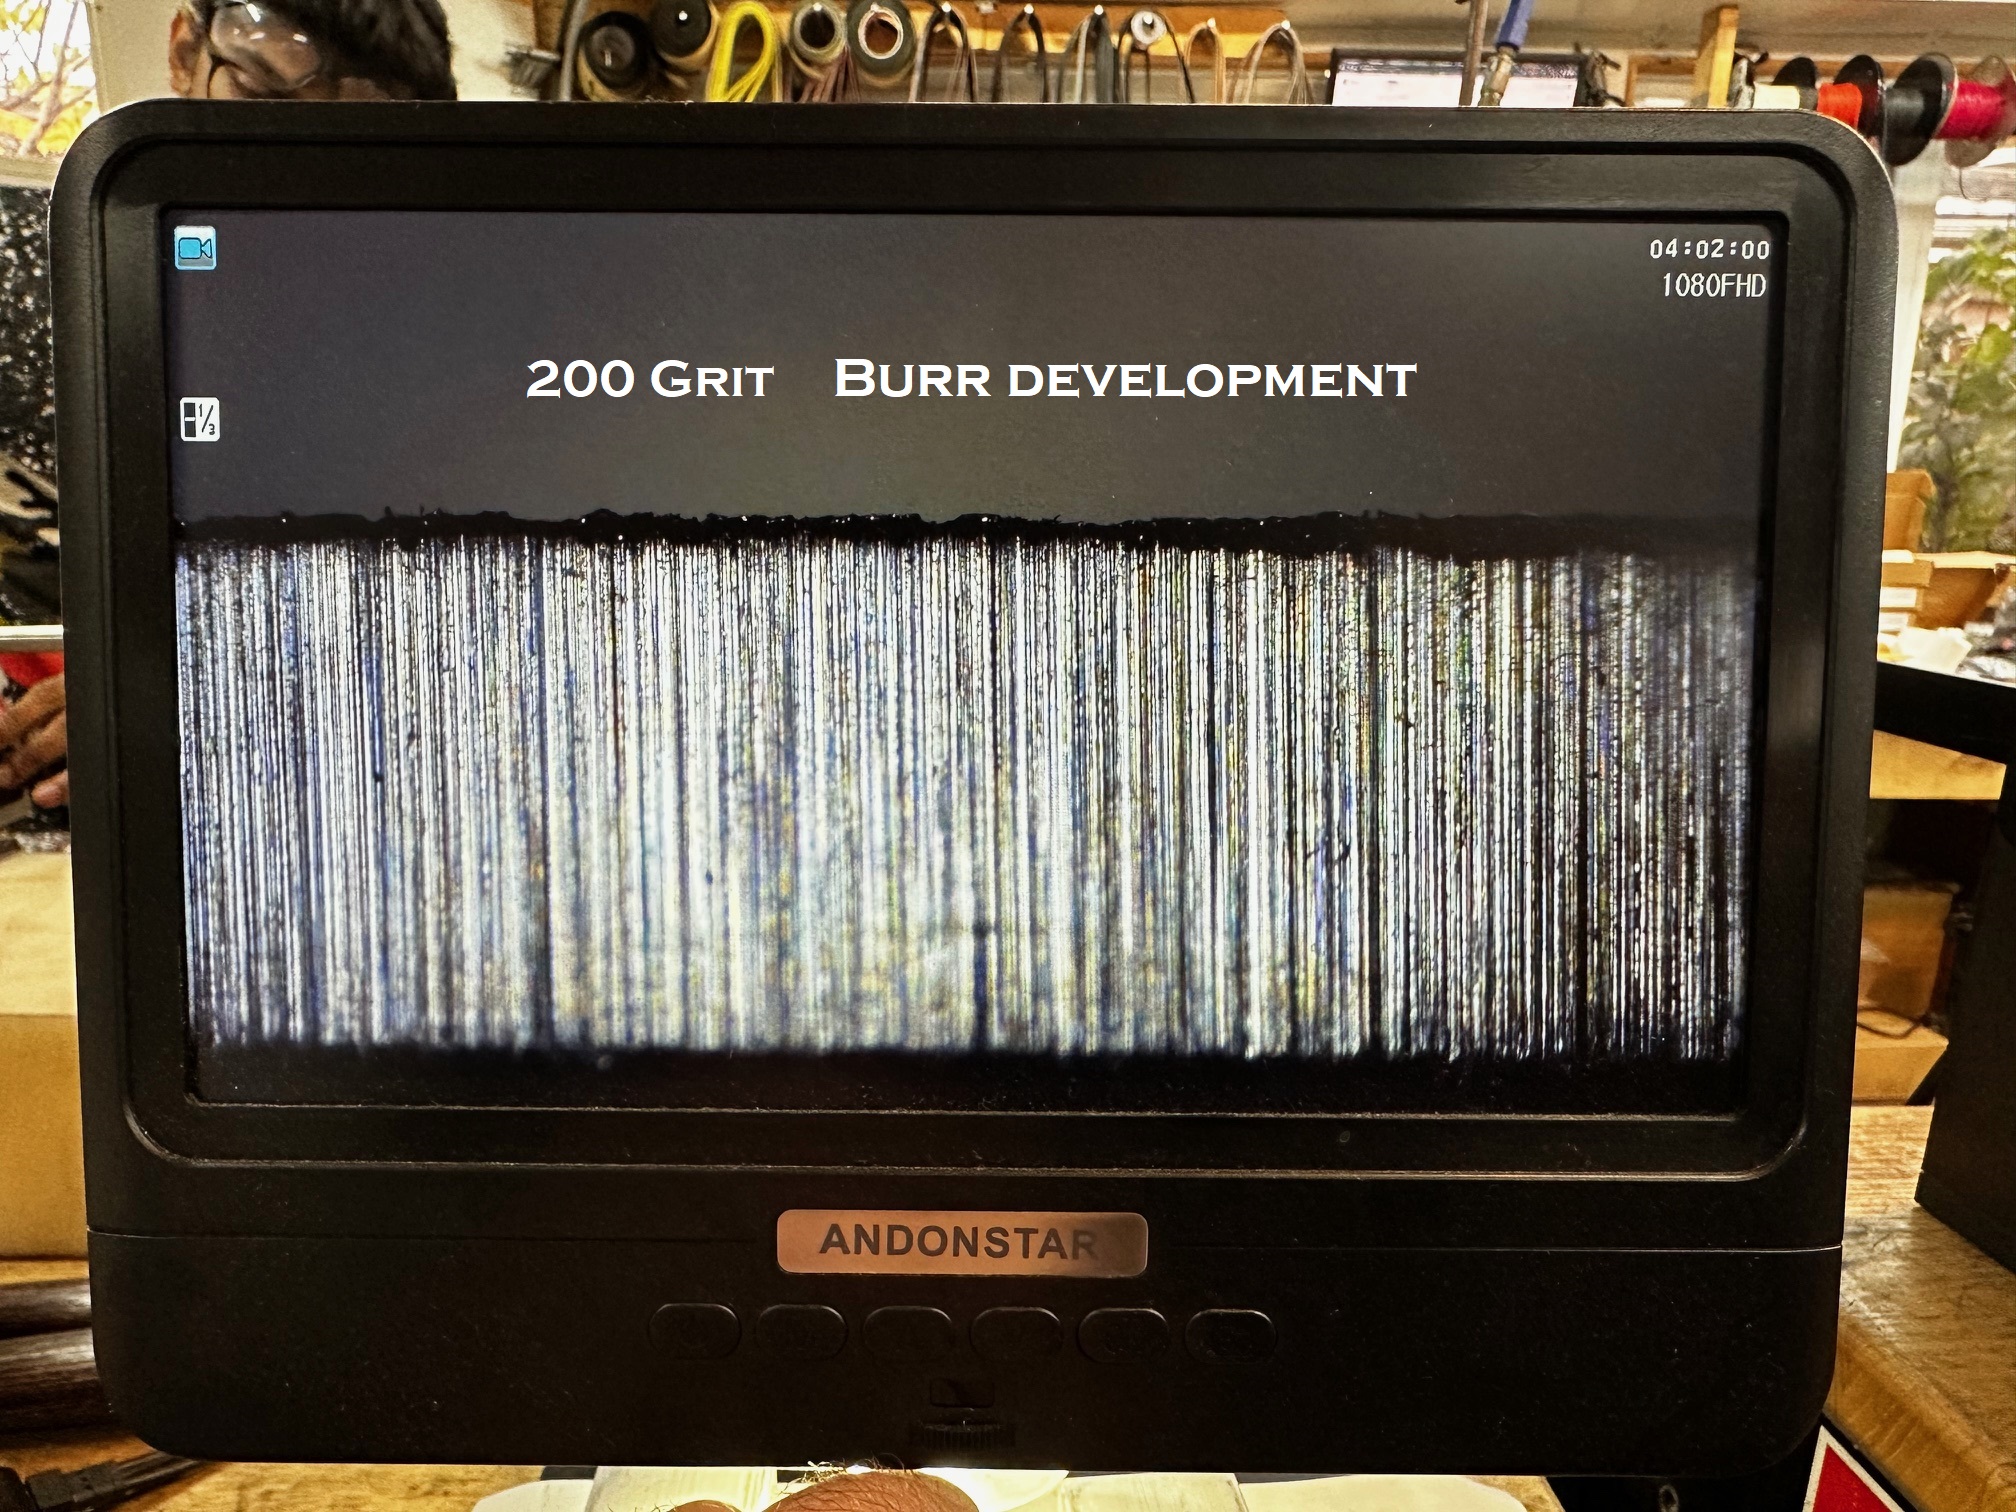

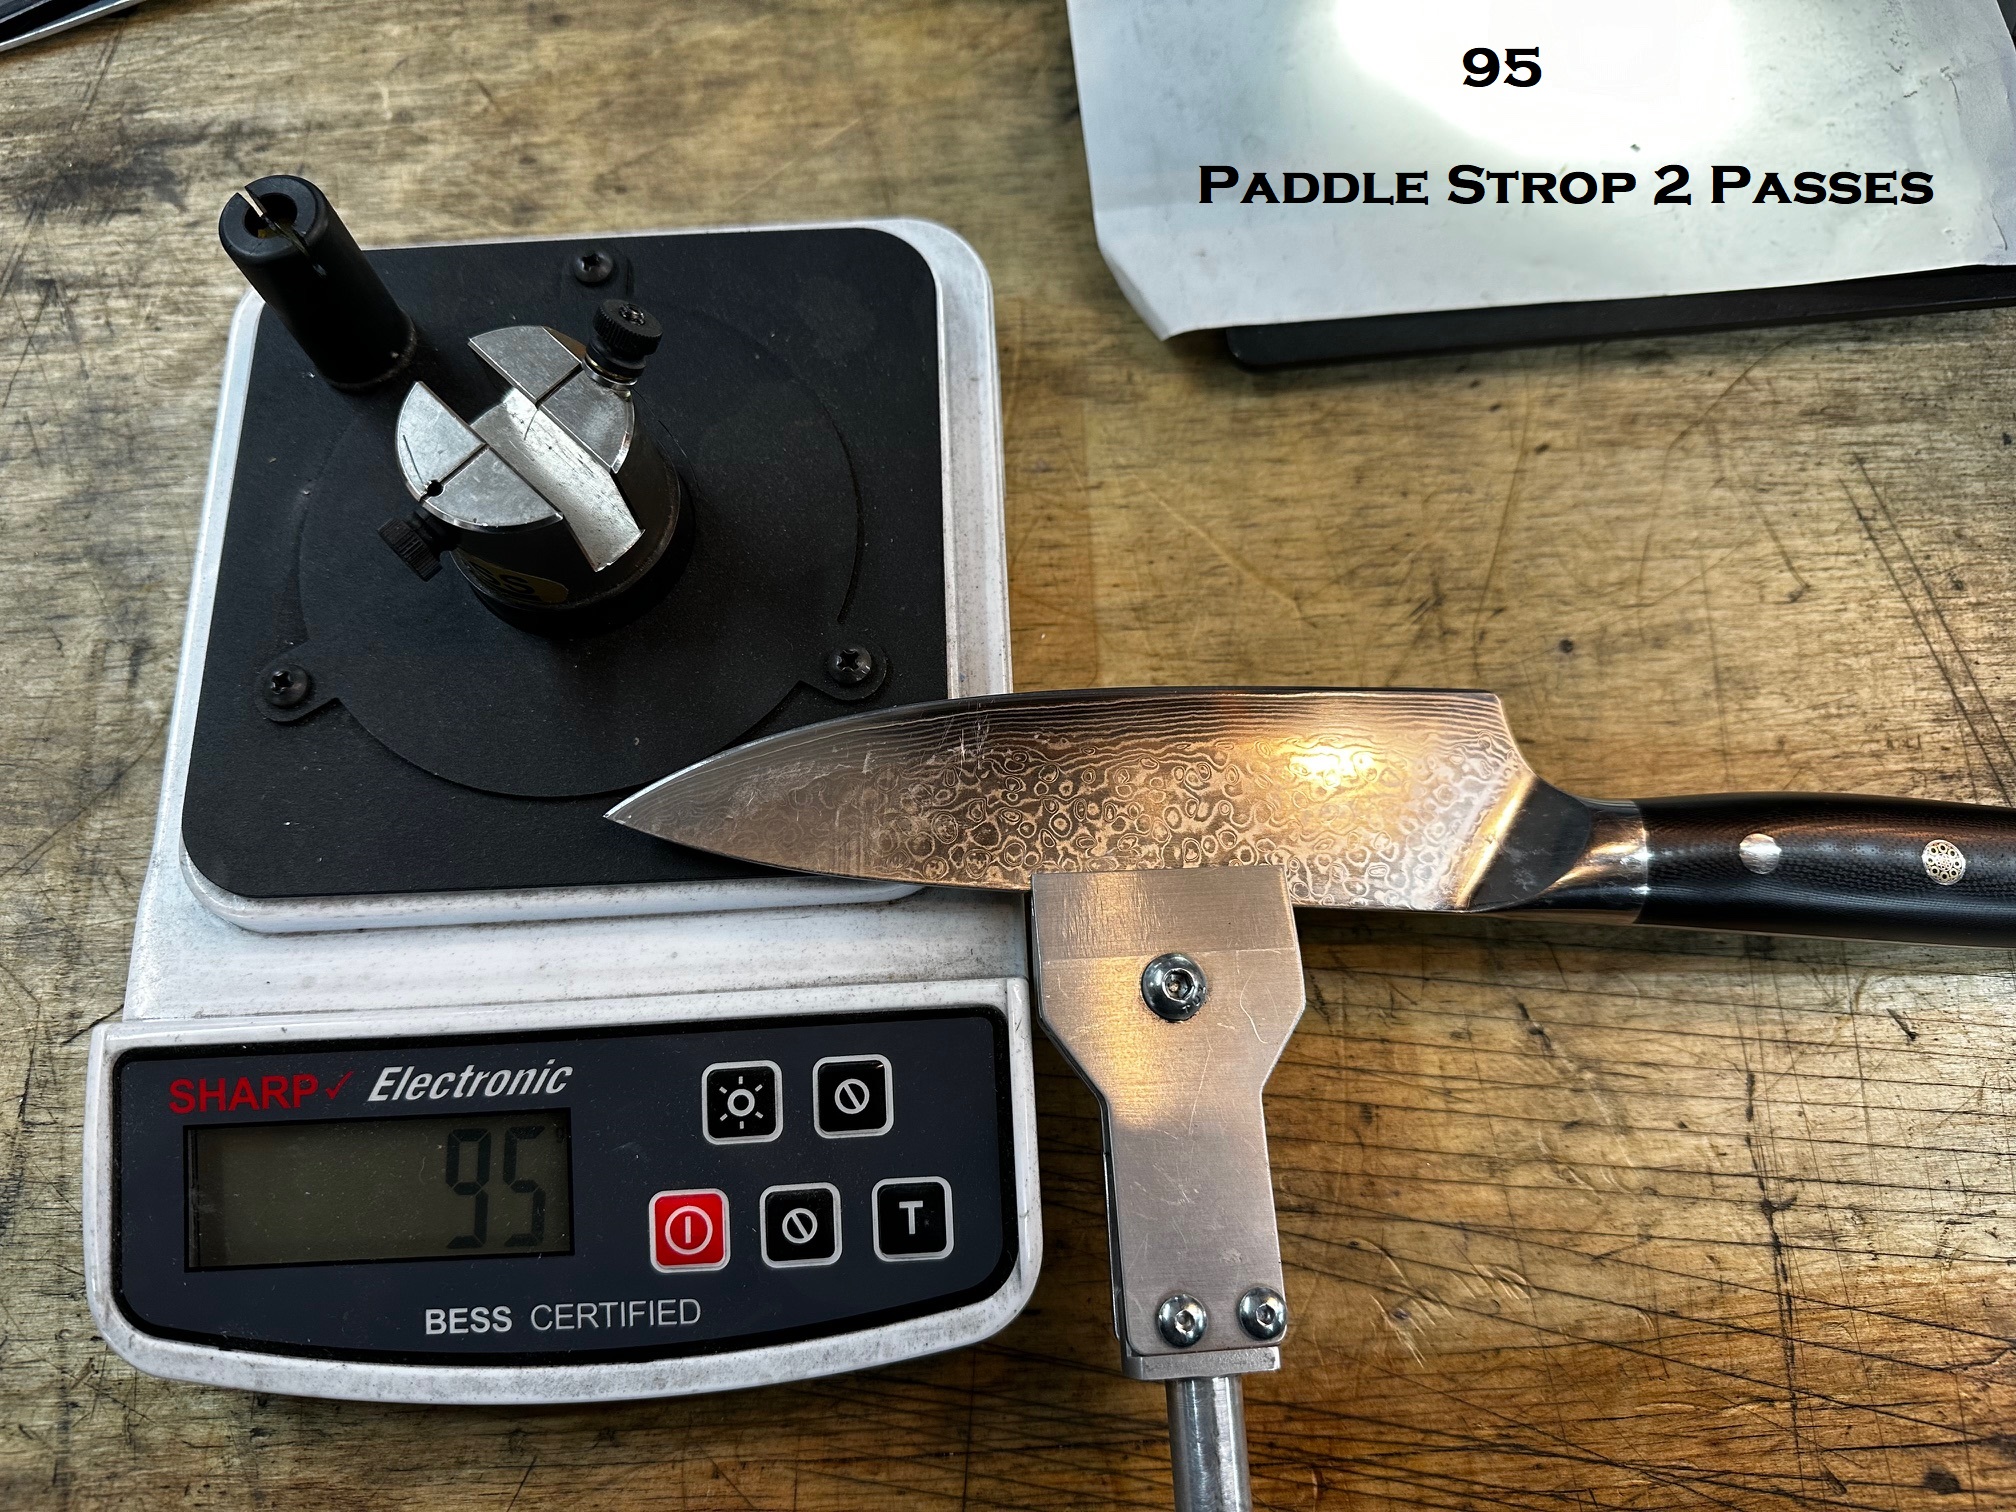
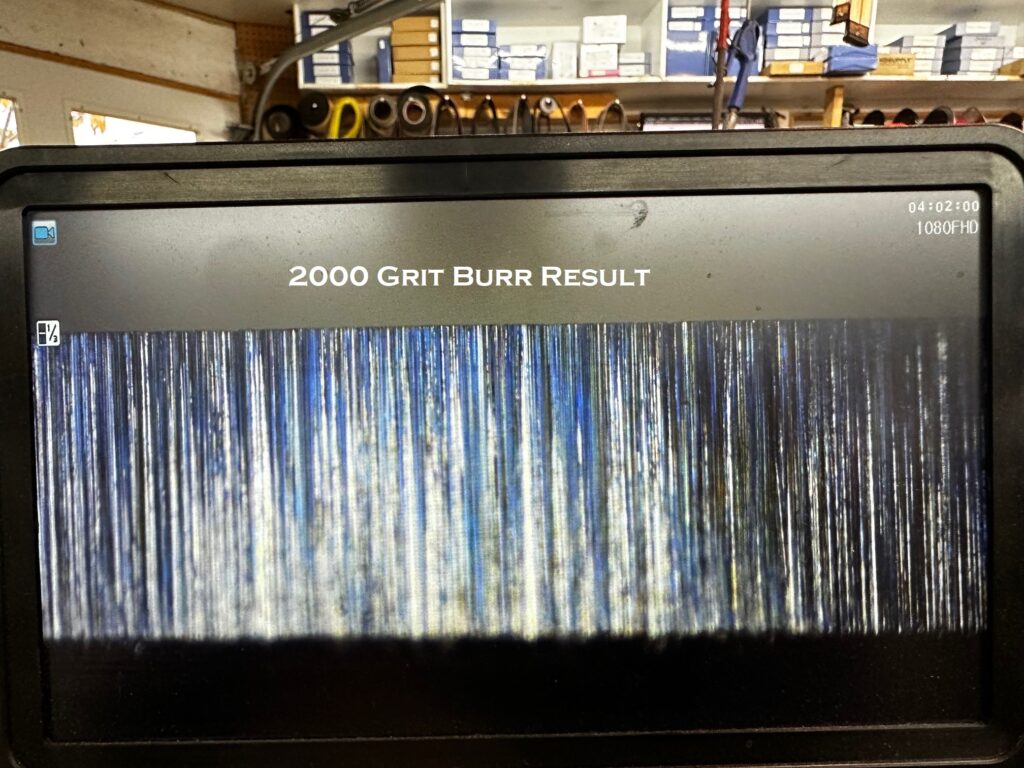
This is a 200 grit roughing 2000 Grit Edge prep 95 2 light strokes on Radial Strop
Belts 1×42 and 2×42 Trizact Style Thick Resin Layer with embedded grit
These belts made by Amecci in Canada
Trizact Style (Thick Abrasive Resin on the belt face for long life)
We have D100 (220) D35 (800) D 20 (1000) and D16 (2000) Grit In Stock
JENDE Sprays and Other cool Kinfemaker goodies
Grip Length Calculator for Tradesman Blade E3 1 x 42 Blade Belt Grinder
Grip Length – Rail Setting Calculator for EDGE Apex 250 mm Wheel type Blade Grinder
How to make your own honing compound
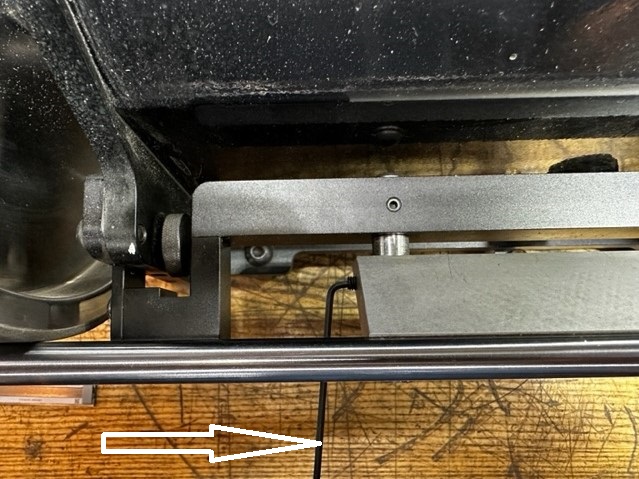
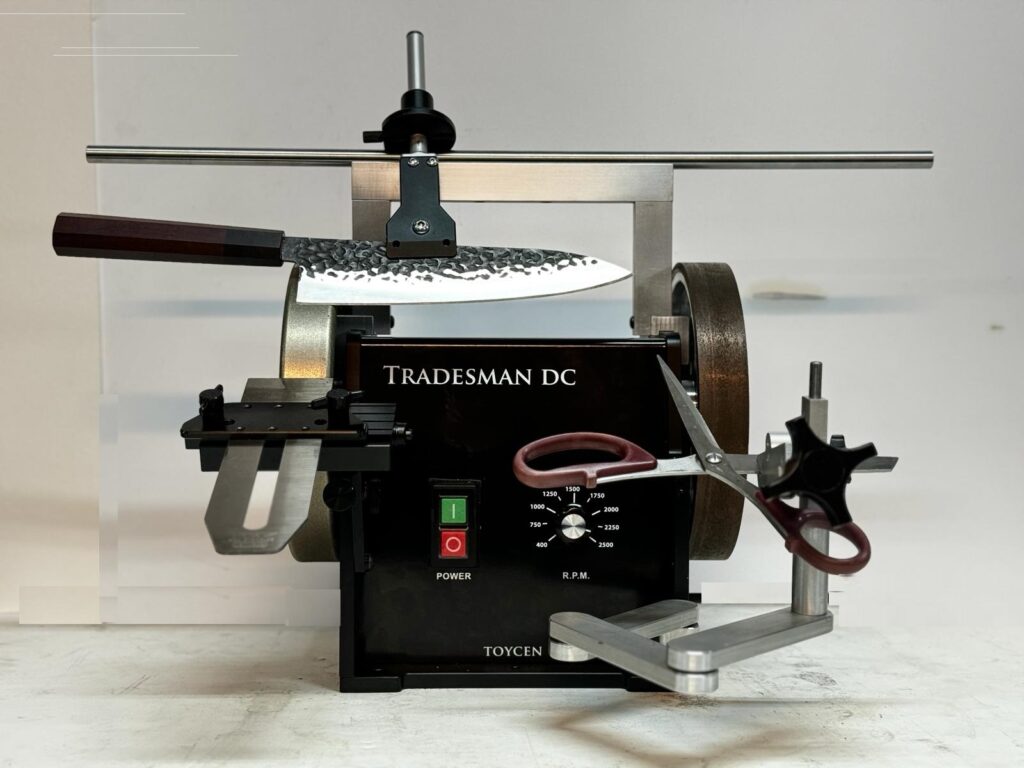
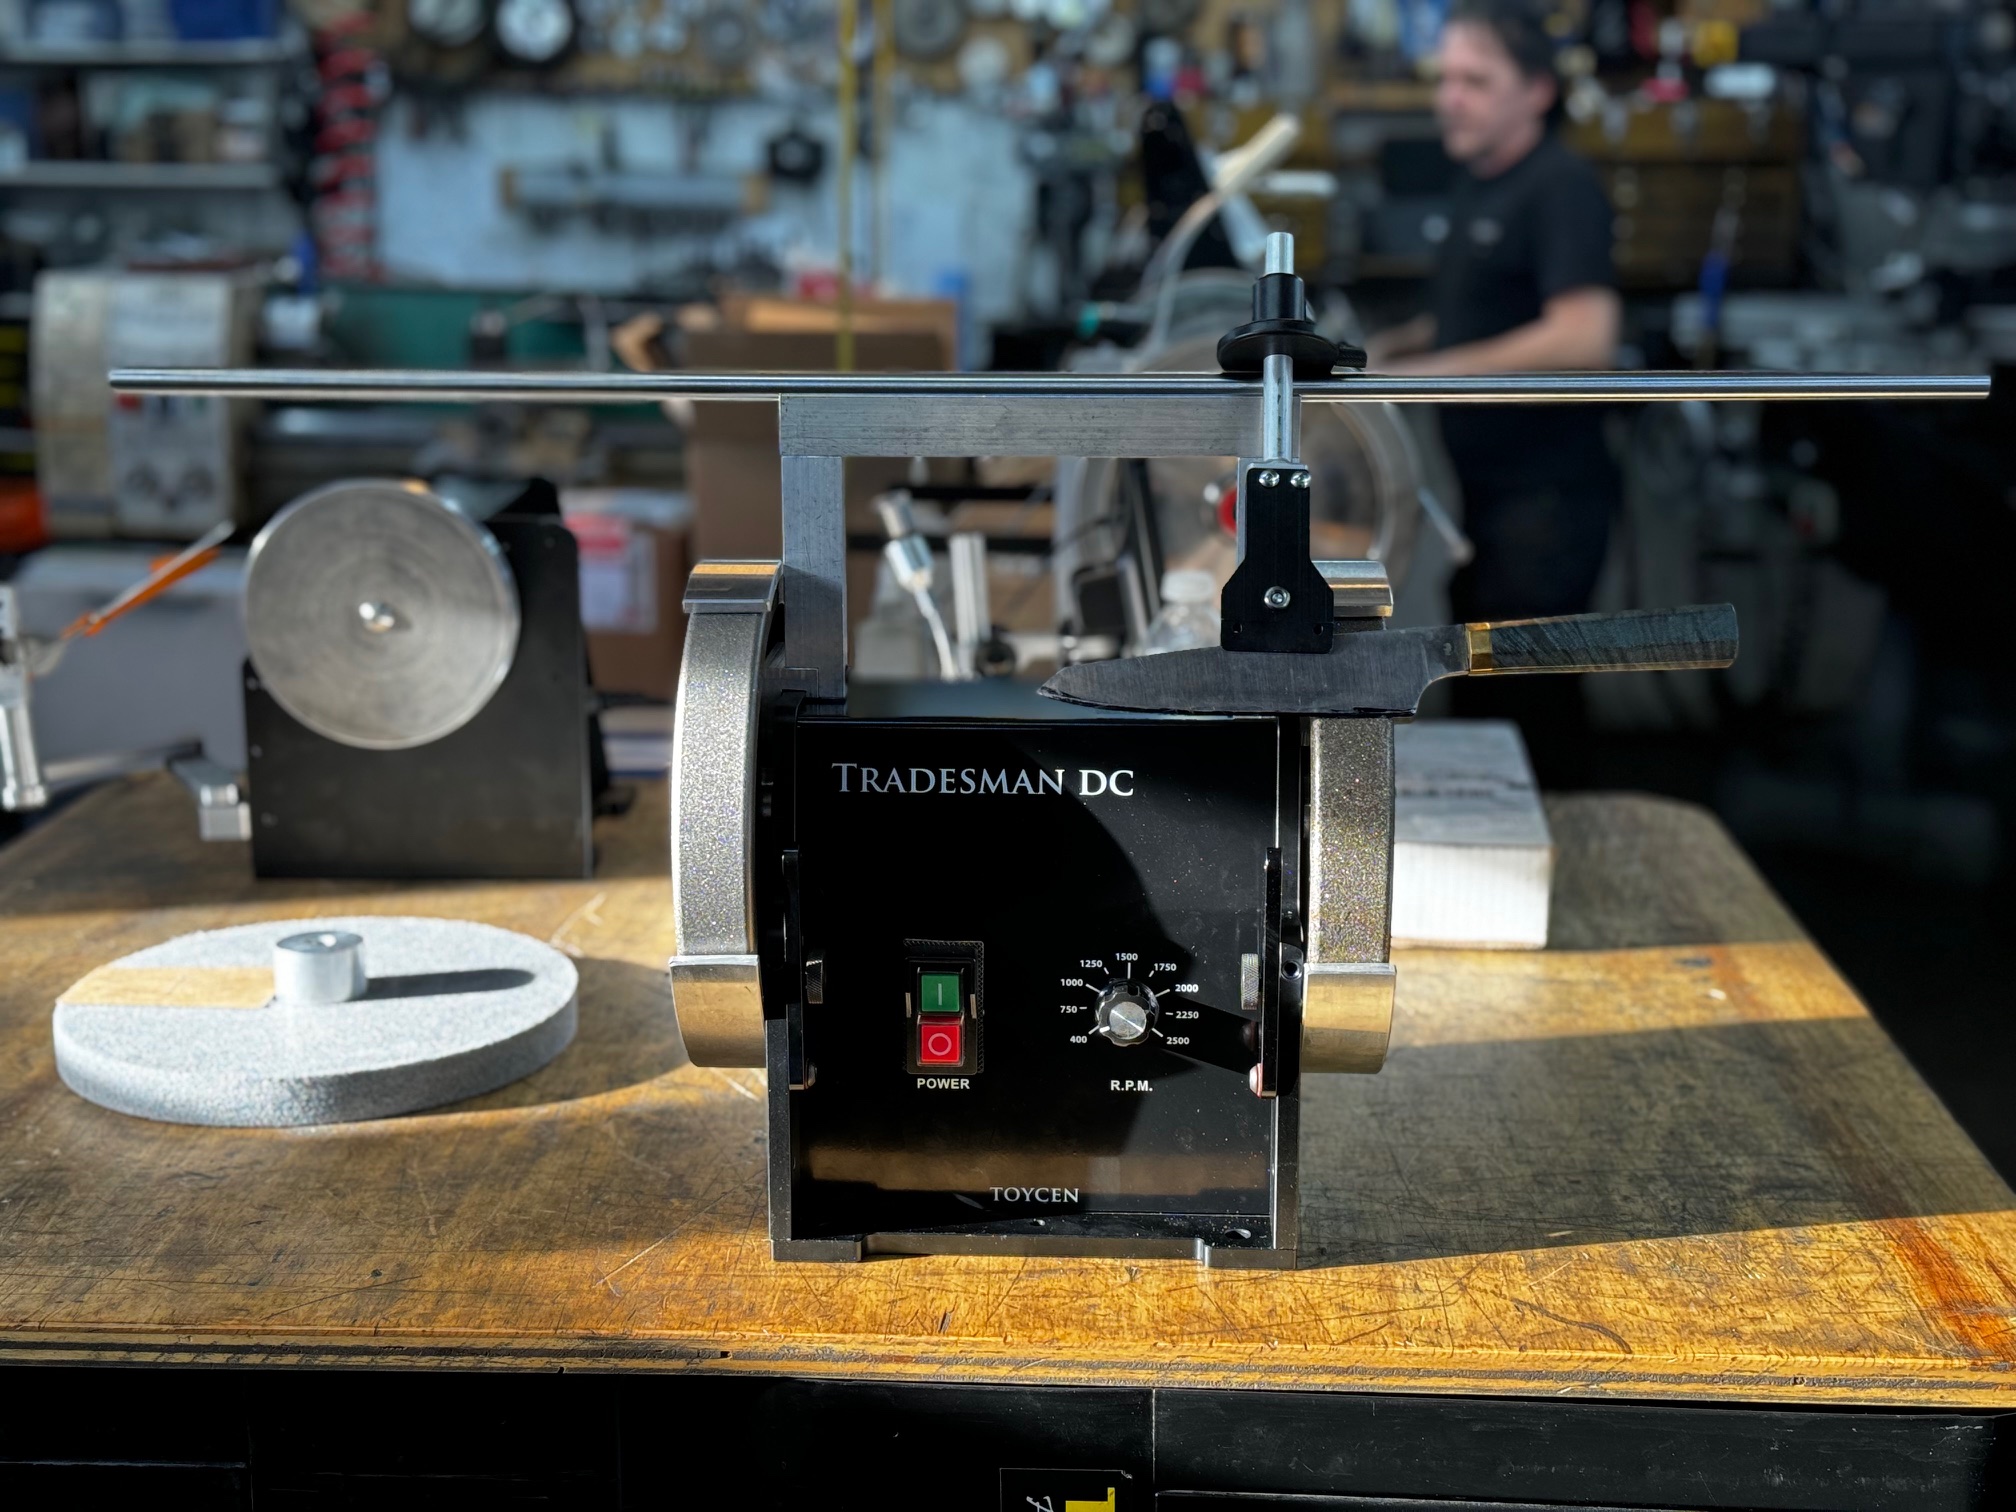
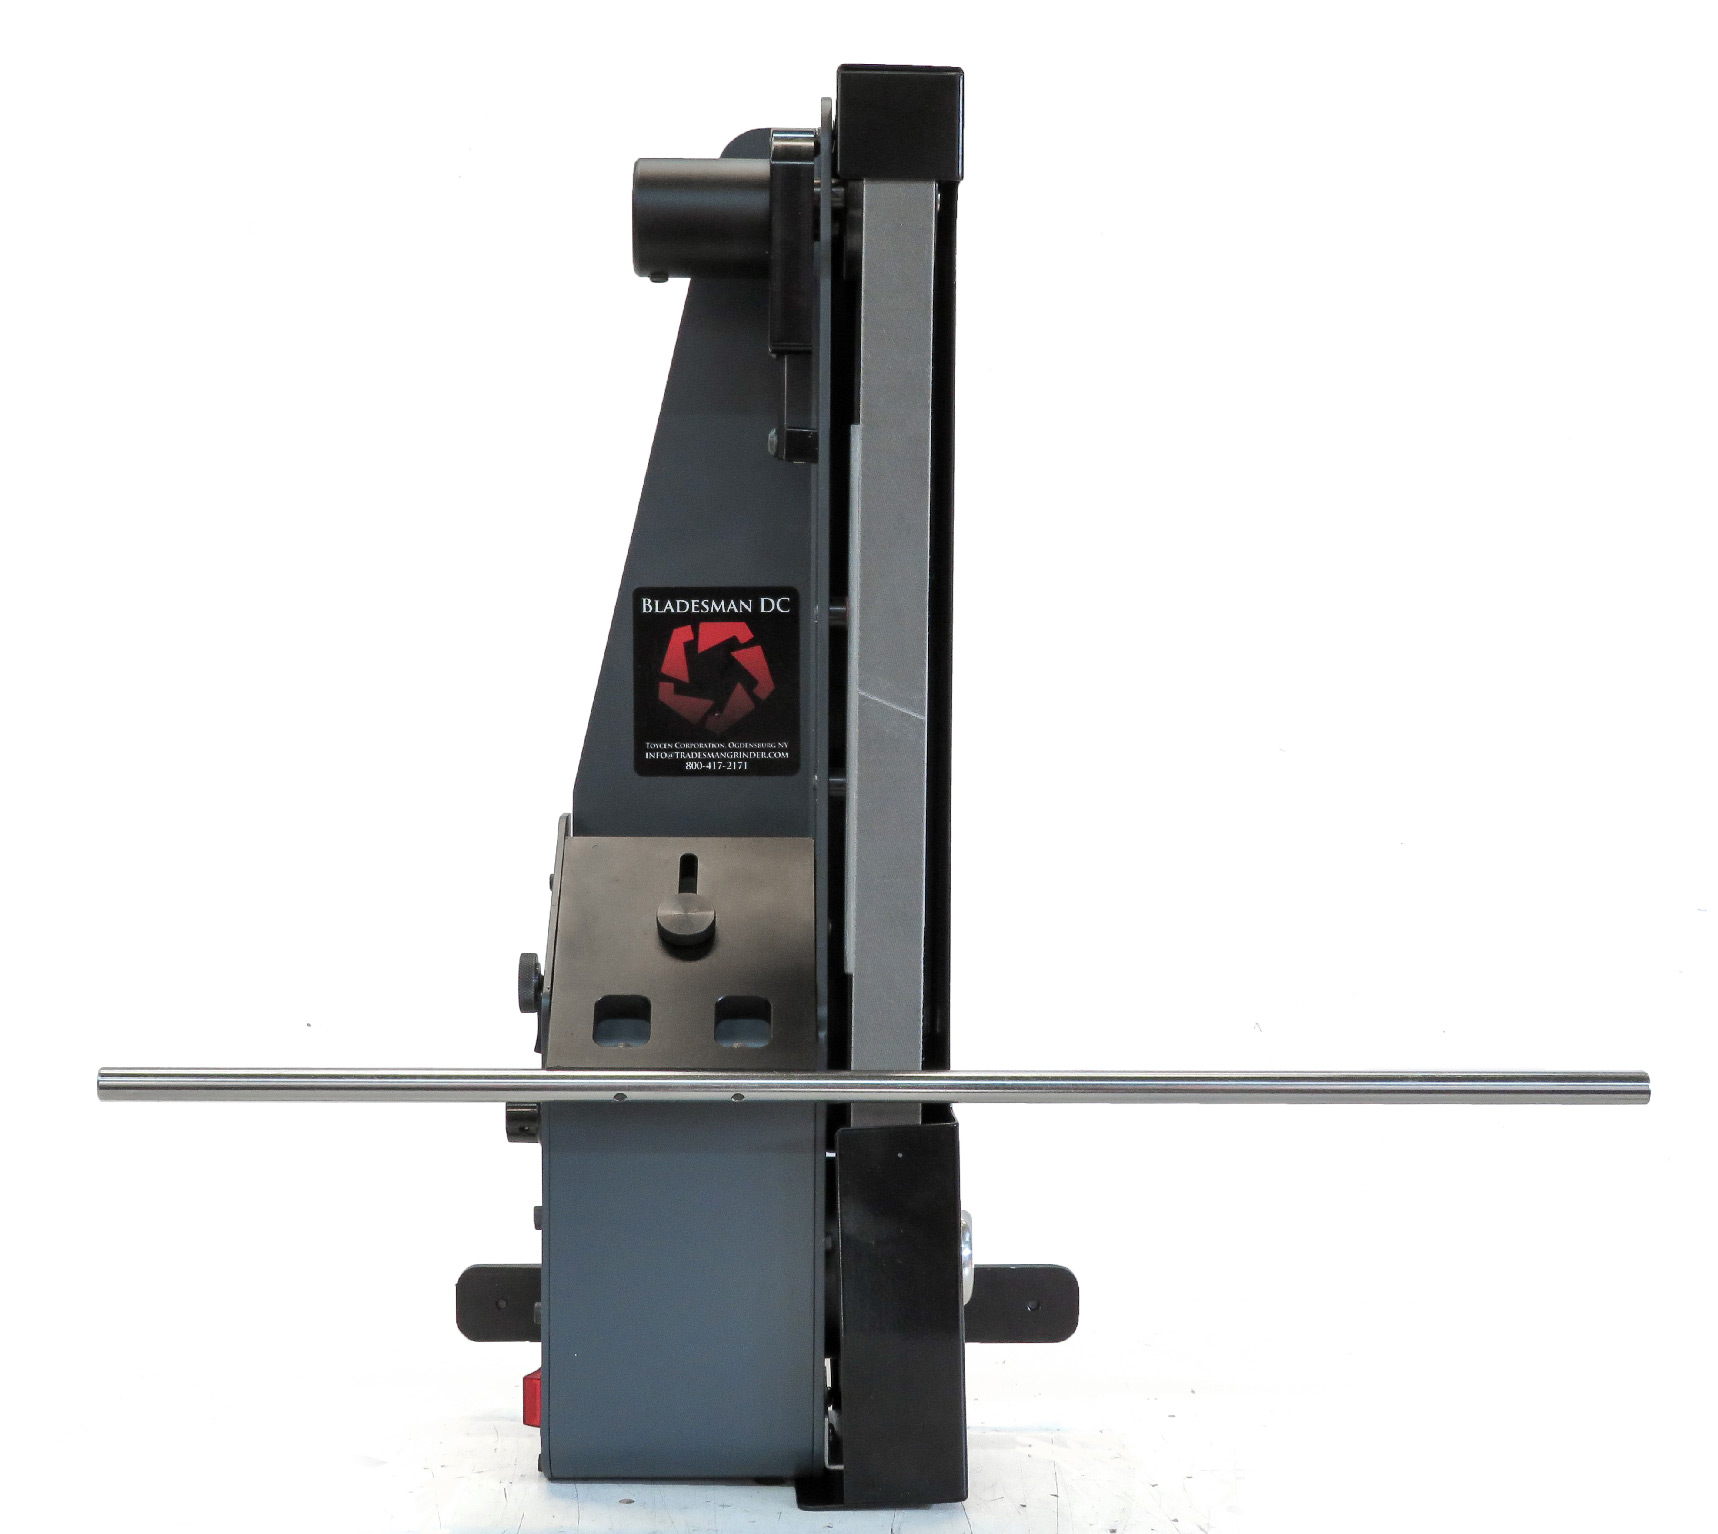
Tradesman EDGE Apex Wheel Diameter Rail Zero Adjustment, good new stuff
When wheel diameters are different bring the rail to the wheel surfaces and Zero the rails
Then you are all set to use the angle calculator
Gary Creely, Creely Knives, has the new super steel alloys down to a science.
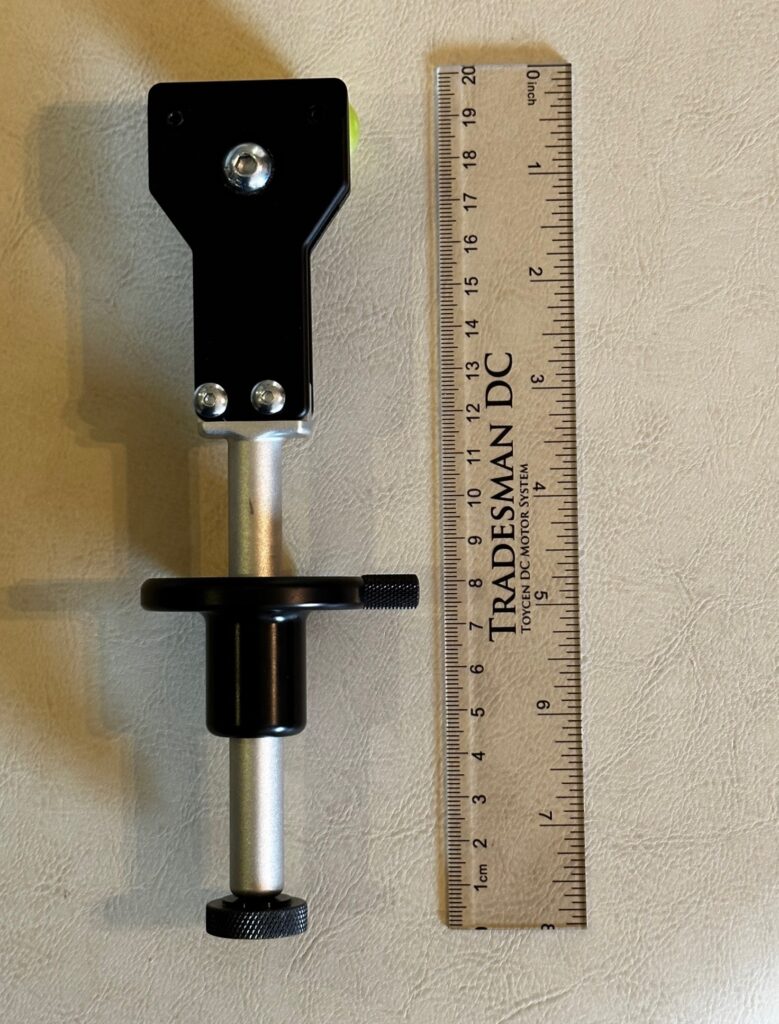
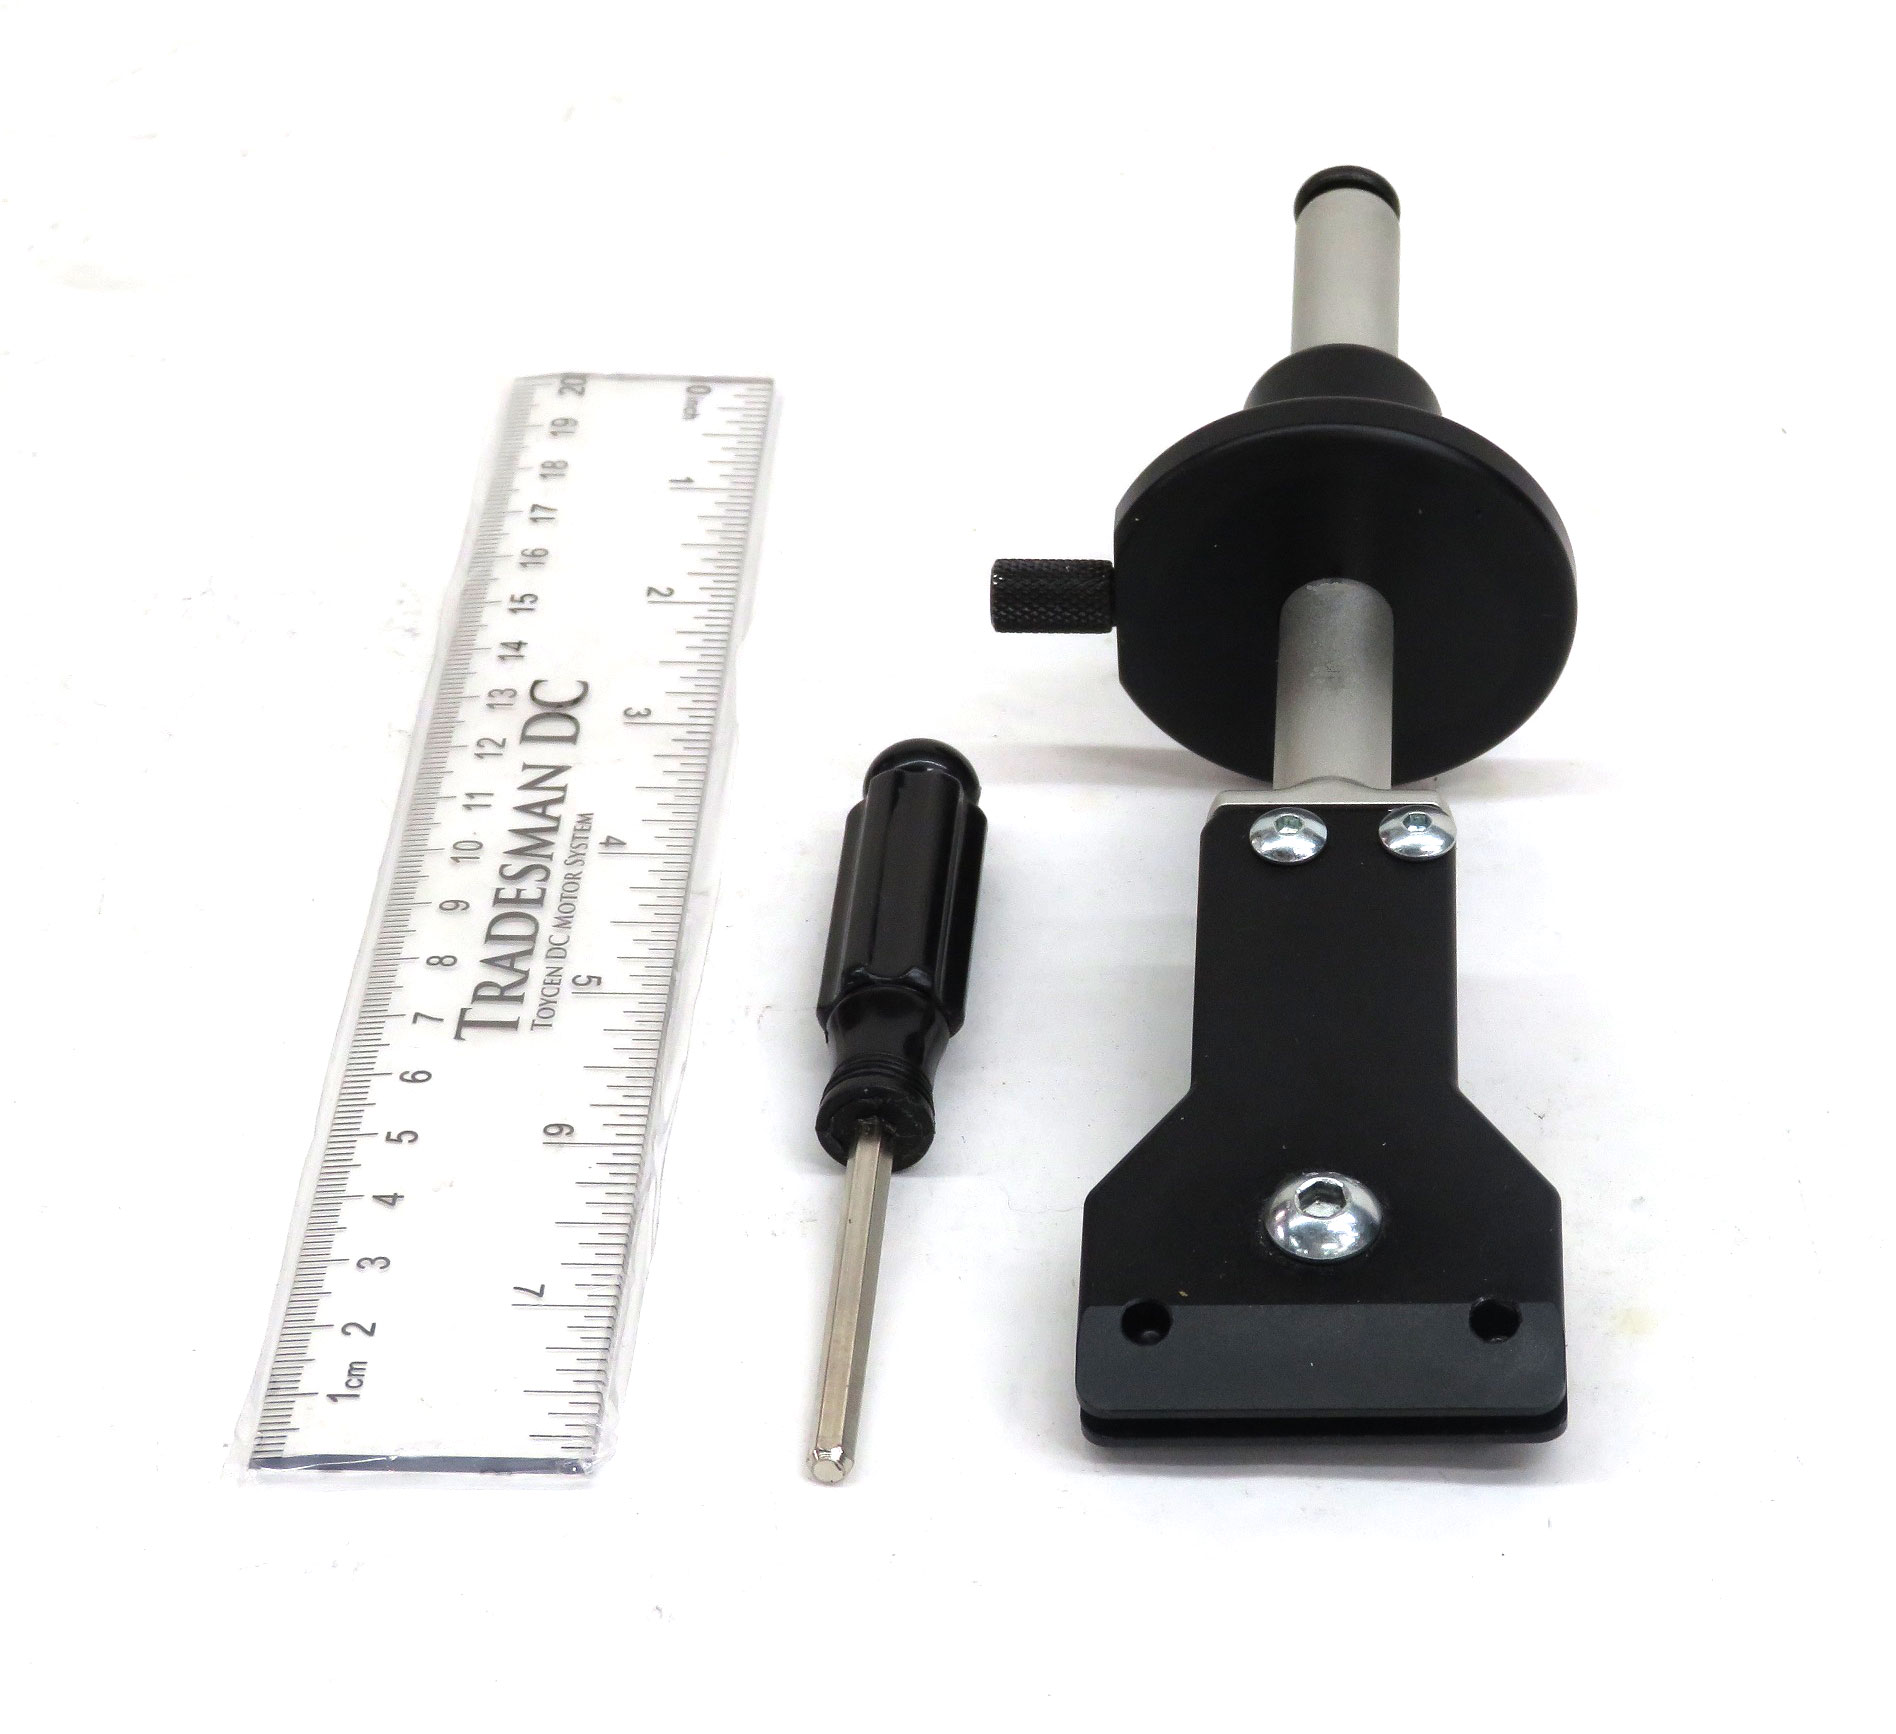
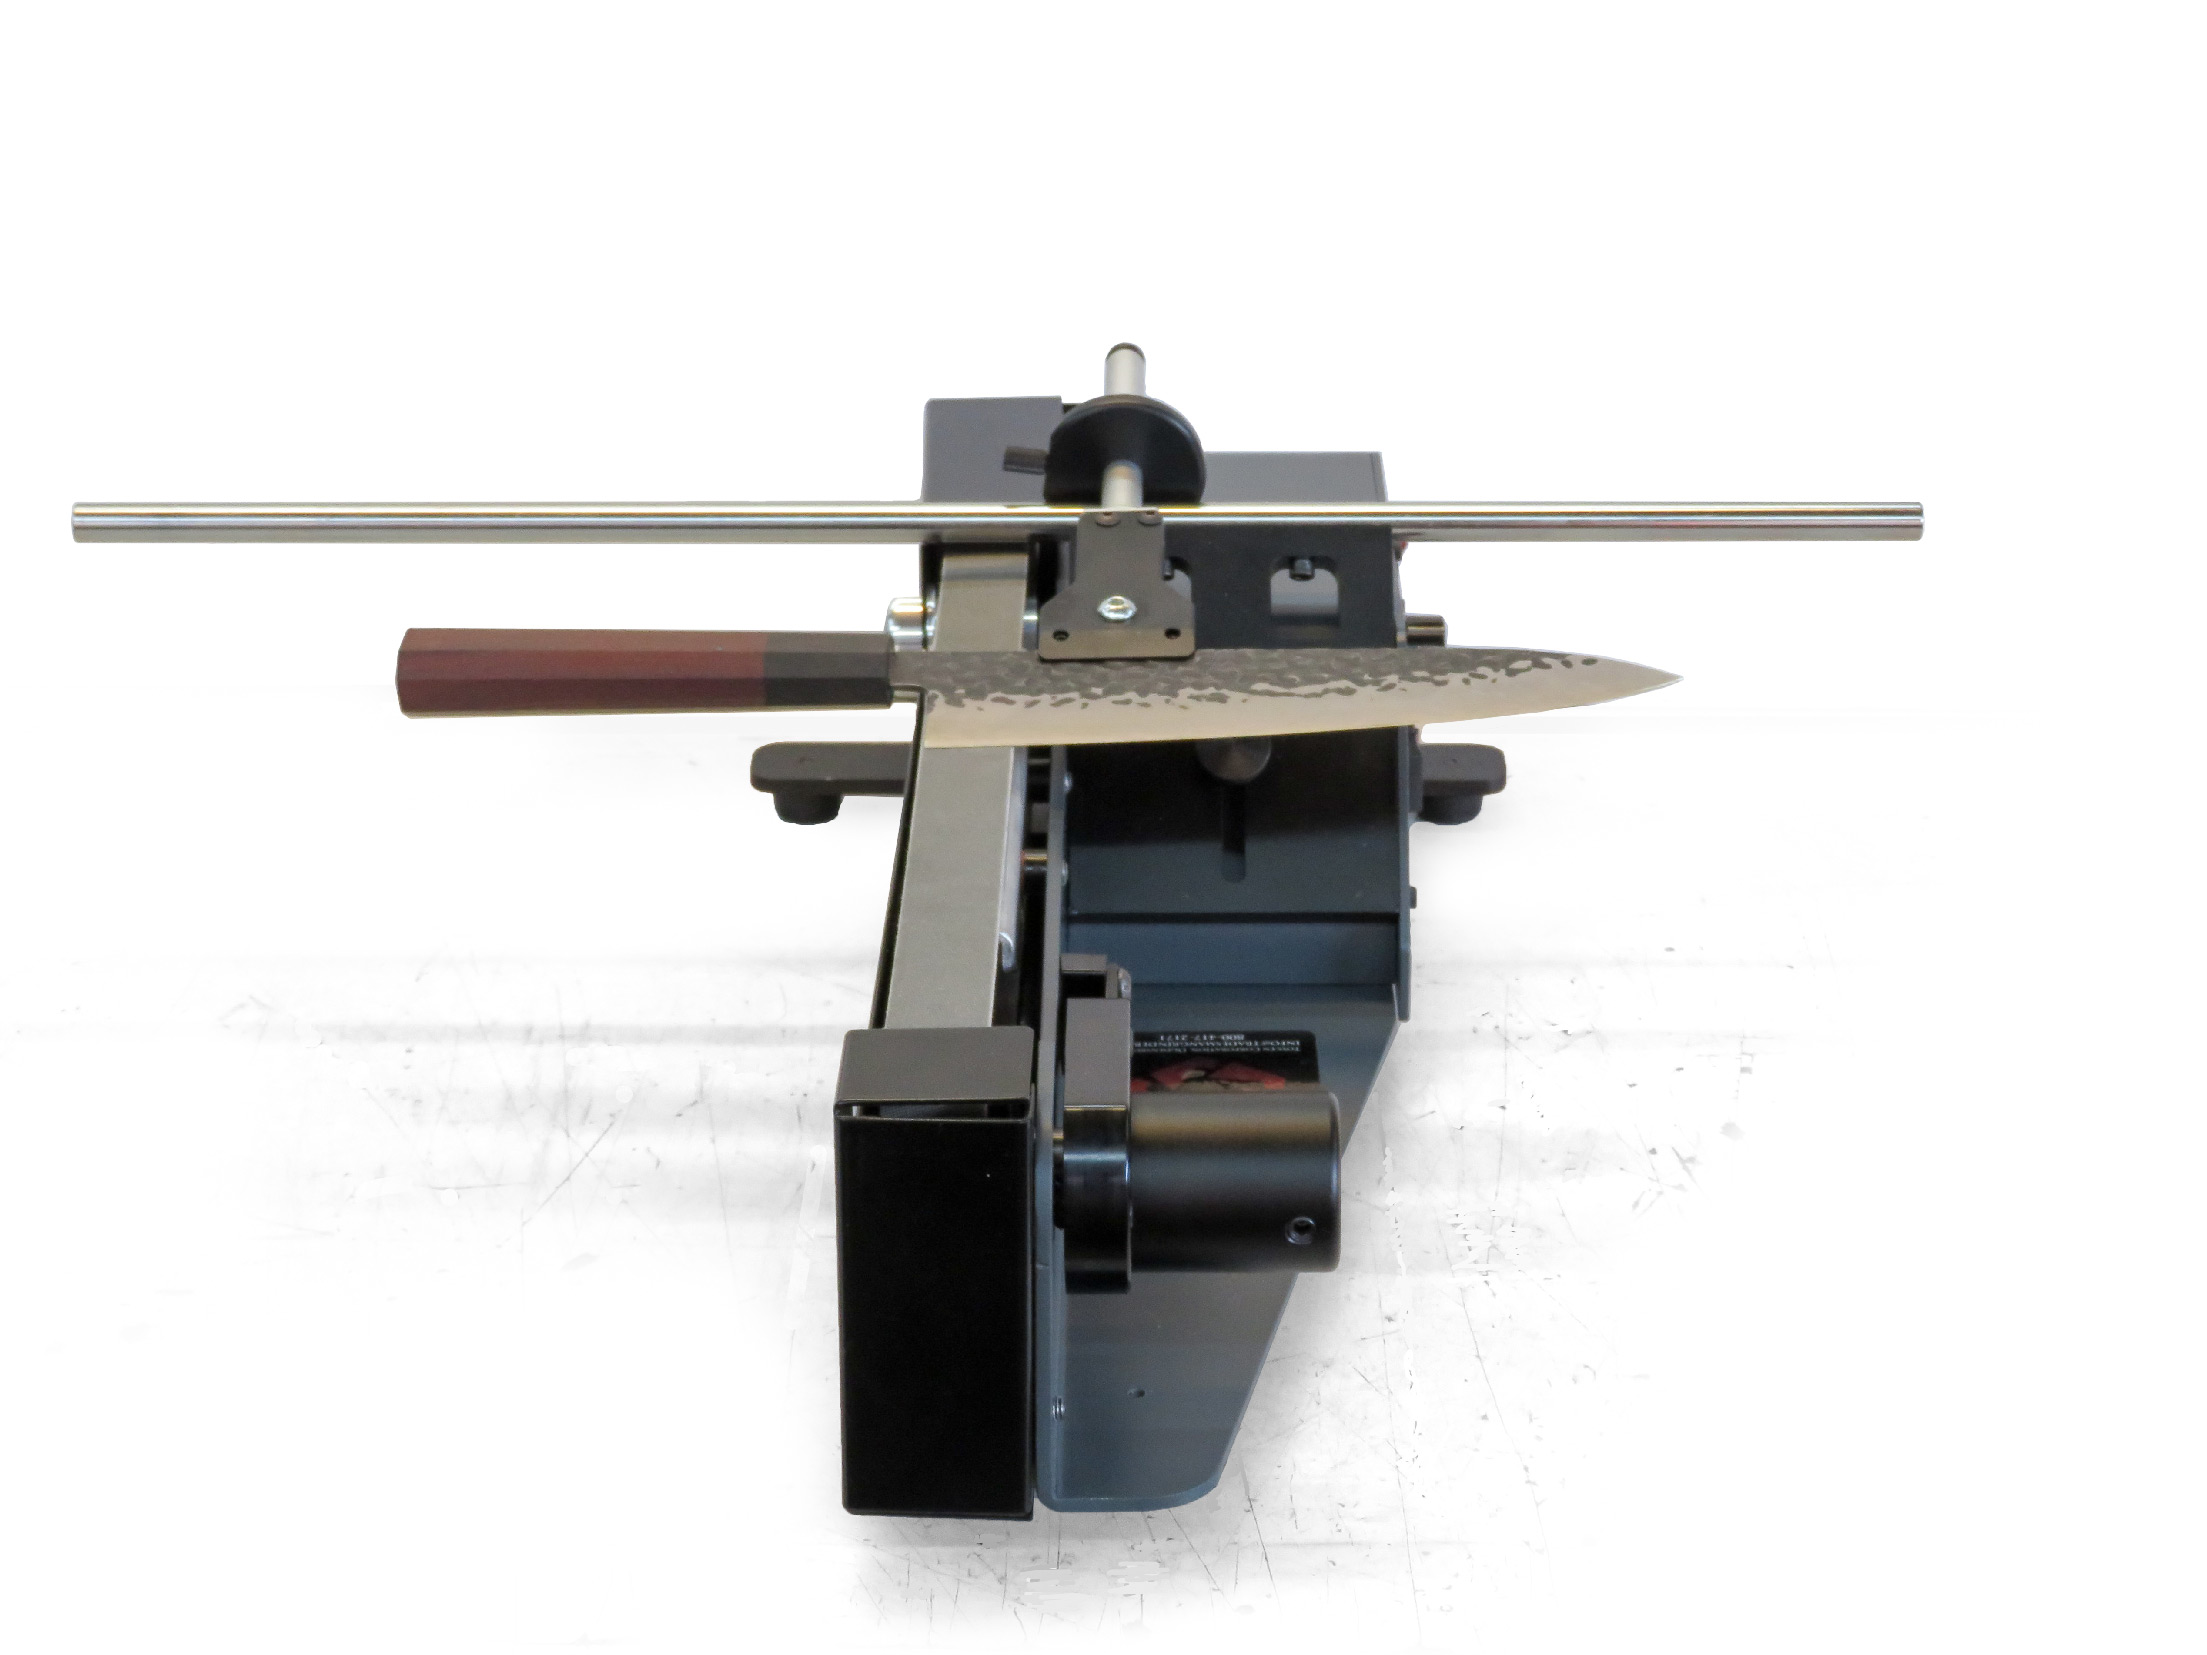
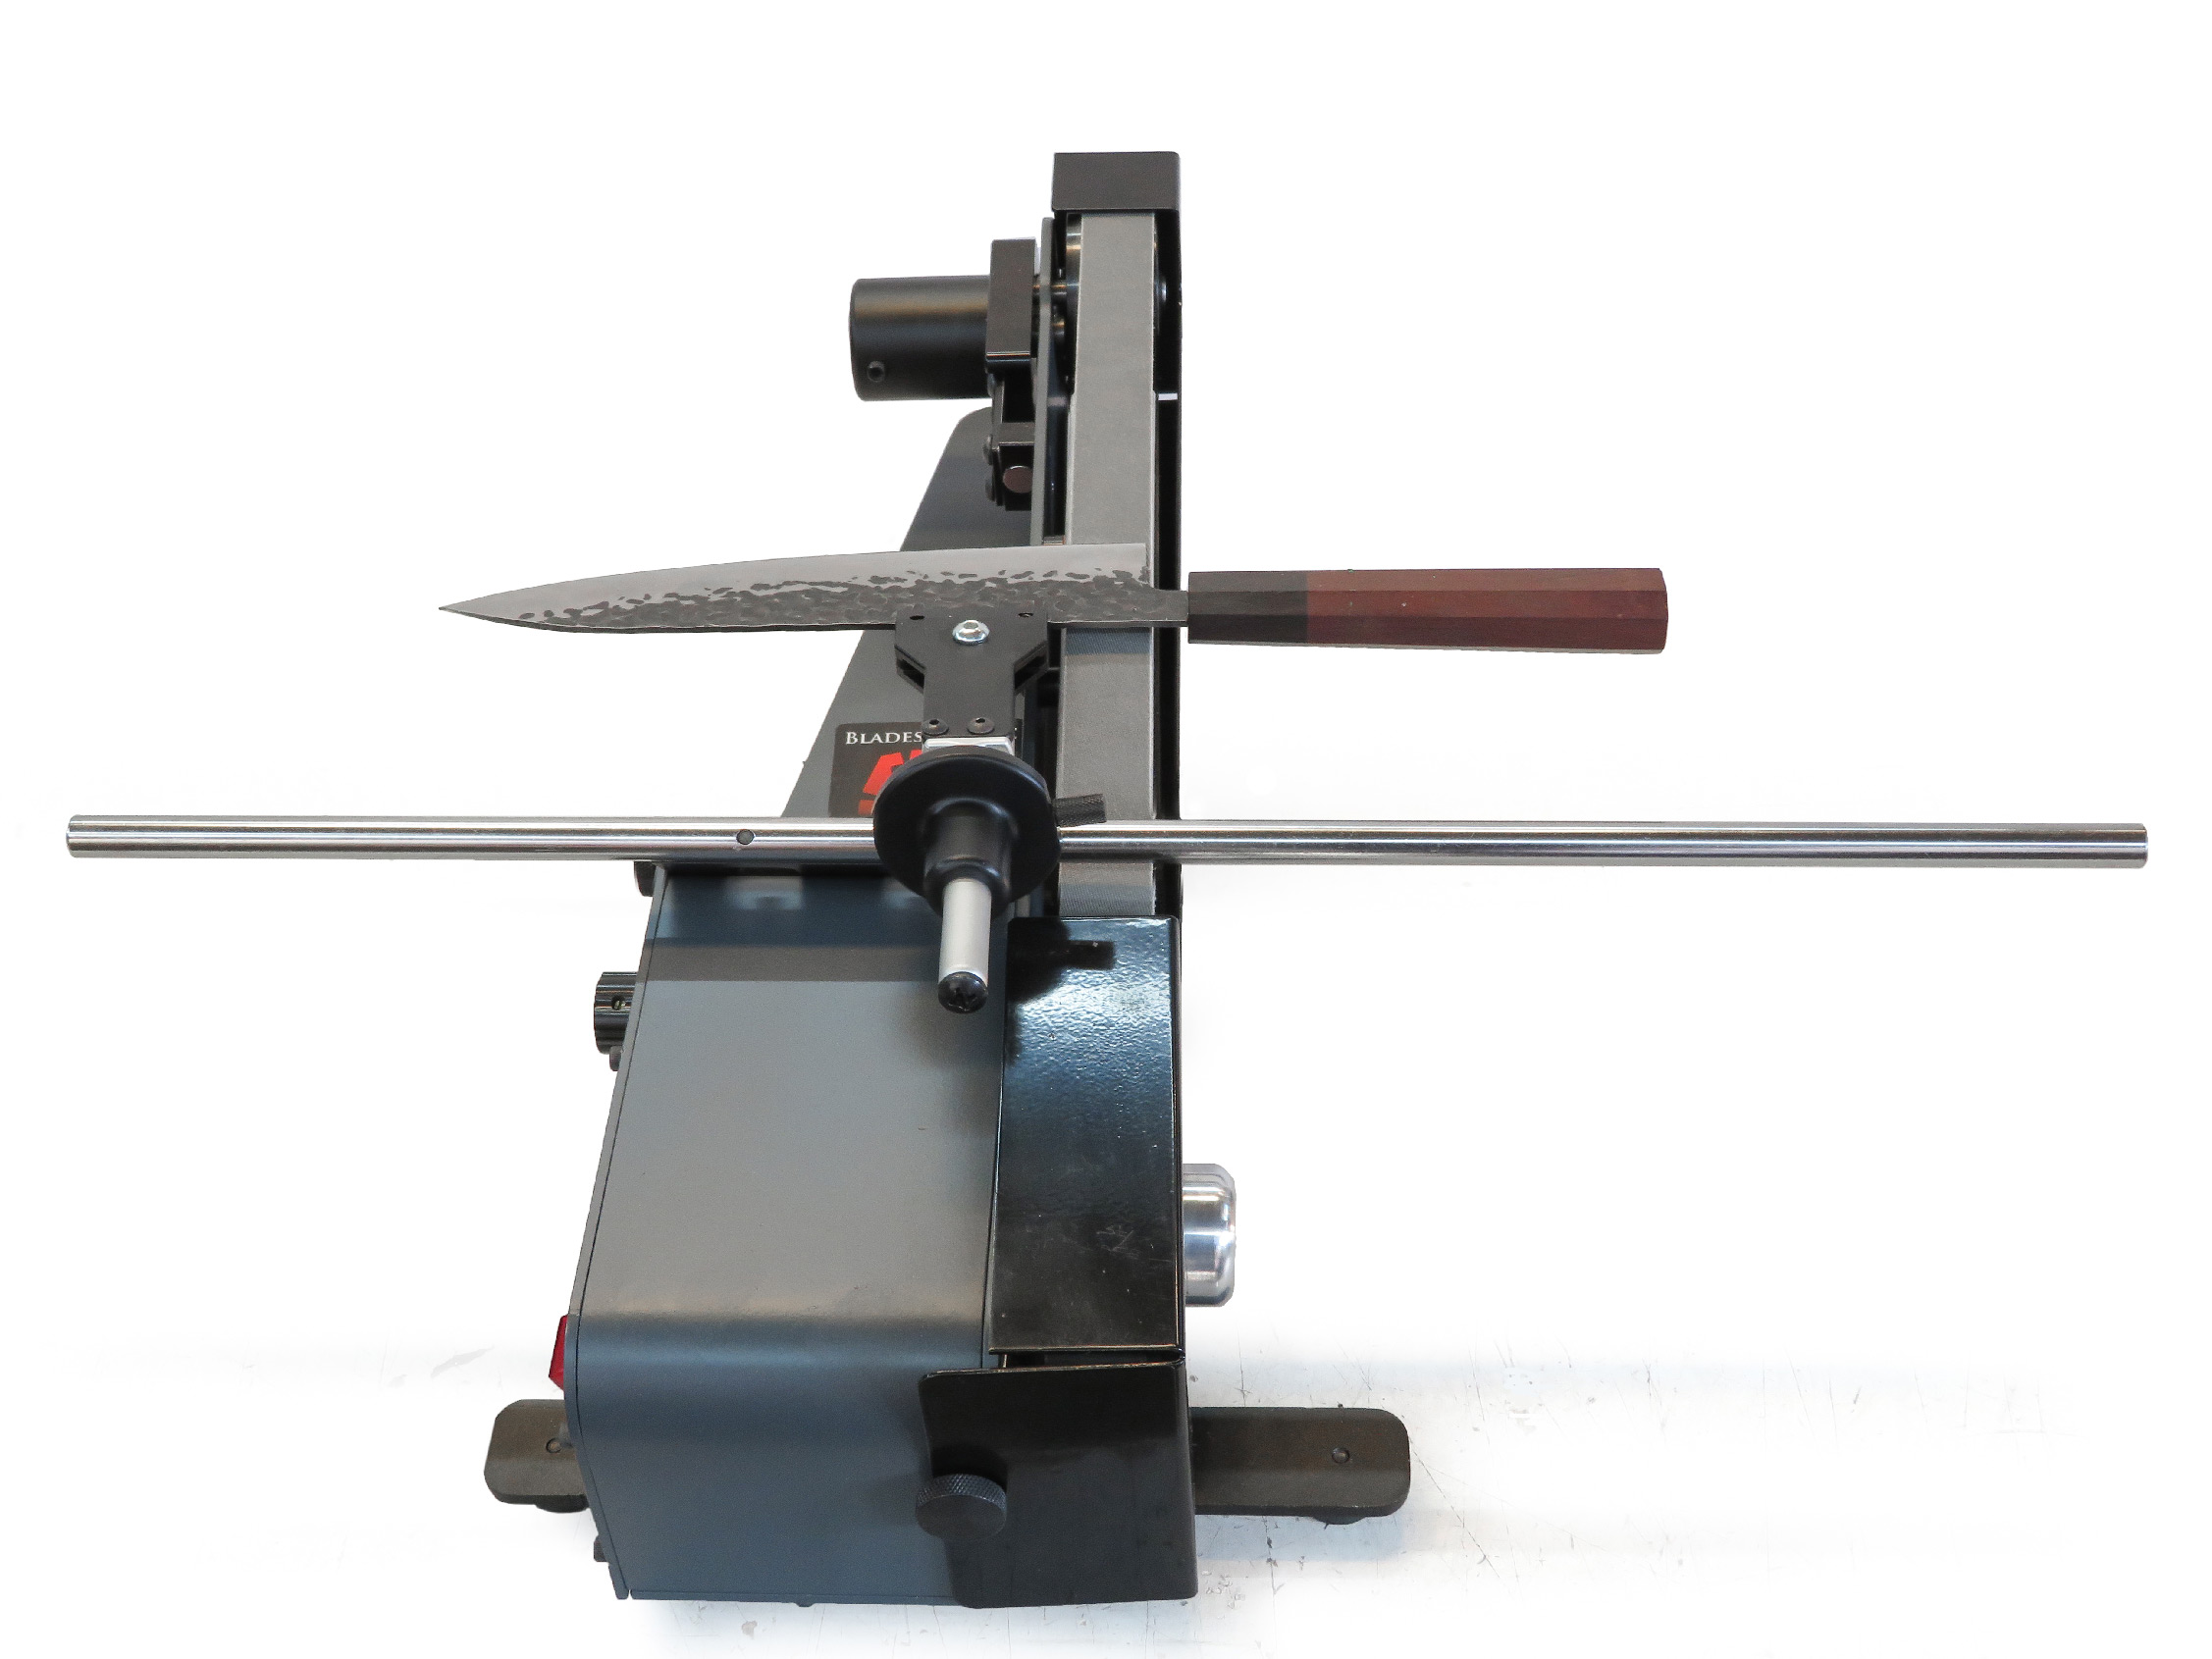
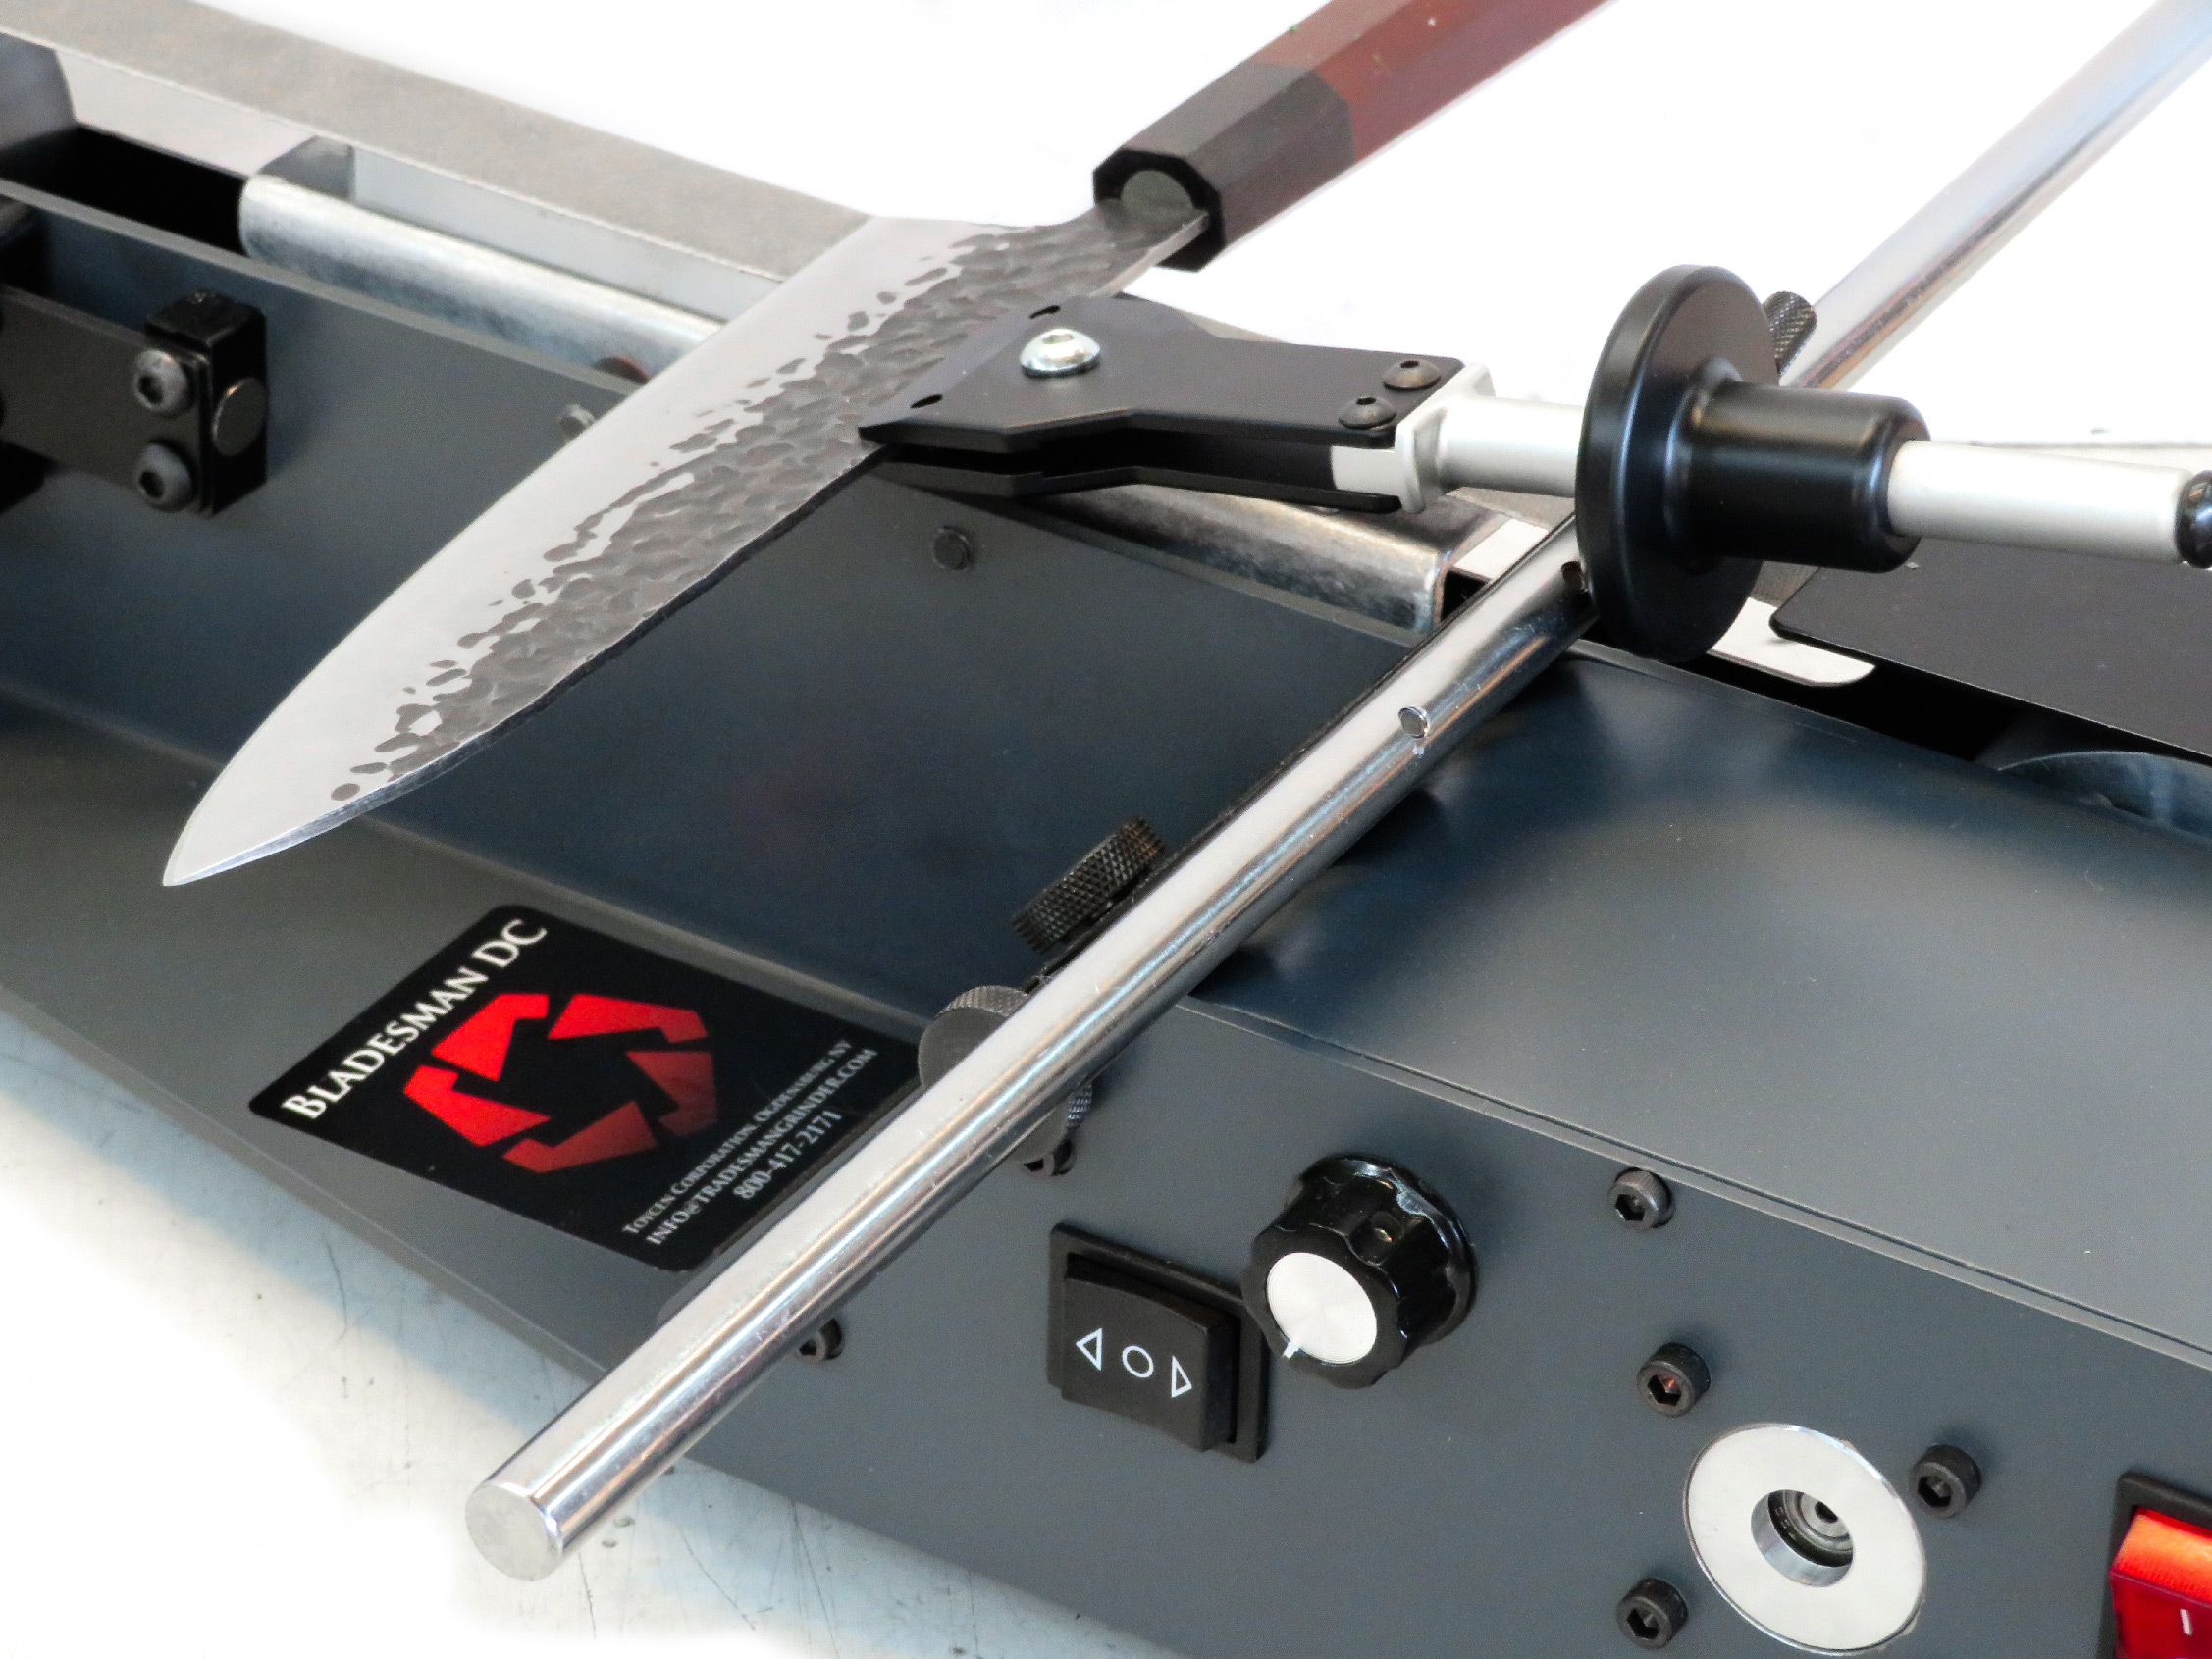
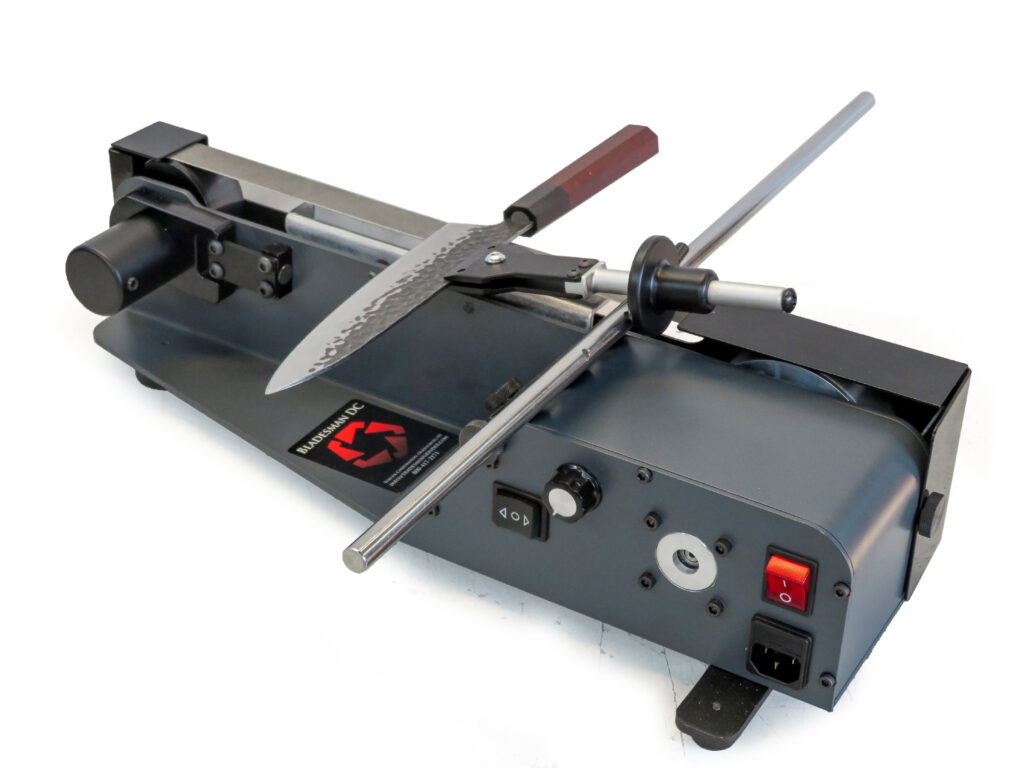
Apex Knife Jig for EDGE Apex and Bladesman 1×42 and 1X30 Belt Grinders
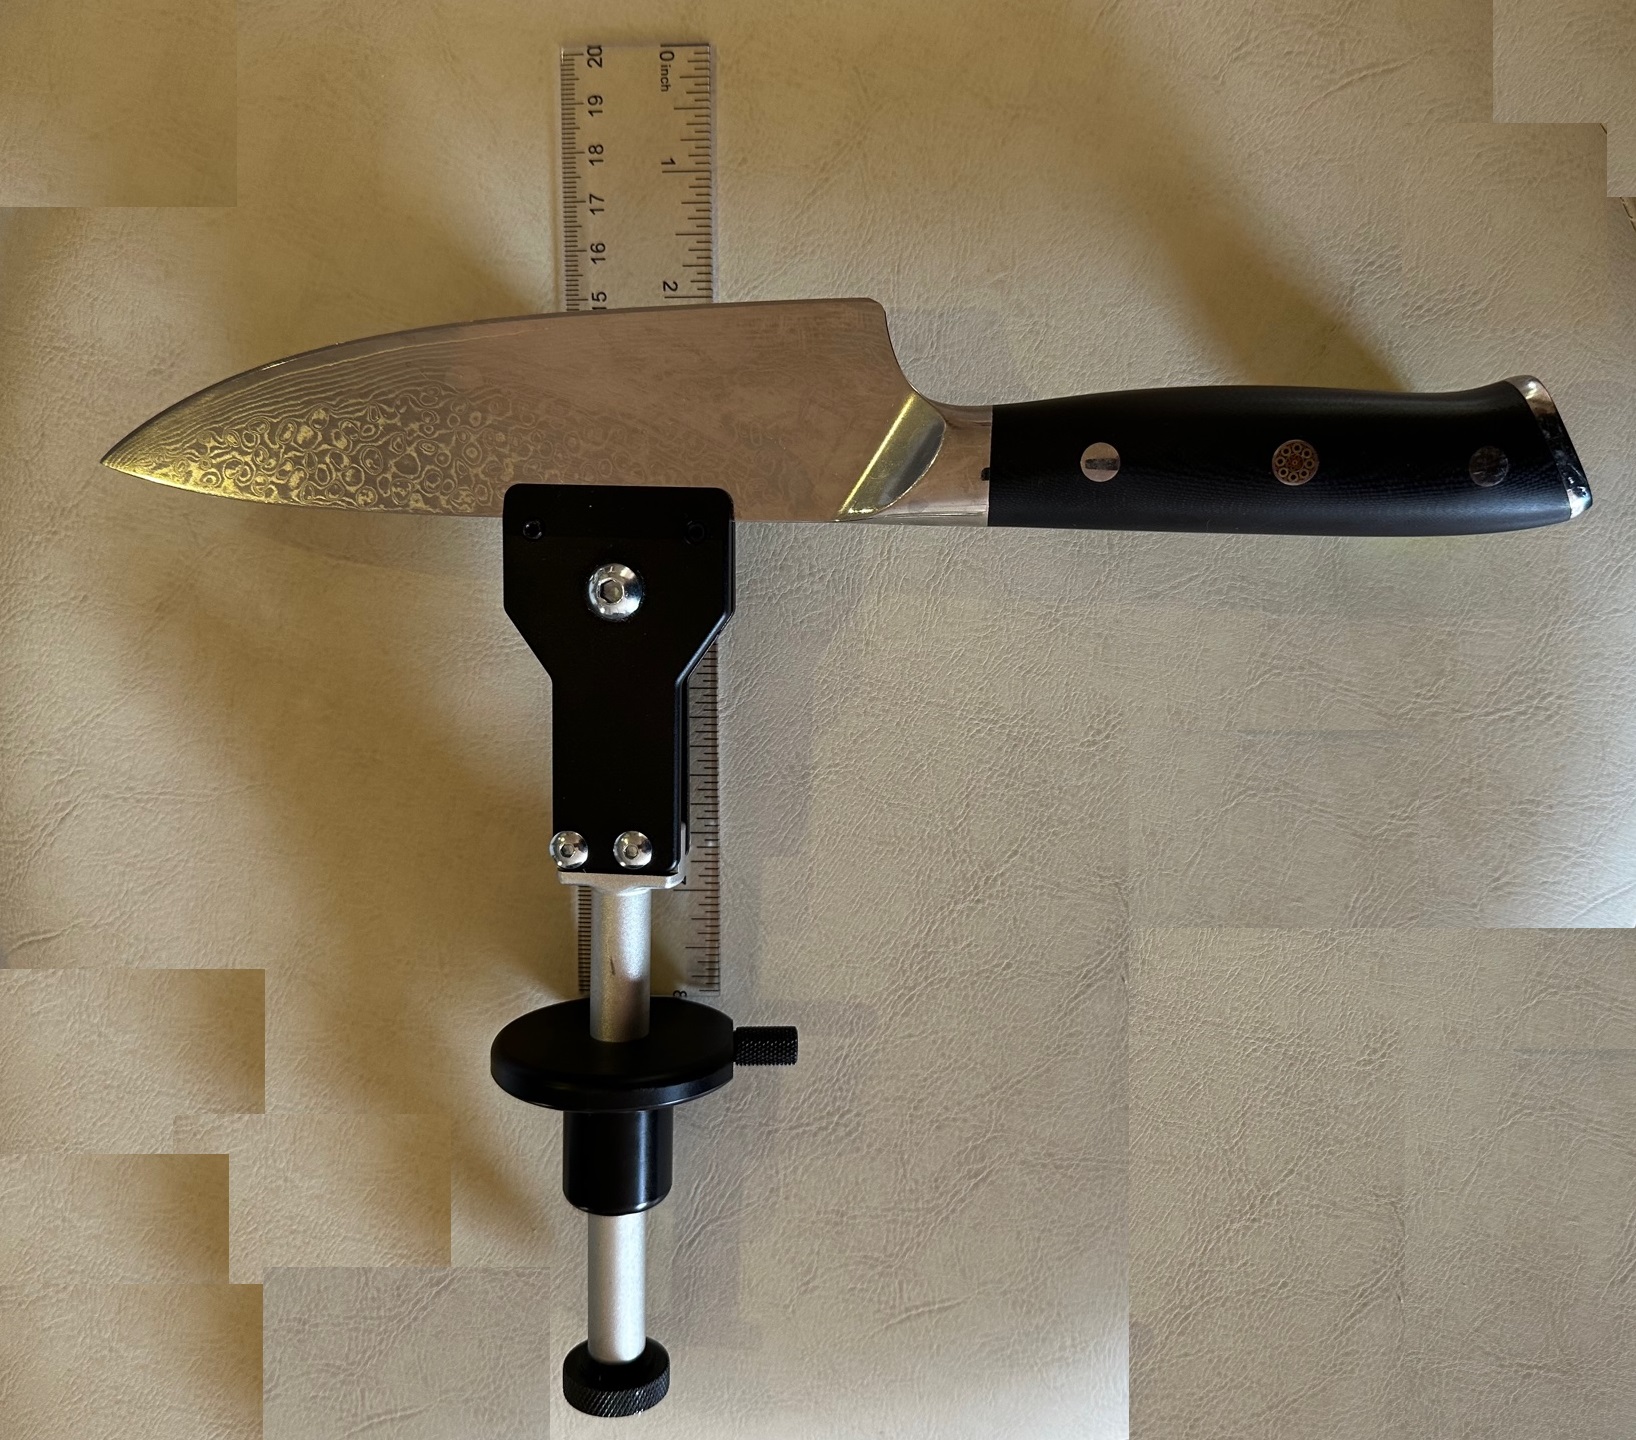

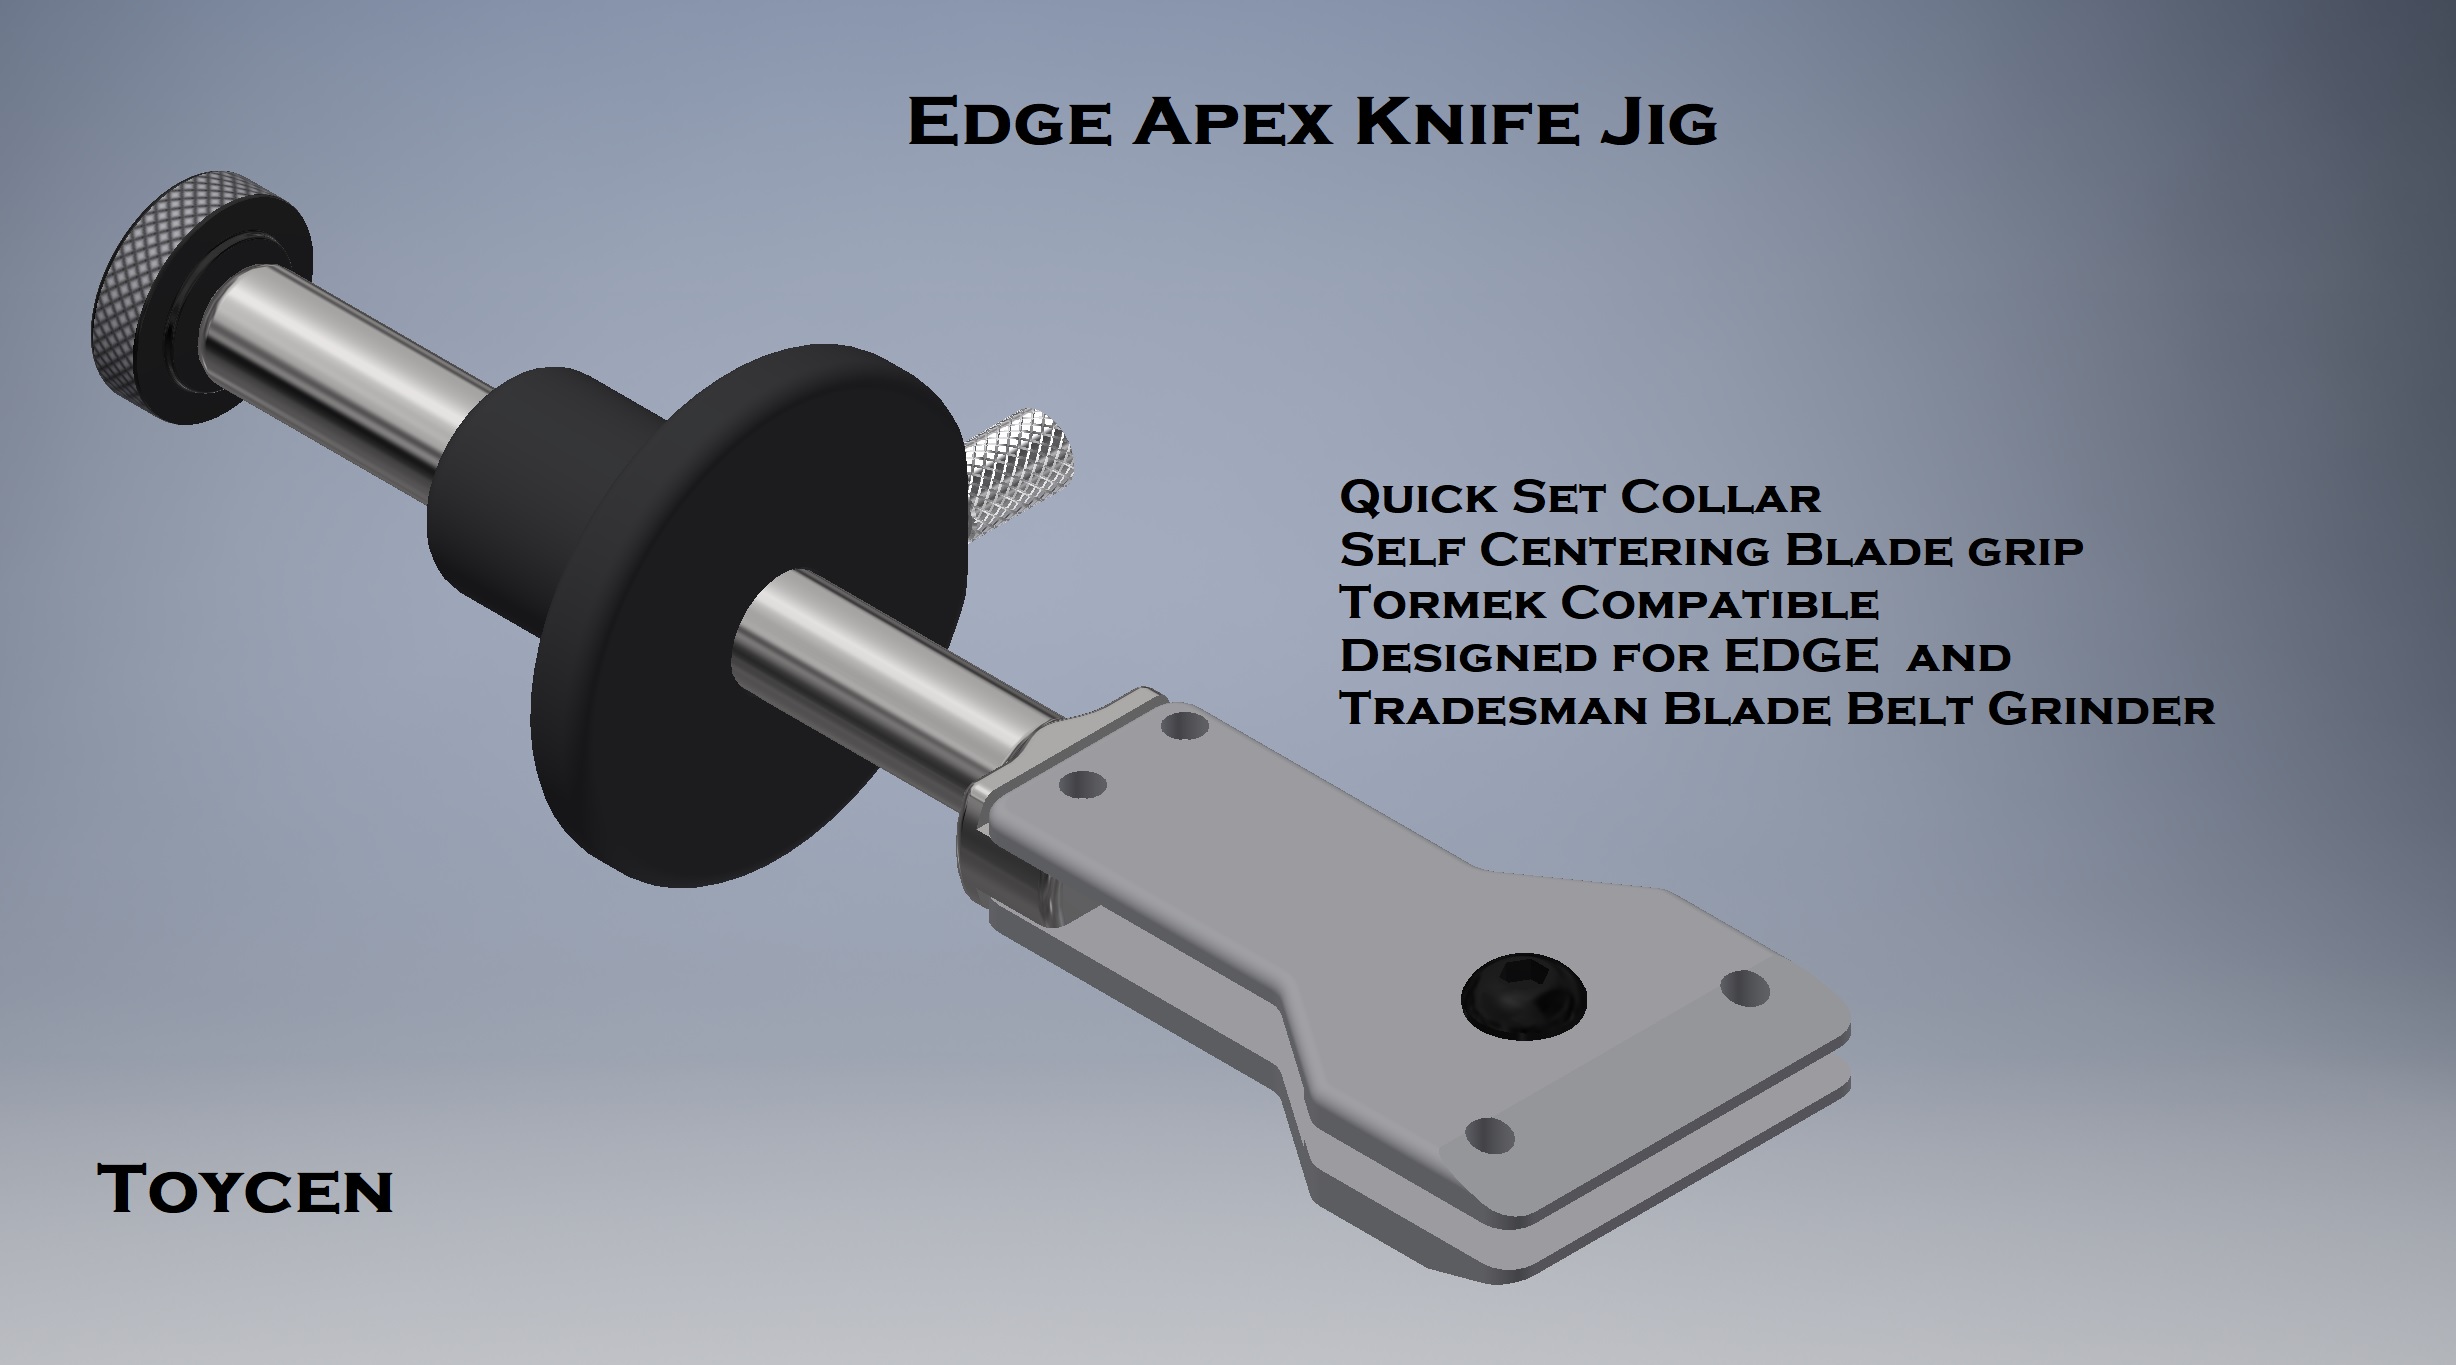

Each Knife Jig Comes with Driver for the Allen Screw , Clear Ruler for fast collar setting
Blade Centering, Quick set Collar, Thin Approach for real flat angles
Works with EDGE apex and Tradesman Blade Workstation and Tormek
Grip Length Calculator for Tradesman Blade E3 1 x 42 Blade Belt Grinder
Grip Length – Rail Setting Calculator for EDGE Apex 250 mm Wheel type Blade Grinder
Well-balanced and ergonomic quick-set collar, handle extensions available ,
Set the Grip length

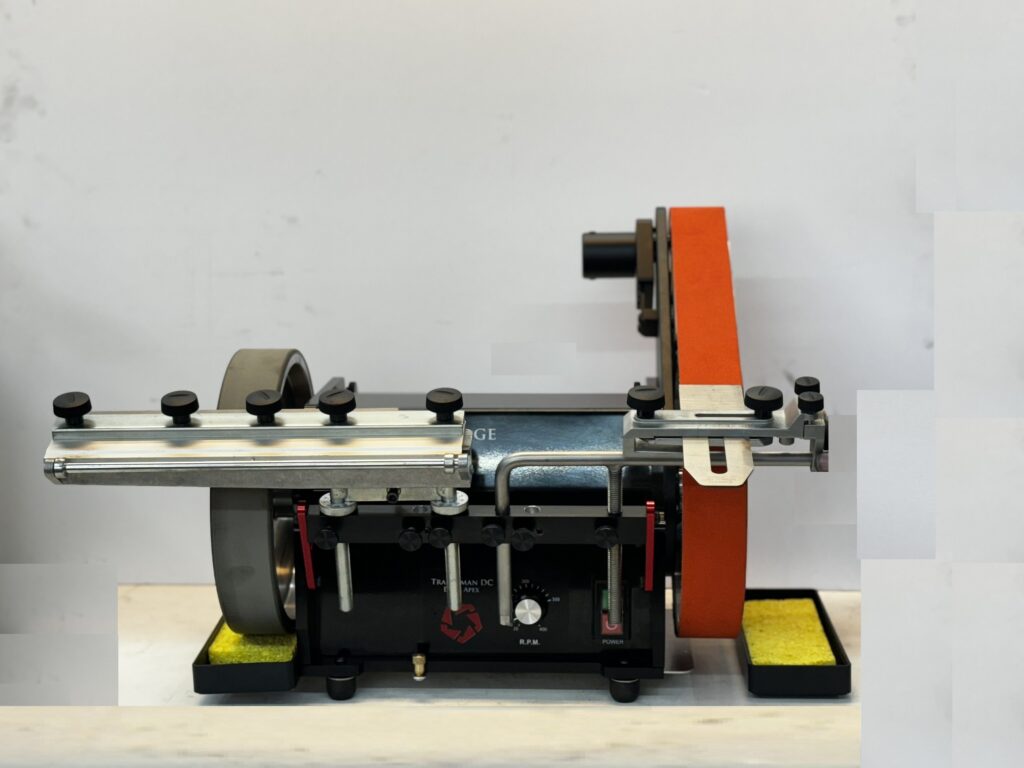
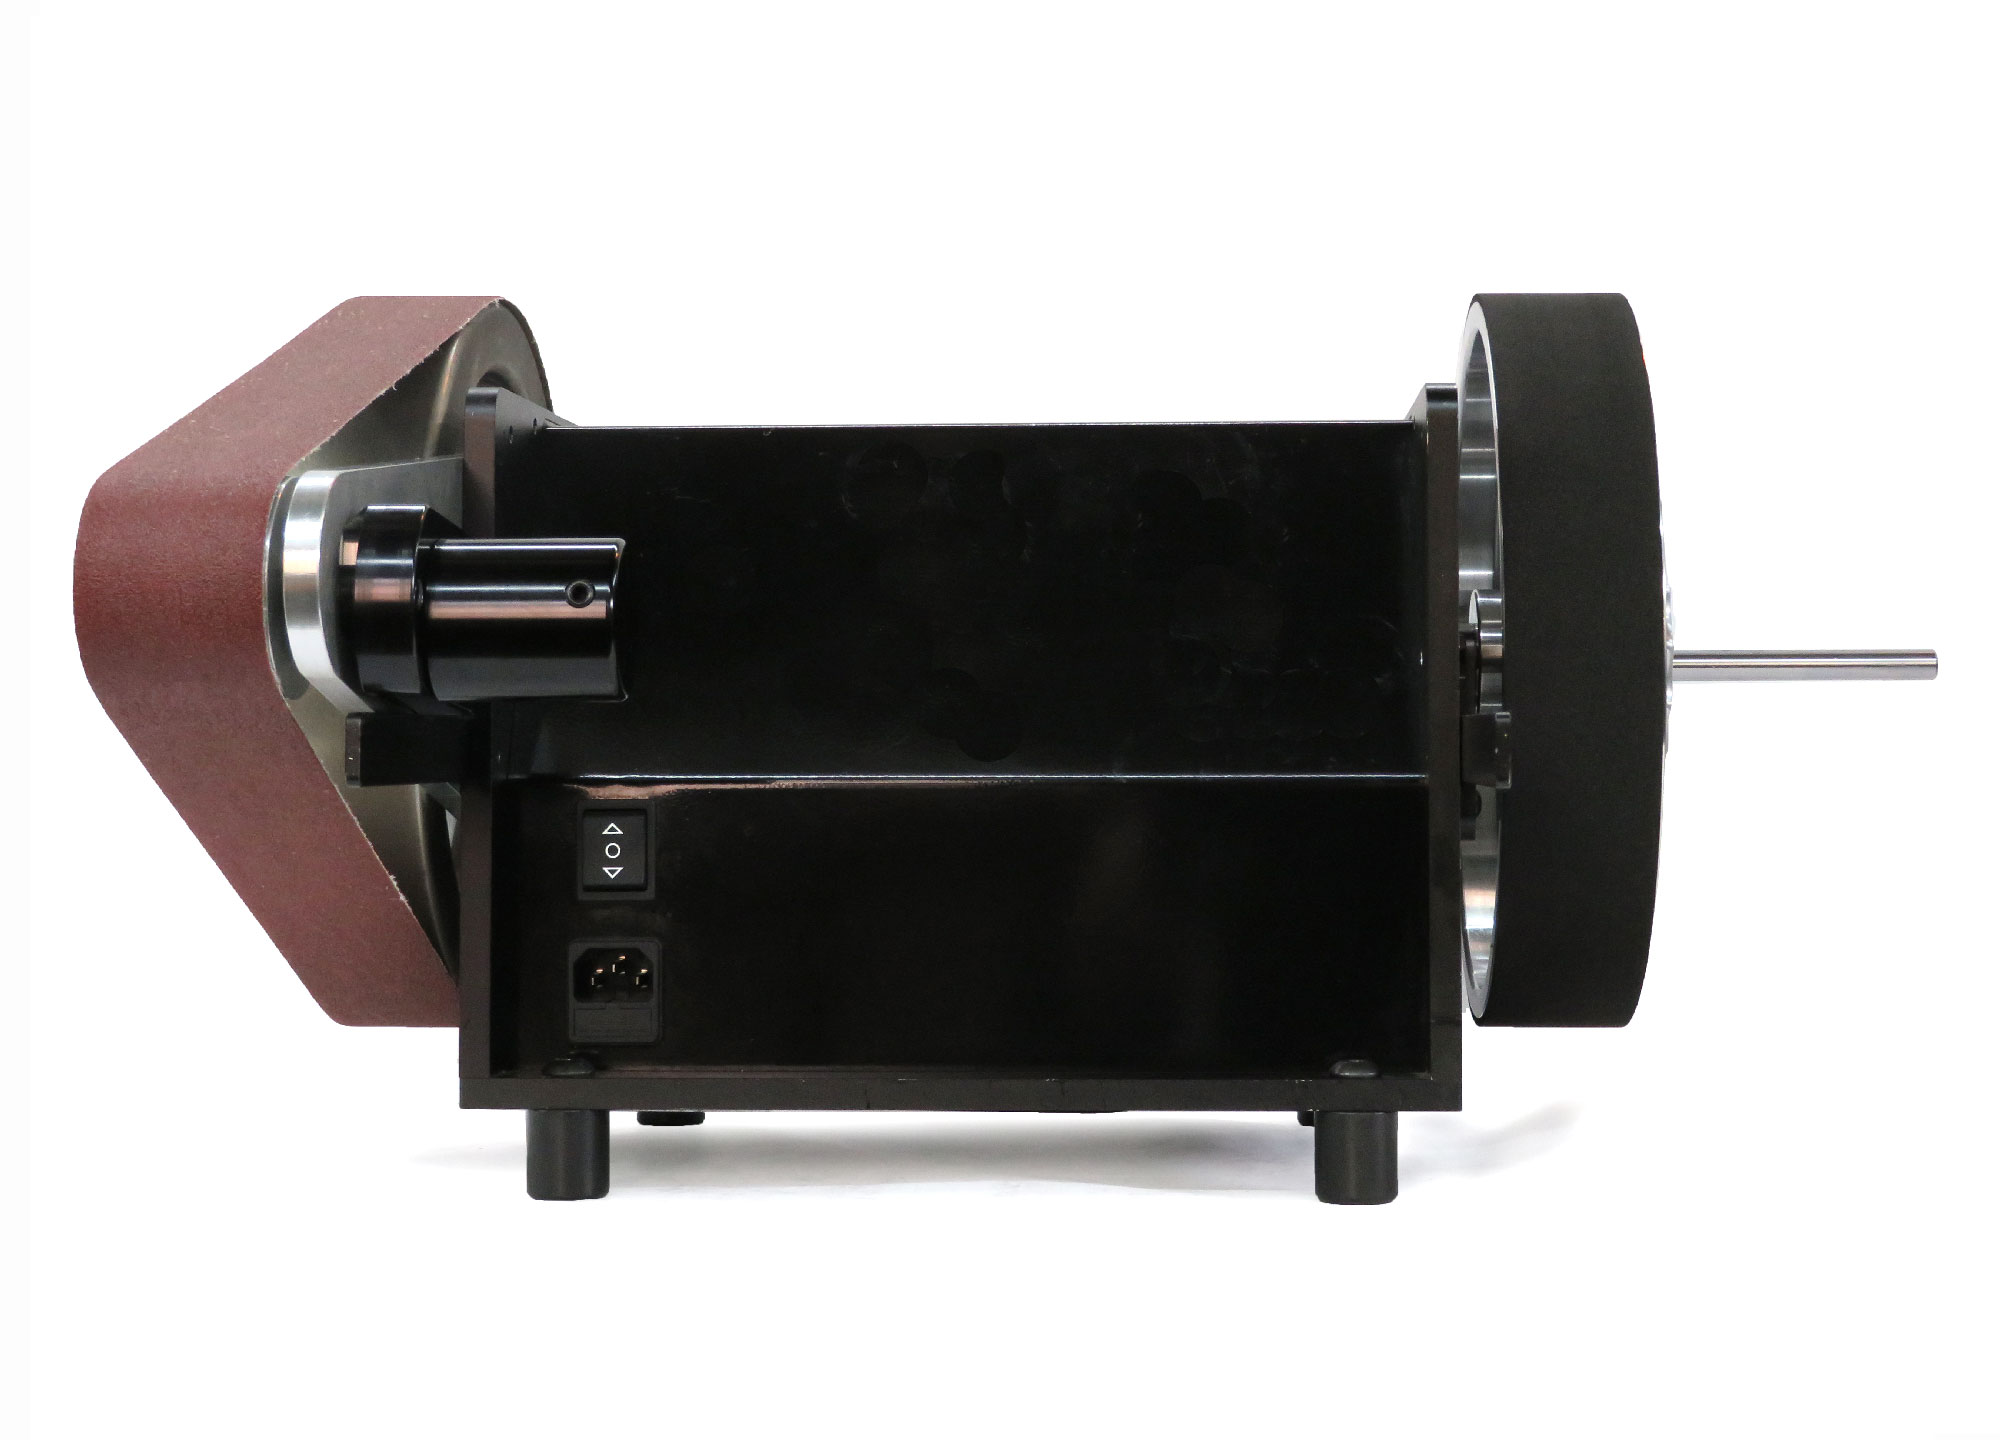
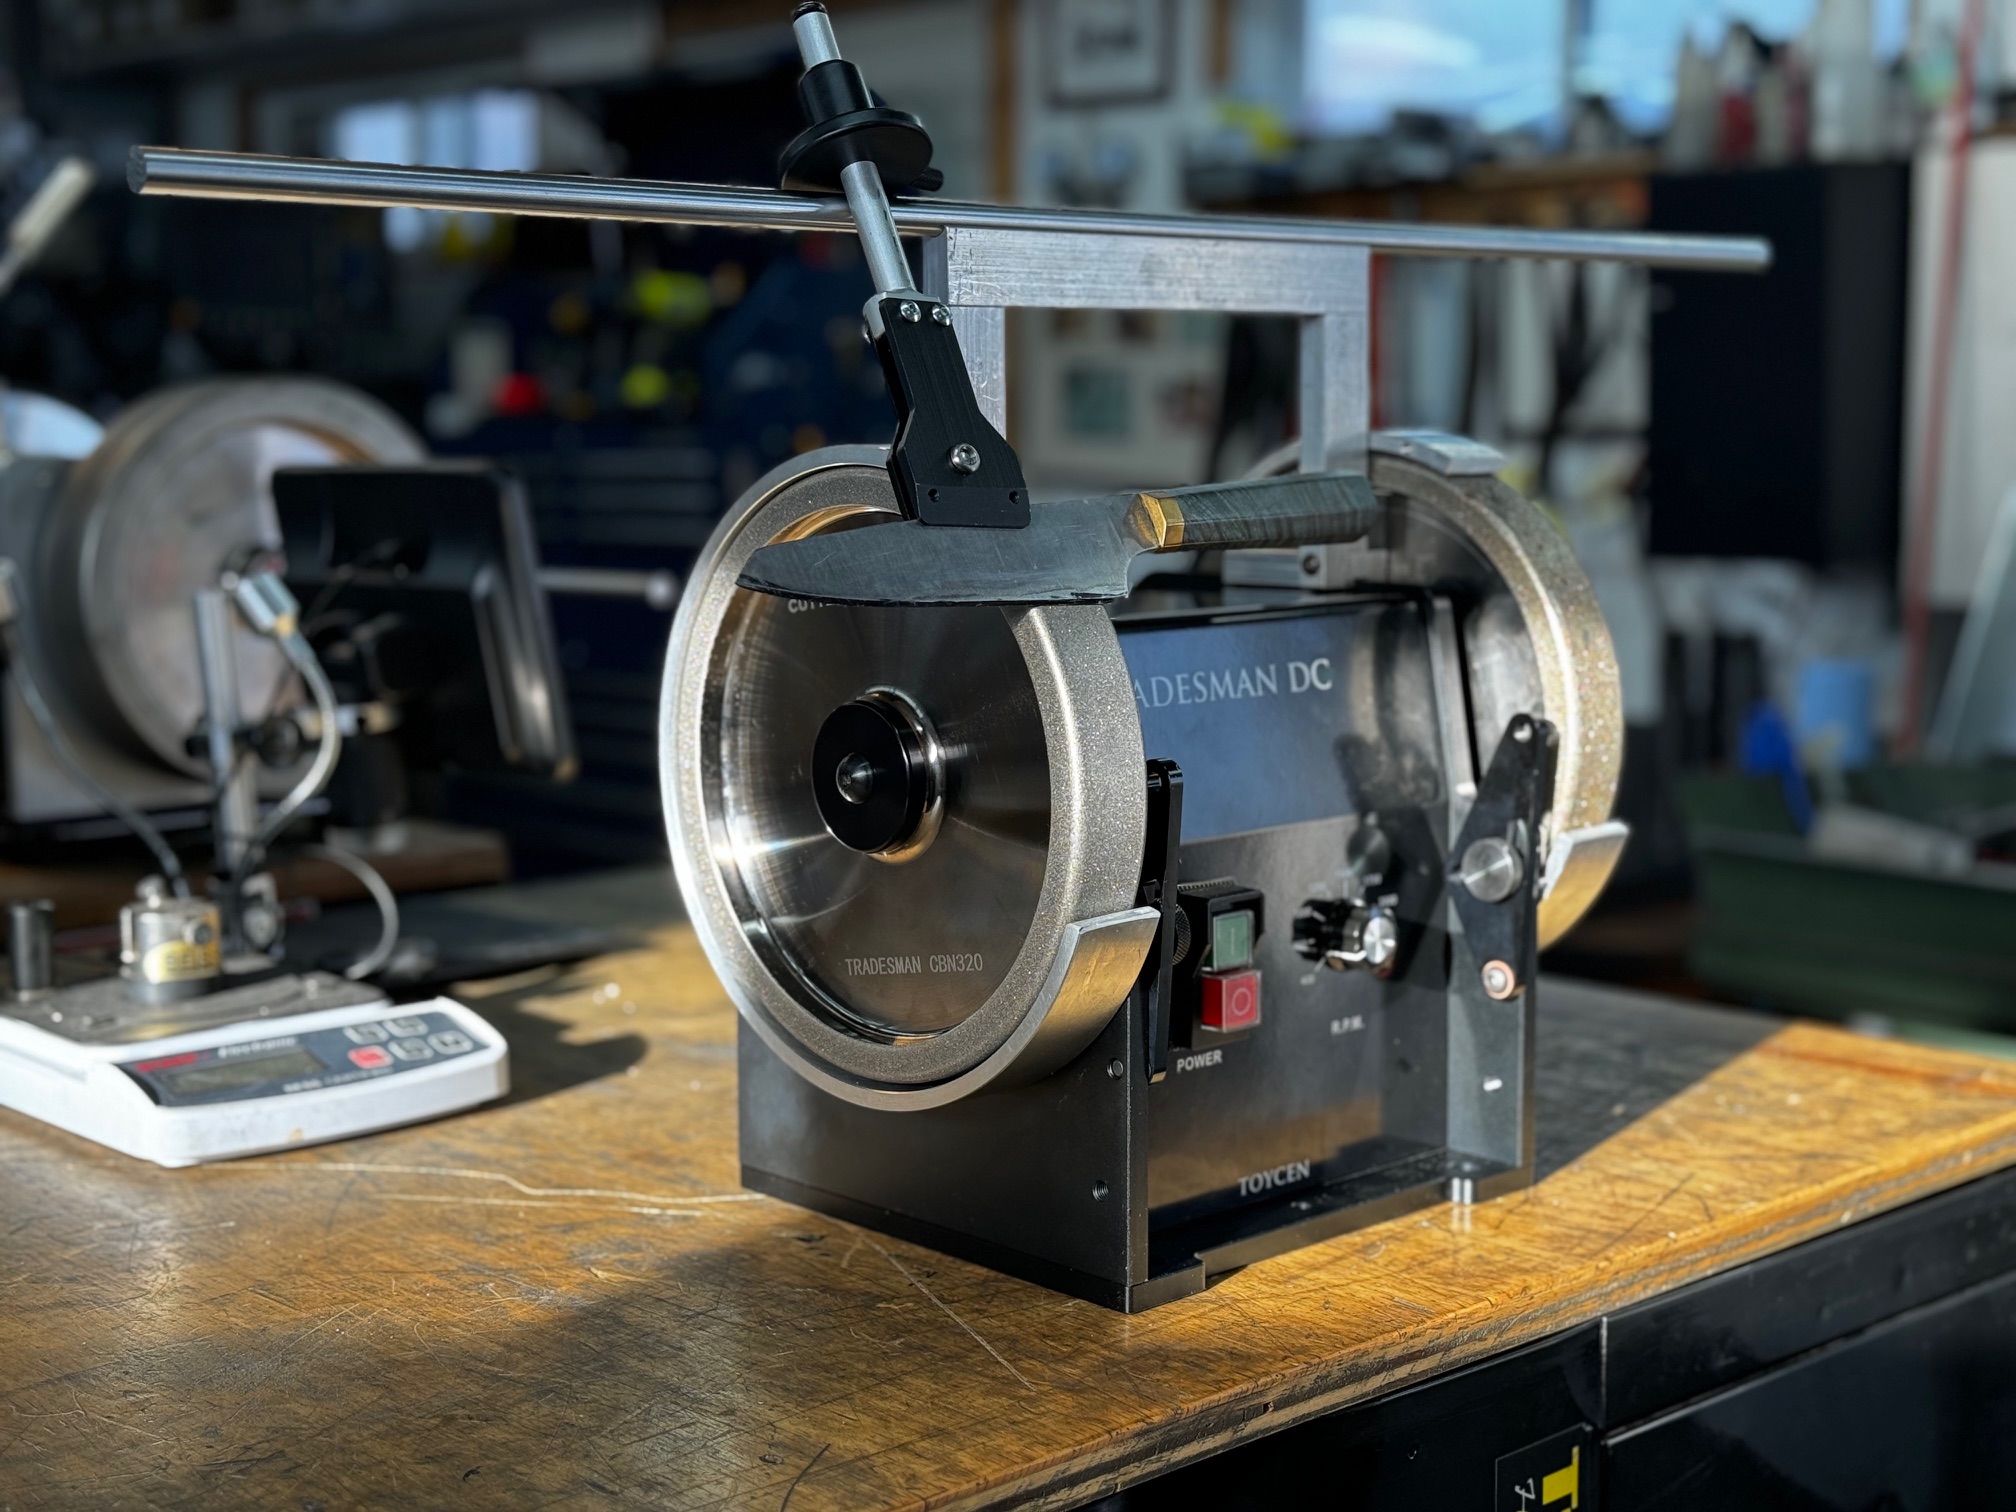
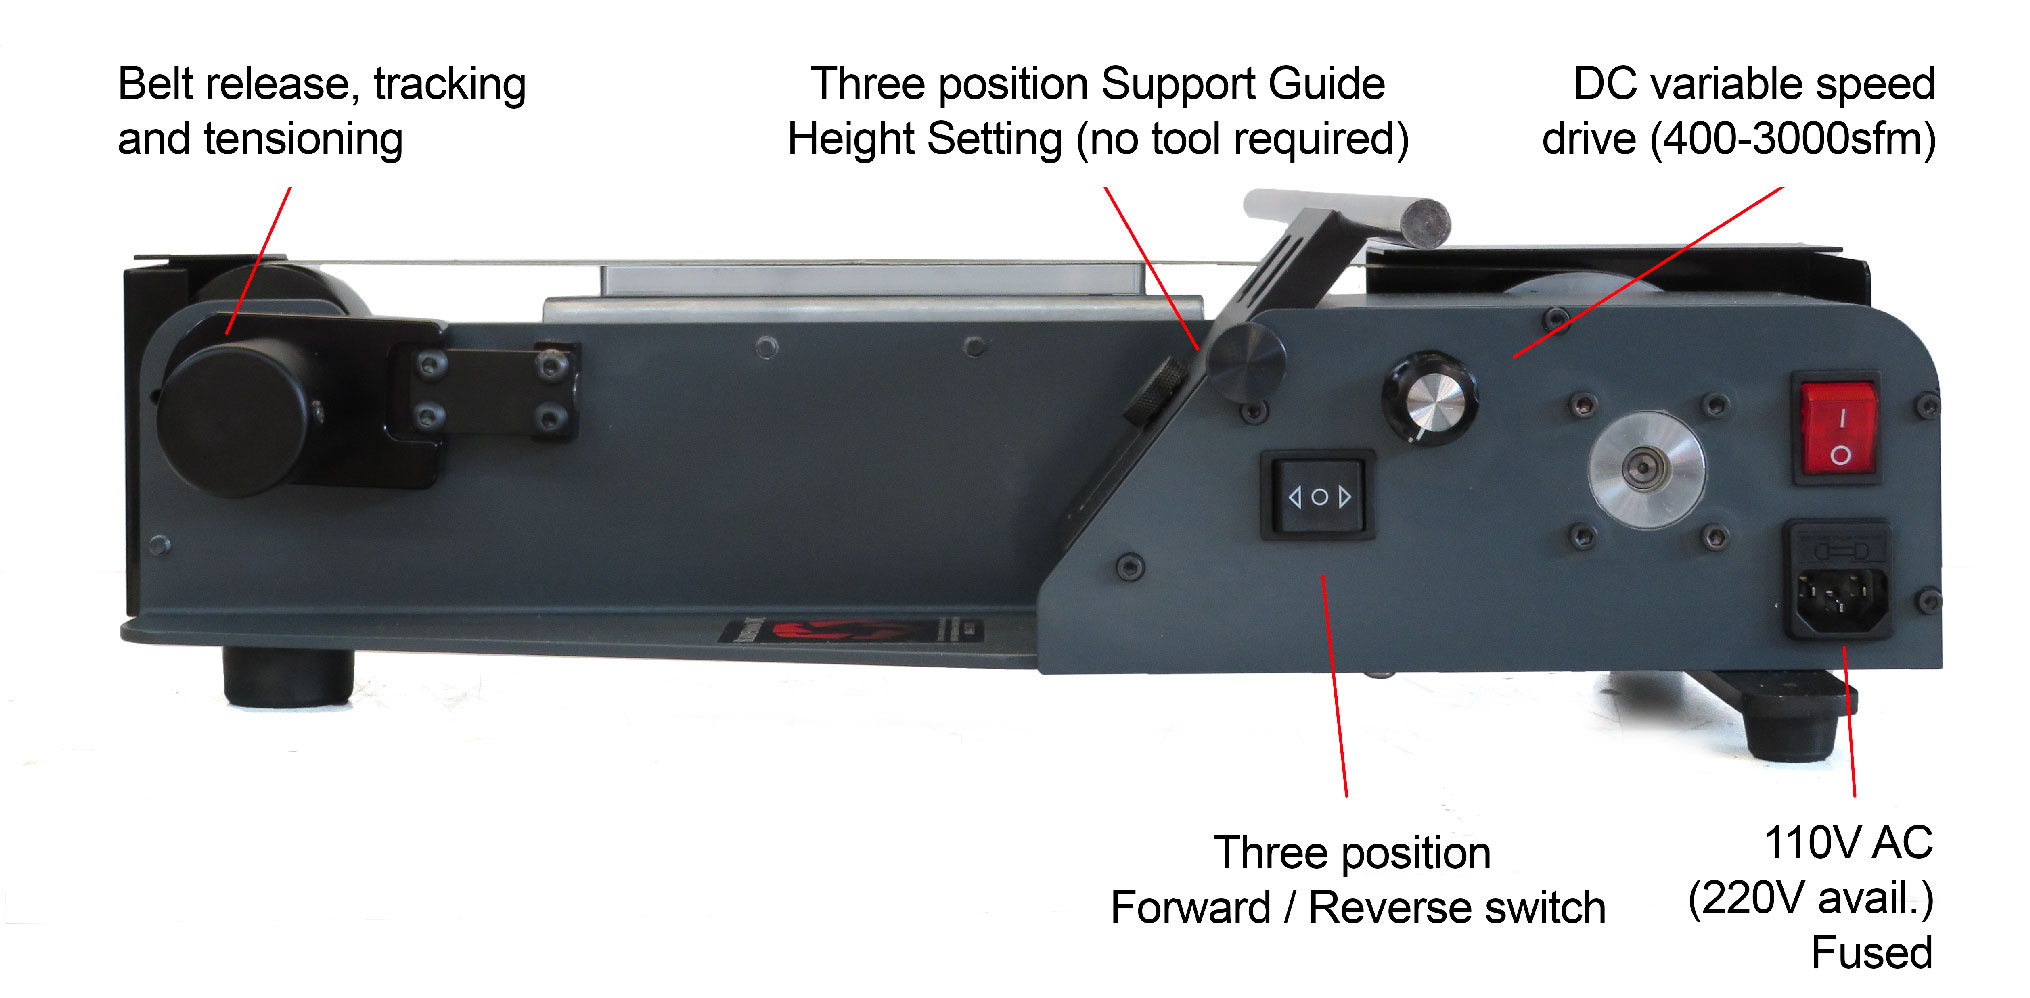
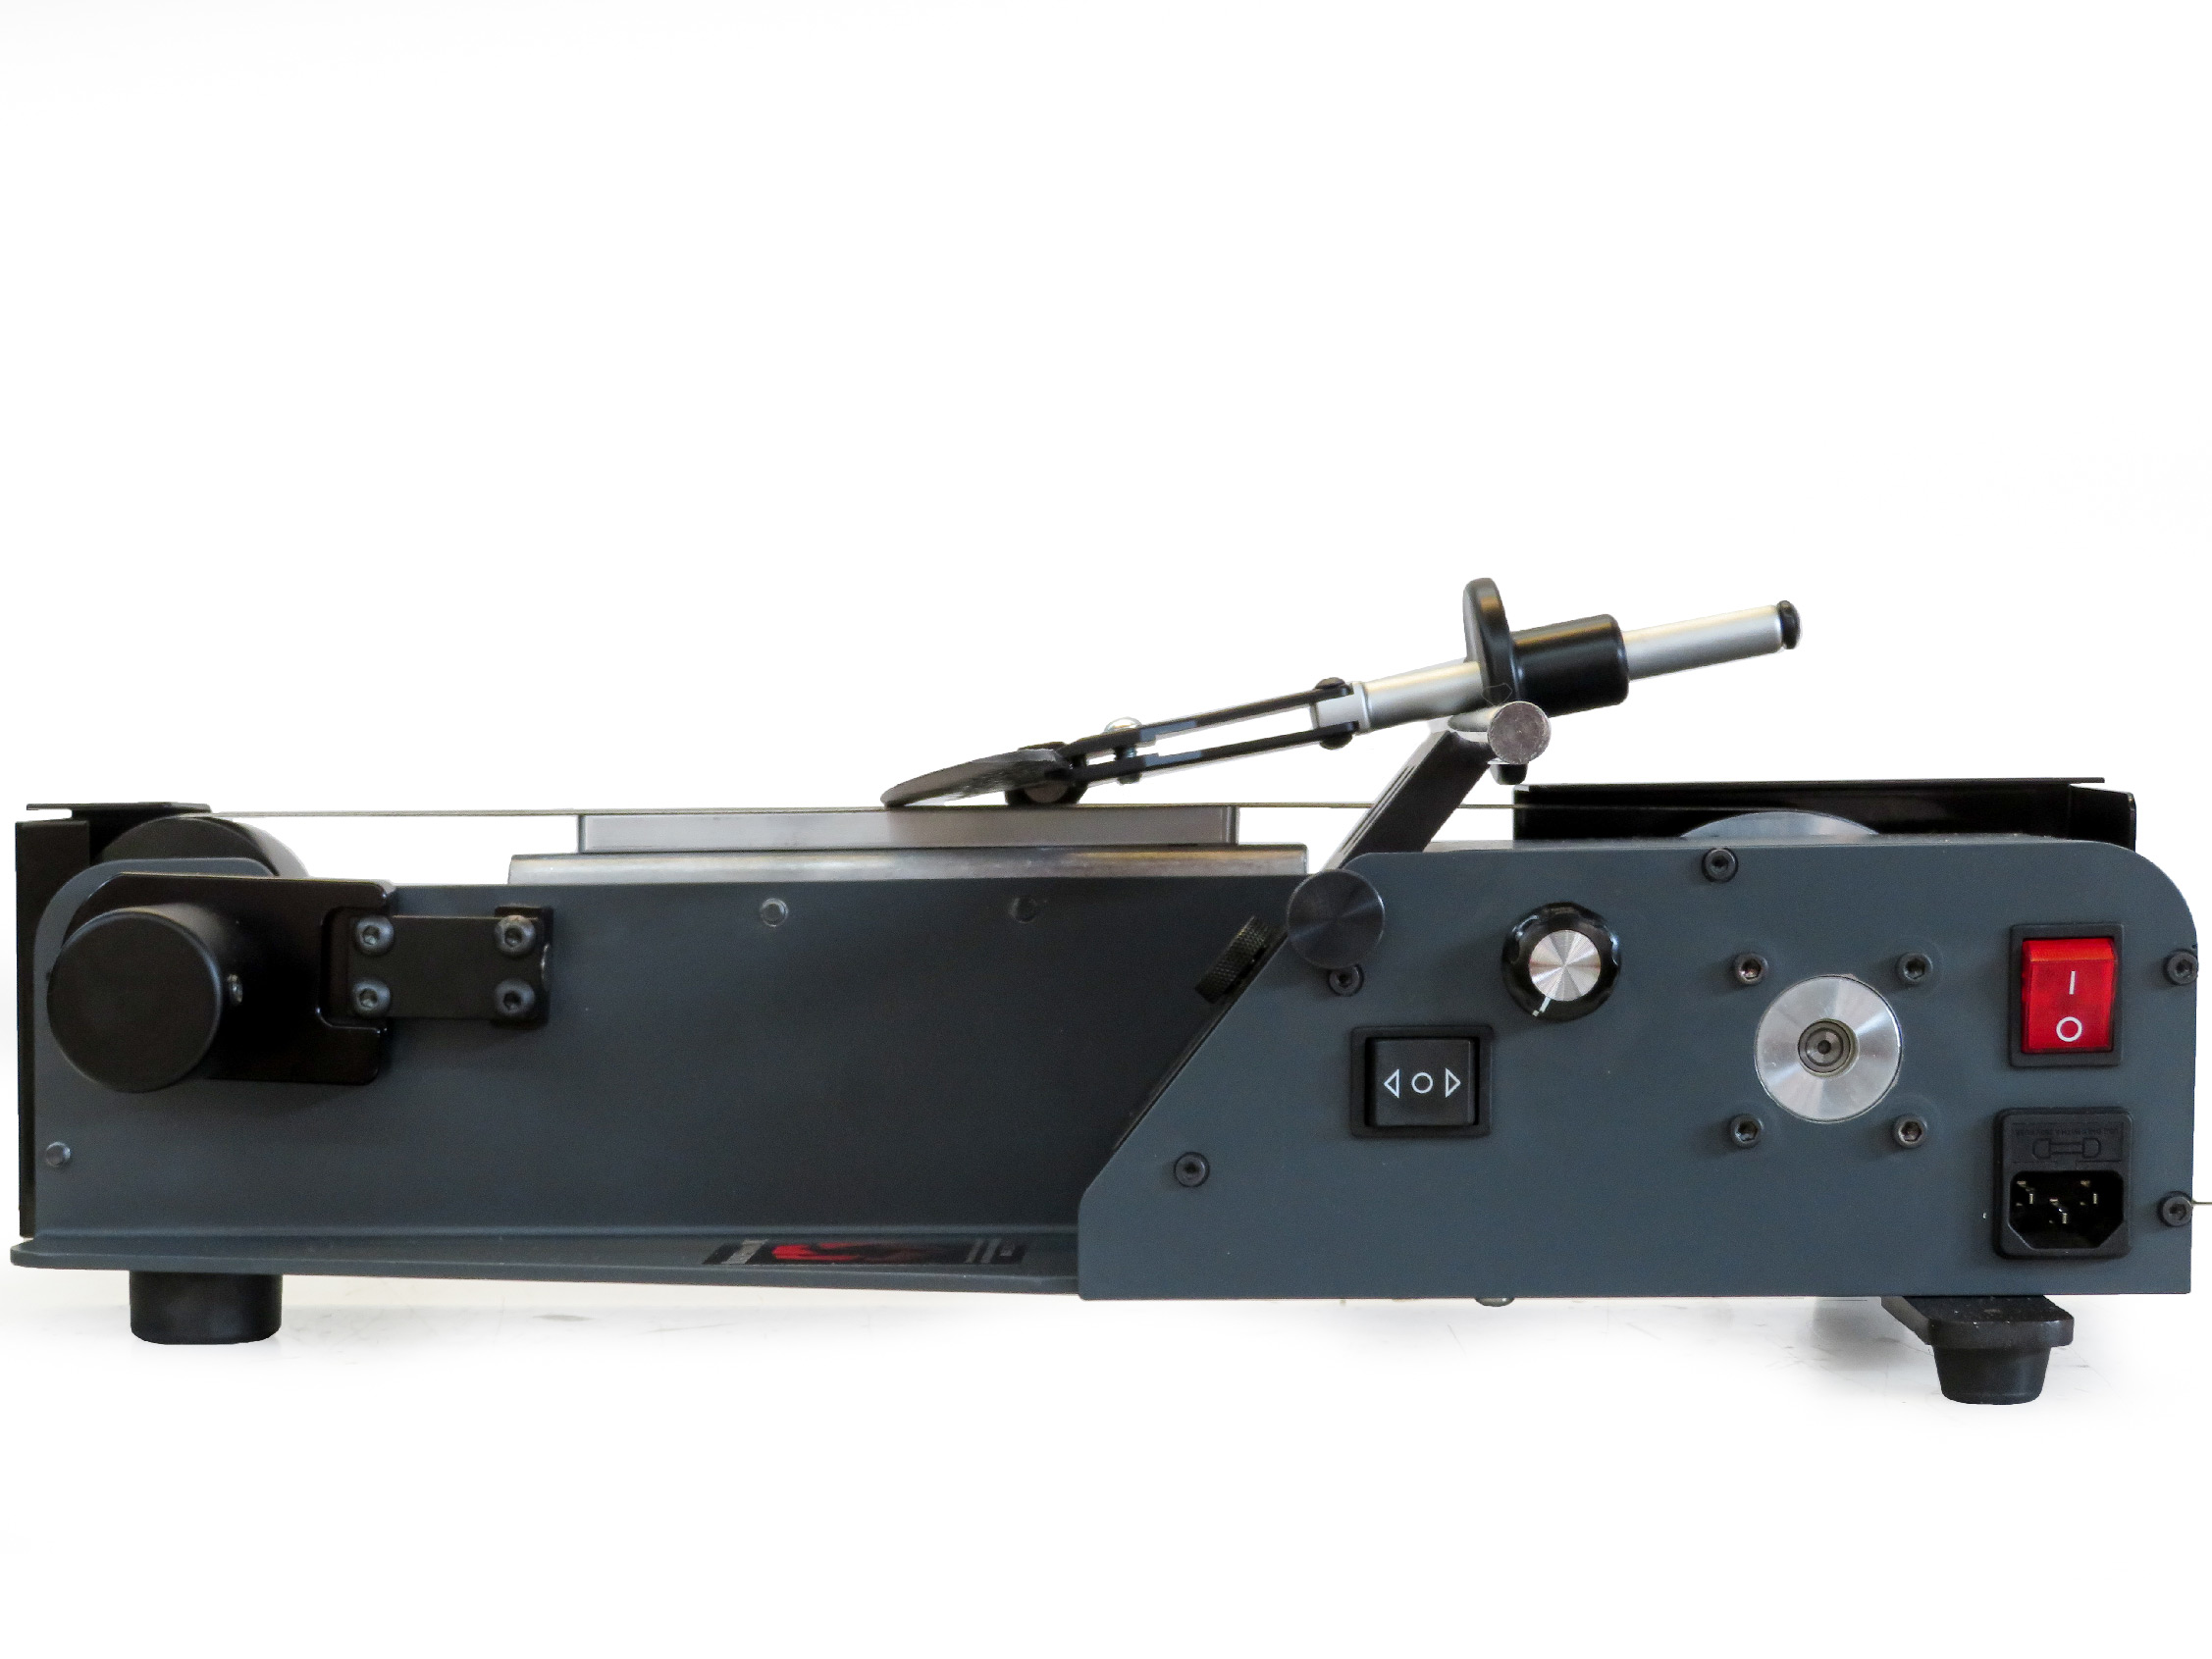
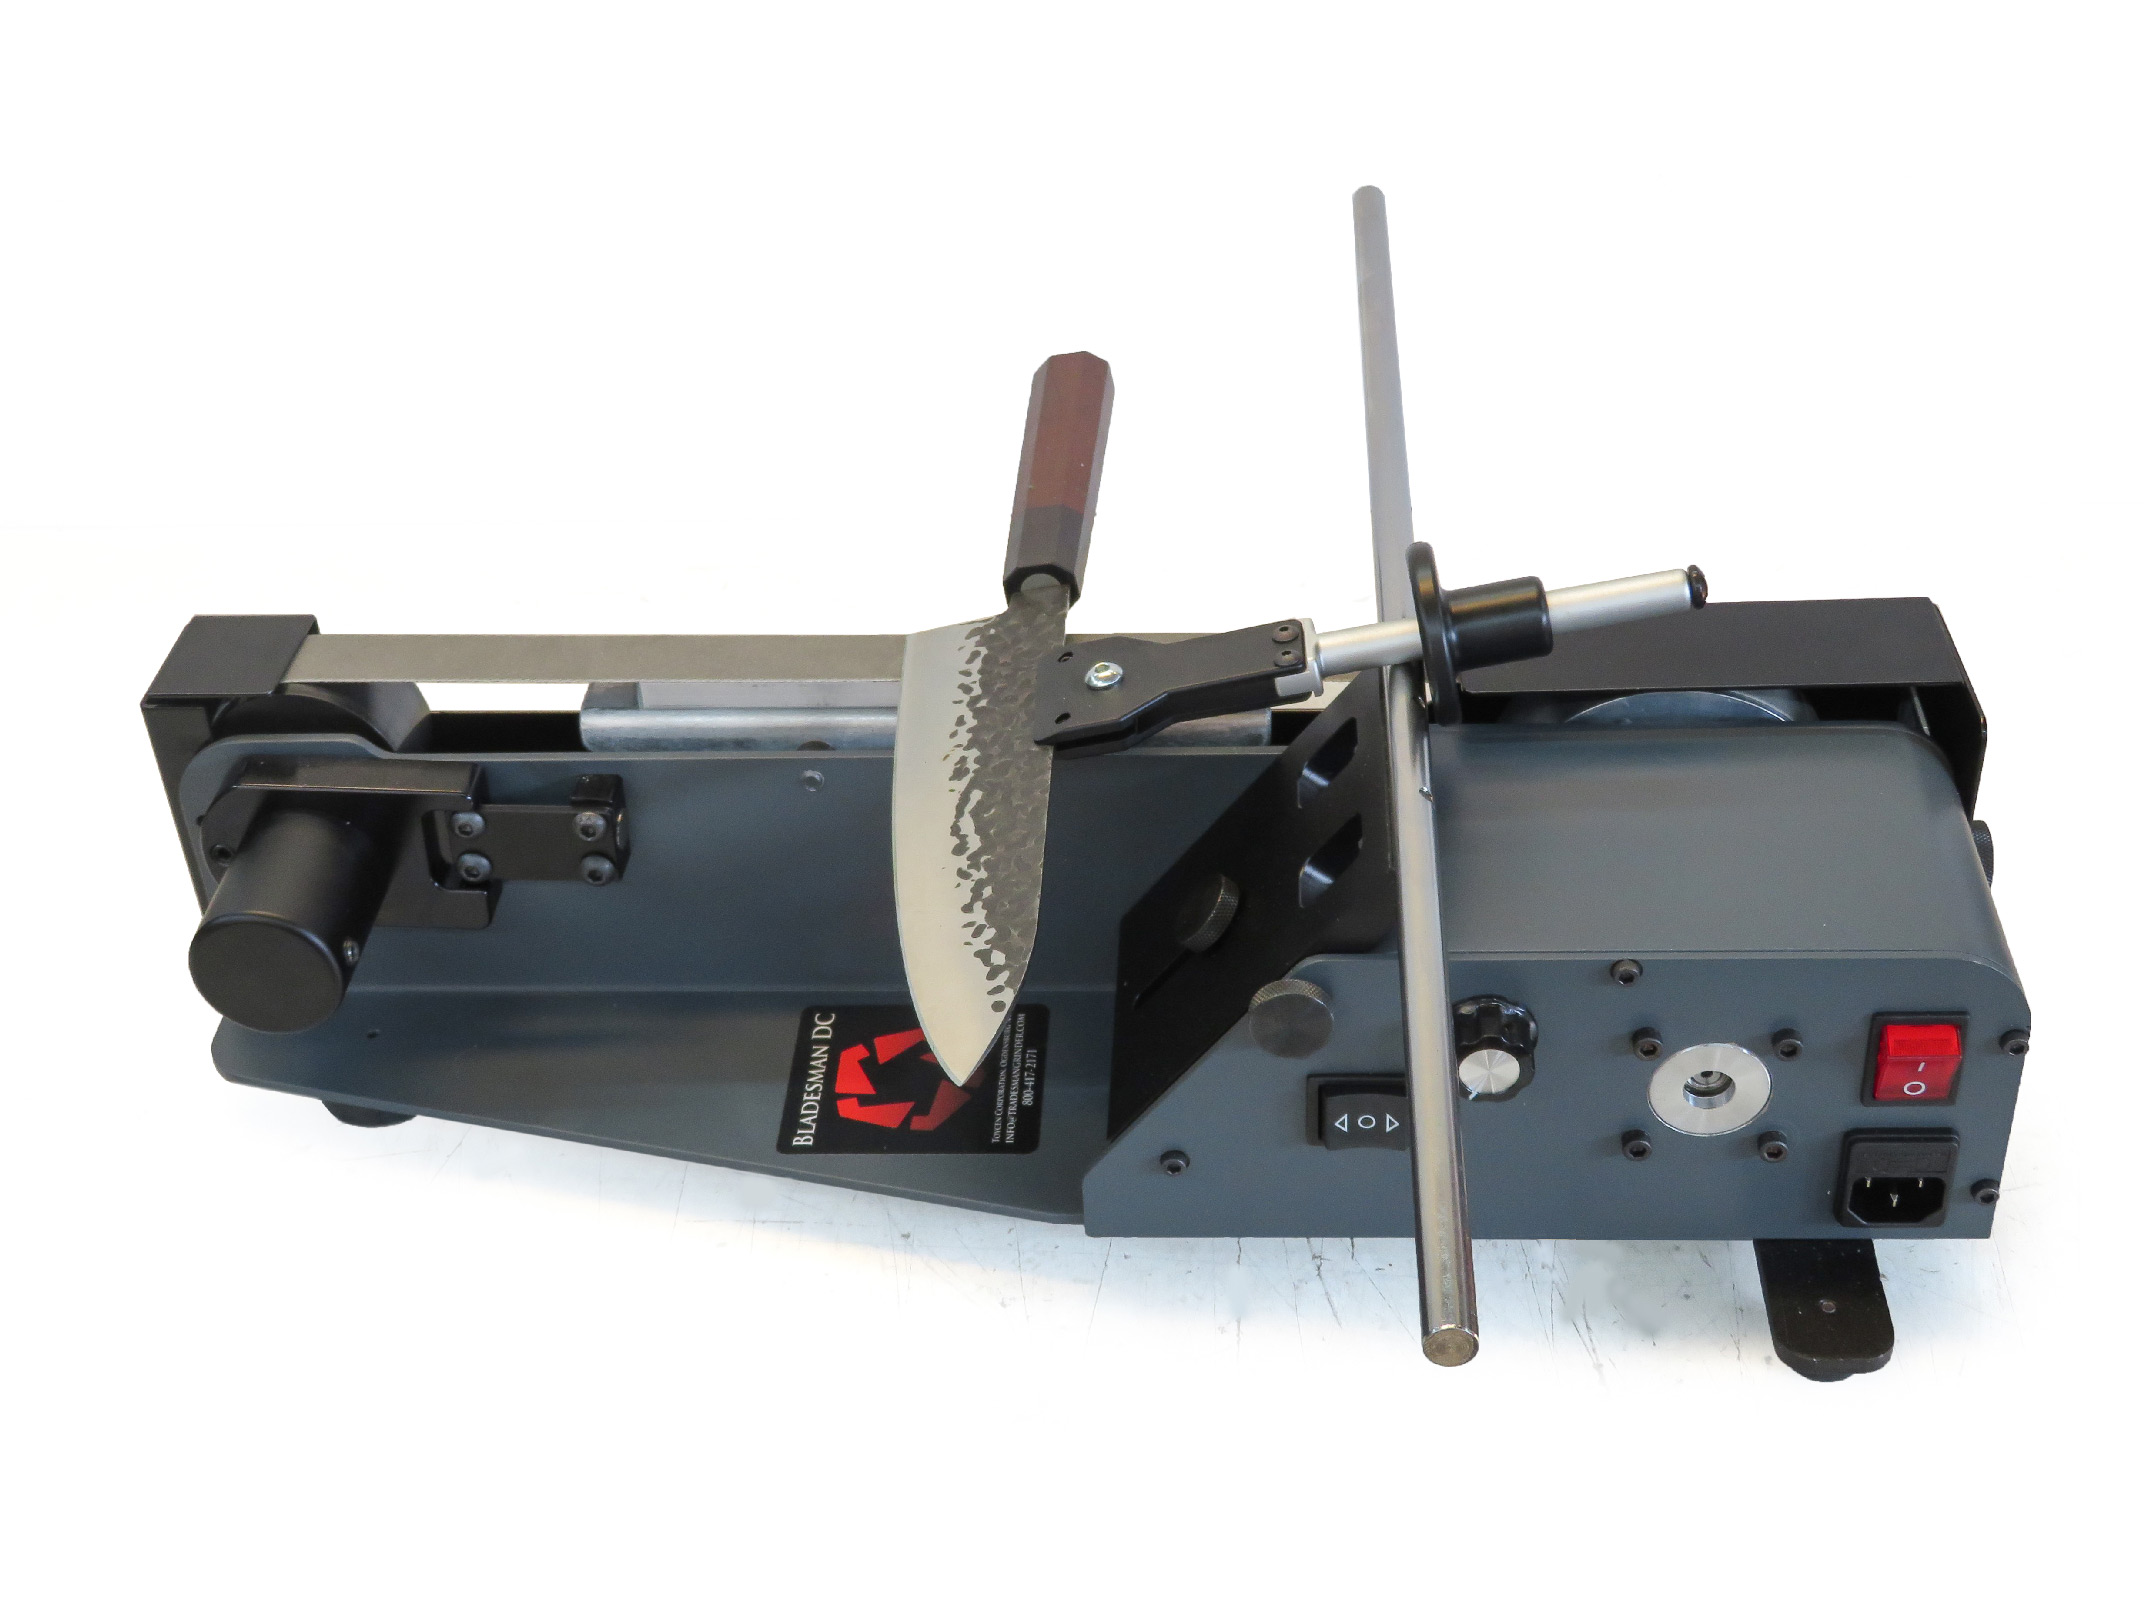
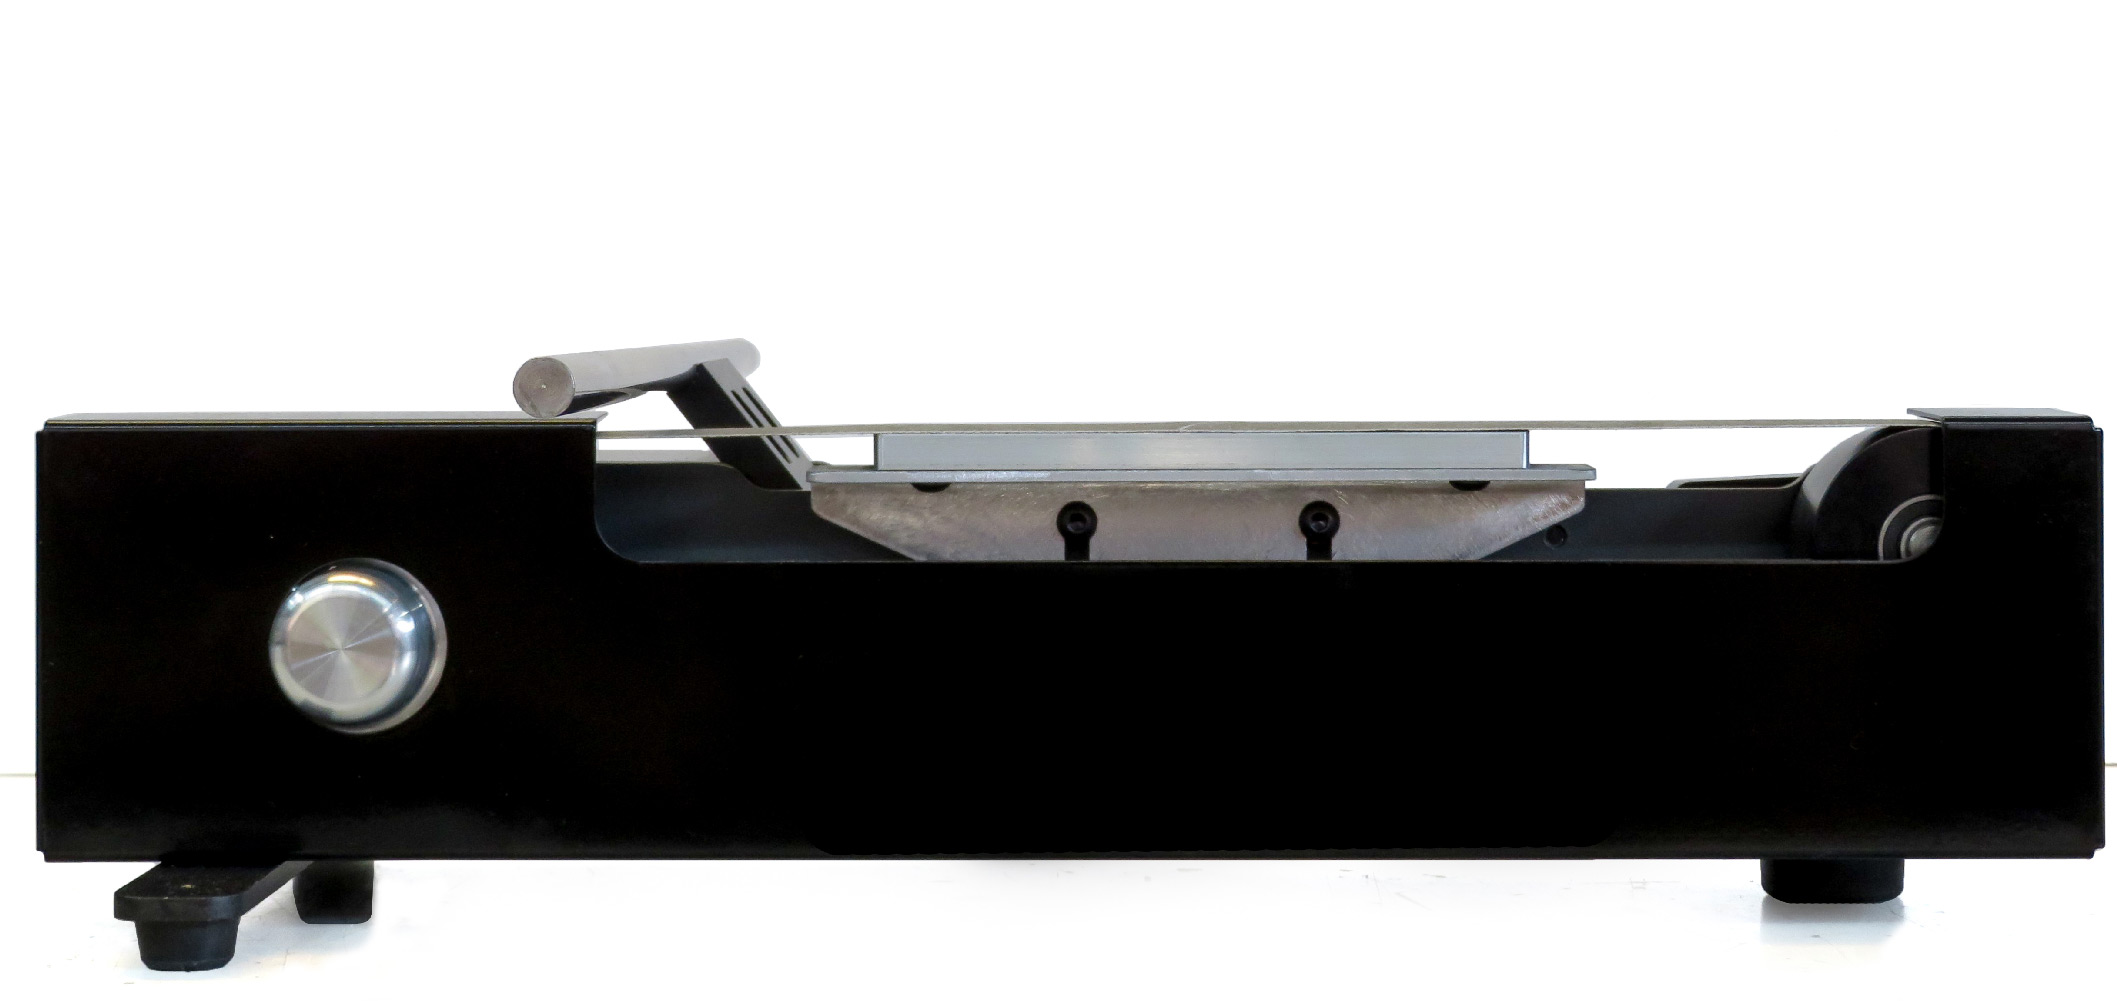
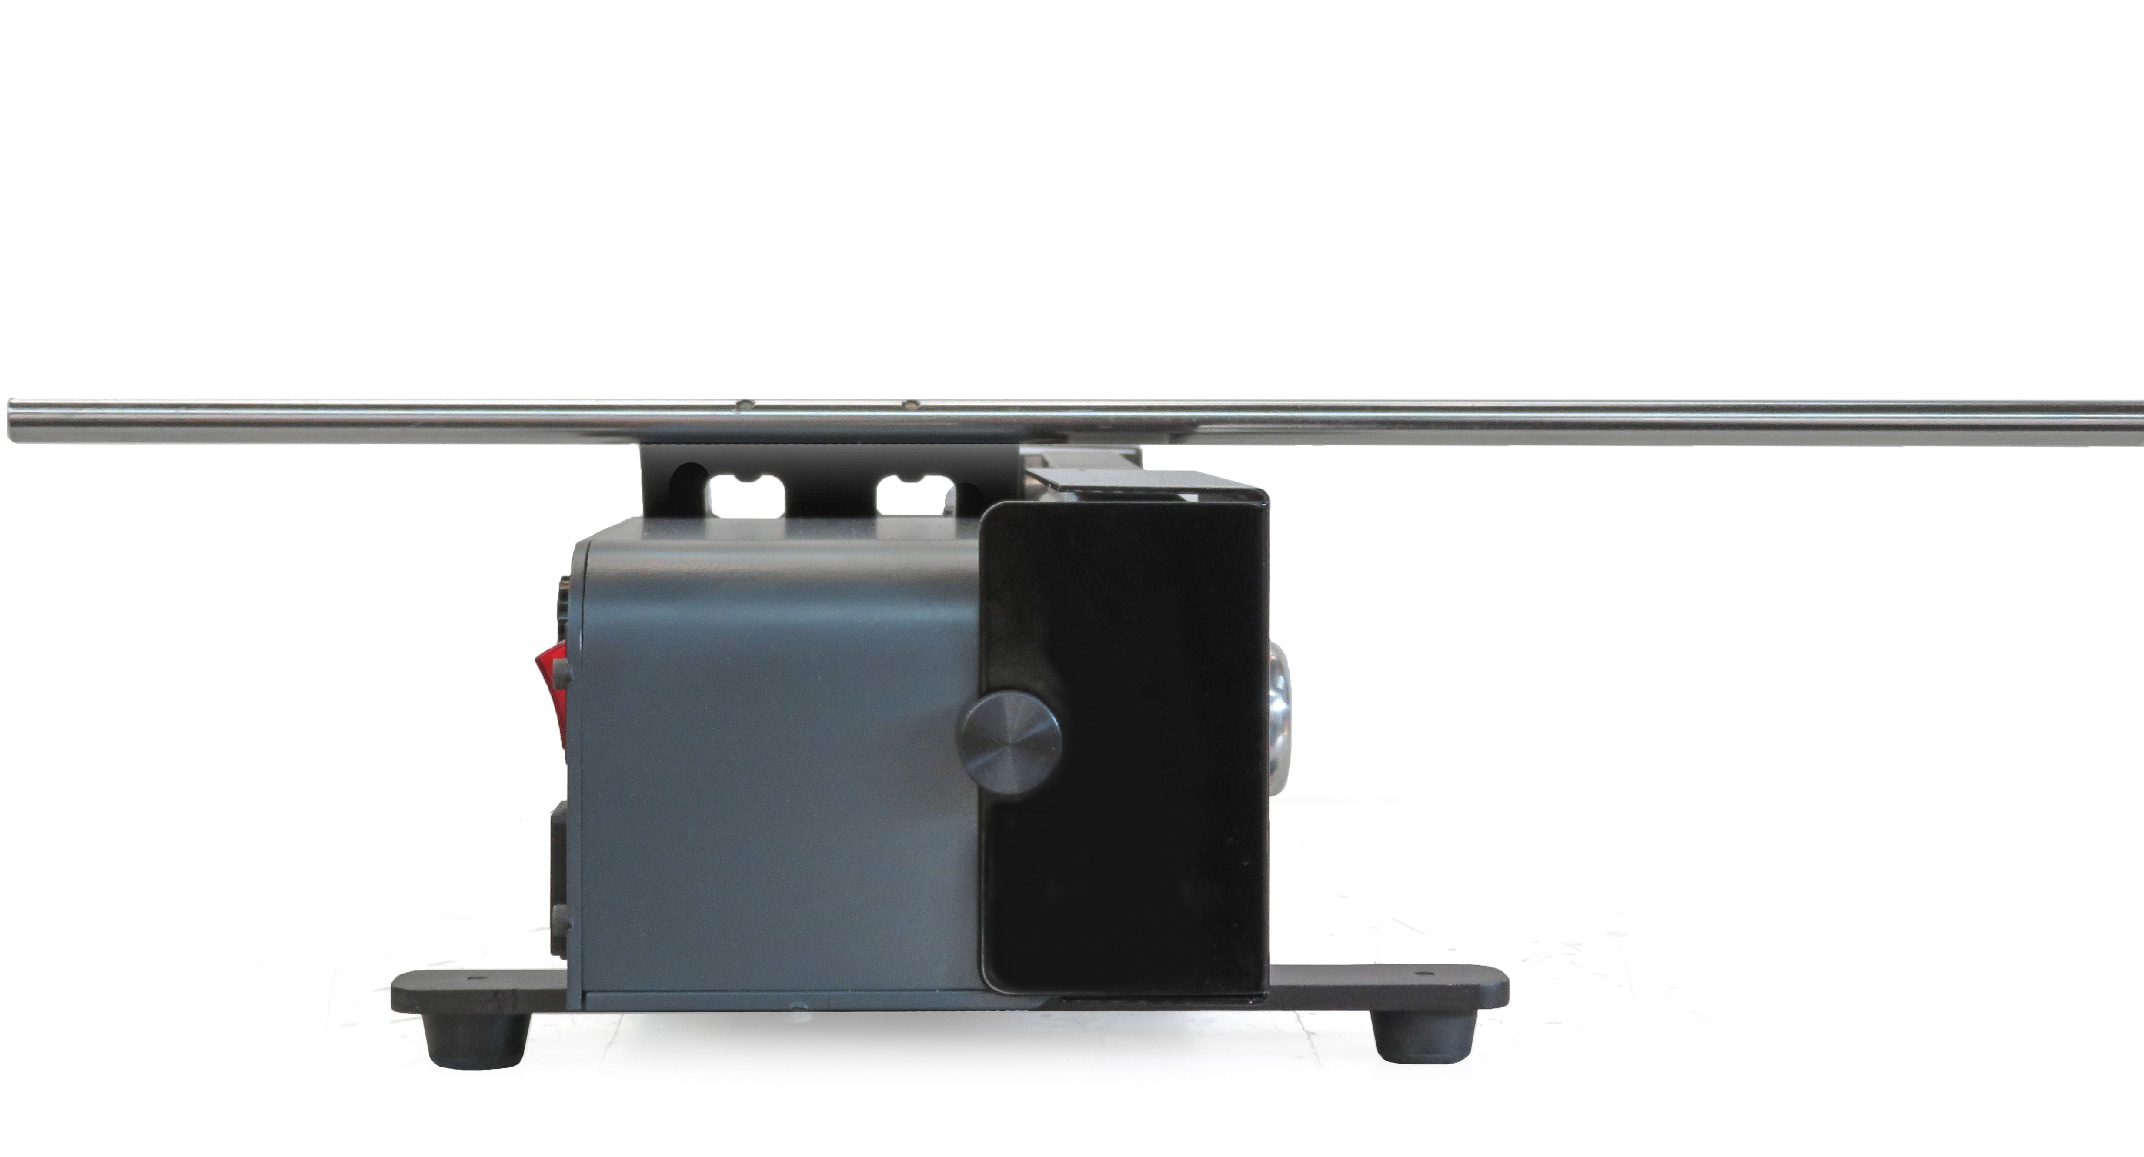
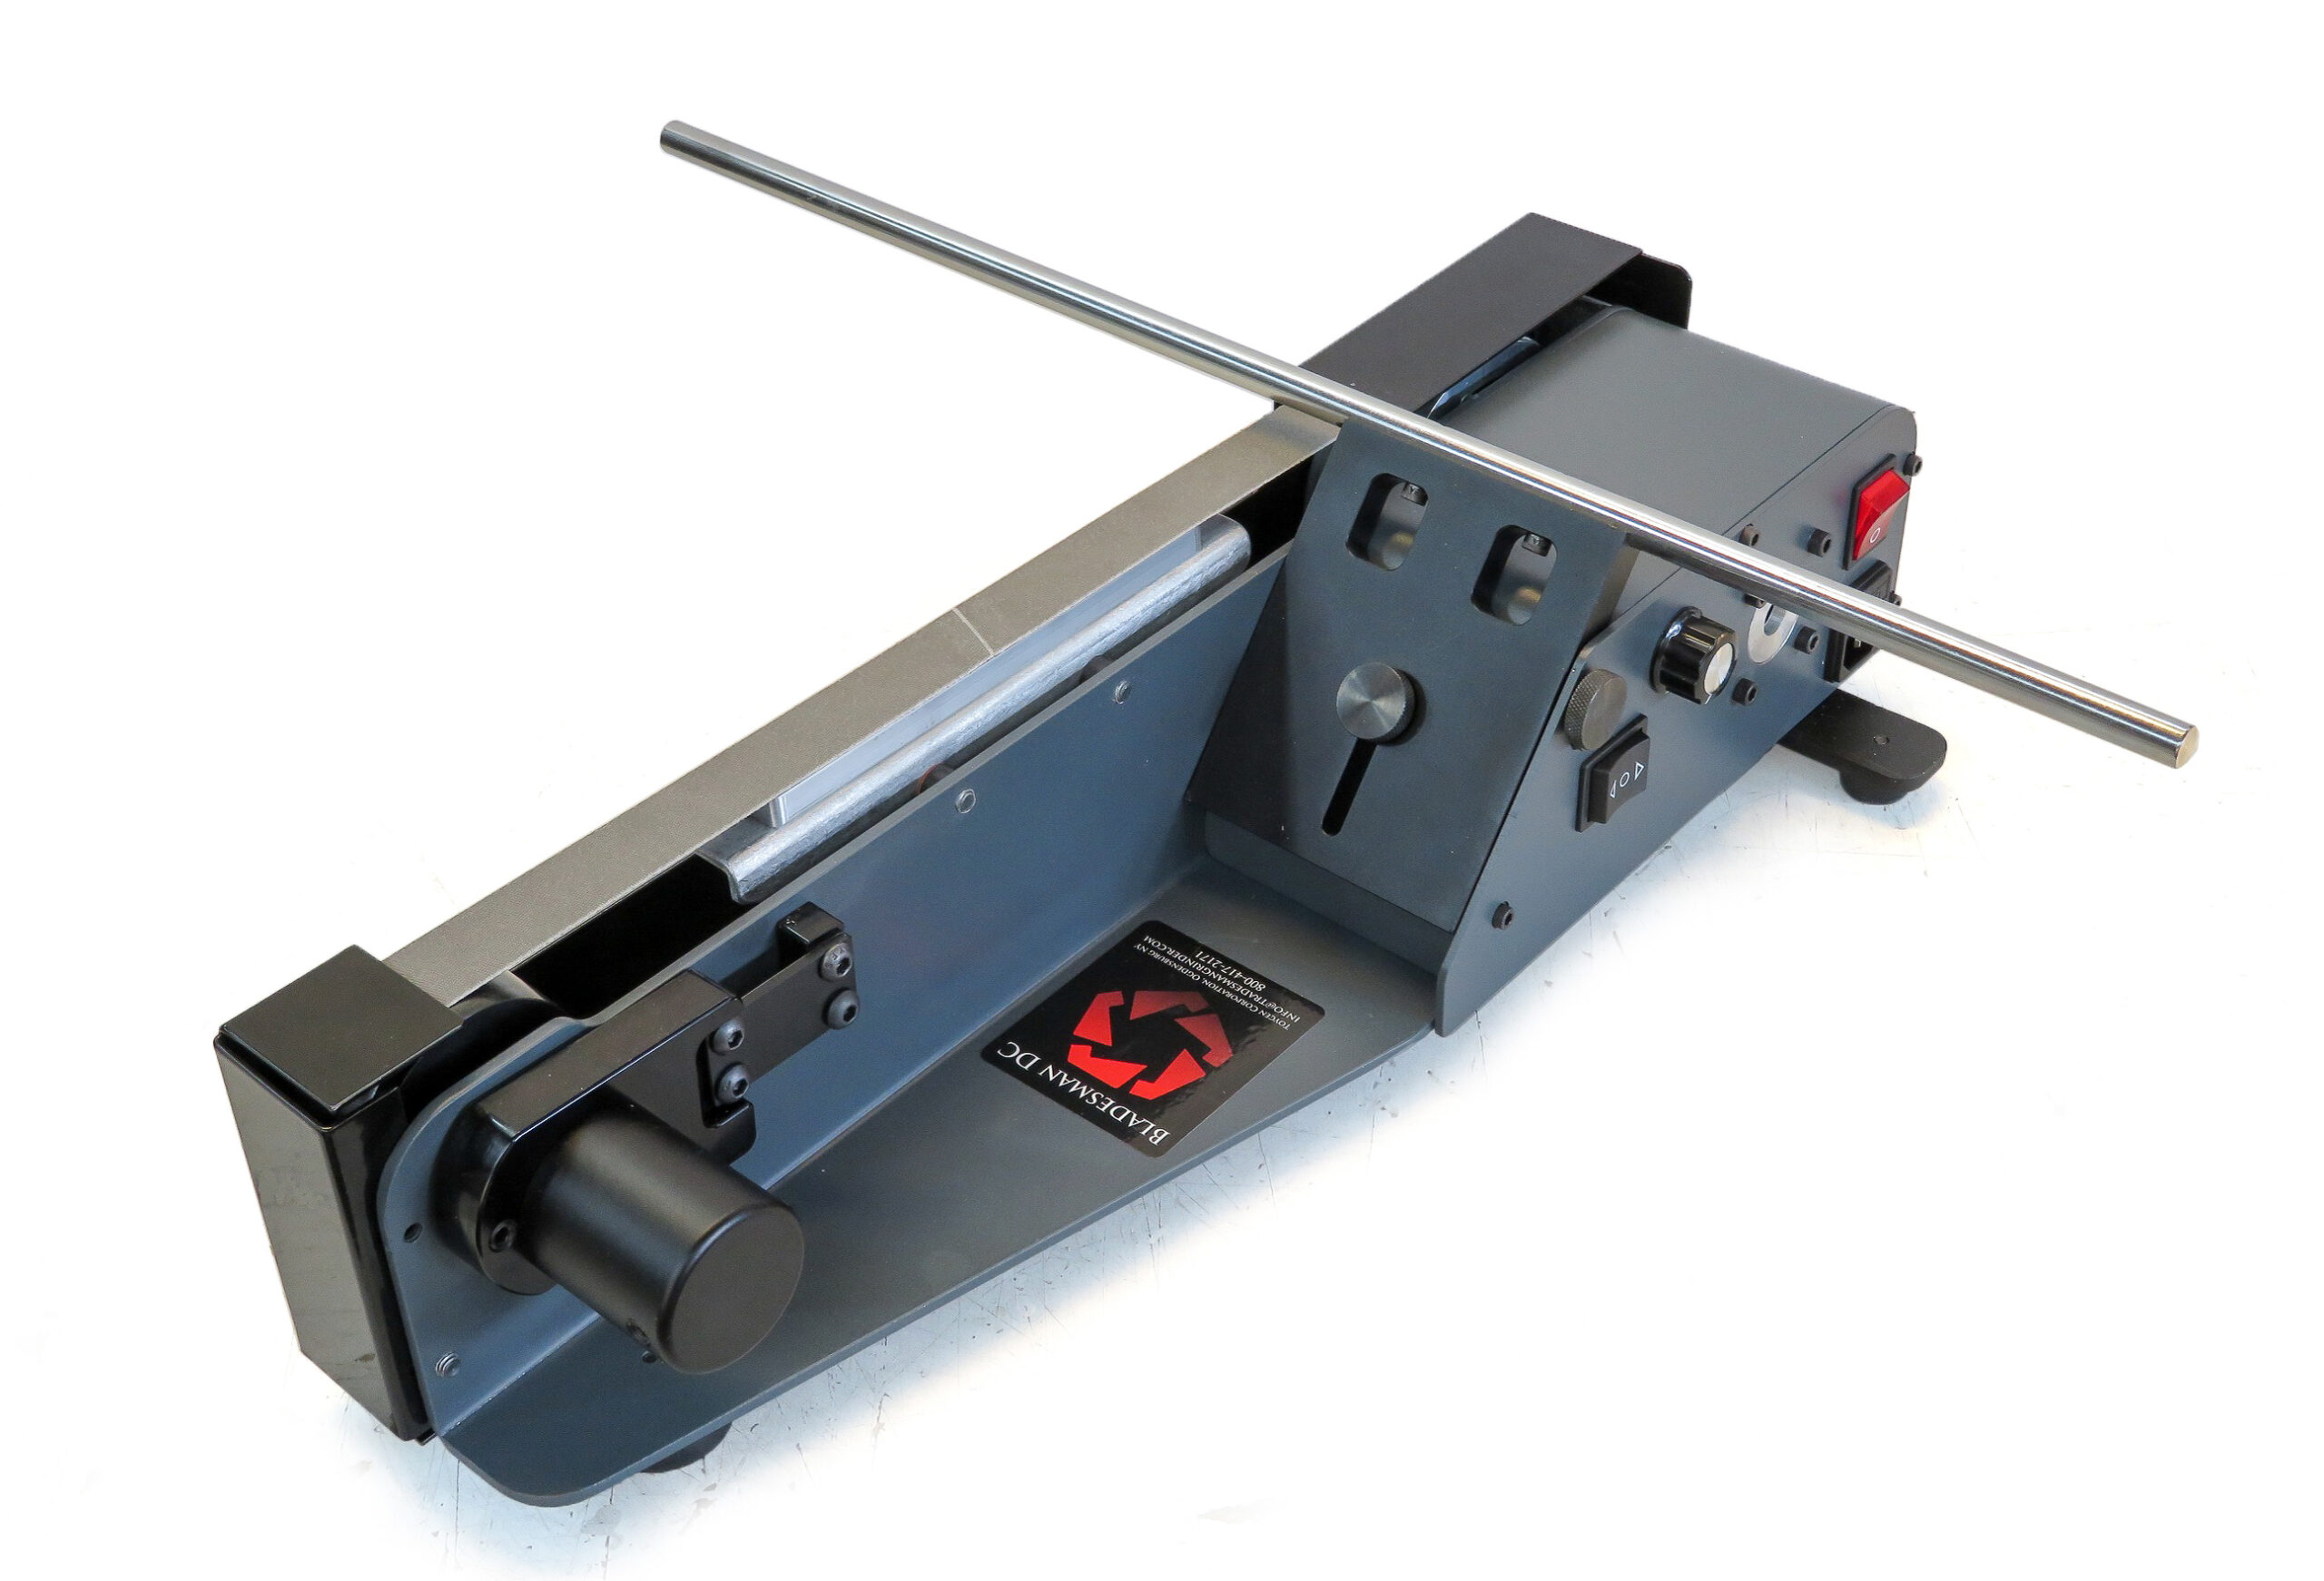
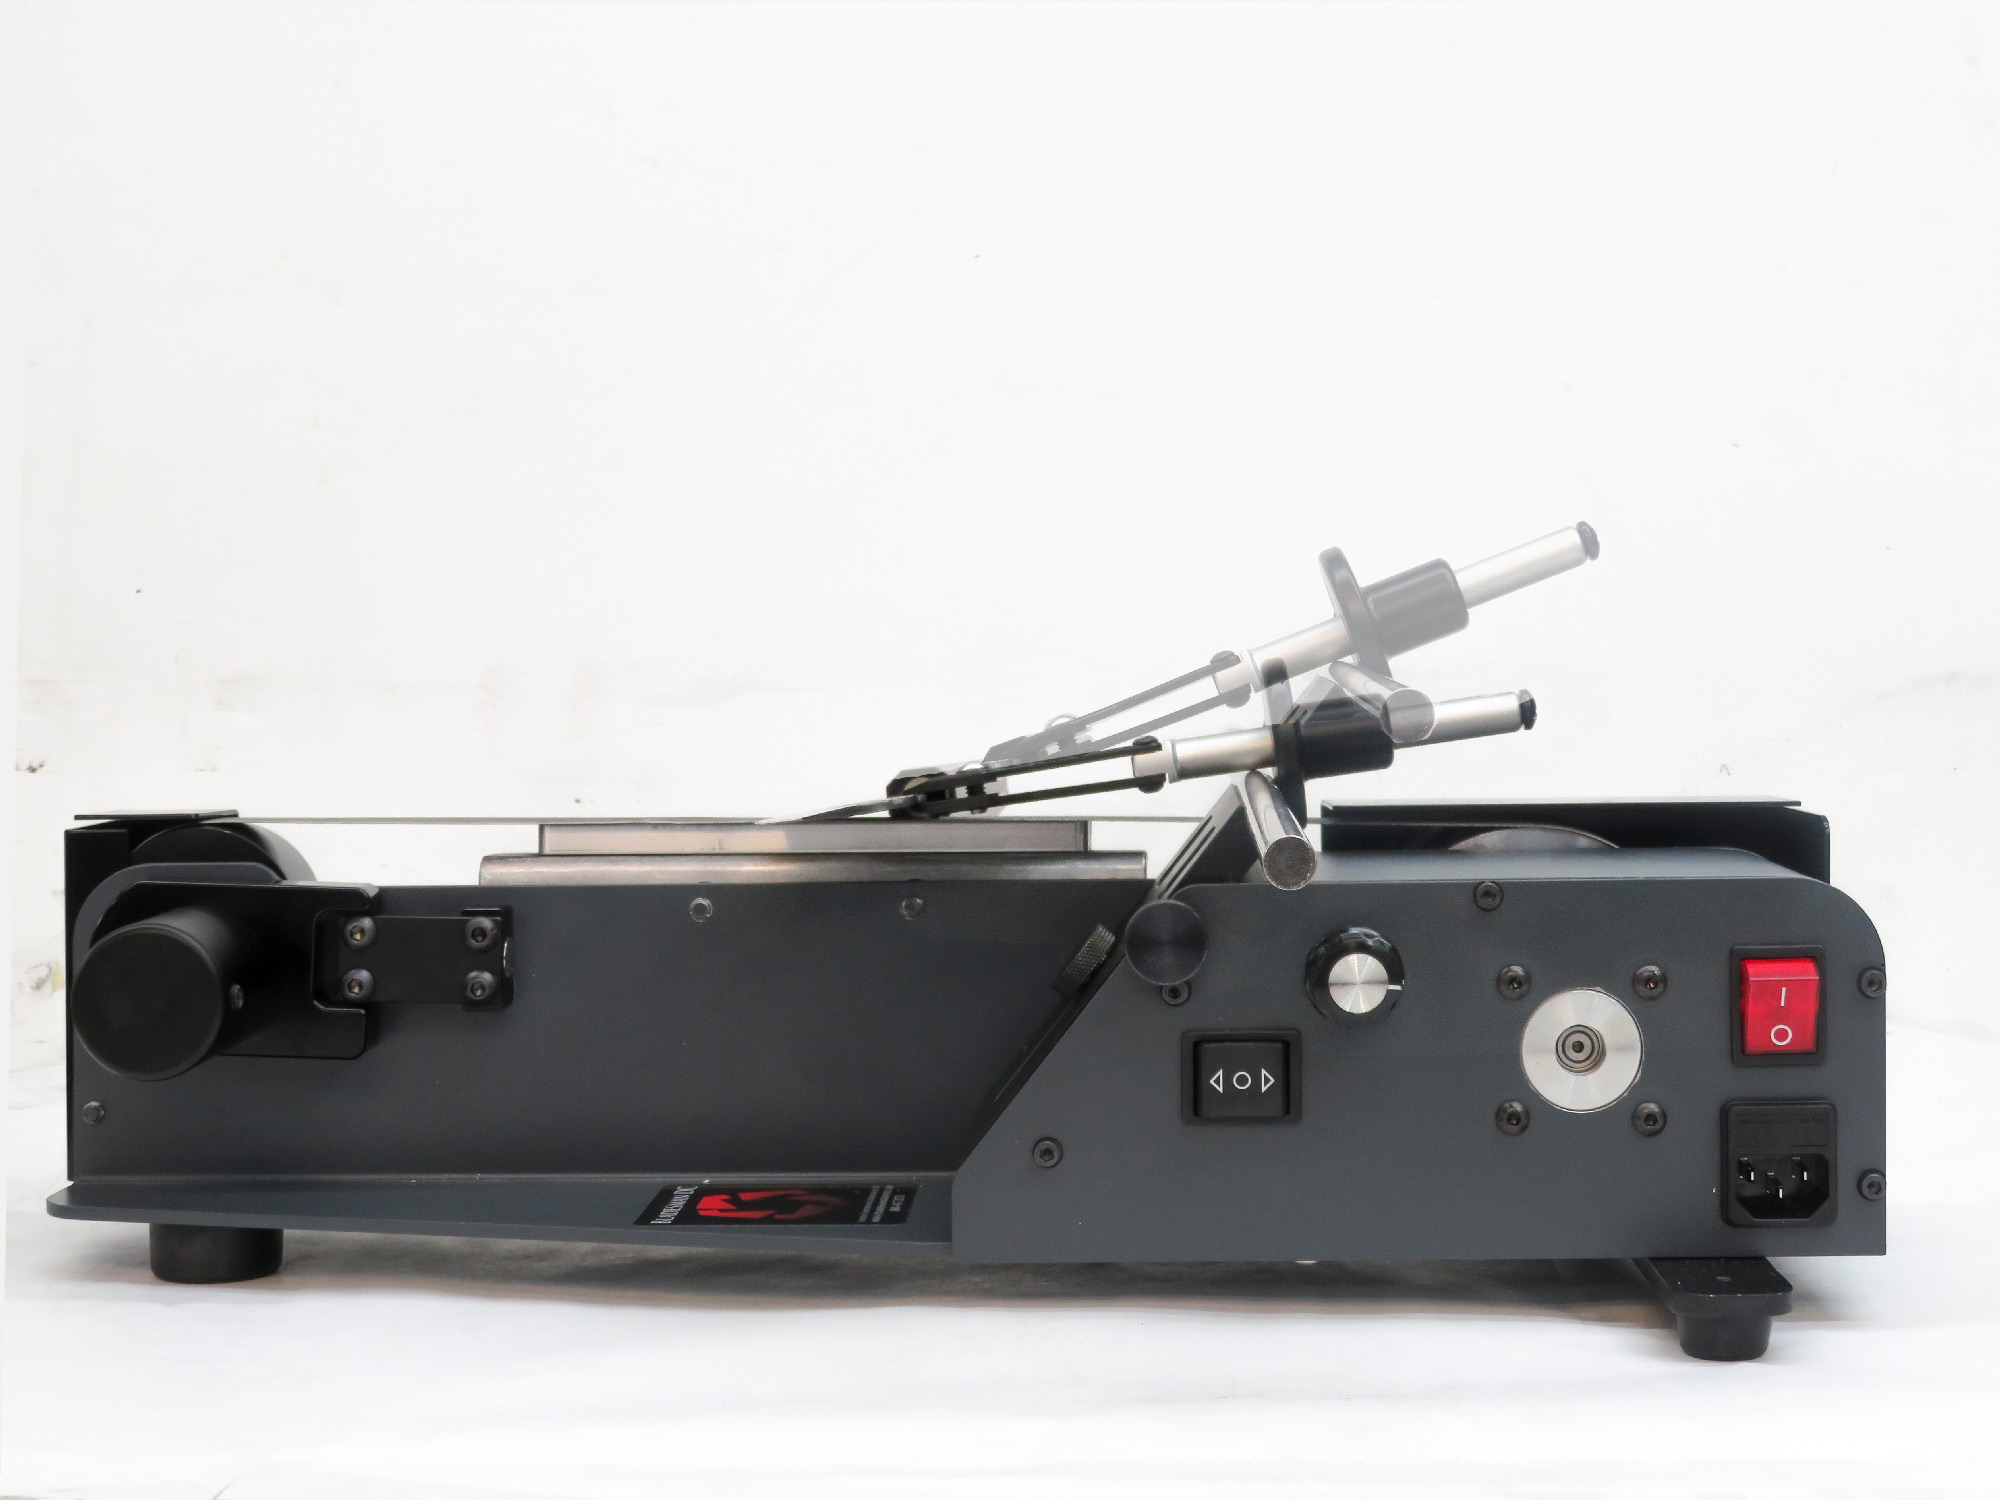
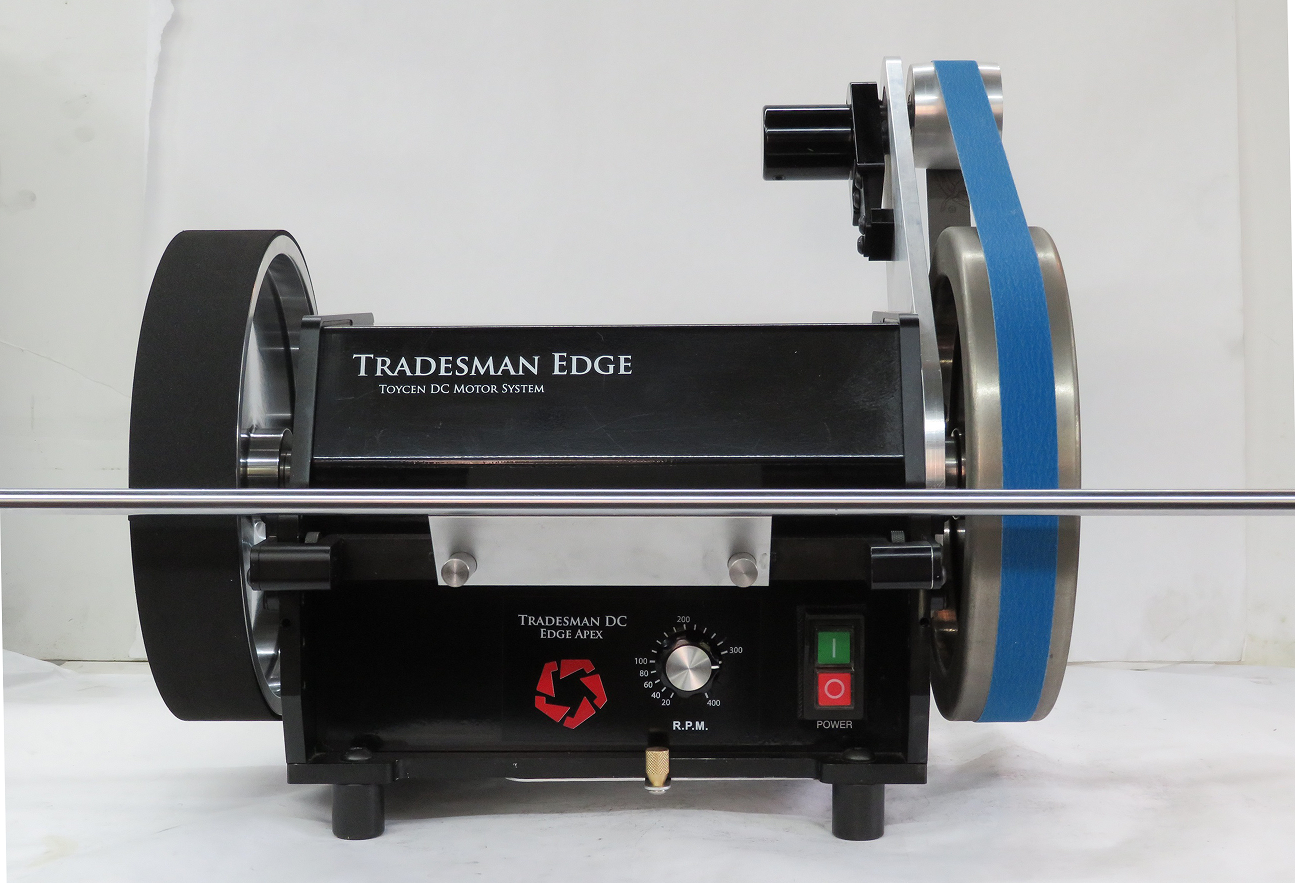
EDGE Belt over Wheel for 2 x 42 250 mm Wheels Variable Speed Reversing Wet Belt
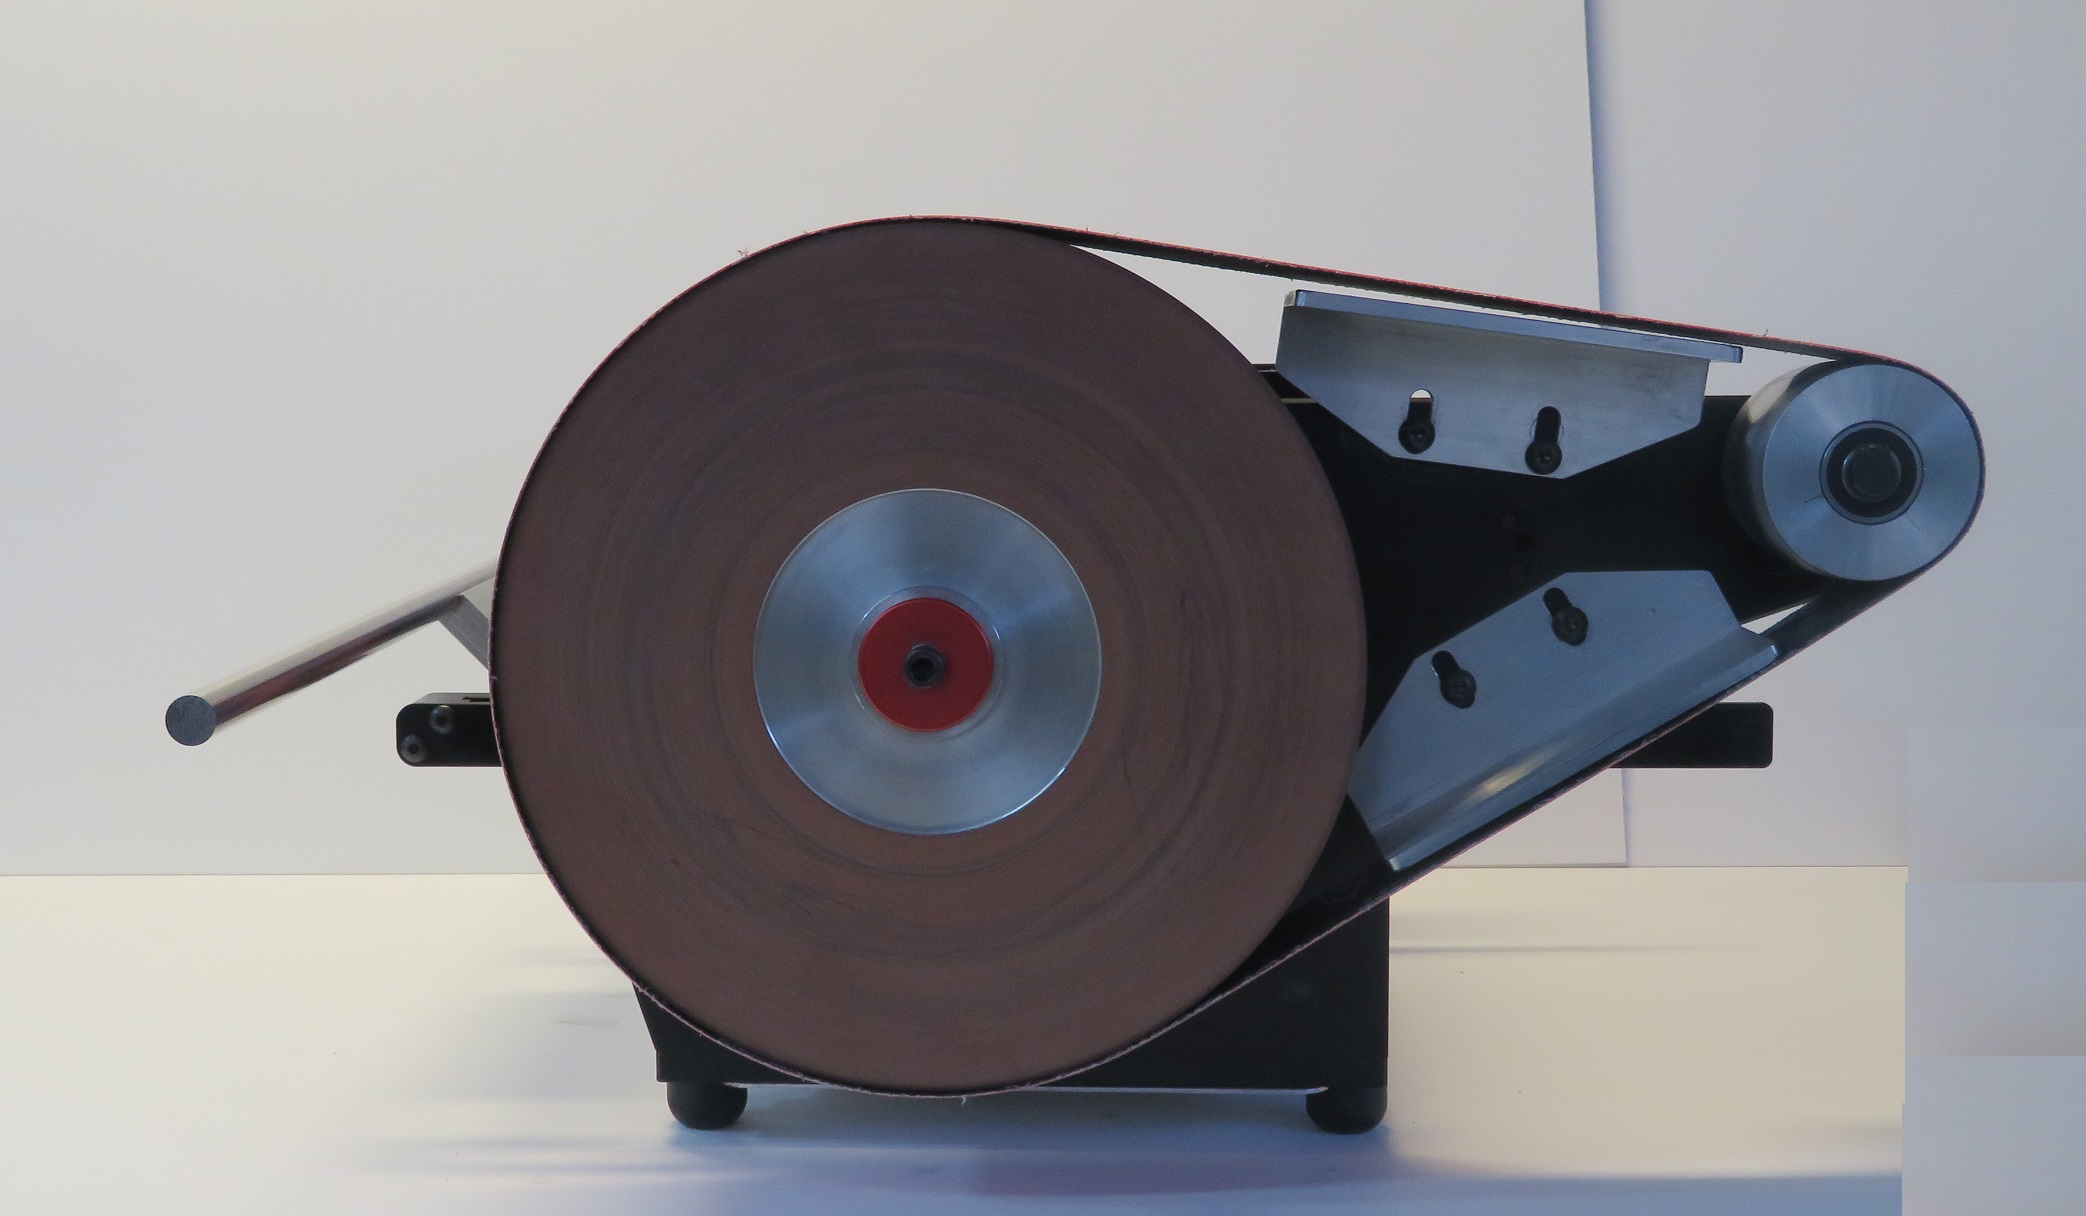
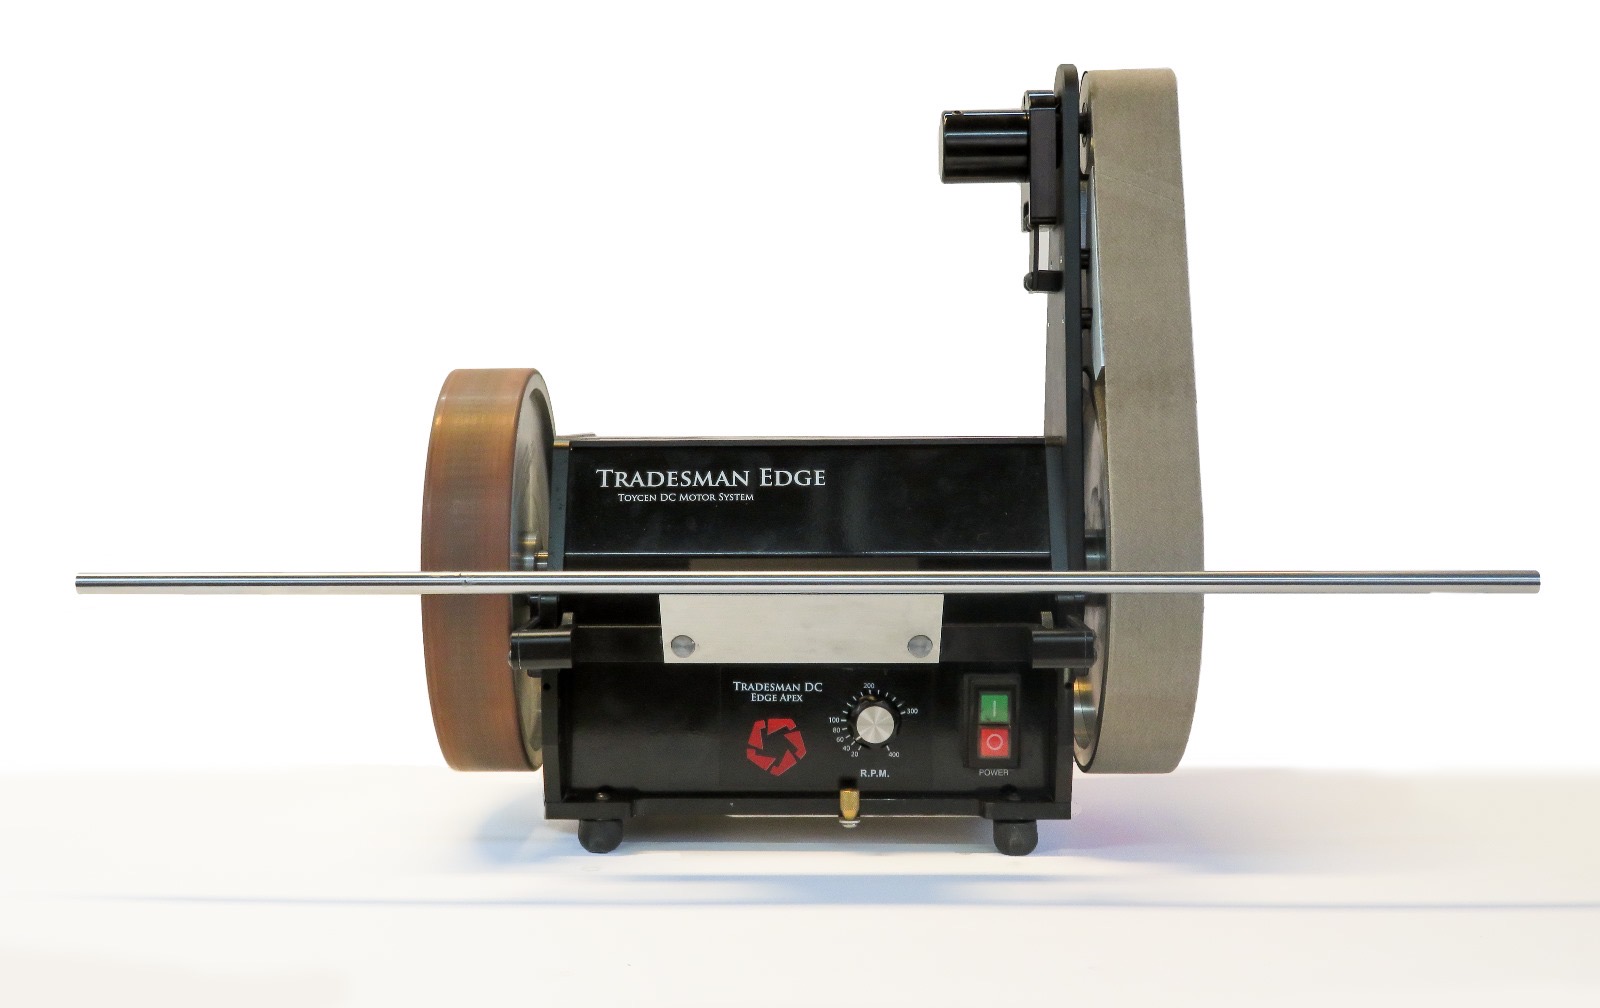
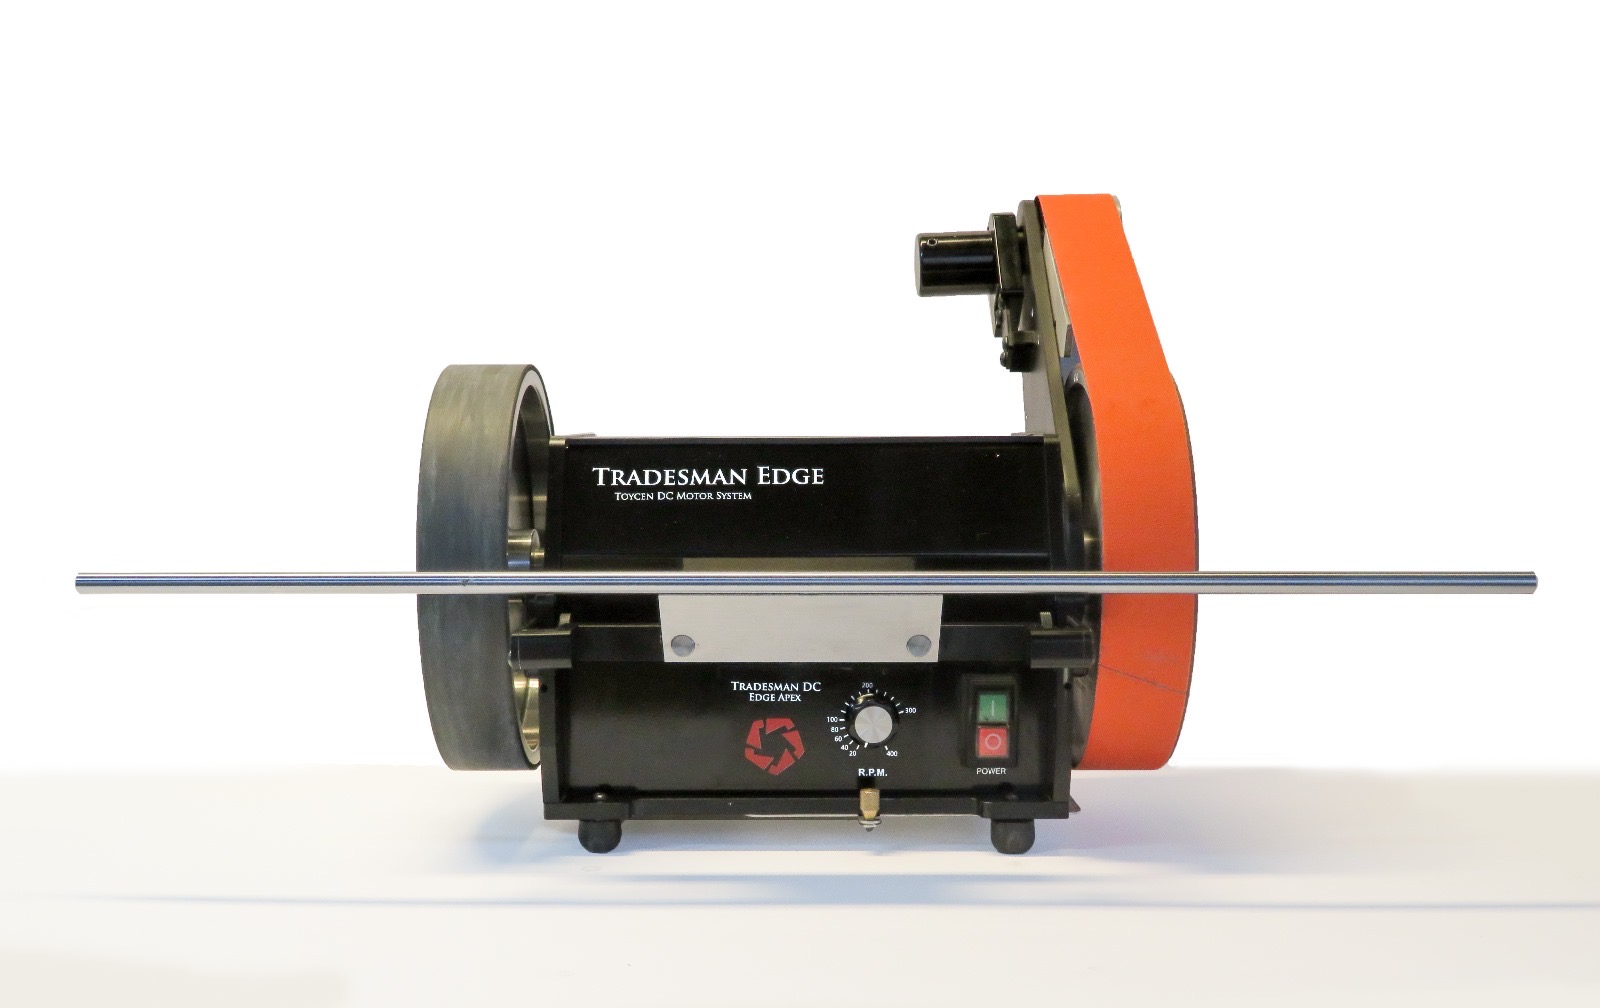
Edge 2 x 42 Belt over wheel Edge Accuracy Edge Composite Honing wheel
 One set of 250 mm wheels can now last a for years!
With the Belt over wheel, system you can use a belt grit of your choice for roughing in Apexes that
need a lot of material removed without wearing out your expensive wheels.
Keep in mind the Edge Apex is a wheeled machine the belt over wheel is a complimentary feature
Pop off the belt and finish with the wheel grit of your choice
Hone with the new EDGE Composite wheel and super-abrasive spray