
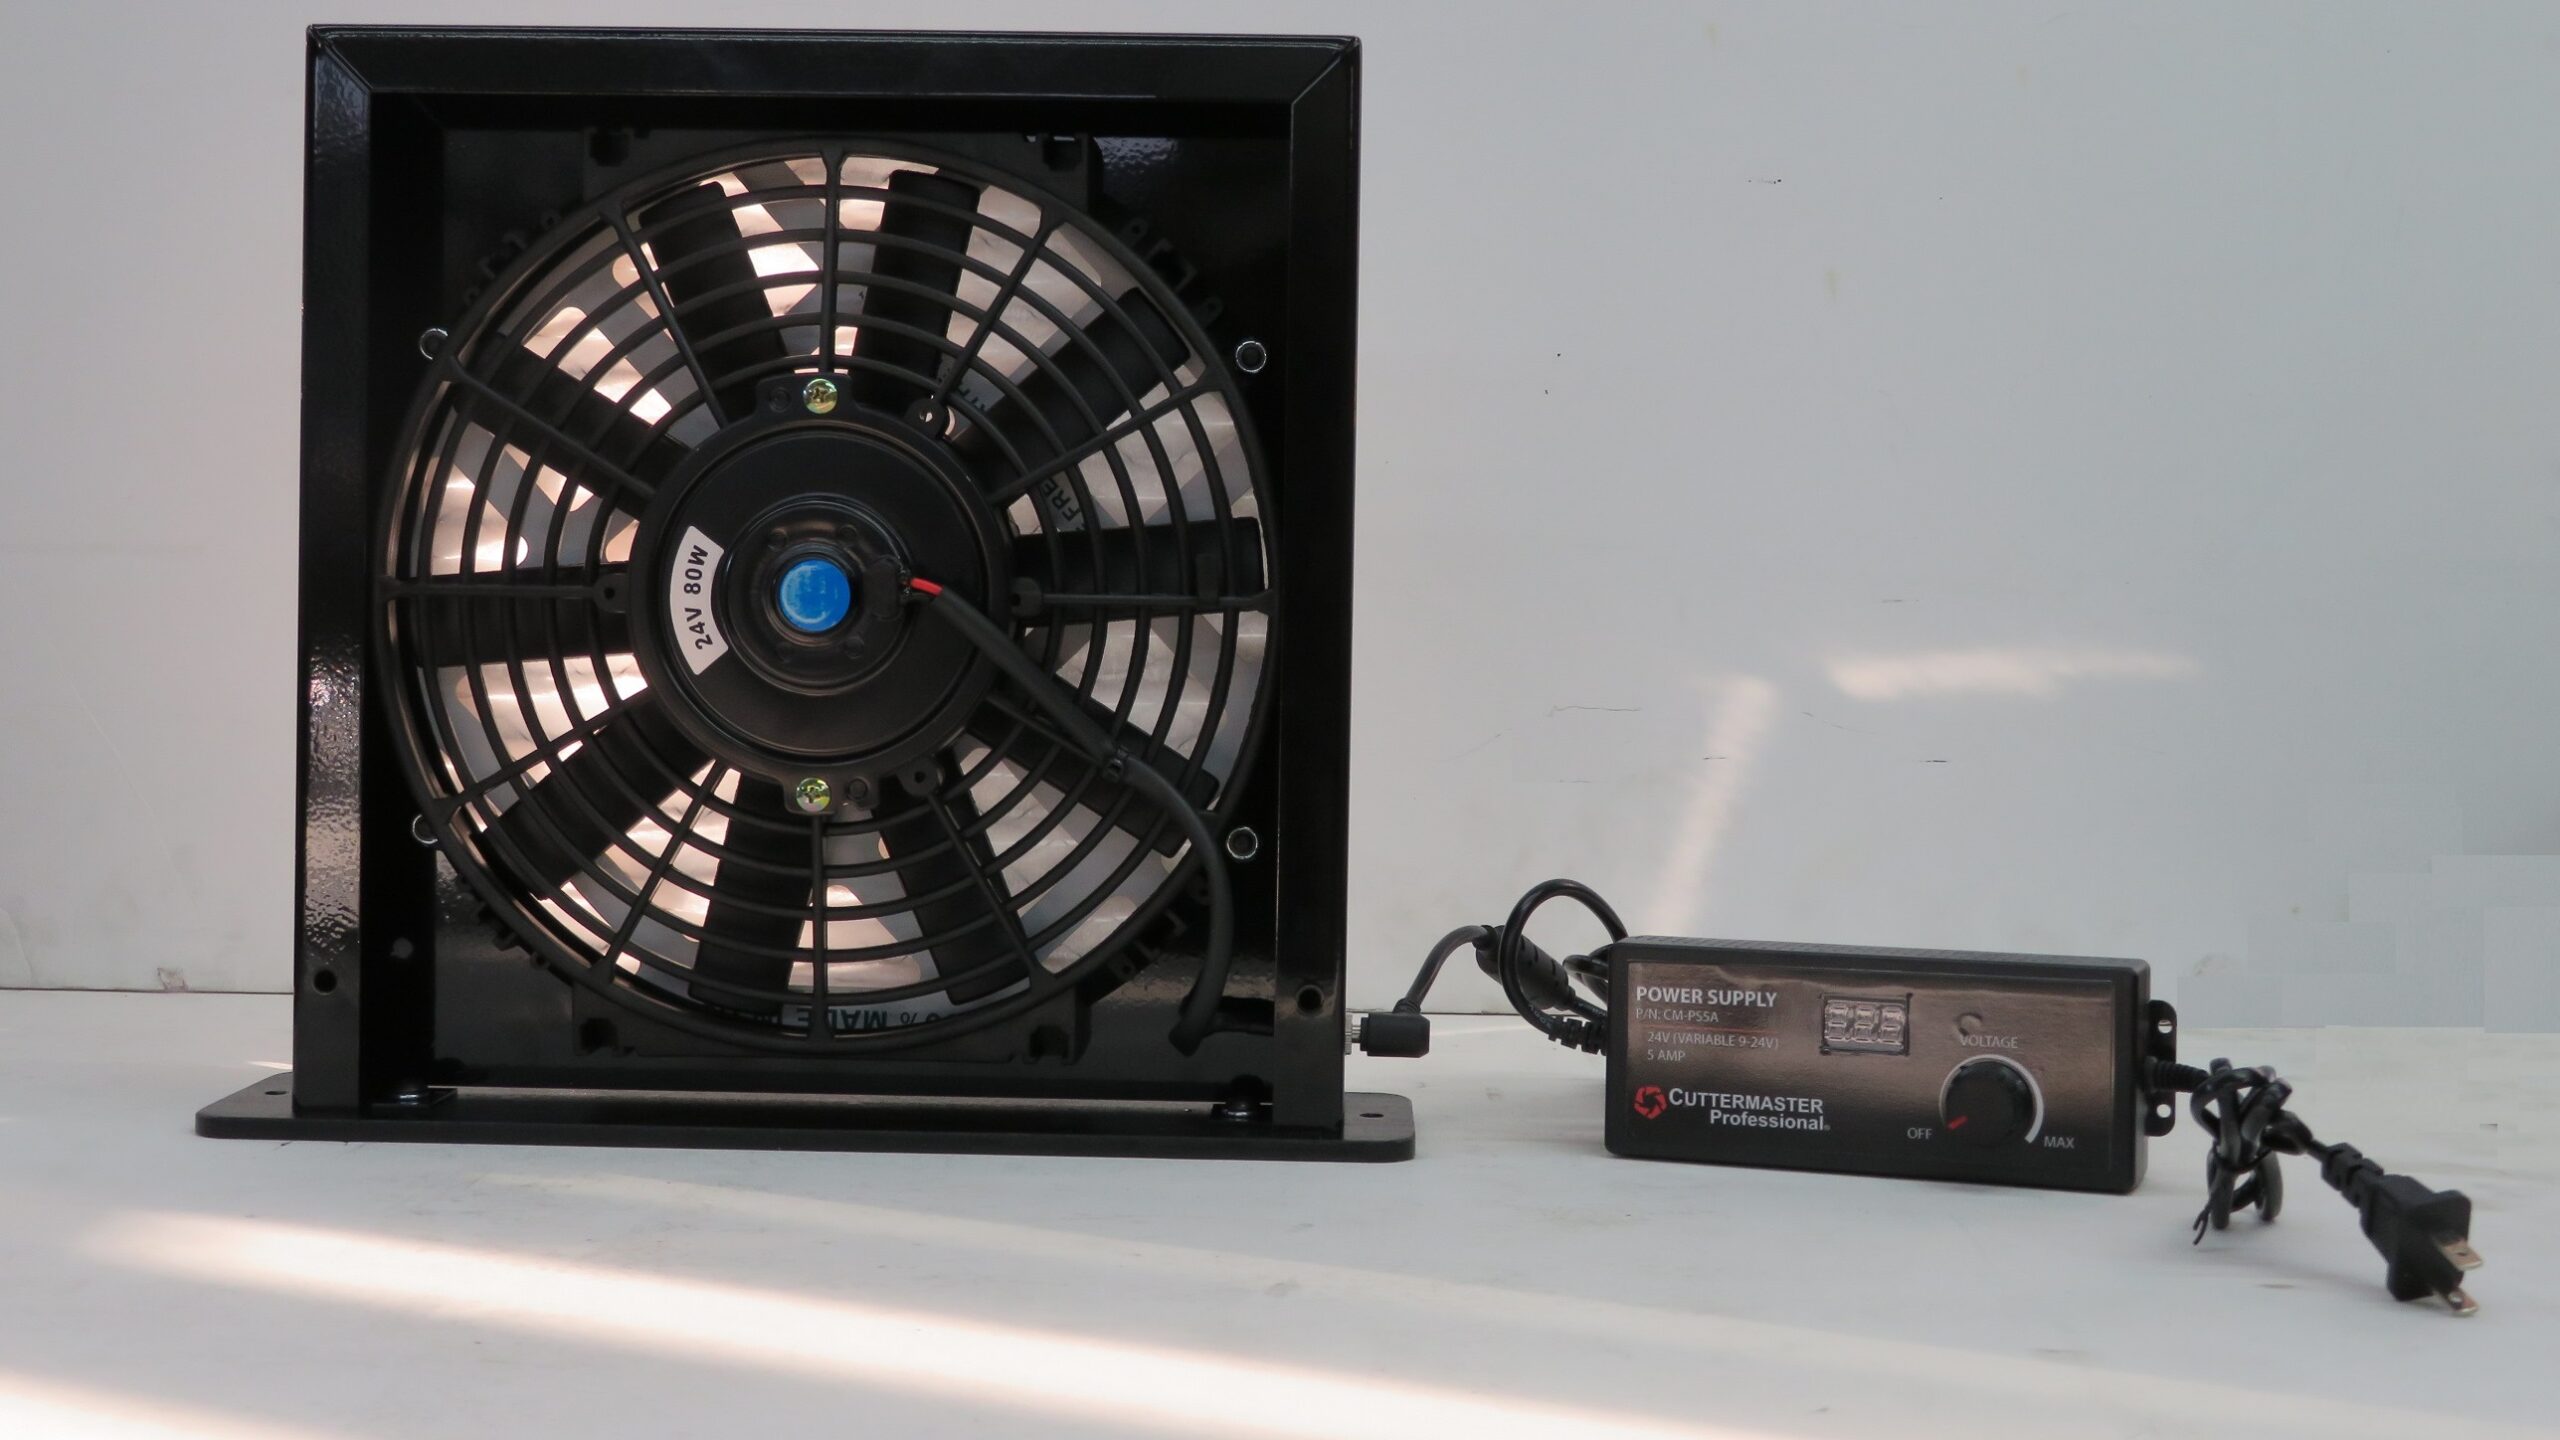
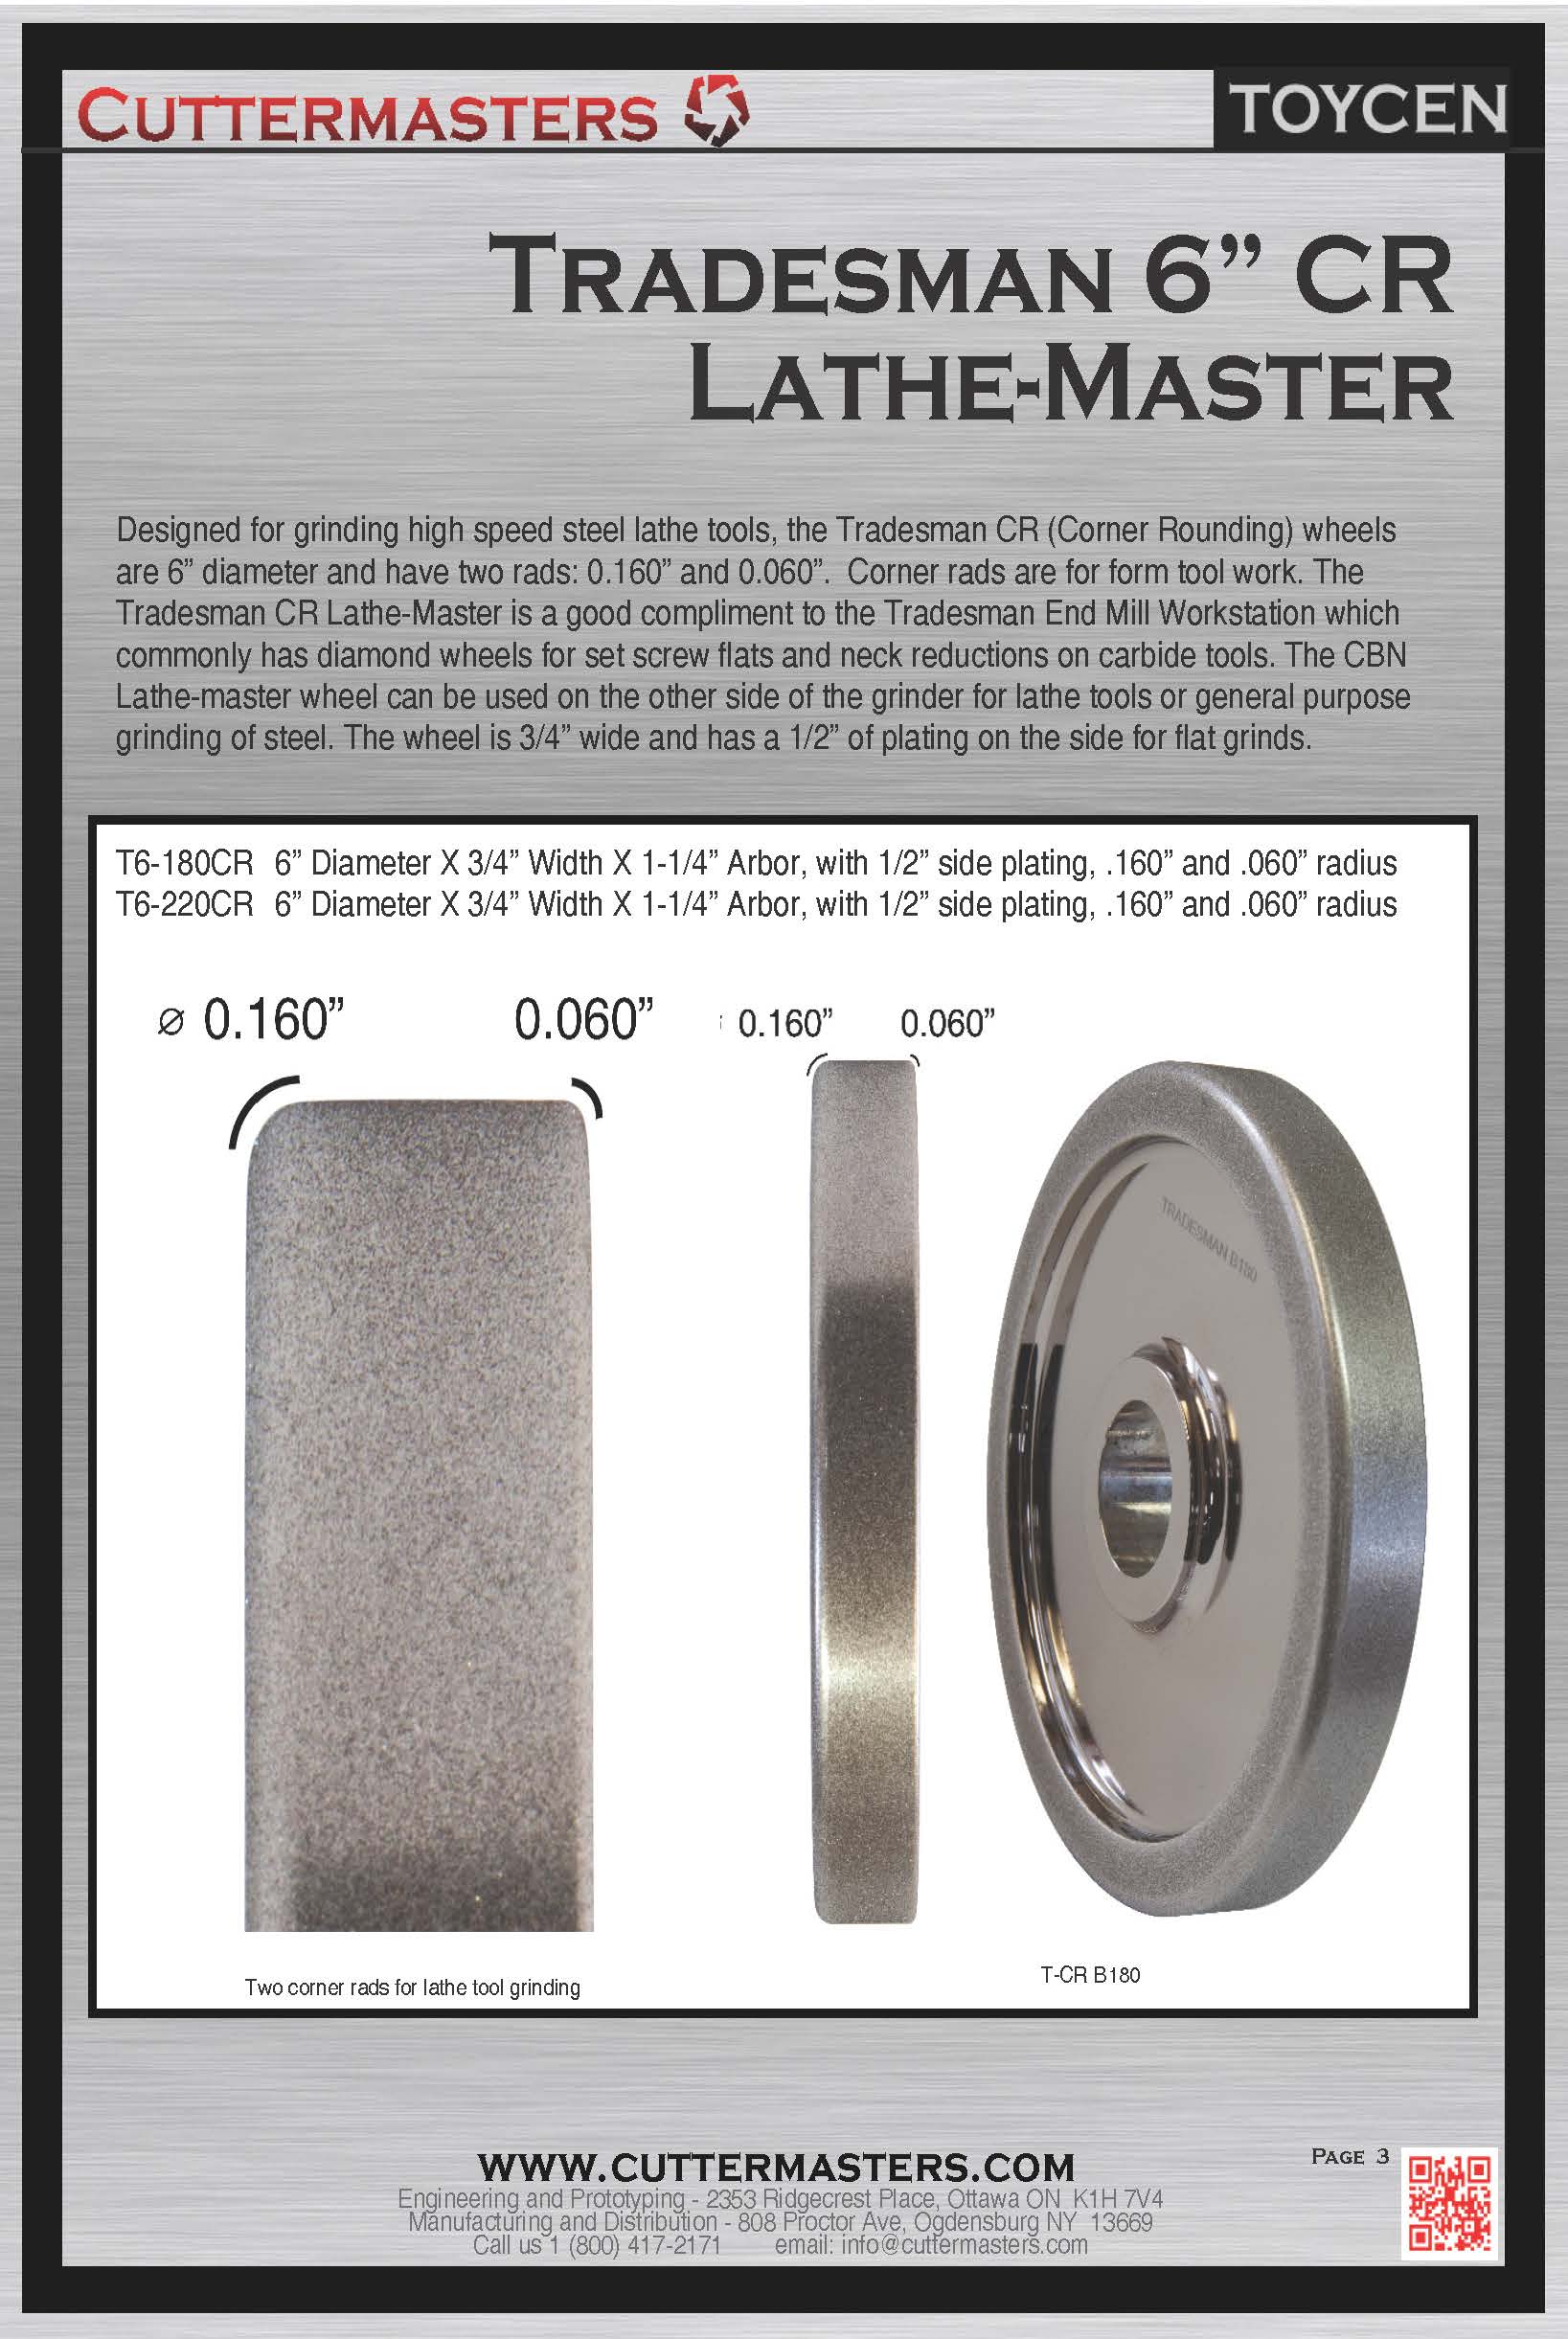
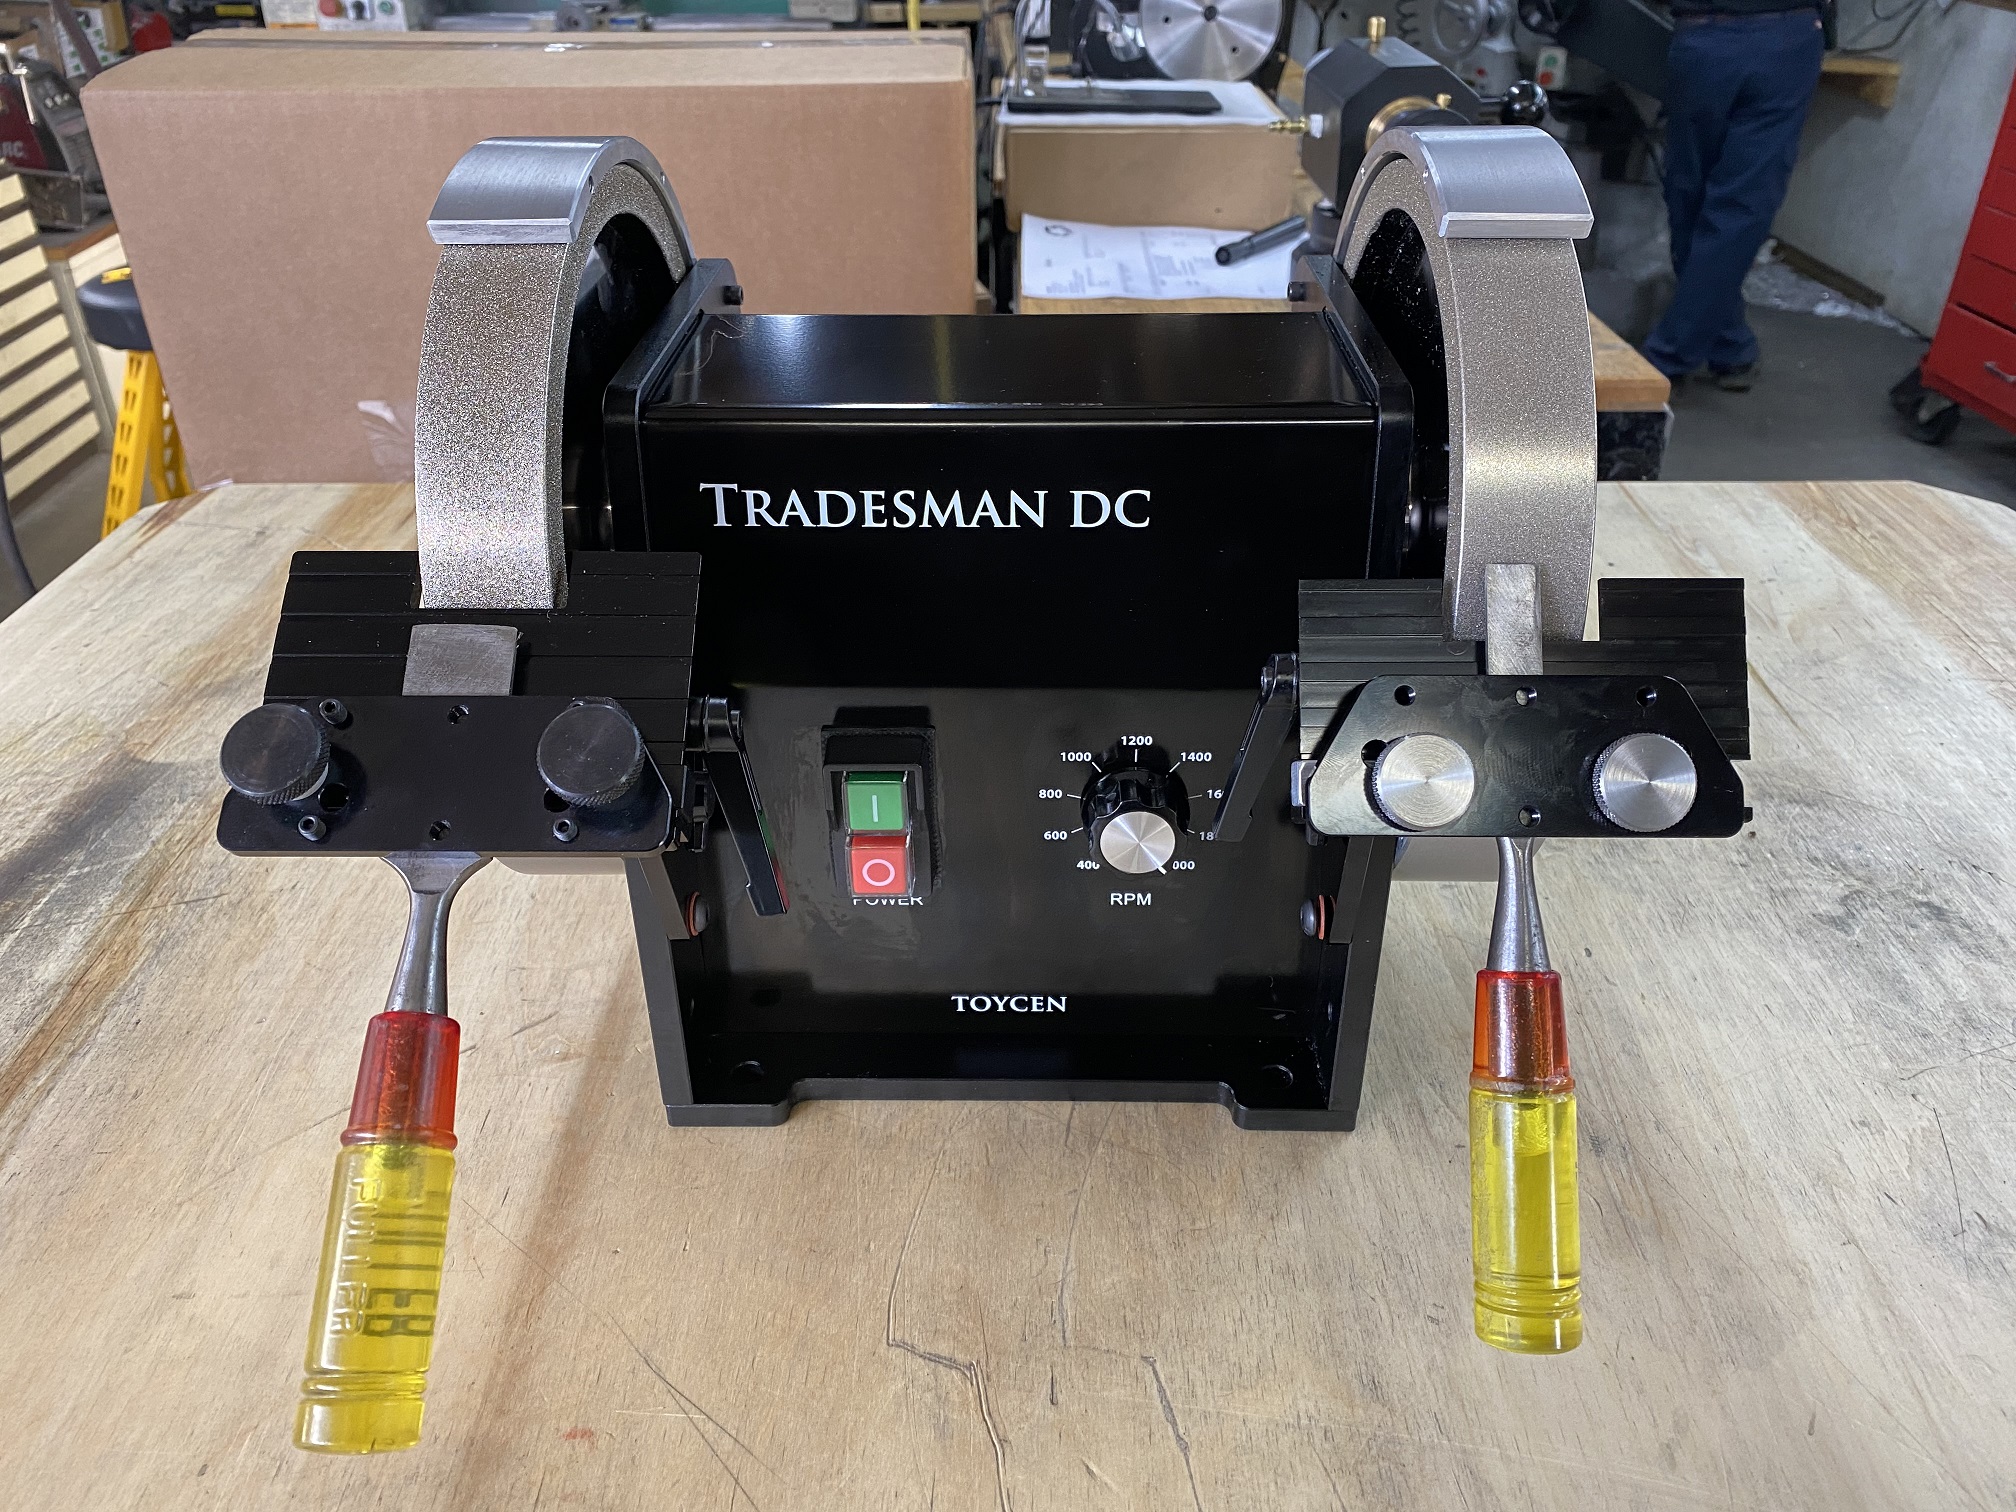
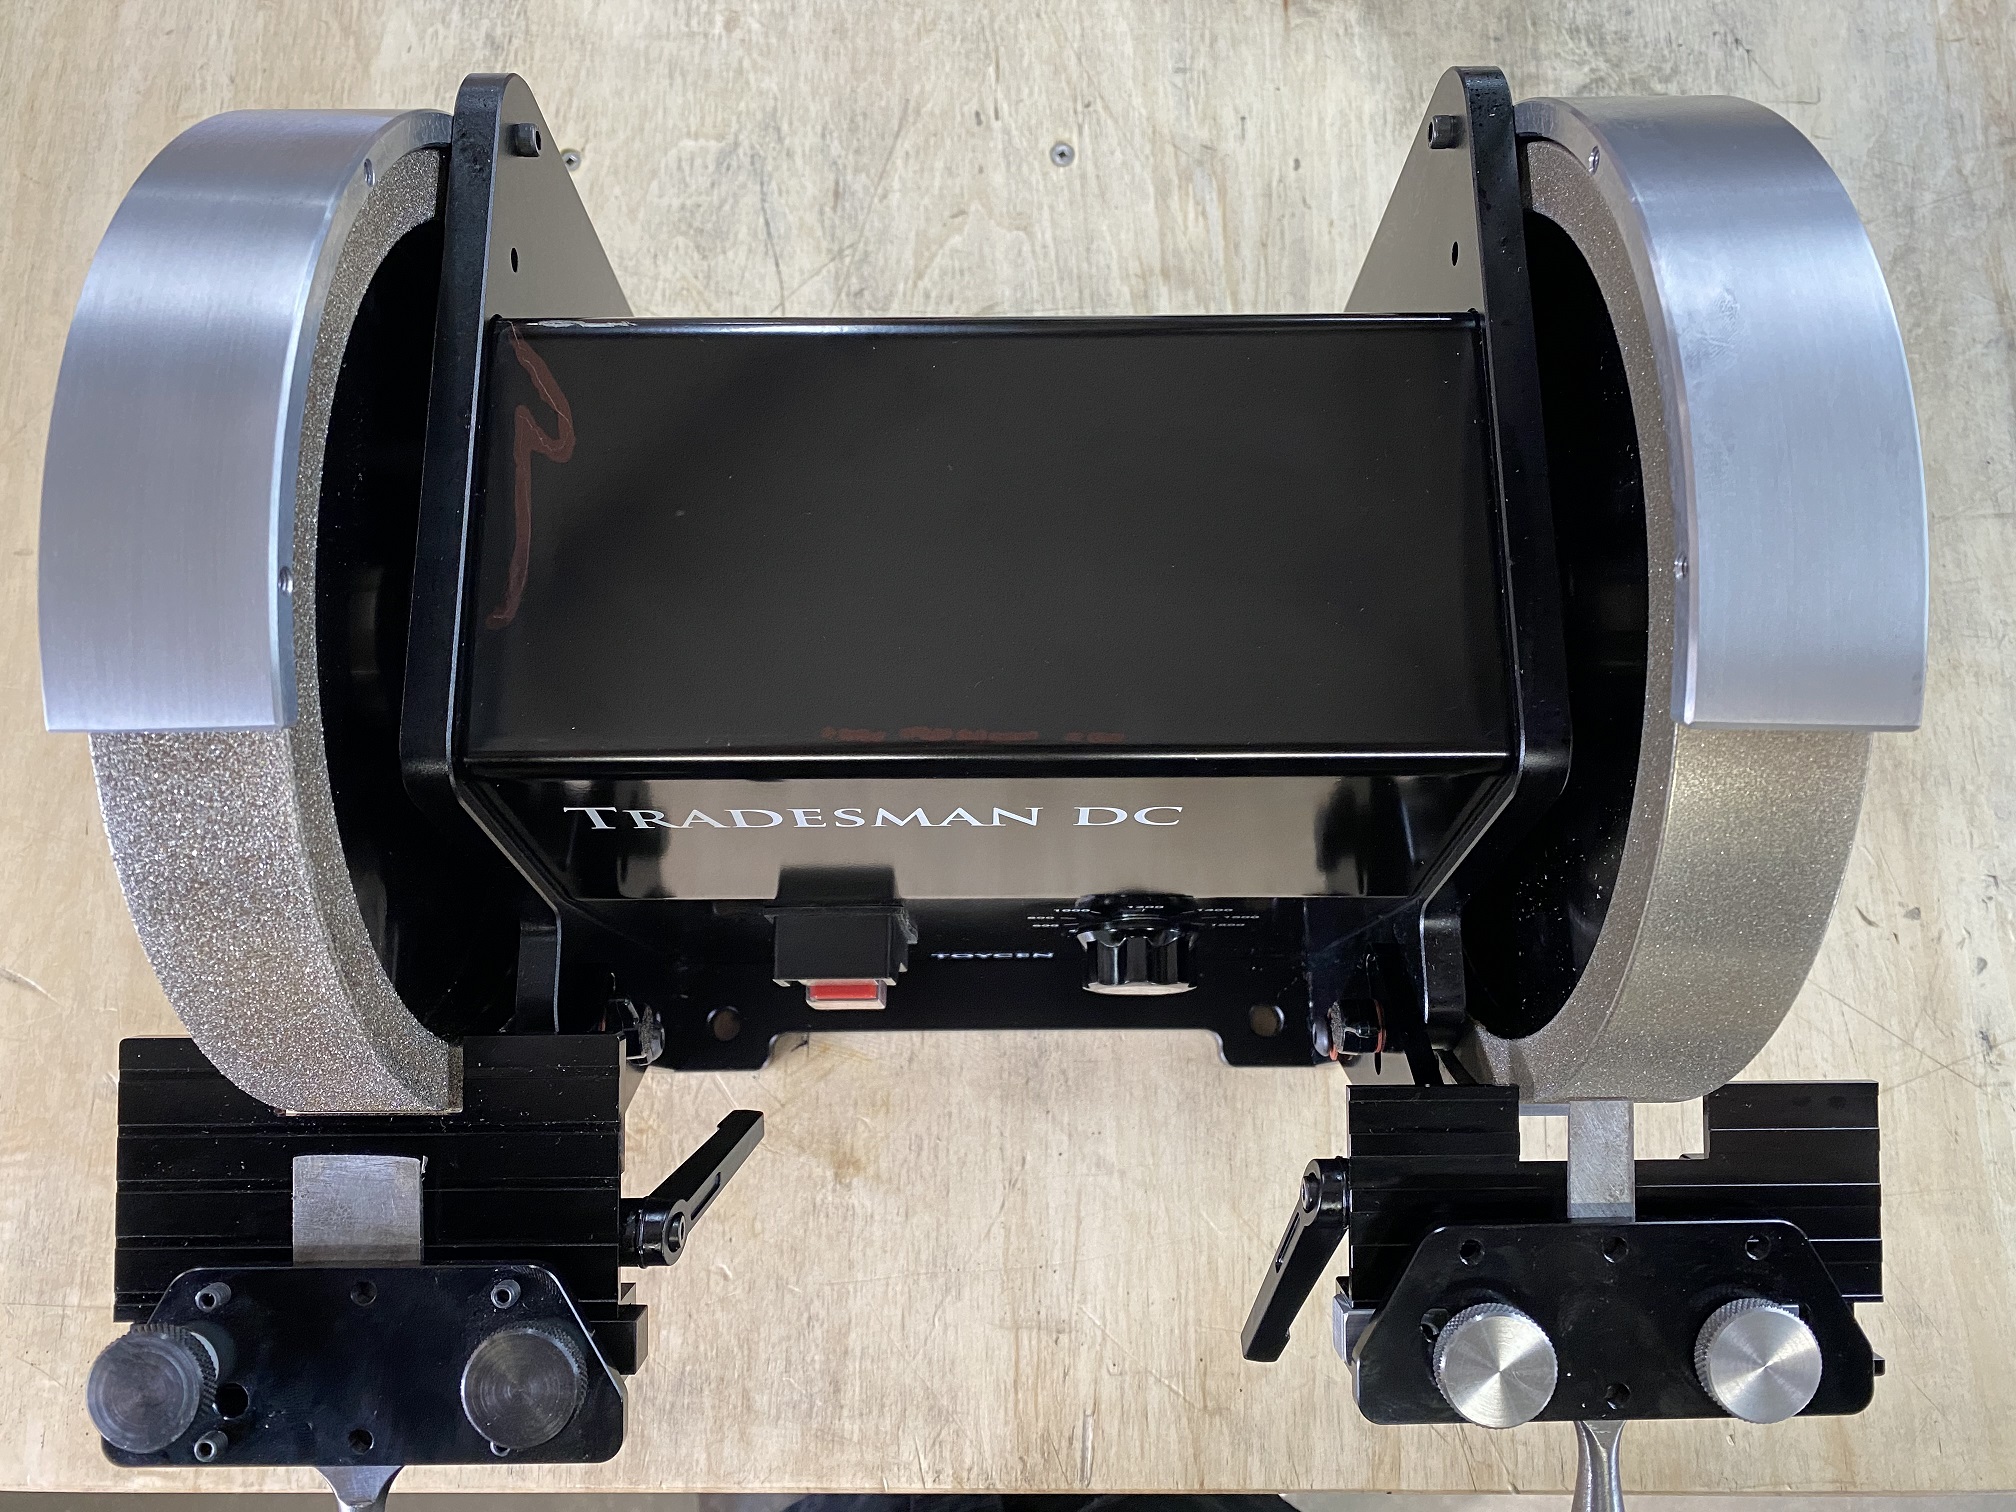
Tradesman Blade Smith Abrasives and Wheel Line up for 2023
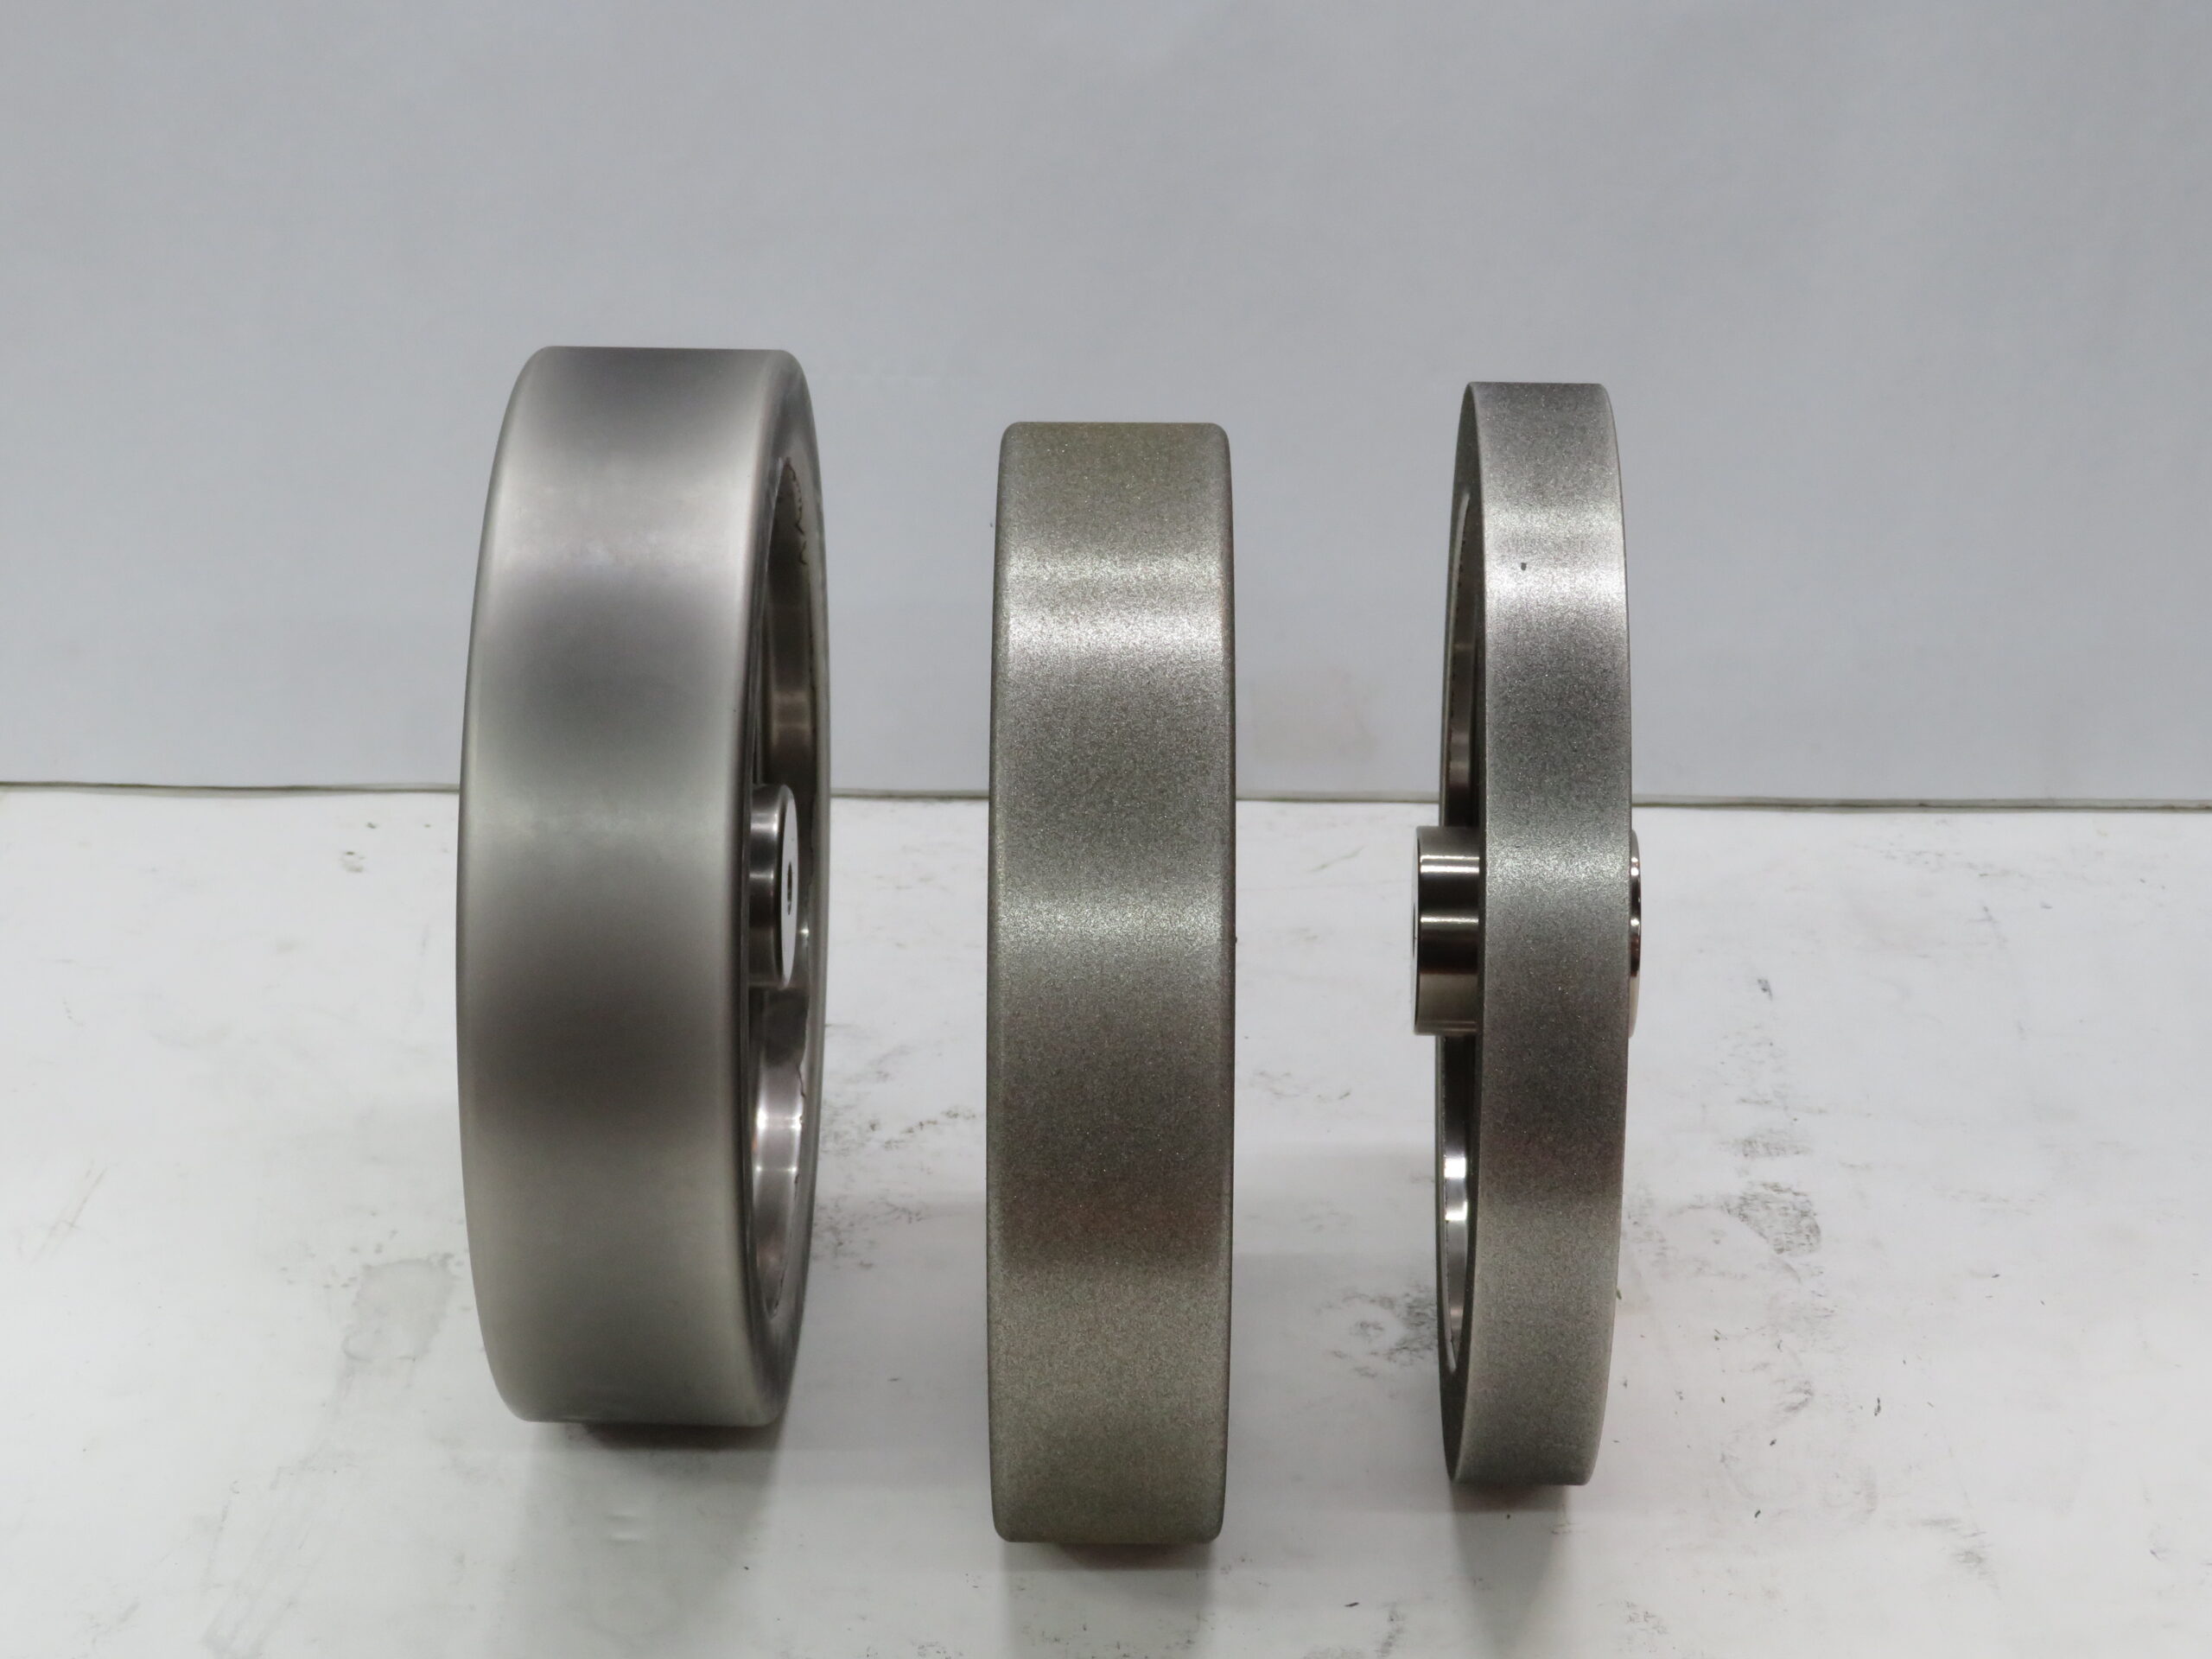
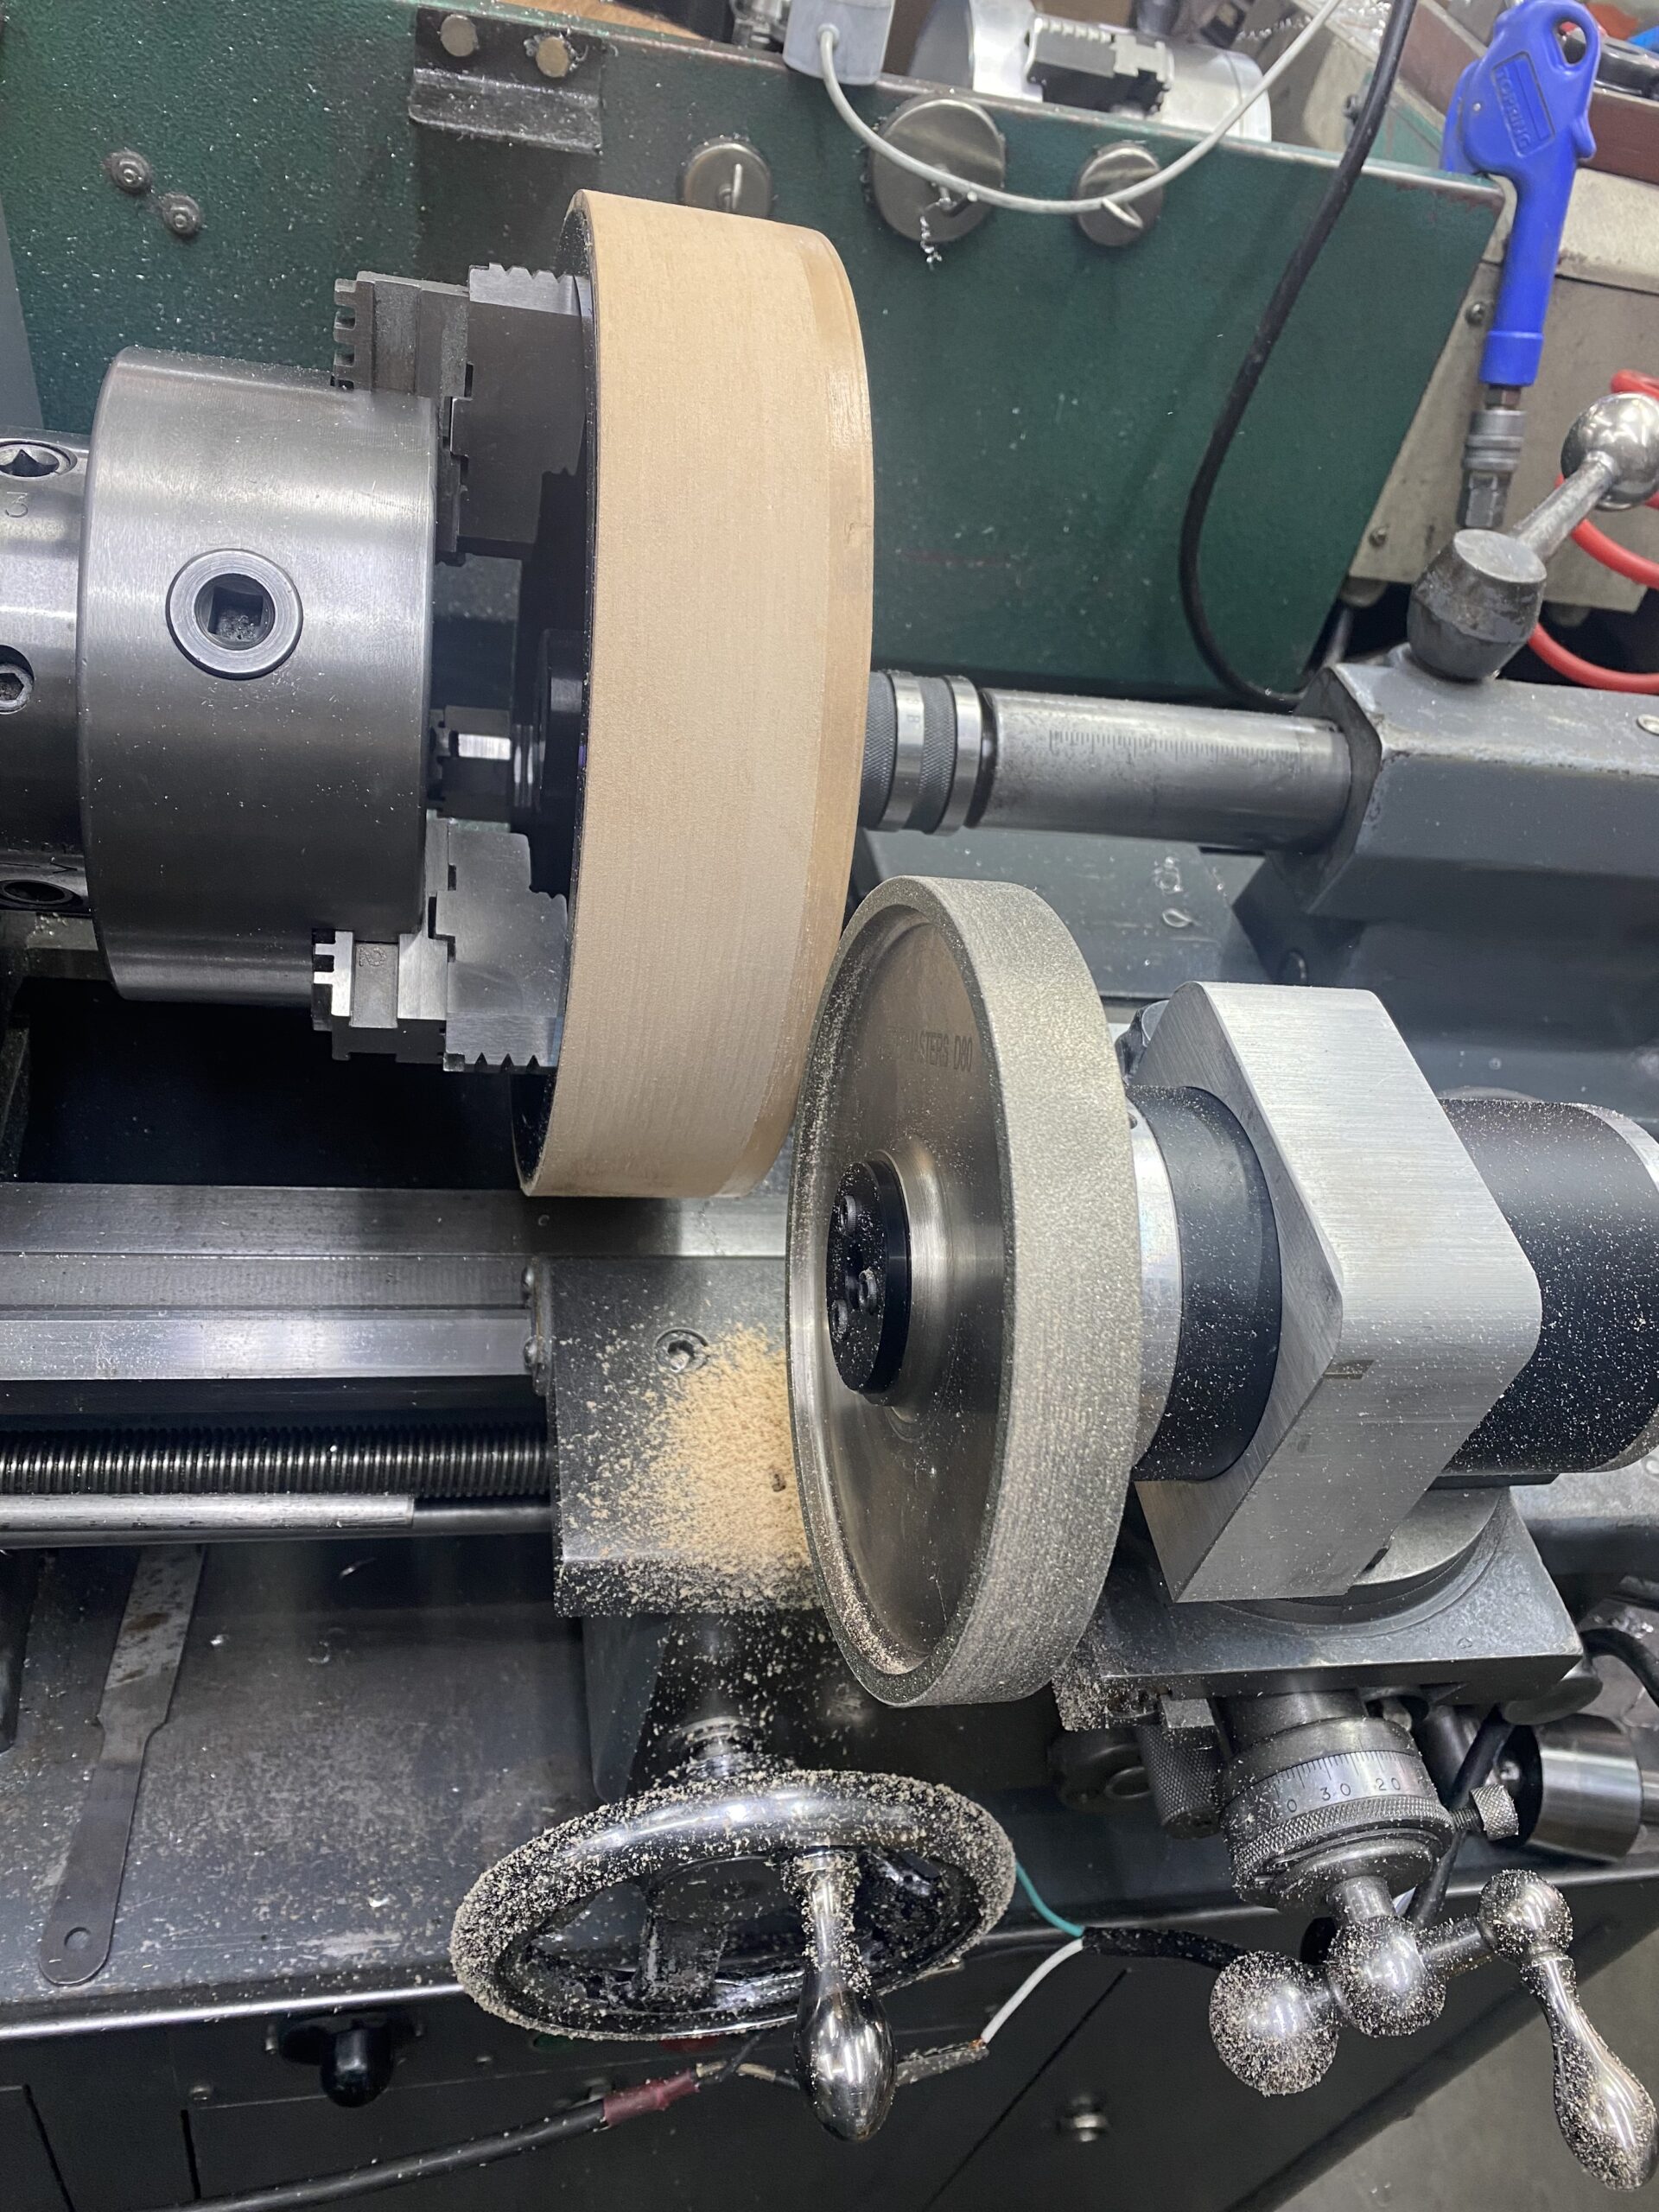
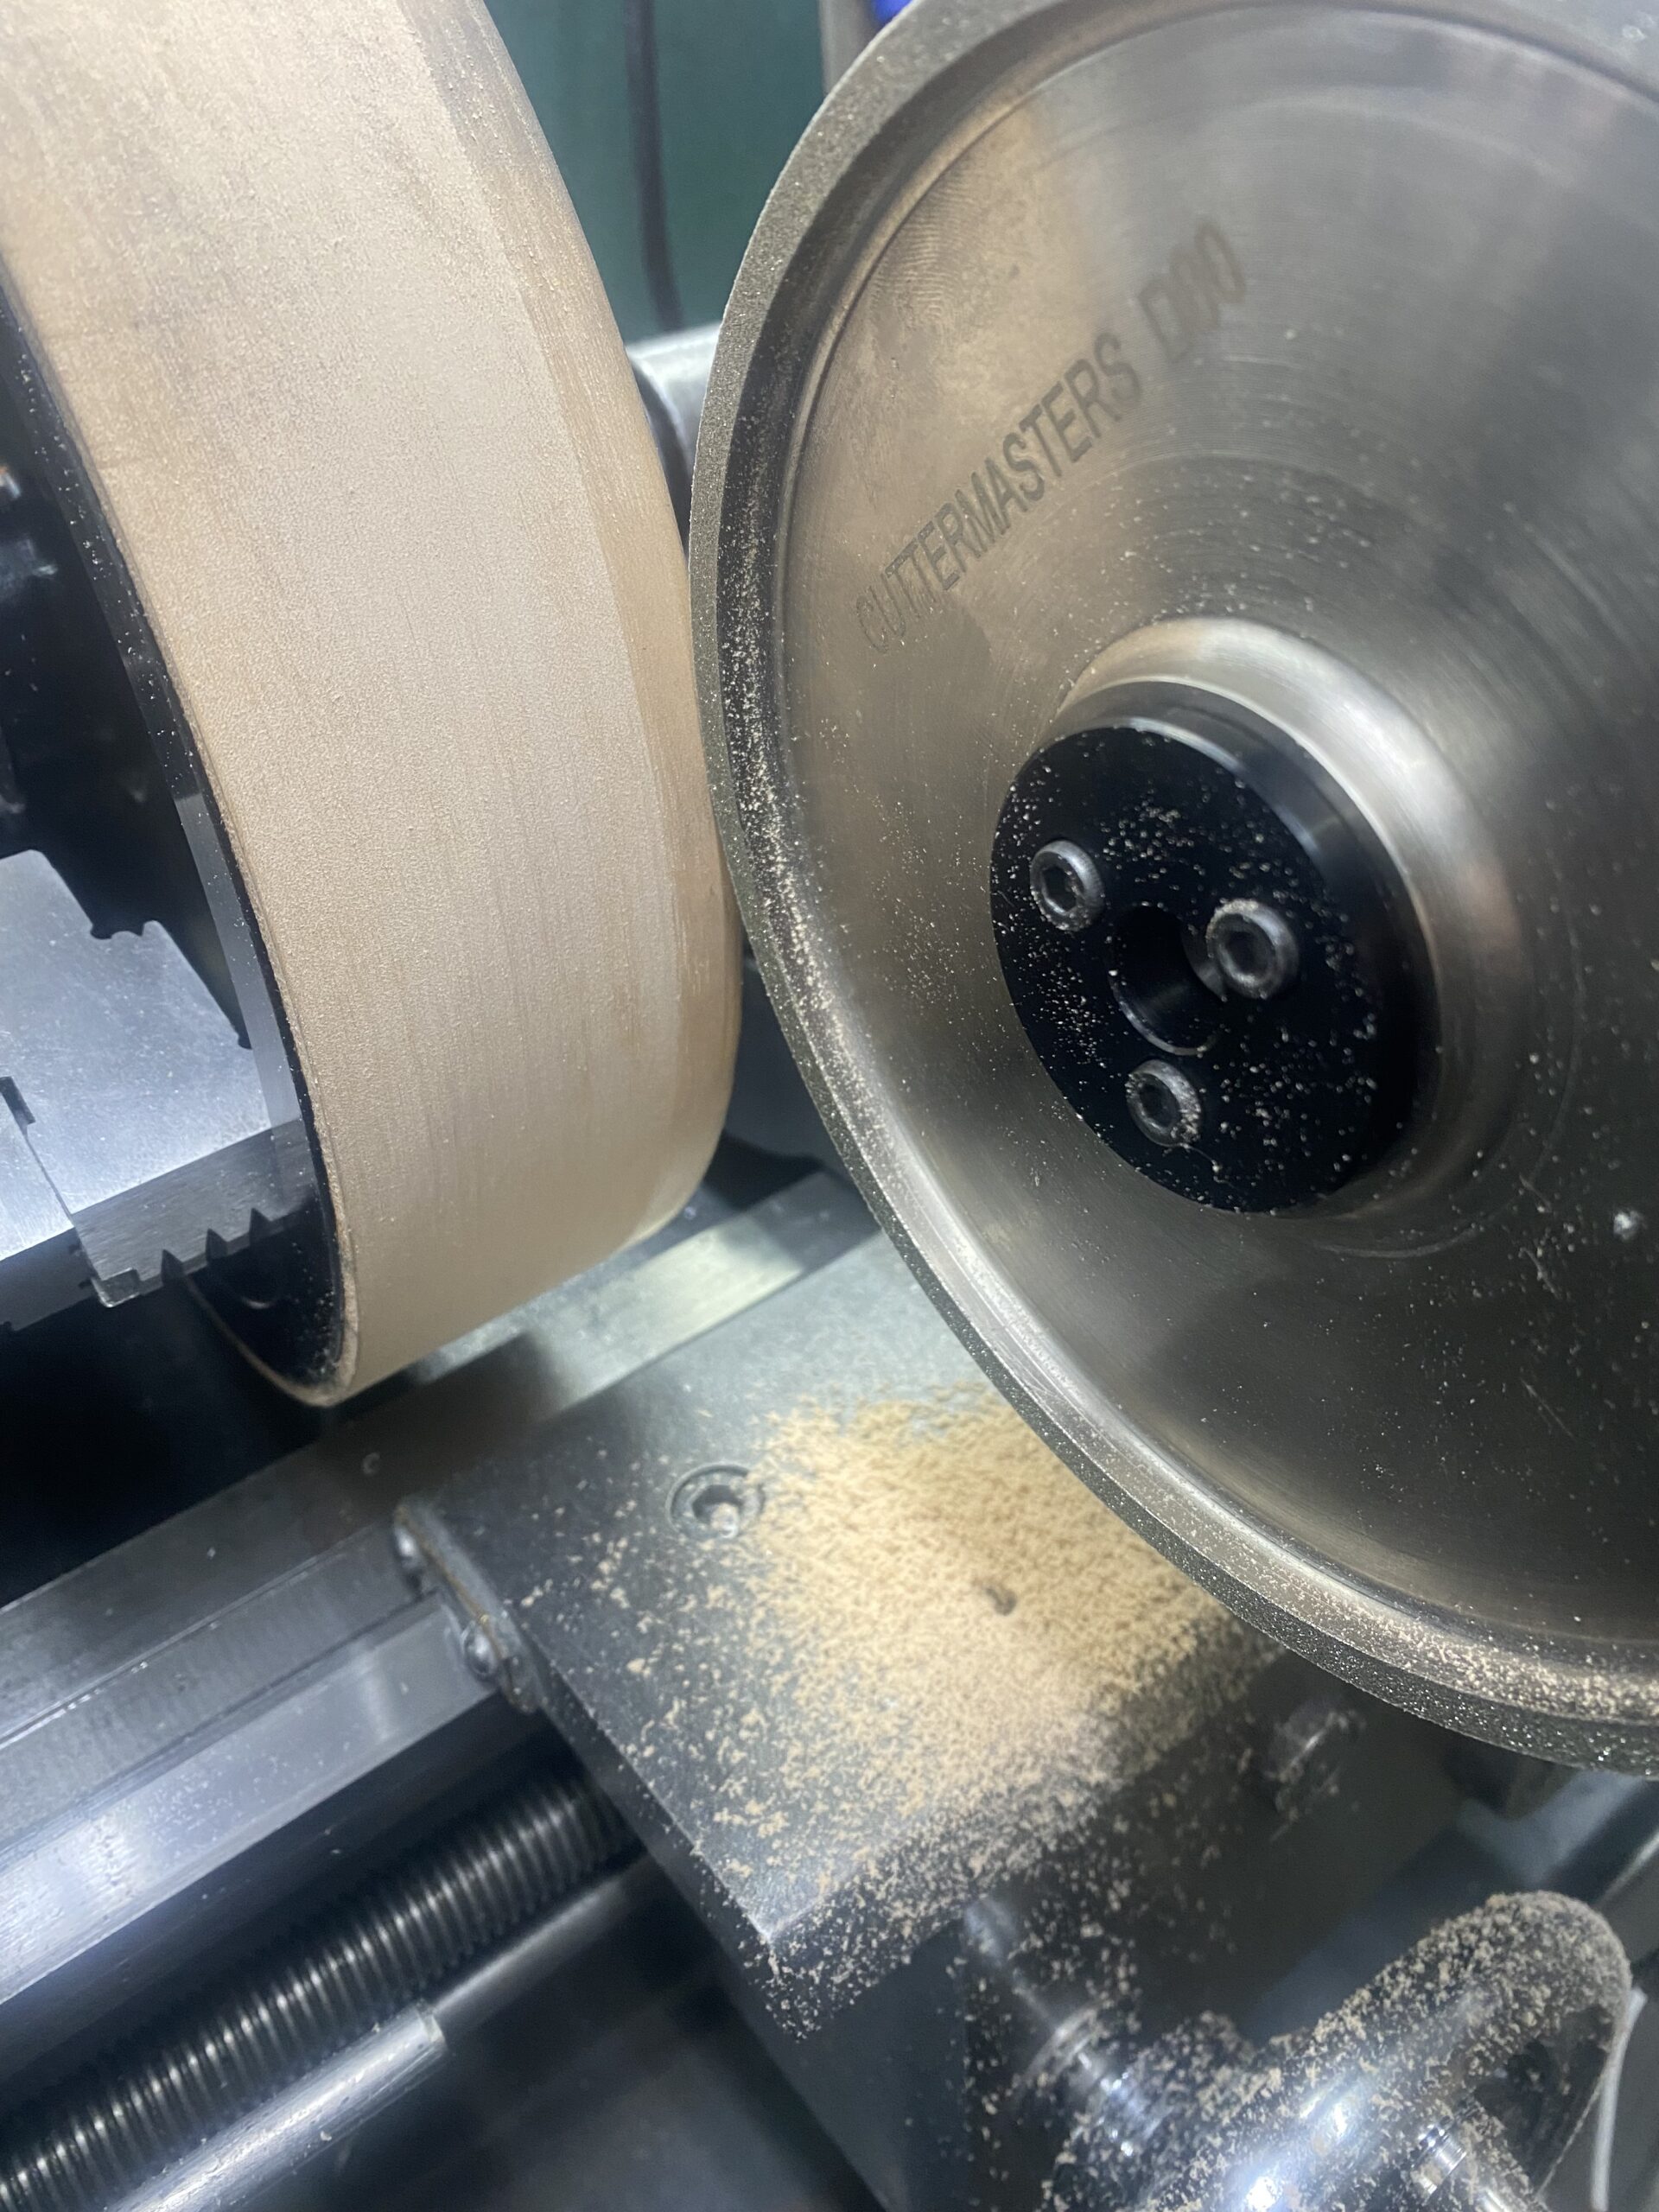
Plated Bond
Three available wheel widths 30 mm (1.2 Inch), 50 mm (2 Inch) 61 mm (2.4 Inch)
NEW – RESIN BOND WHEELS FOR TRADESMAN EDGE BELT OVER WHEEL (REMOVING THE EXPENSIVE CONSUMABLES FROM THE SHARPENING GAME)

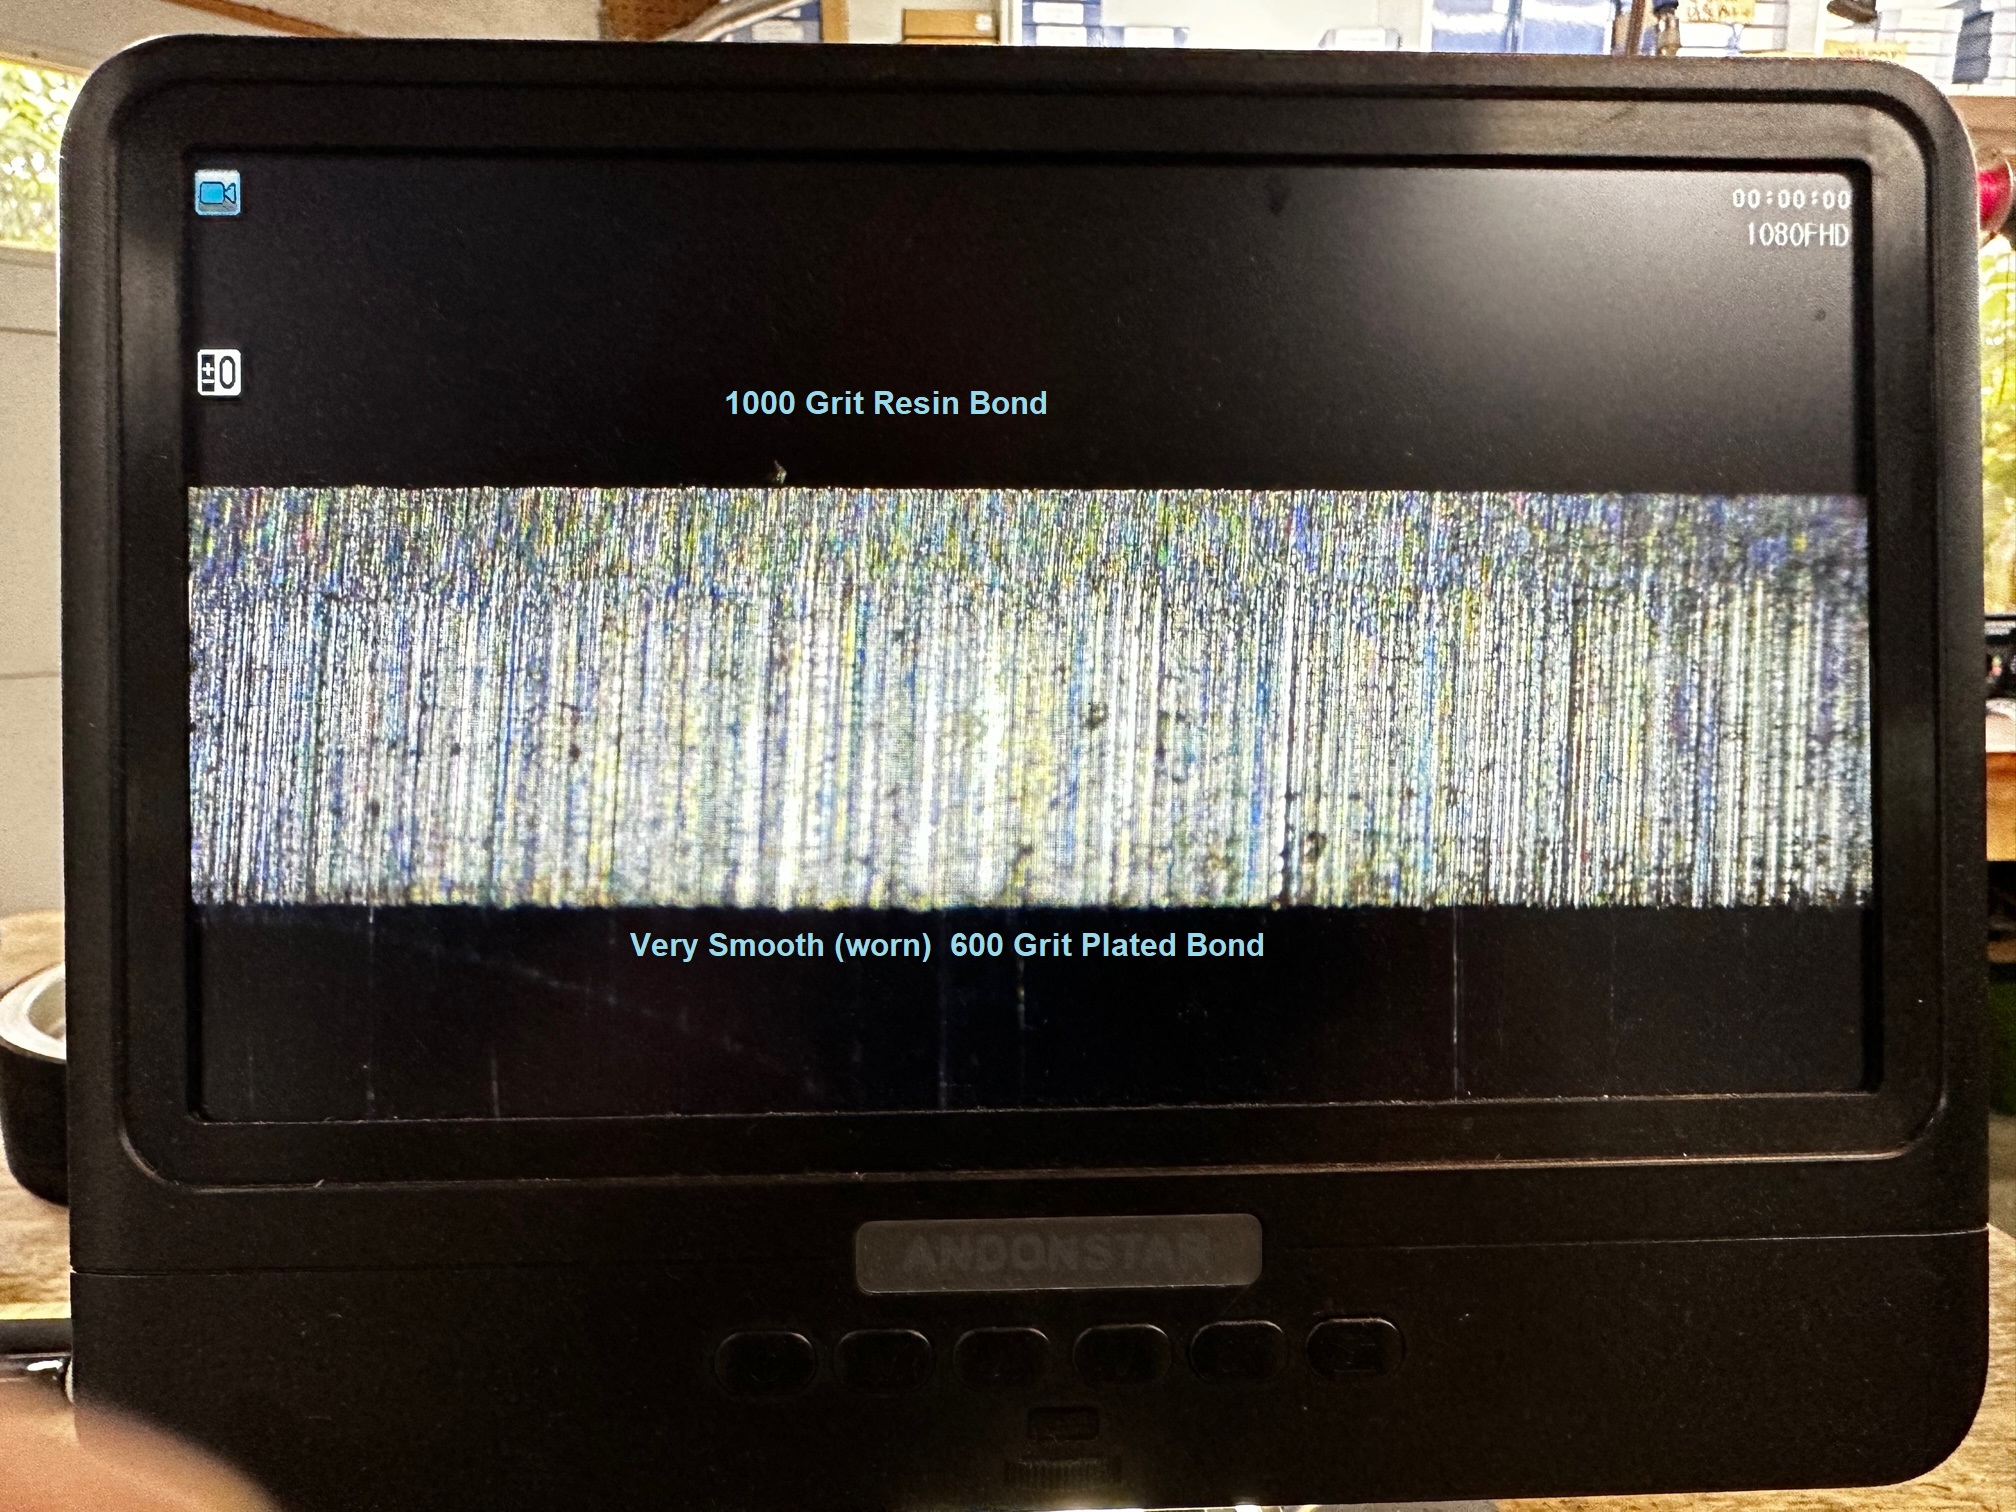
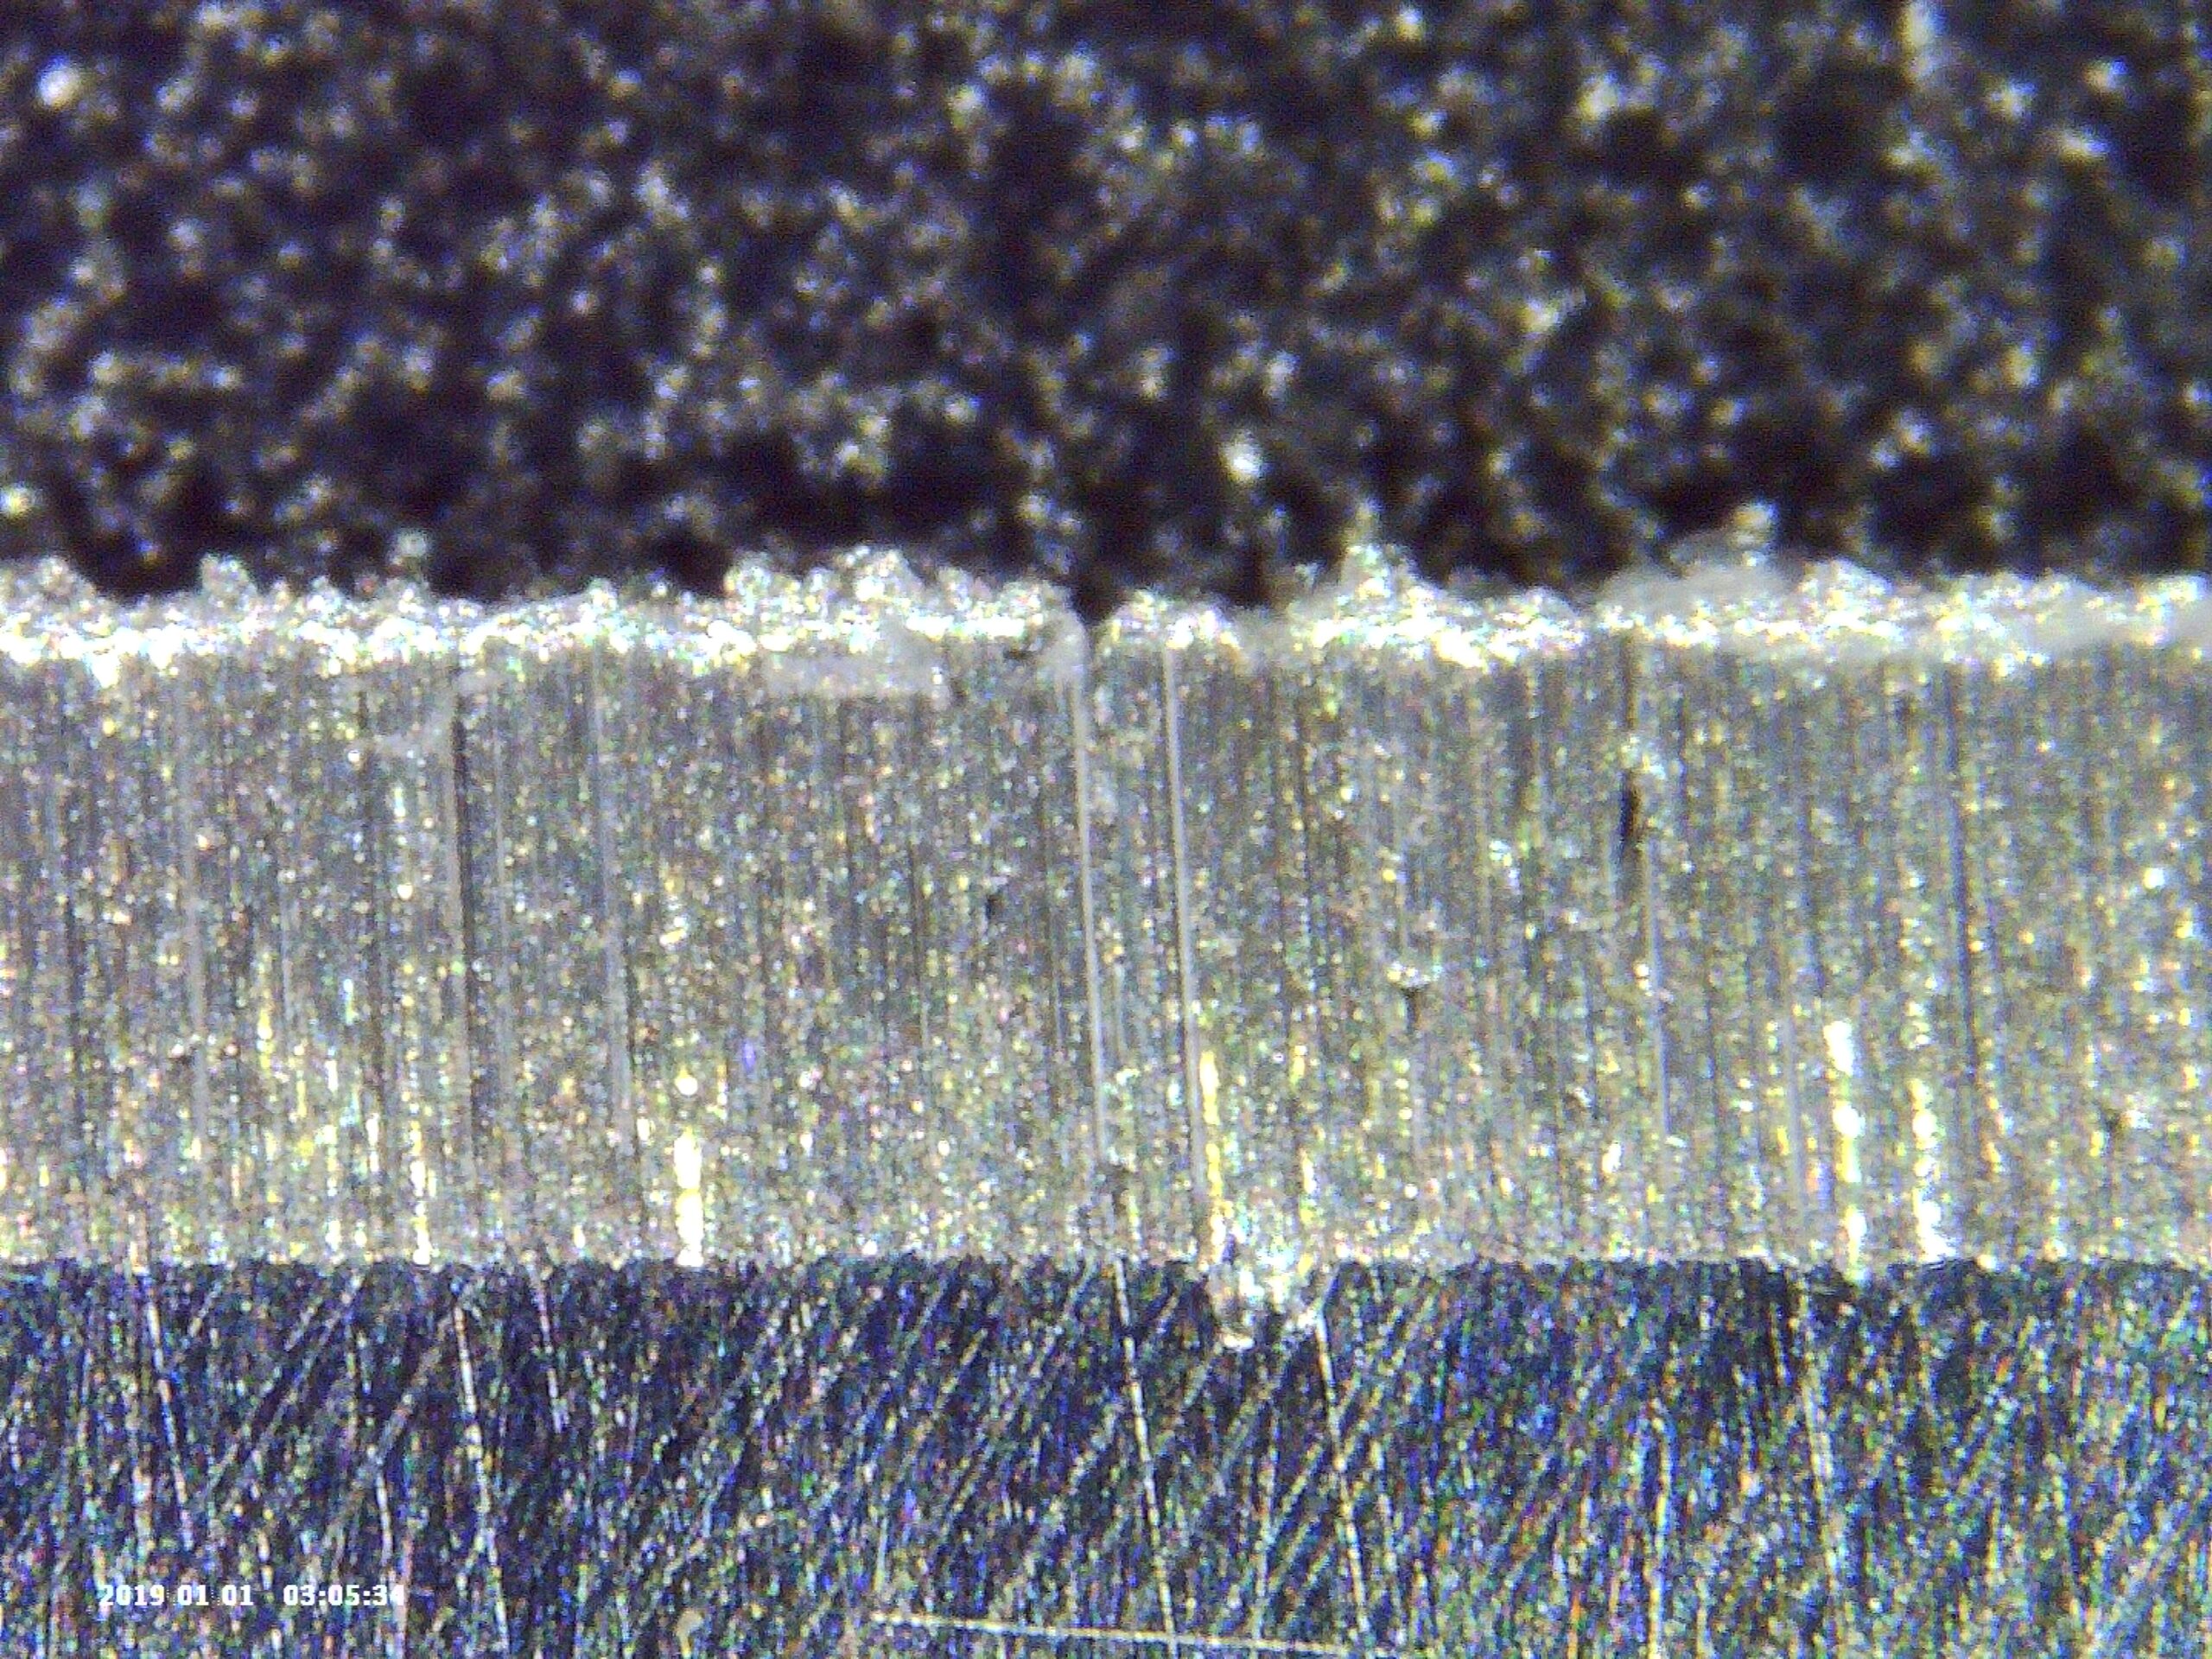
This picture is 400 grit resin bond on the top and a very smooth (old) 1000 Grit Plated bond on the bottom
As you can see the 400 Grit Resin bond Scratch pattern is smoother than the worn 100 grit plated bond.
In our main line of work (Tool and Cutter Grinding) Resin bond wheels are the weapon of choice.
Resin bond is ideal for a final pass near deburring,
Resin Bond wheels Cut.
Therefore are much better at creating a manageable burr across a spectrum of steels good and bad Making Honing a manageable process
Belt over the wheel on the right-hand side you have a wet inexpensive belt Quick Change
A wet resin Bond on the left (replaced the perishable 1000 grit CBN Plated bond)
The resin bond is a sharp deburring, finishing grit wheel that will never wear out

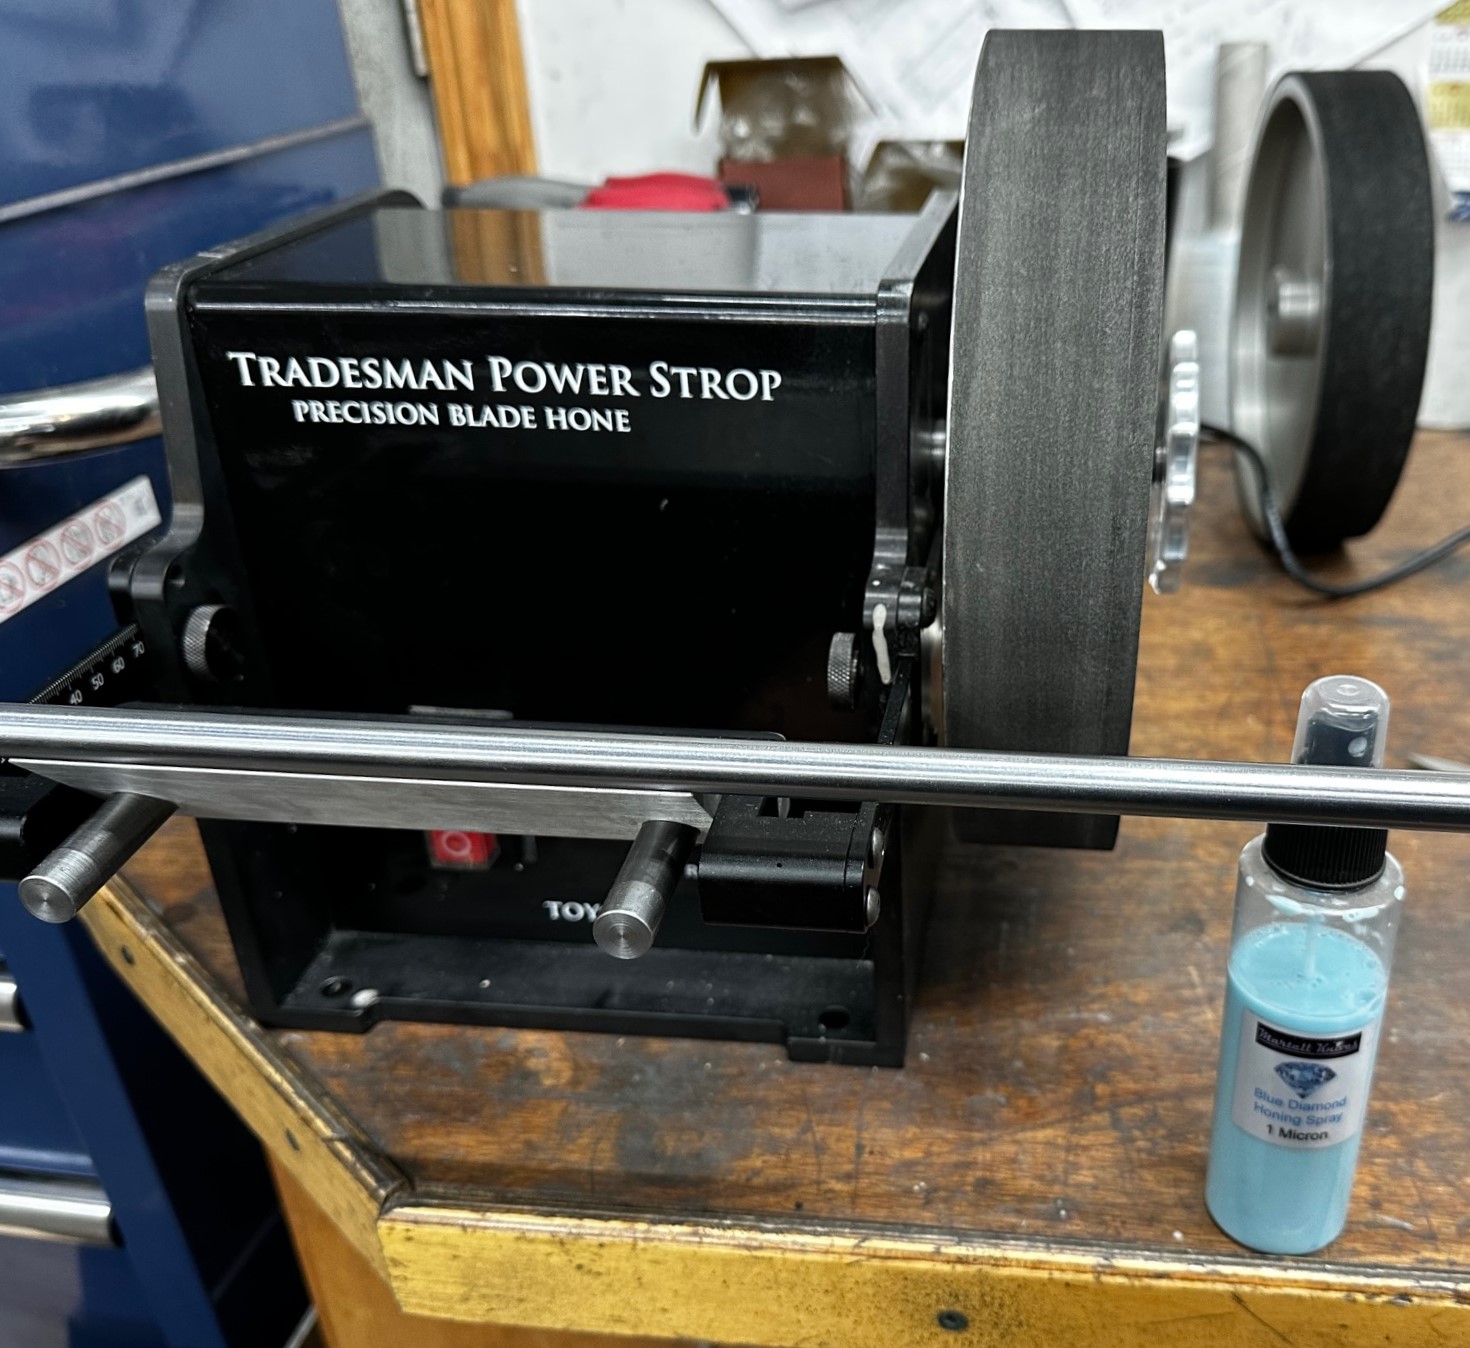
Honing, Leather, Composite, Felt With most any spray (Closed cell Neoprene works amazing)
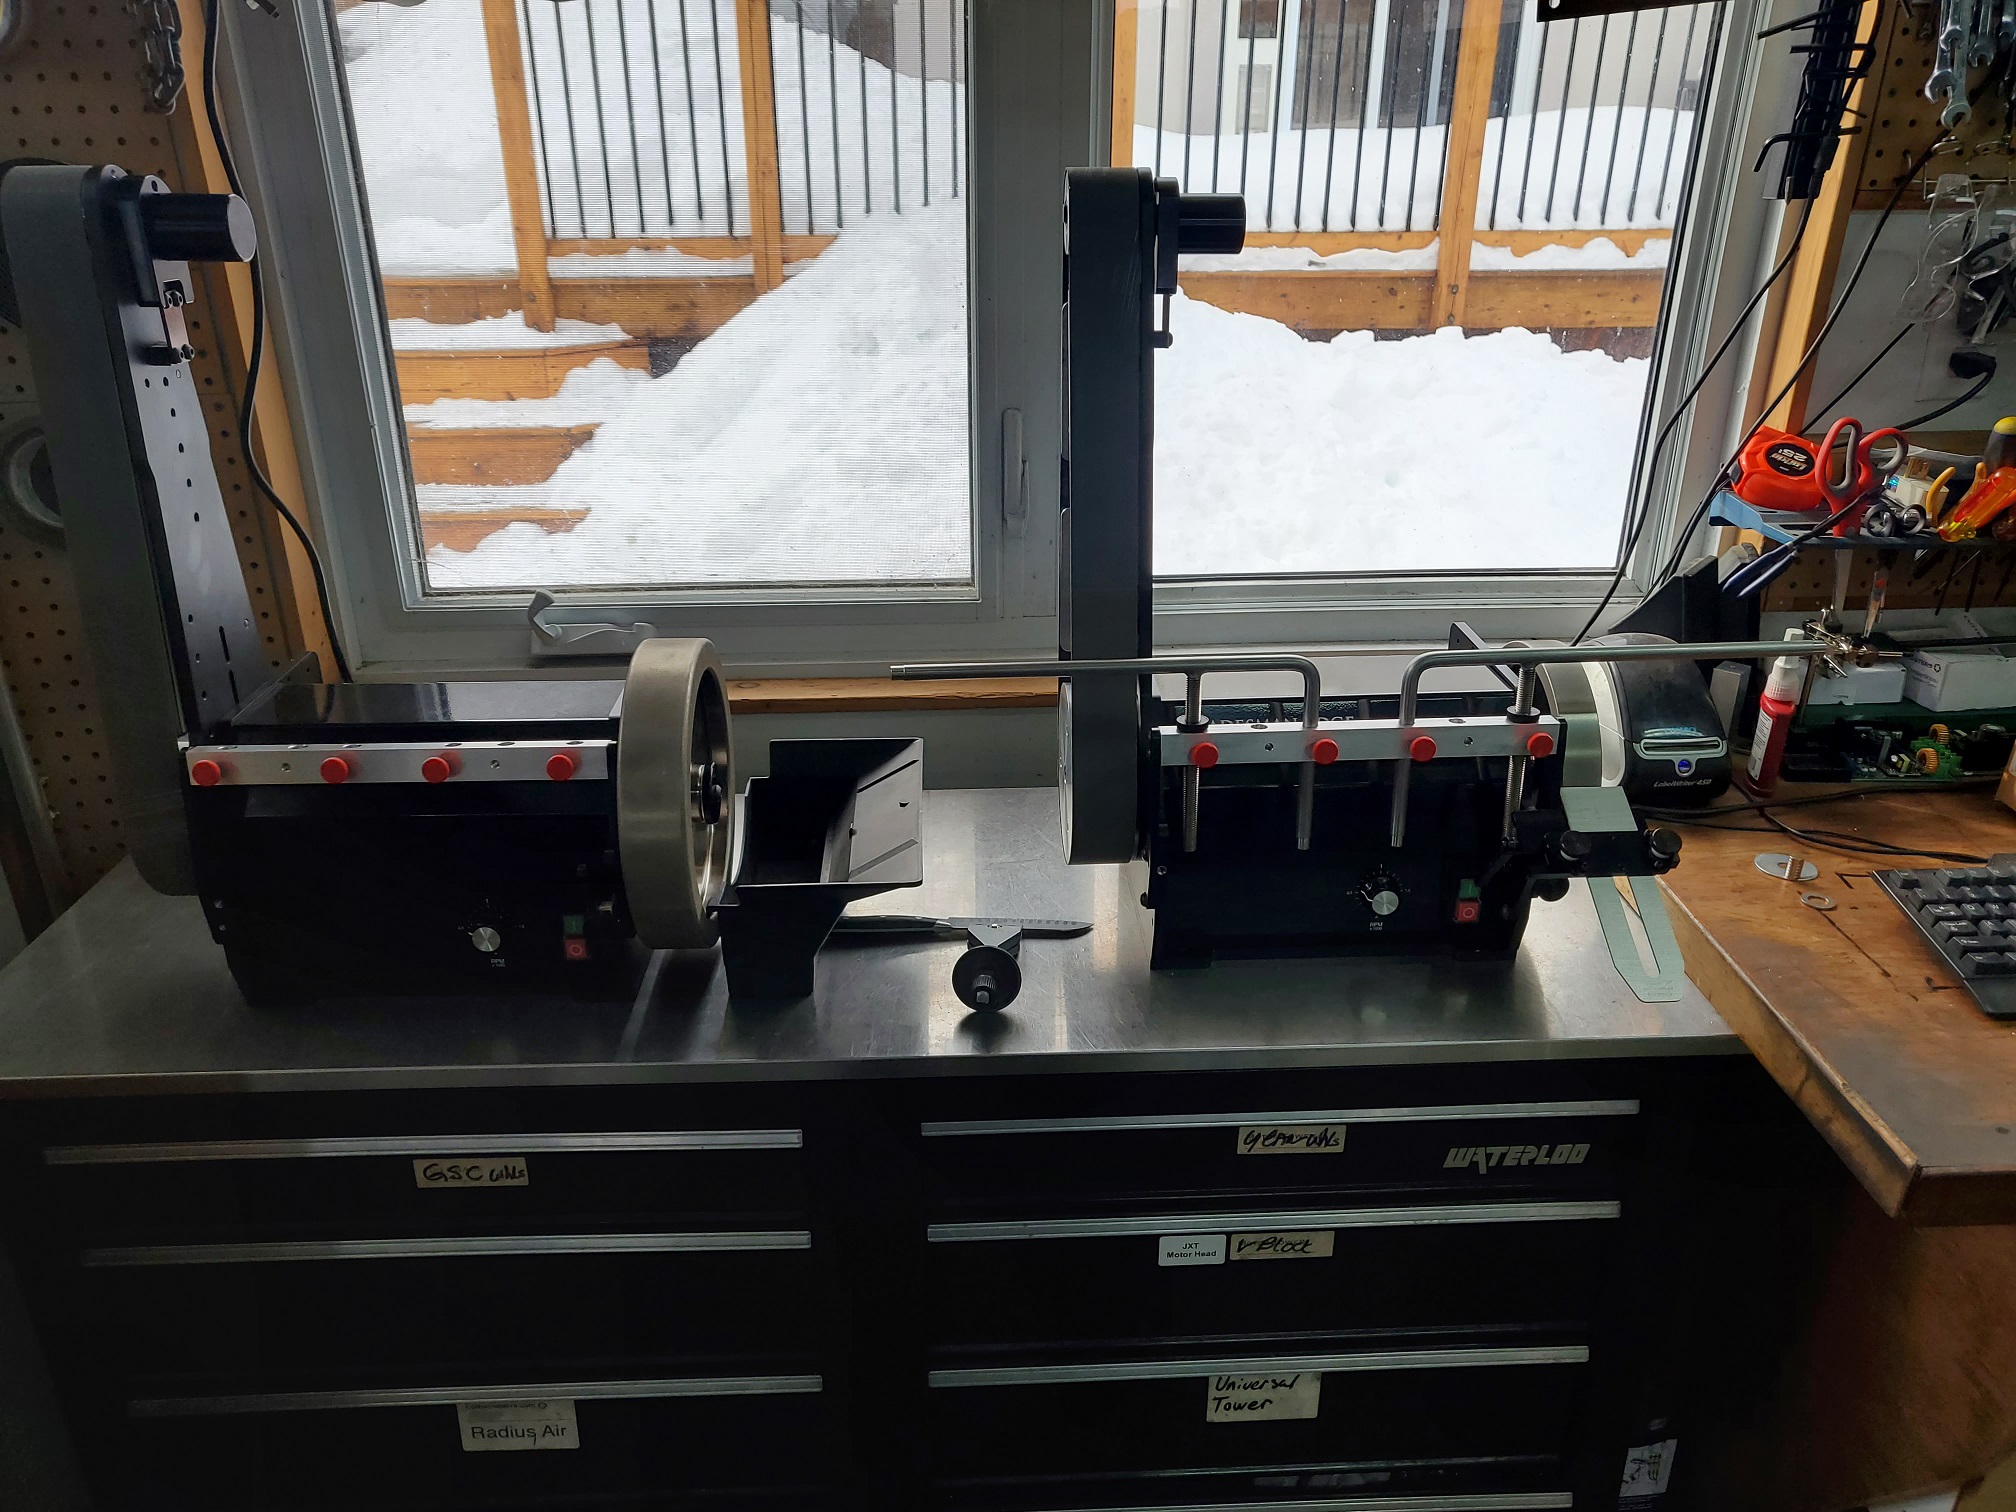
Three Types of Belts for 2023
These are long life Belts
Resin Bond Aluminum Oxide 120 320 Grit
picture coming
Amecci Pyramid 800 1200 2000 Grit (Trizact Style)
picture coming
CBN 1 x 42 for Tradesman Blade 1200 grit
Diamond Resin Bond 1200 grit 2×42 for EDGE APEX (wet)
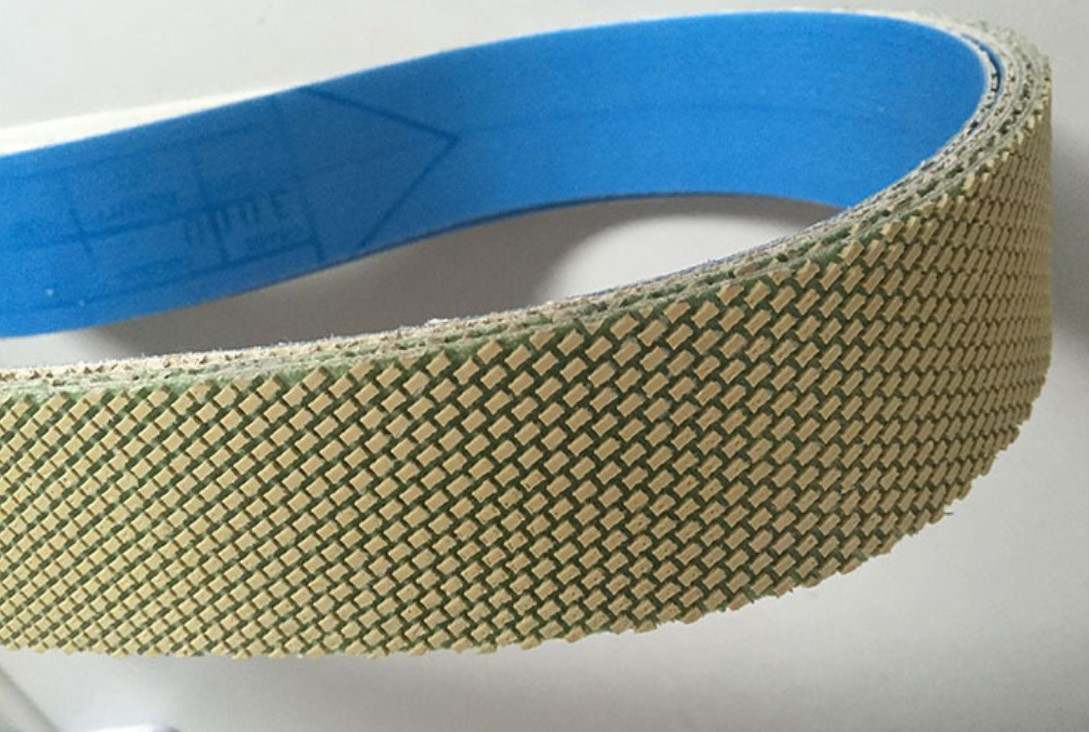
All of our Belts have a resin surface 120, 320 Are a compound Belt Meaning there is depth to the grit (bound in Resin)
Then in Trizact Style we have D35 (800) D 20 (1000) and D16 (2000) Grit
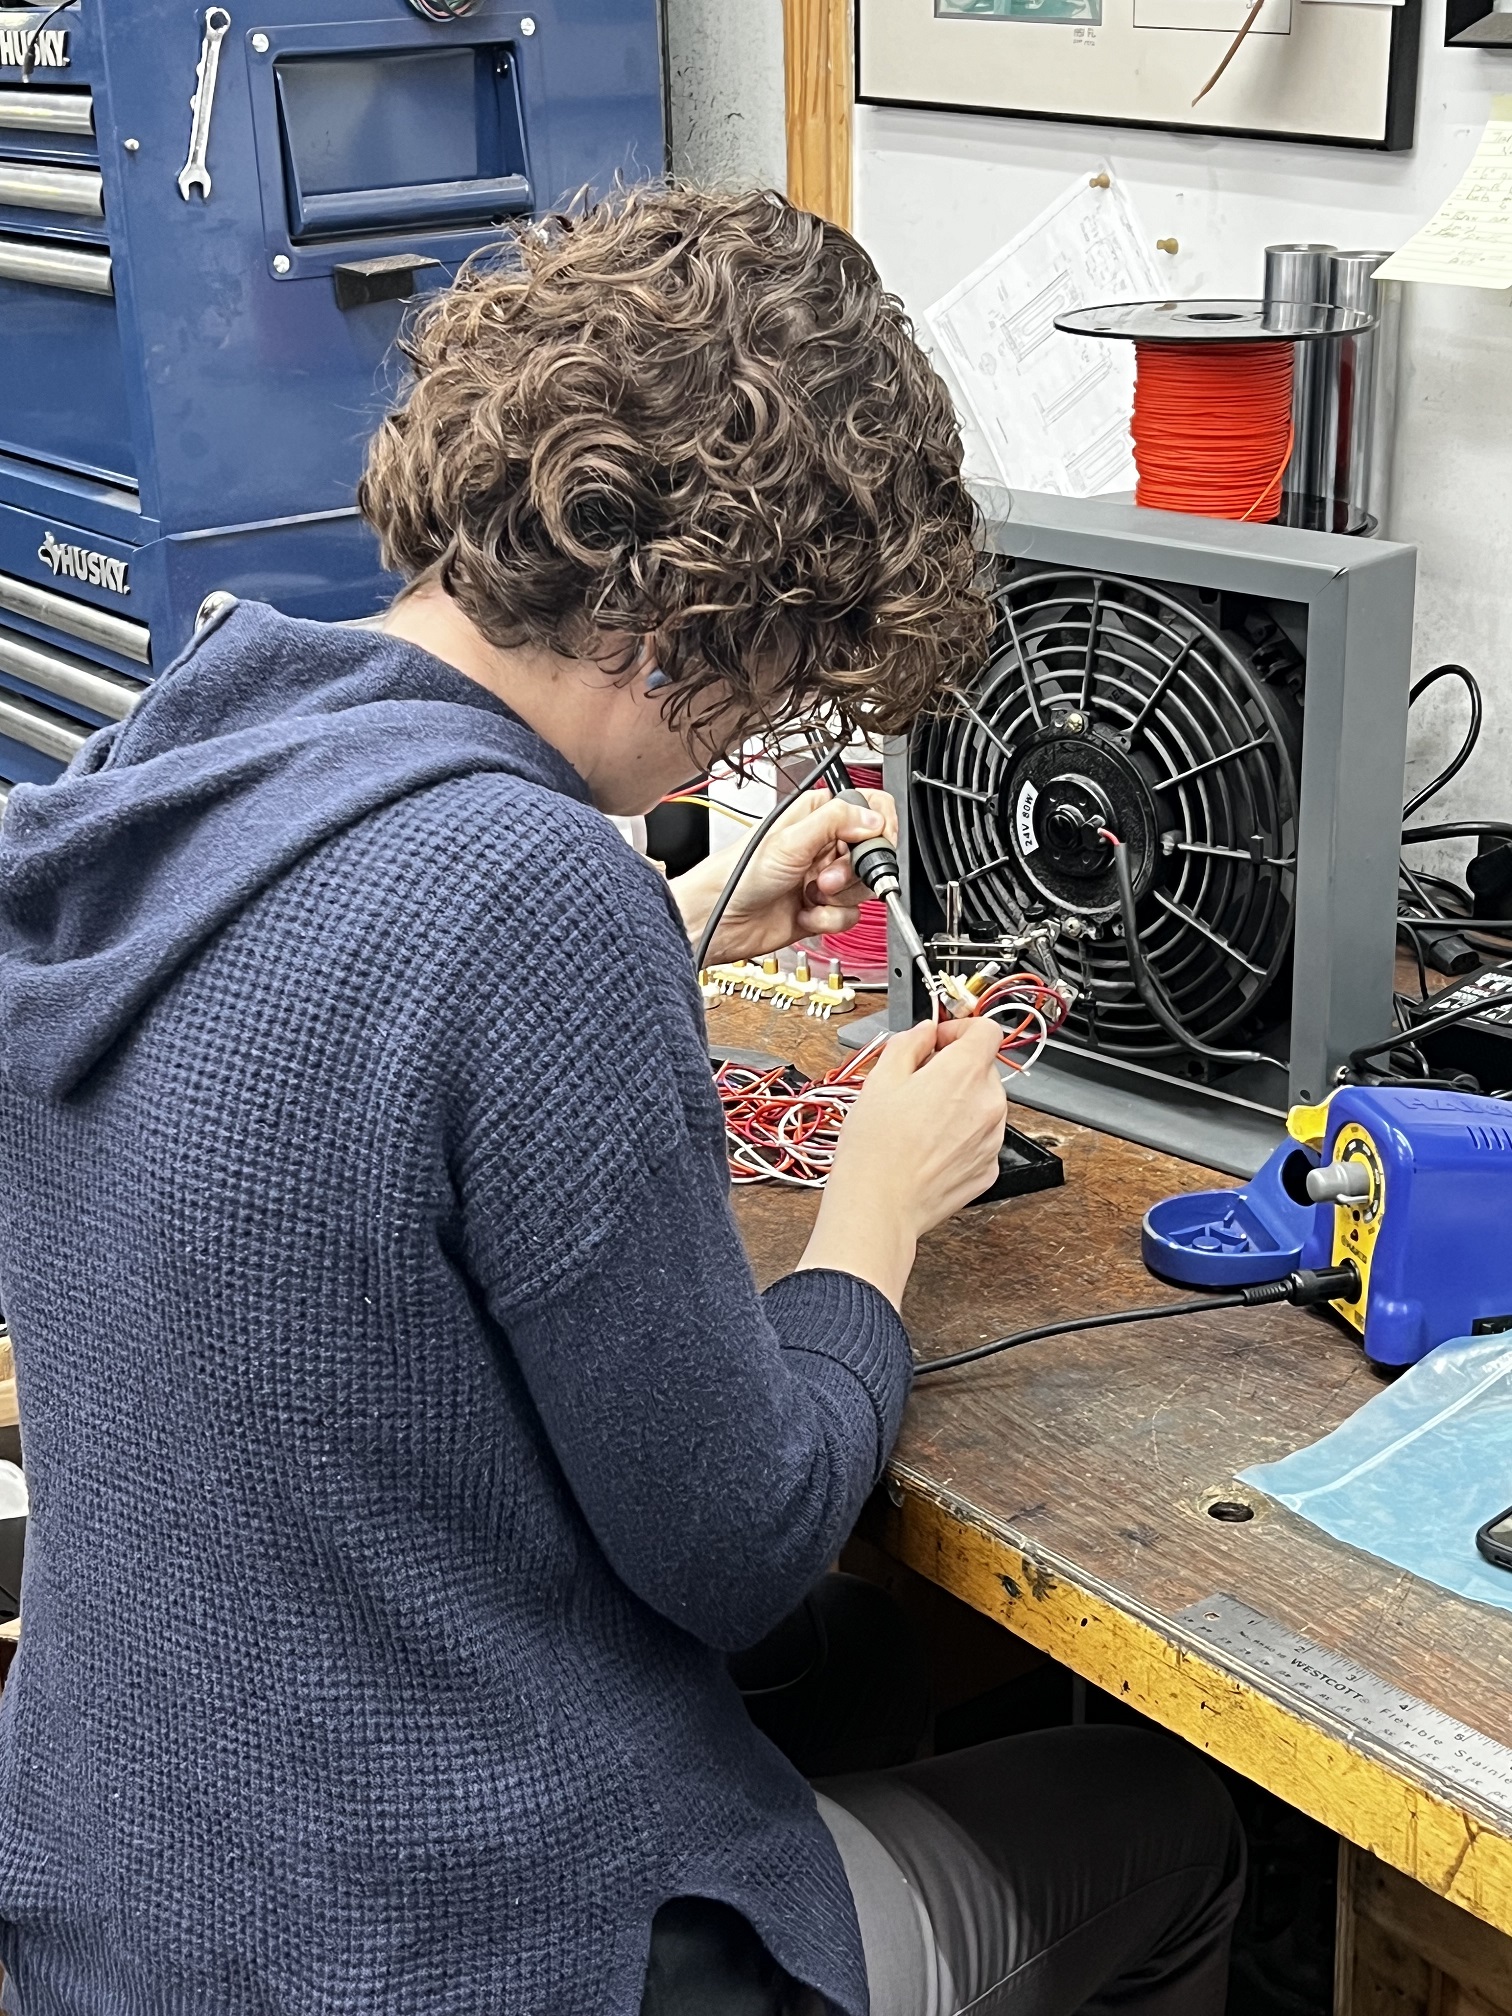
Jeff

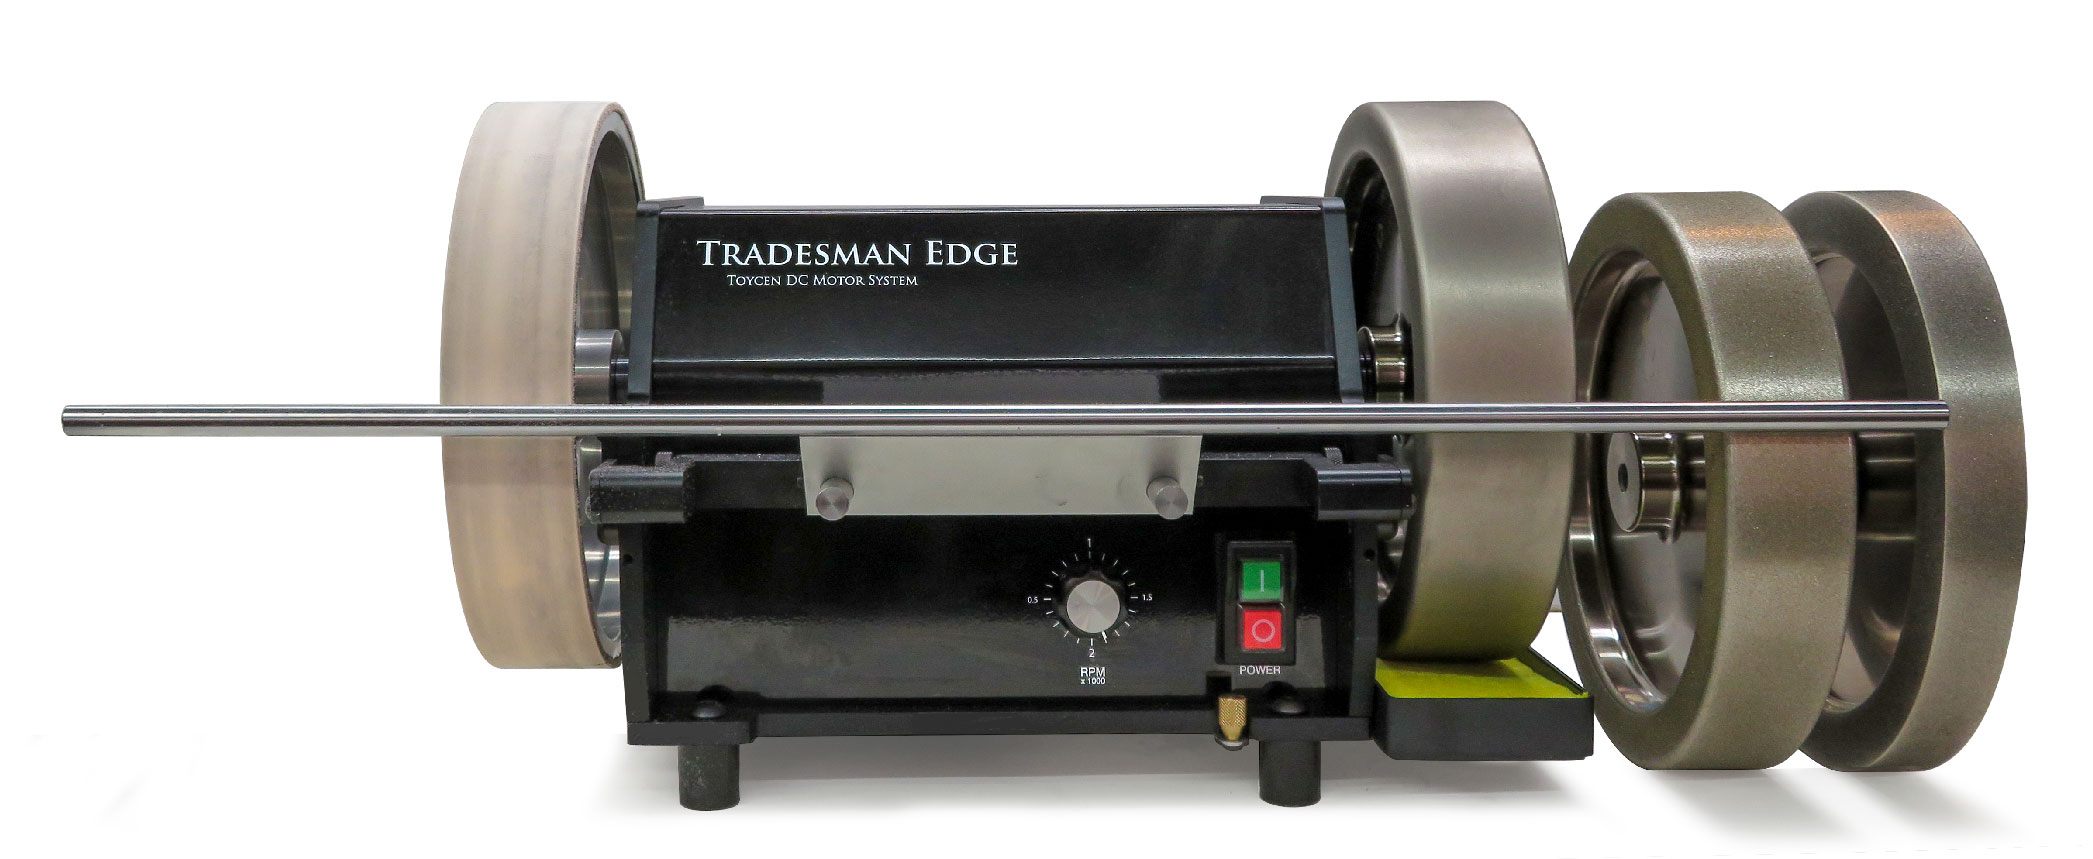
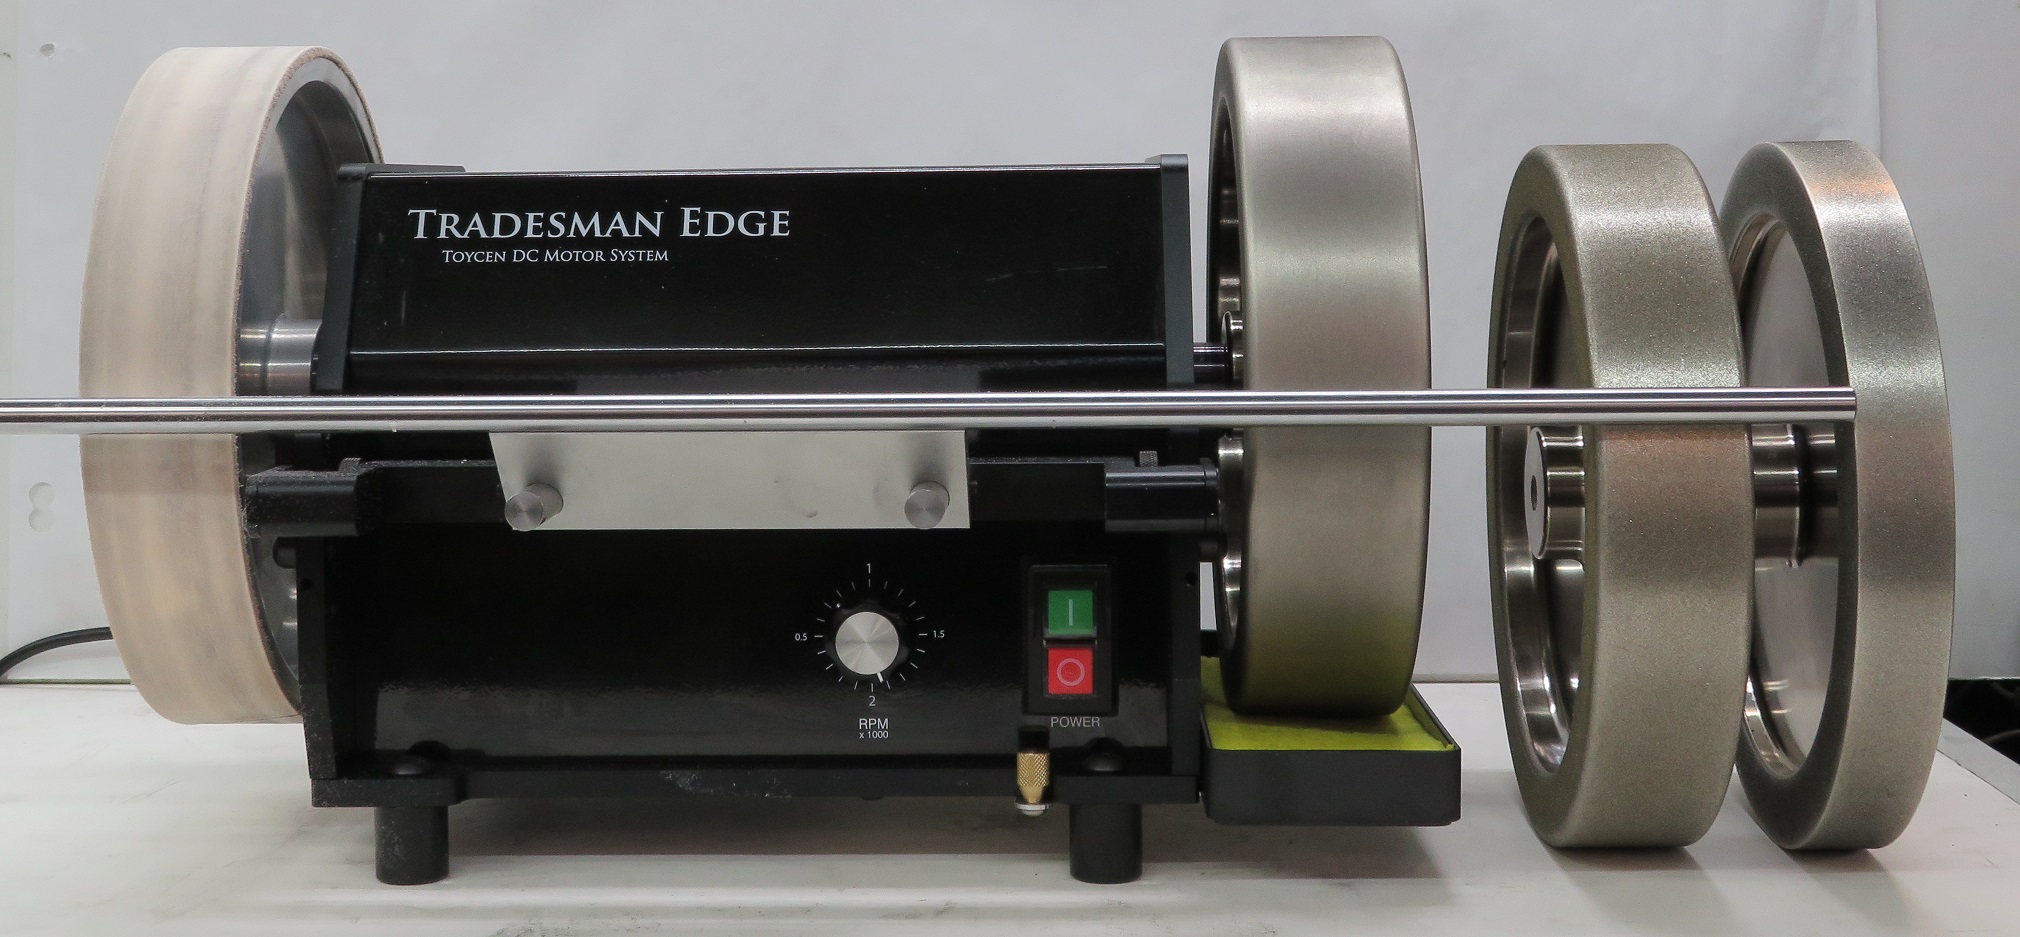
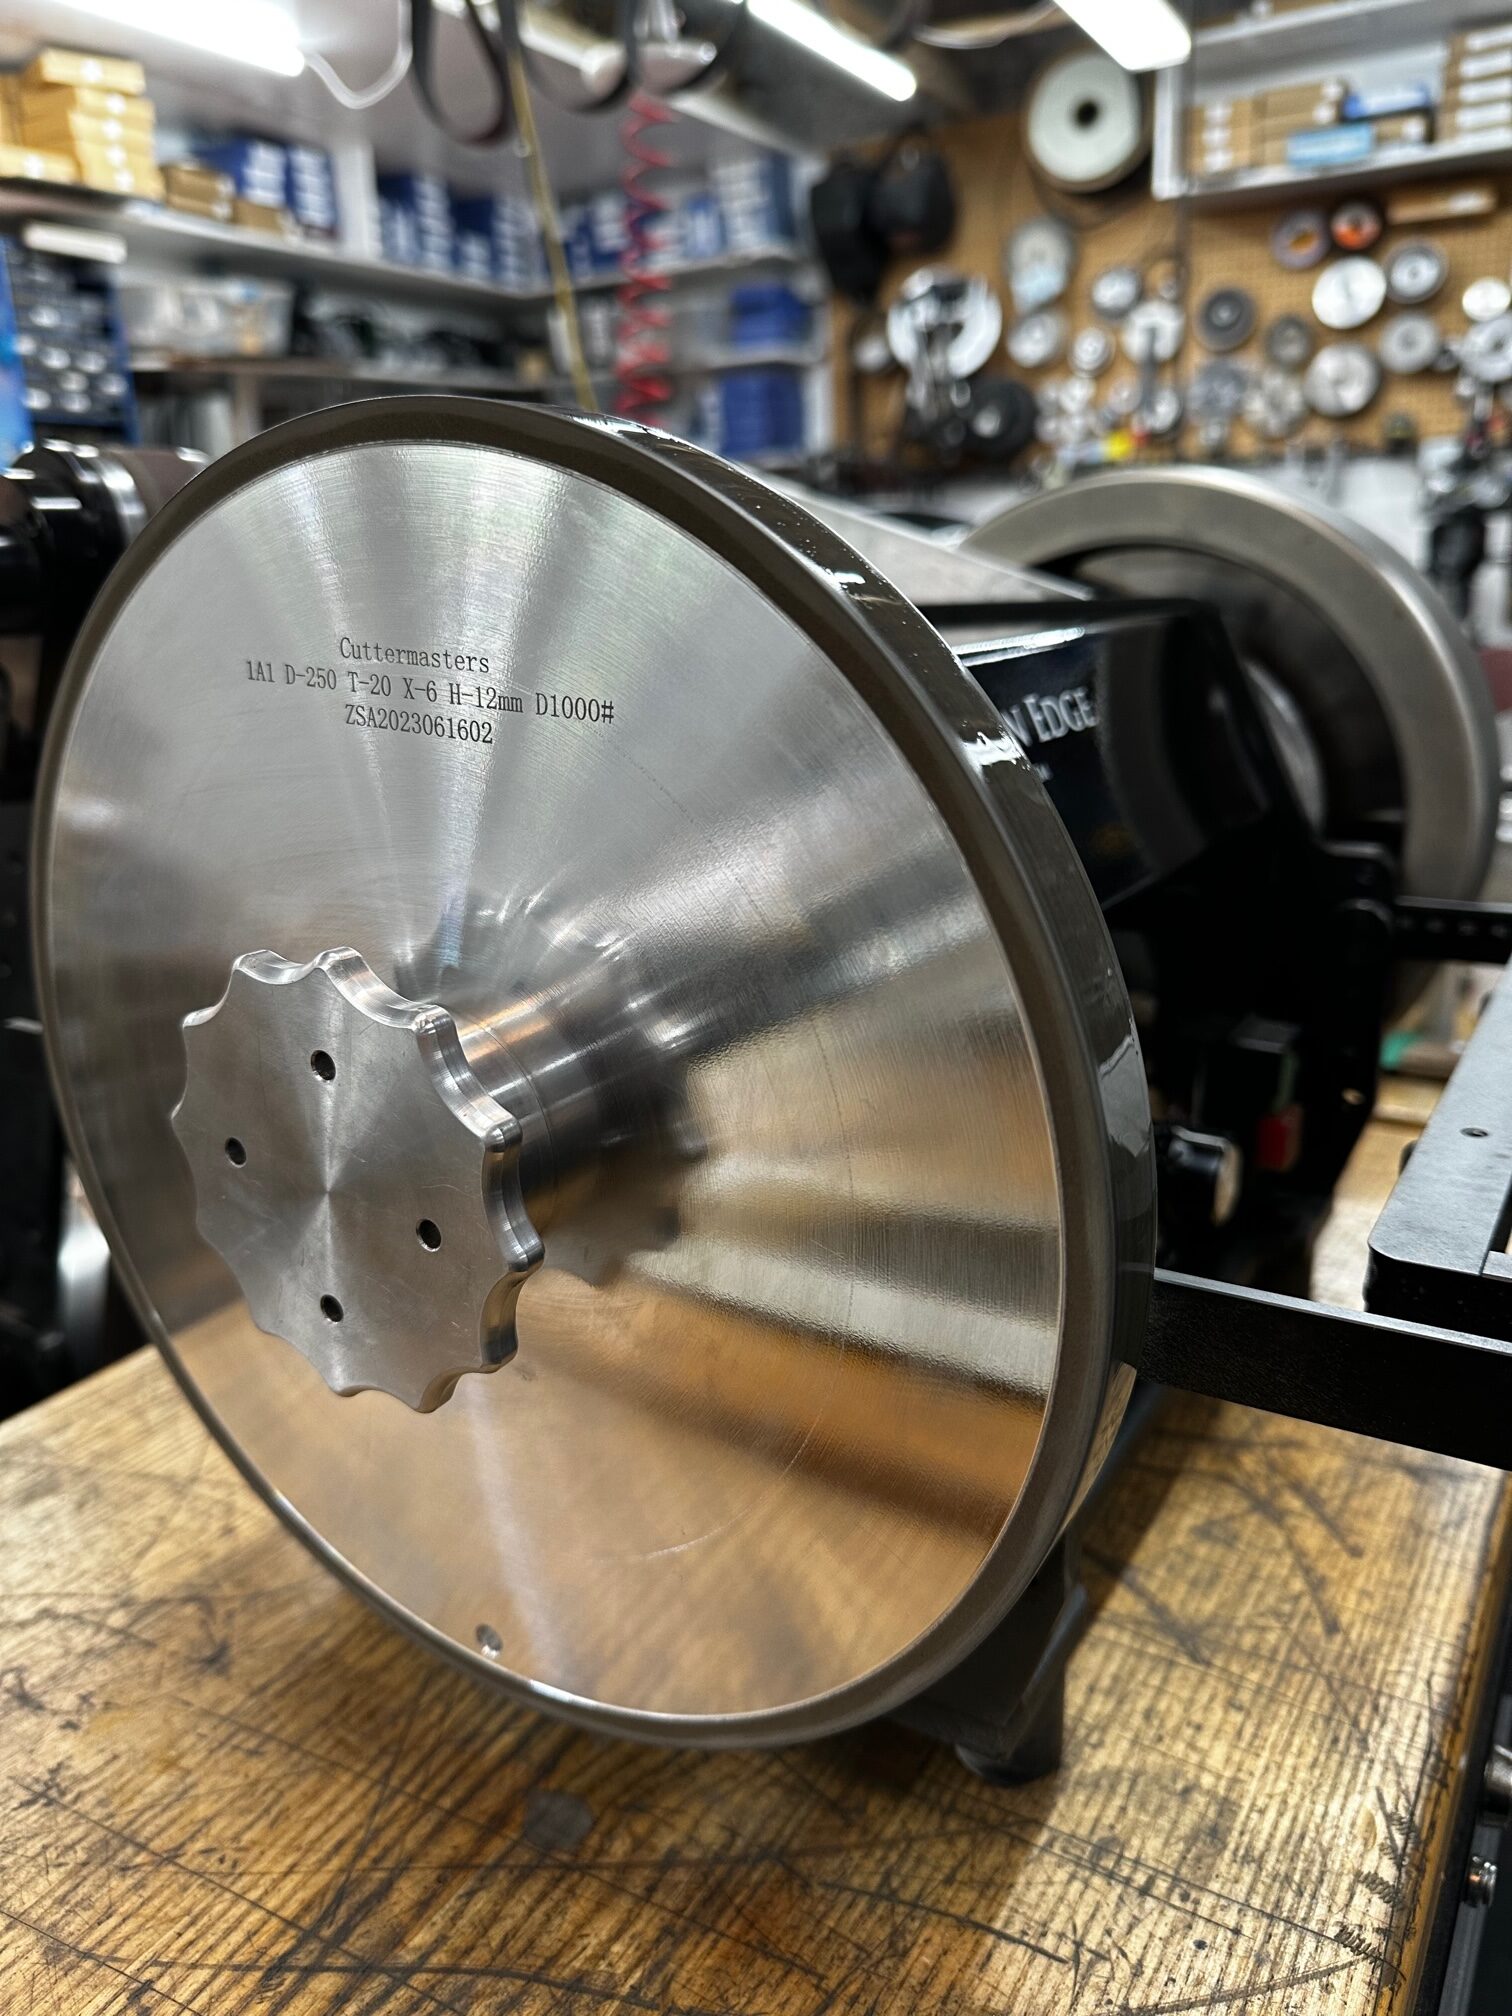
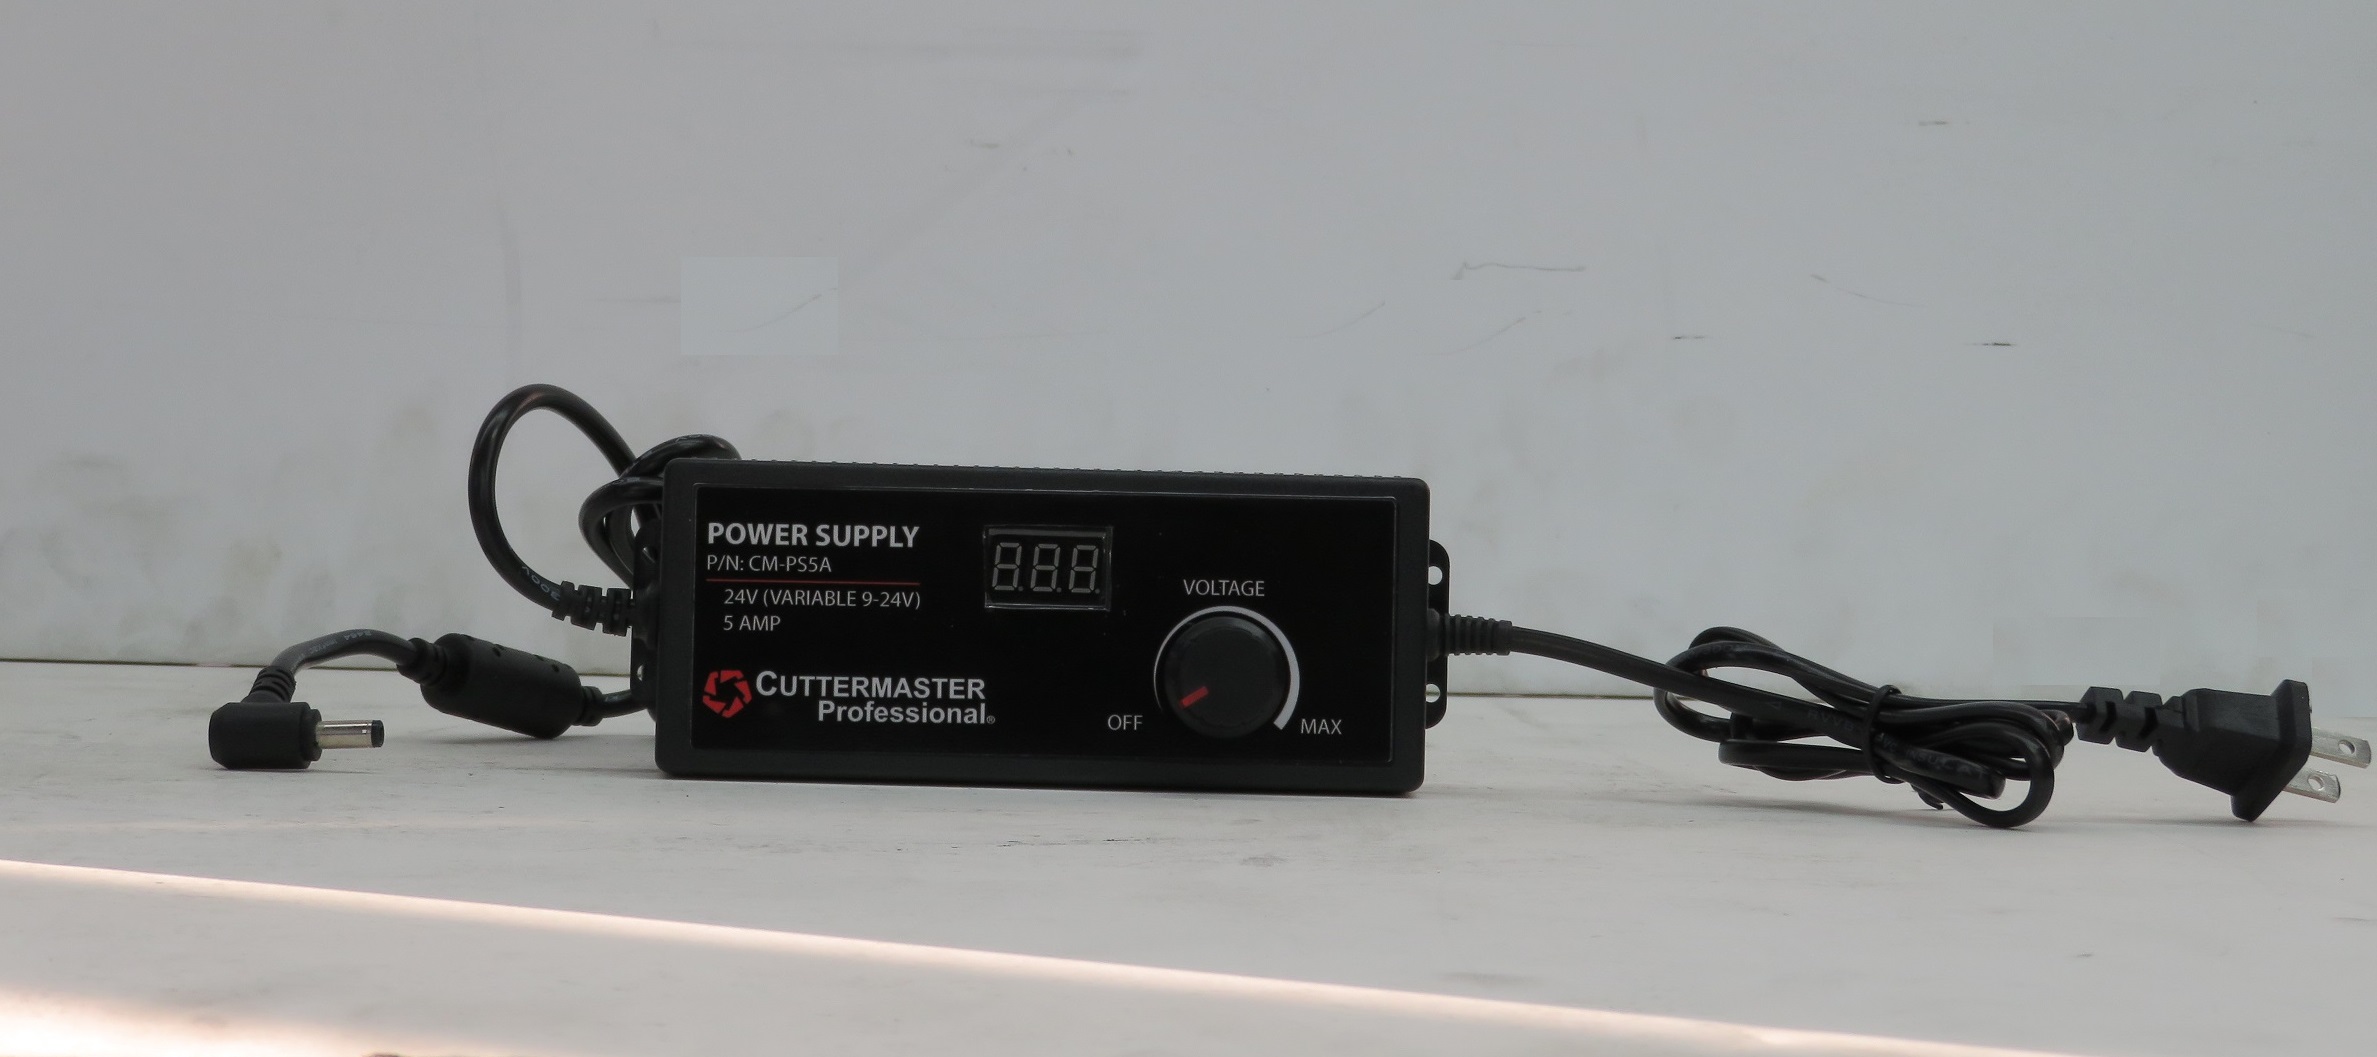
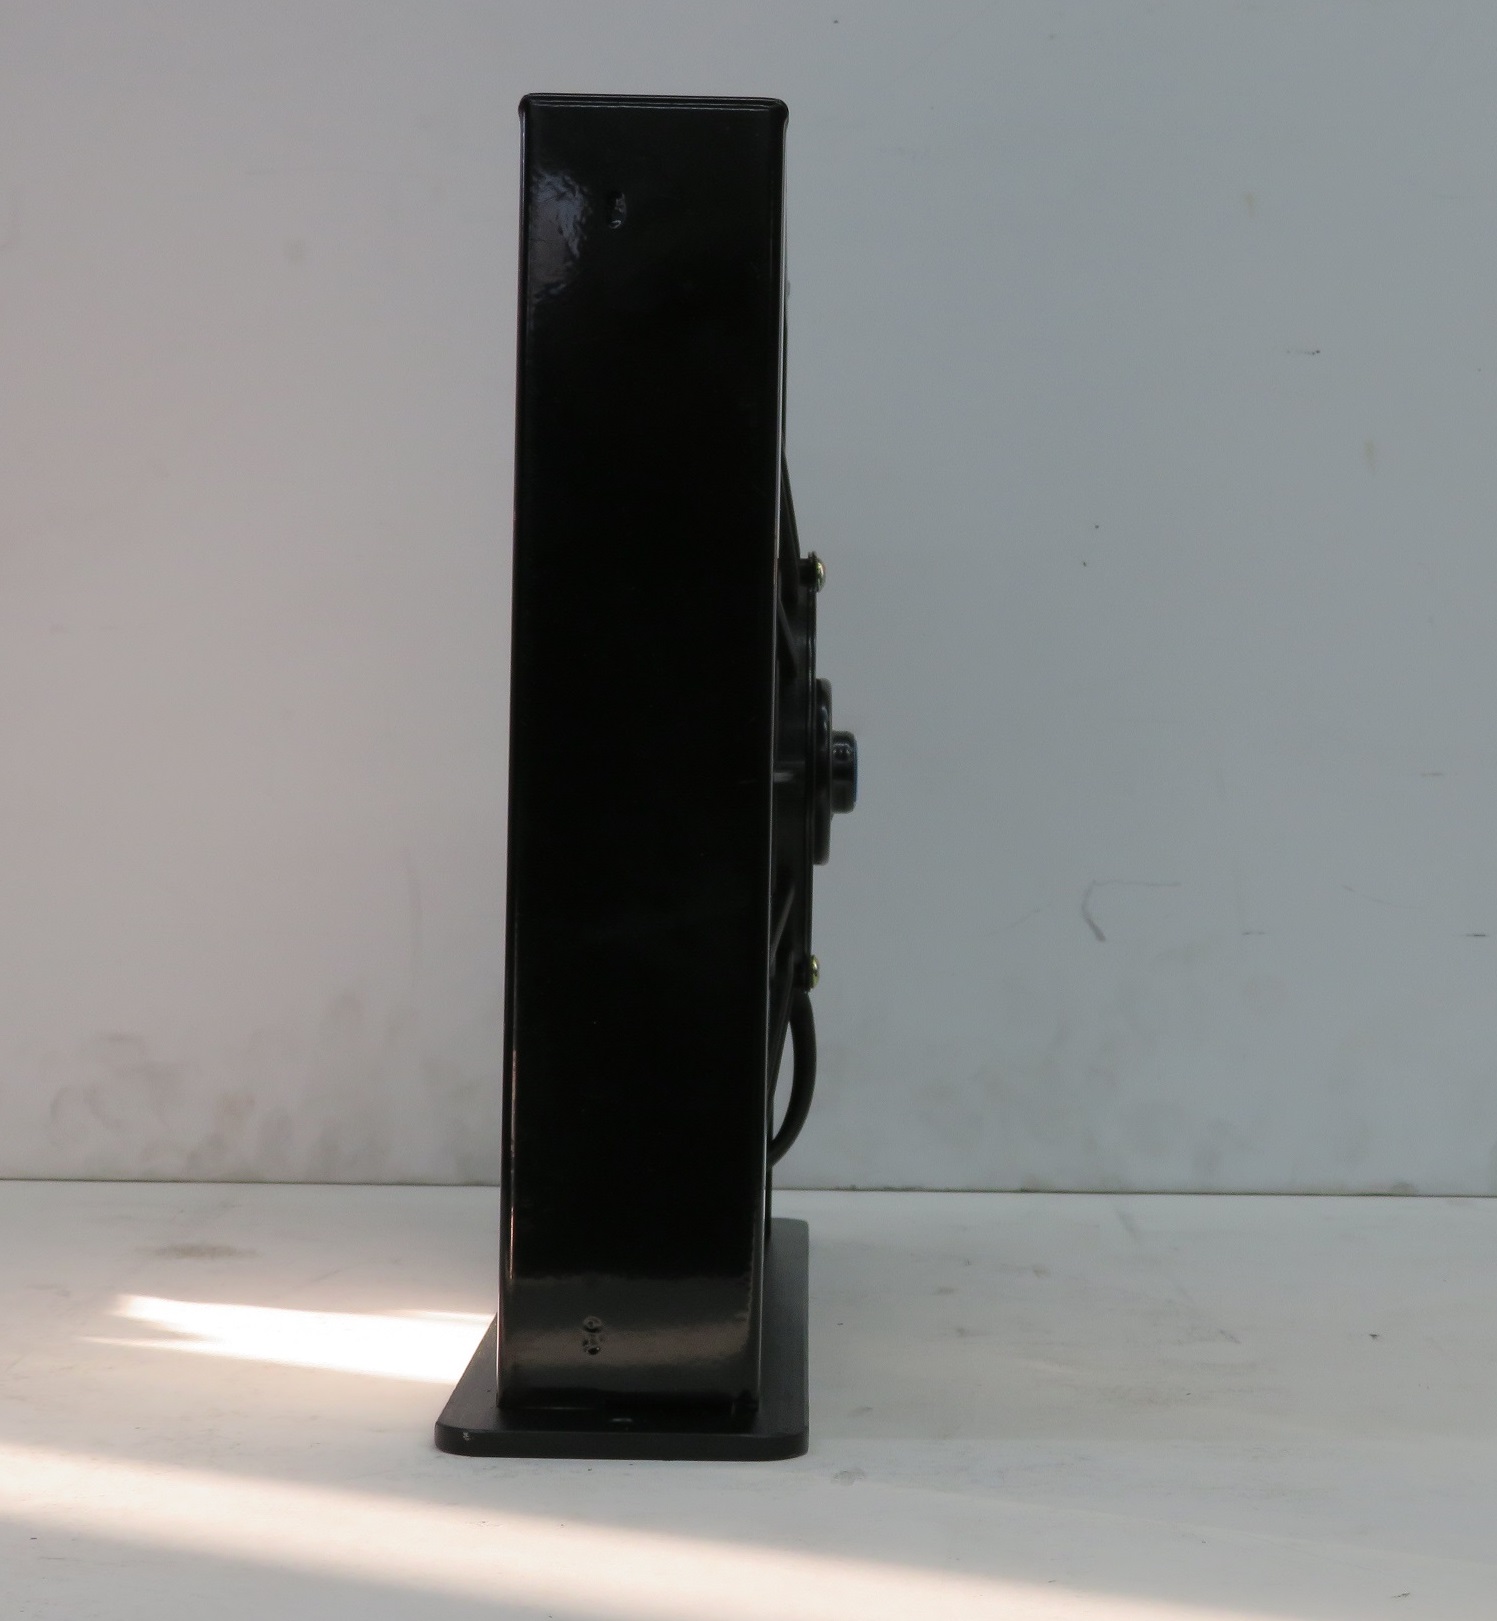
Tradesman Edge Wheels for 2023
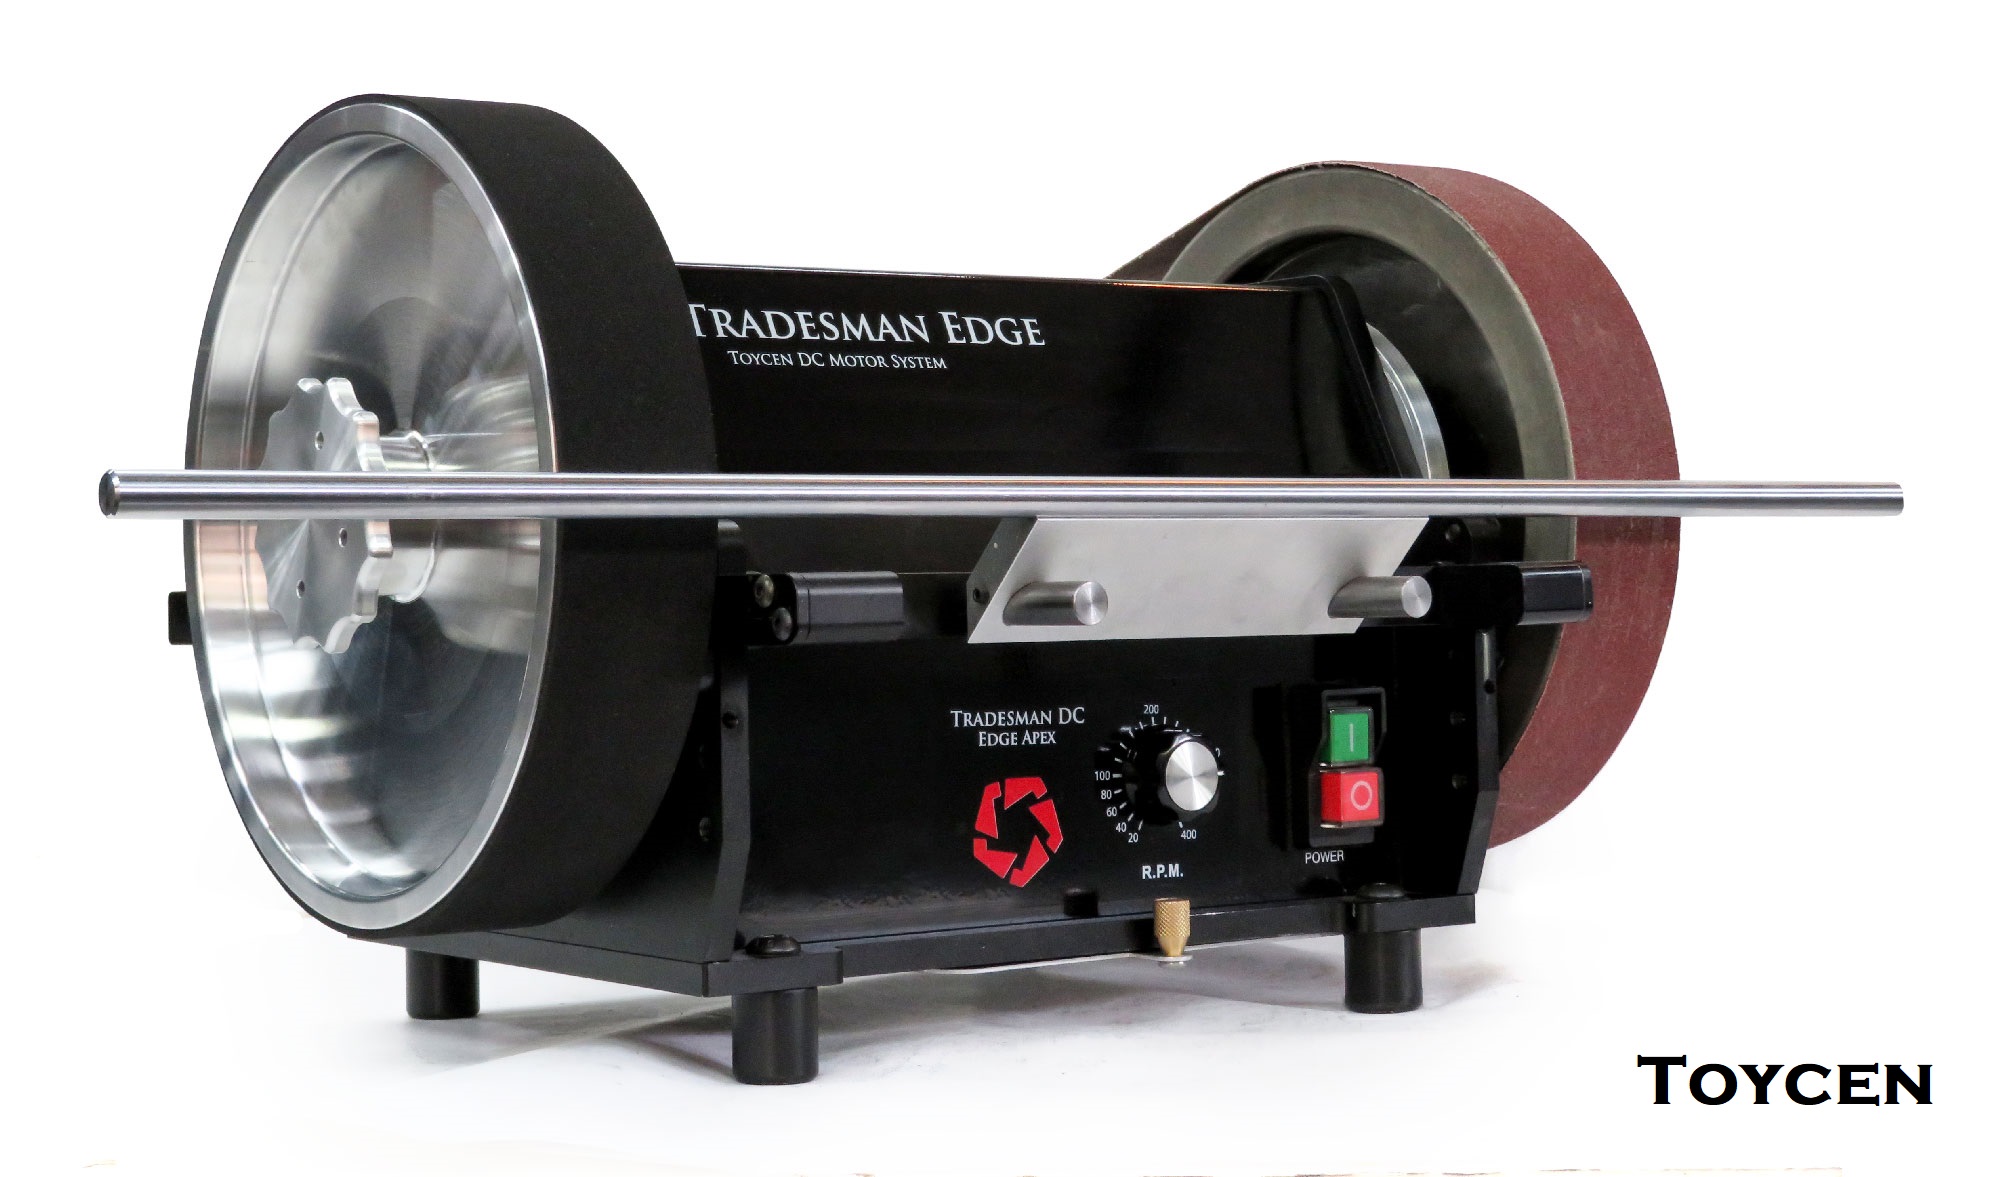

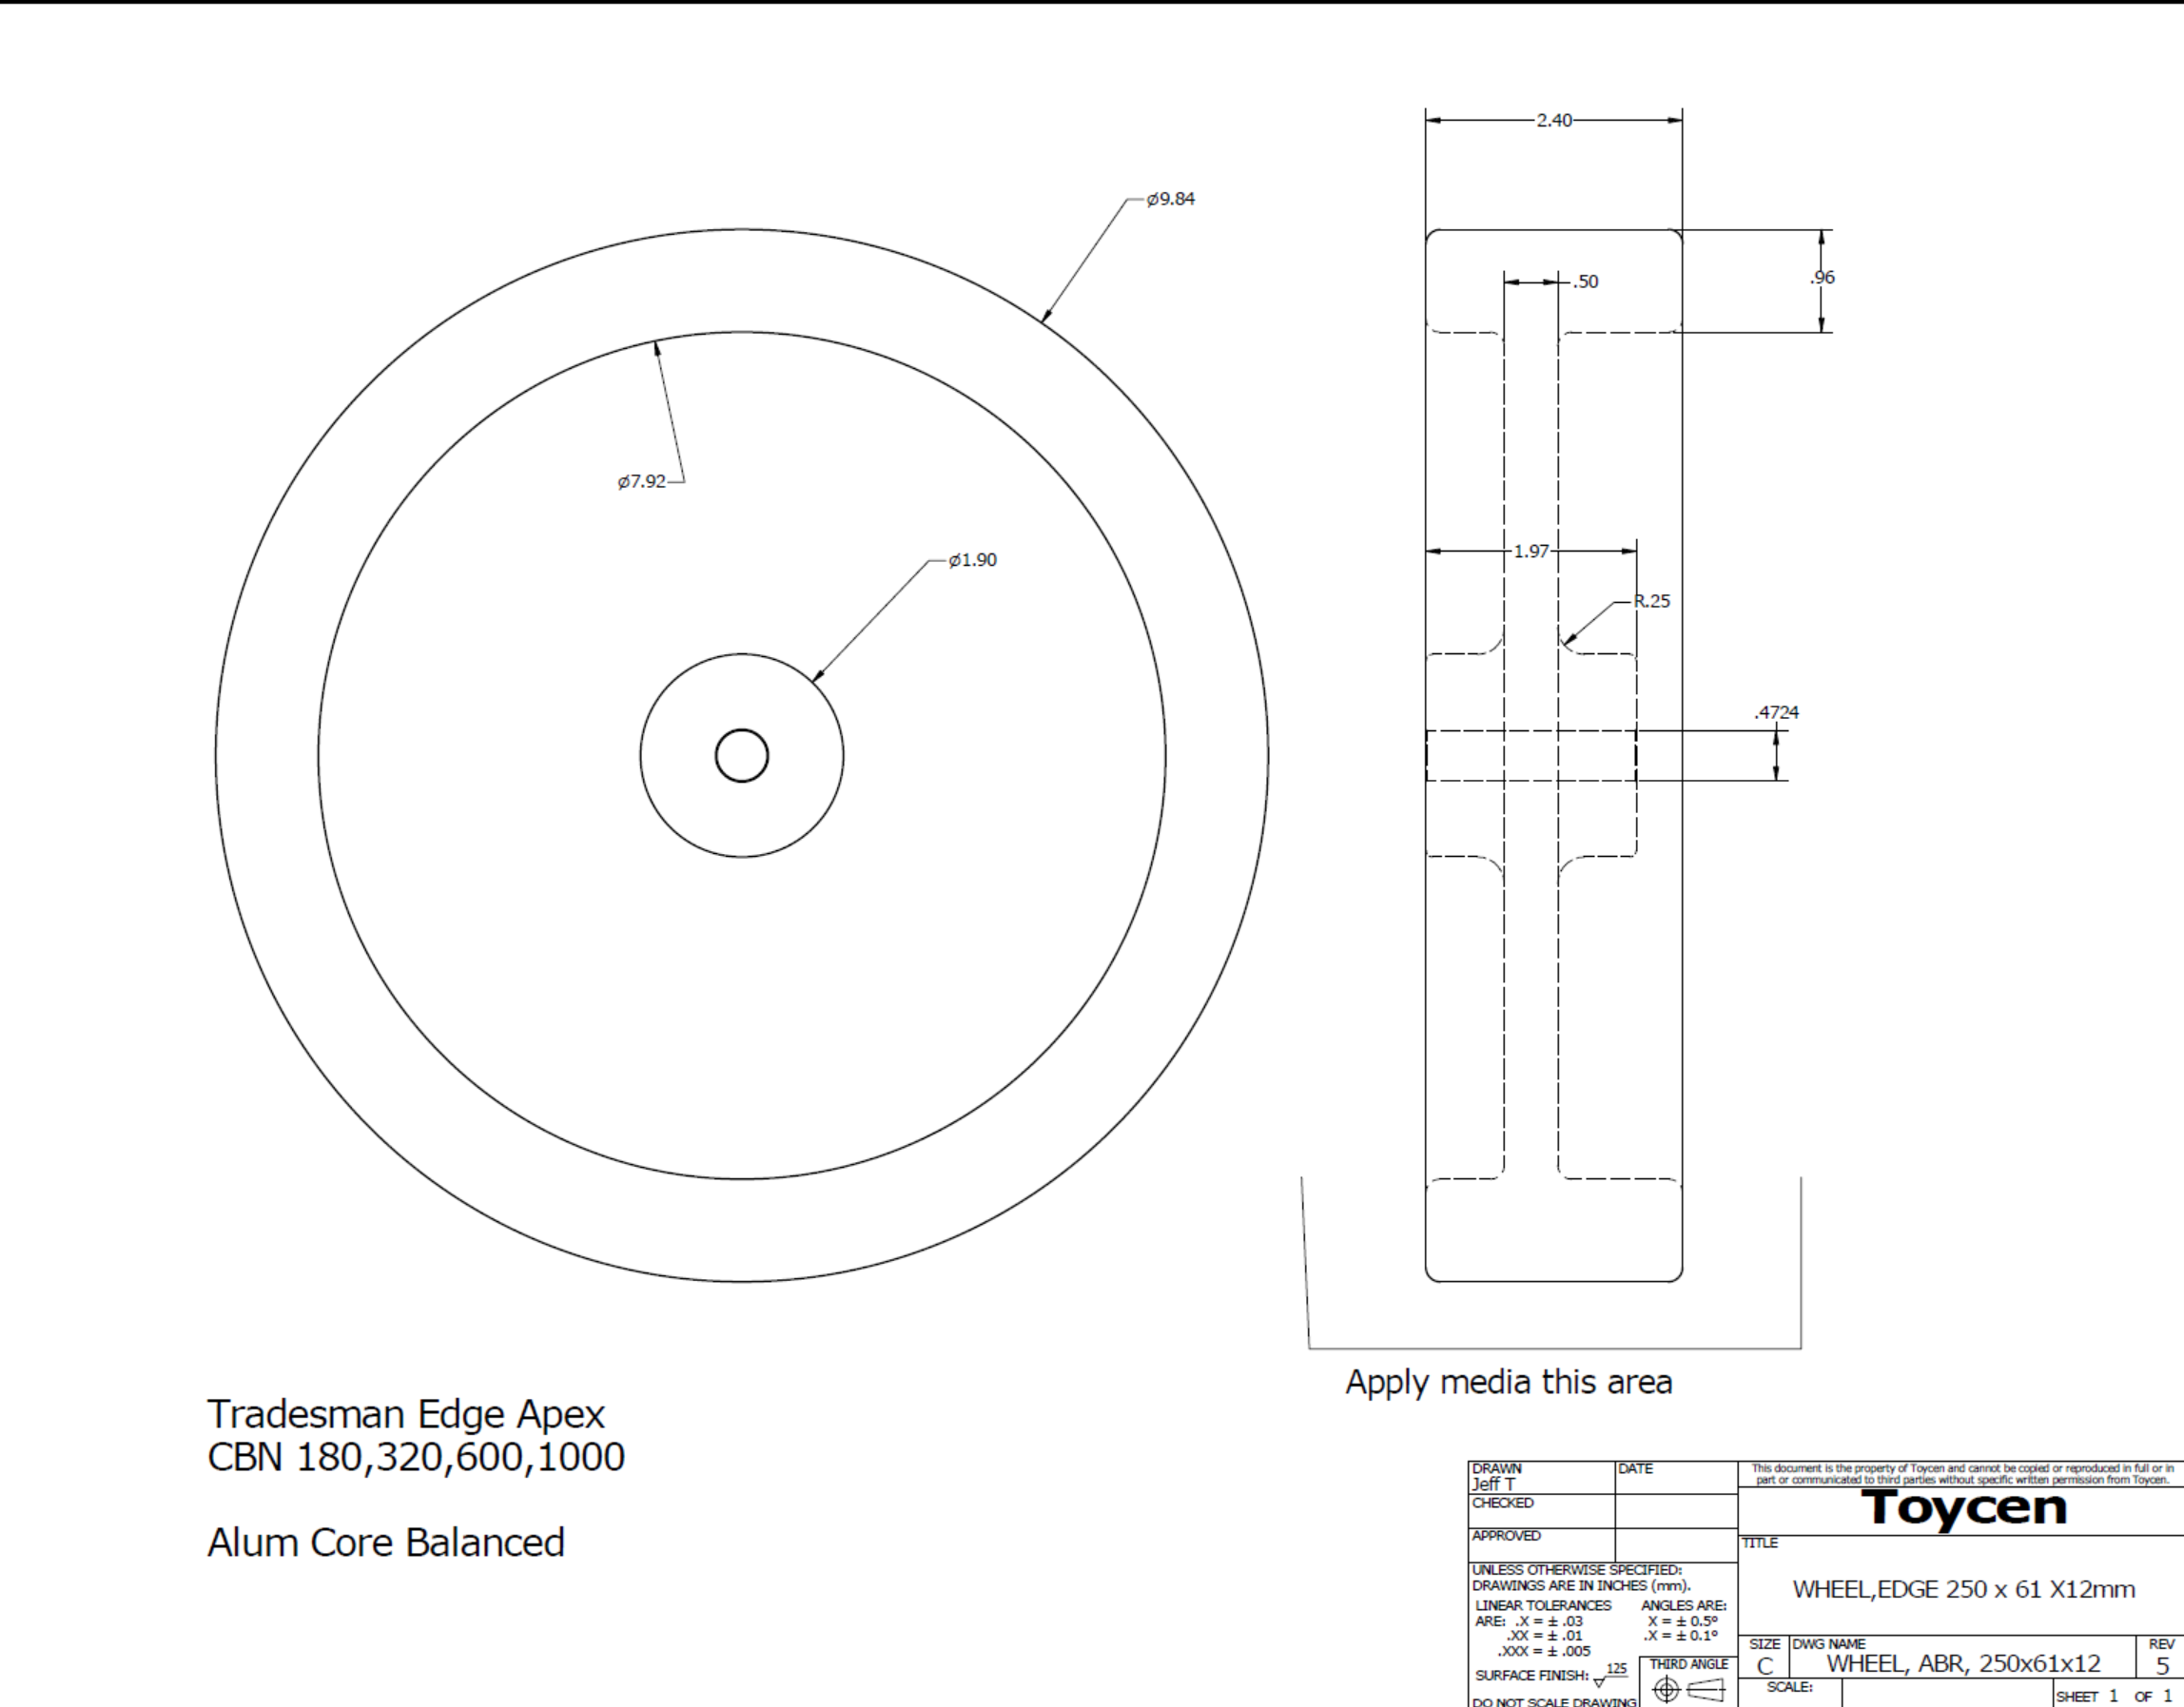
Available 180 320 600 1000 grit
30 mm or 1.25inch
50 mm or 2 inch
61 mm or 2.4 inches wide
and 50 x 250mm Composite Strop Wheel


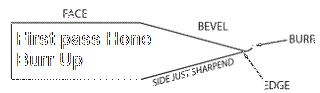
How to sharpen a knife to a very sharp edge
How to create a very sharp edge
The best approach to grind the knife bevel:
Use progressively finer grit wheels working towards a small uniform burr that can be accurately removed with a strop
or edge honing process using very little pressure leaving a very sharp edge.
It’s all about understanding the material being sharpened, the process being used, and the accuracy of that process.
KG” A good sharpener knows how to apex and deburr the edge; an expert sharpener knows how to clean the apex of the weak wire edge not rounding it”
Grinding or machining most materials, a burr will develop at the edge.
The Burr should be suitable for honing: Grind the knife bevels progressing thru wheel grits to a fine positive burr.
Our take on burr characteristics regarding positive and negative burrs.
Based on knife grinders’ observations and testing: A very good starting point.
Knife Sharpening to a very sharp edge explained
Grind the knife bevel using progressively finer grit wheels working towards a small uniform burr that can be accurately removed with a strop or edge honing process leaving a very sharp edge. Its all about accuracy.
KG” A good sharpener knows how to apex and deburr the edge; an expert sharpener knows how to clean the apex of the weak wire edge not rounding it”
Grinding or machining most material, a burr will develop at the edge.
Produce the perfect burr and then honing to the perfect edge.
Controlling the size and shape of the burr is essential when sharpening a knife bevel.
Producing a burr suitable for honing:
Grind the knife bevels progressing thru wheel grits to a fine positive burr.
Based on knife grinders’ observations and testing: A very good starting point.
| MALLEABLE POSITIVE BURR | BRITTLE NEGATIVE BURR |
| A high foil-like burr on a thin root.
A burr created edge-trailing, with conventional aluminium oxide and silicon carbide abrasives, and natural stones, using excessive pressure or high grinding speed. |
A small stiff burr on a wide root.
A burr created edge-leading, with CBN/diamond abrasives, using minimal pressure and low grinding speed. |
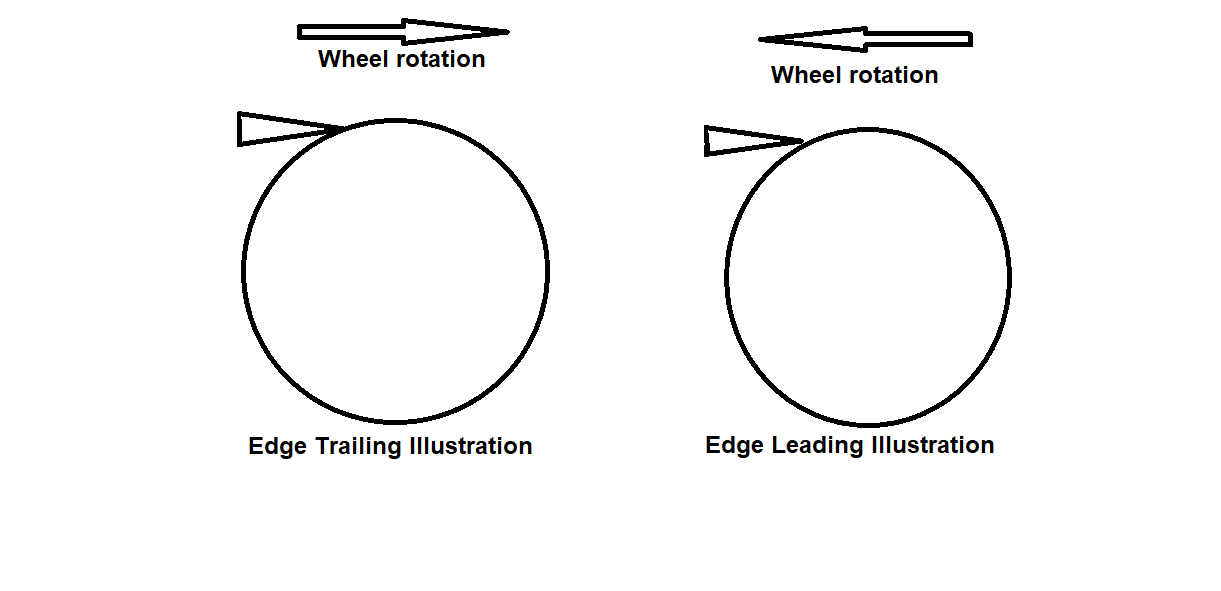
A positive burr is a light feathery burr commonly produced by an edge trailing grinding process (wheel direction turning away from the edge)

2. Set bevel angle using appropriate grit (320, 600?)
3. Set edge using appropriate grit (KG uses 1000)
4. Determine if the burr is positive or negative based on KG chart – steel (reference 2)
5. Differential Honing step 1 (positive for most commercial knives) one at the exact edge angle*, it will hone away the bulk of the burr with a 3-6 micron honing substrate
6. Differential Honing step 2 (positive for most commercial knives ) and the second at a 0.4 – 2 degree higher angle depending on the steel (e.g. a 15 dps edge will be honed at 15.4 – 17 dps), it will hone away the burr root and has 1-micron honing substrate.
- “best performing edge angle is the lowest possible for given steel” (KG 2019)
- “Quality higher-end knives: double-bevel 10 dps, single-bevel 15-16 dps; Mainstream knives: double-bevel 12 dps, single-bevel 20 dps; Wear-resistant premium knives: modern PM steels 13-15 dps, and traditional tool steels 15-20 dps, as explained in the chapter on high end knives (KG 2019)
- “Our sharpening workshop default edge angle for commercial kitchens is 12 dps (KG 2019)
- “Getting rid of the gnarly burr cheapo knives usually produce is so difficult that you can clean the edge apex only at the cost of rounding it (KG 2019)
Reference 2 – Know your material so that you can choose the best deburring method –
- “Positive burrs are produced in tough ductile steels, while negative in hard and brittle. The positive burr base is deburred by honing at a higher than the edge angle, while negative can be deburred by honing at the edge angle (KG 2019)
- “It is plainly impossible to deburr a blade with a malleable burr (formed on mainstream stainless knives) by honing it edge-trailing at the edge angle” (KG 2019) ““Feather burr” and “Foil edge” are two more edge geometries that can be created in the finishing stage of removing the burr; these two are near synonymic and are a product of edge-trailing honing at the edge angle (KG 2019)
- “an edge sharpened at 20 degrees will require more deburring efforts than the edge sharpened at 40 degrees (KG 2019)
- “honing the positive burr at the edge angle shapes it into a wire edge that won’t last while honing the negative burr at an angle higher than the edge rounds the edge causing an avoidable loss of keenness (KG 2019)
- ” proper deburring requires a minimum of 2 steps”

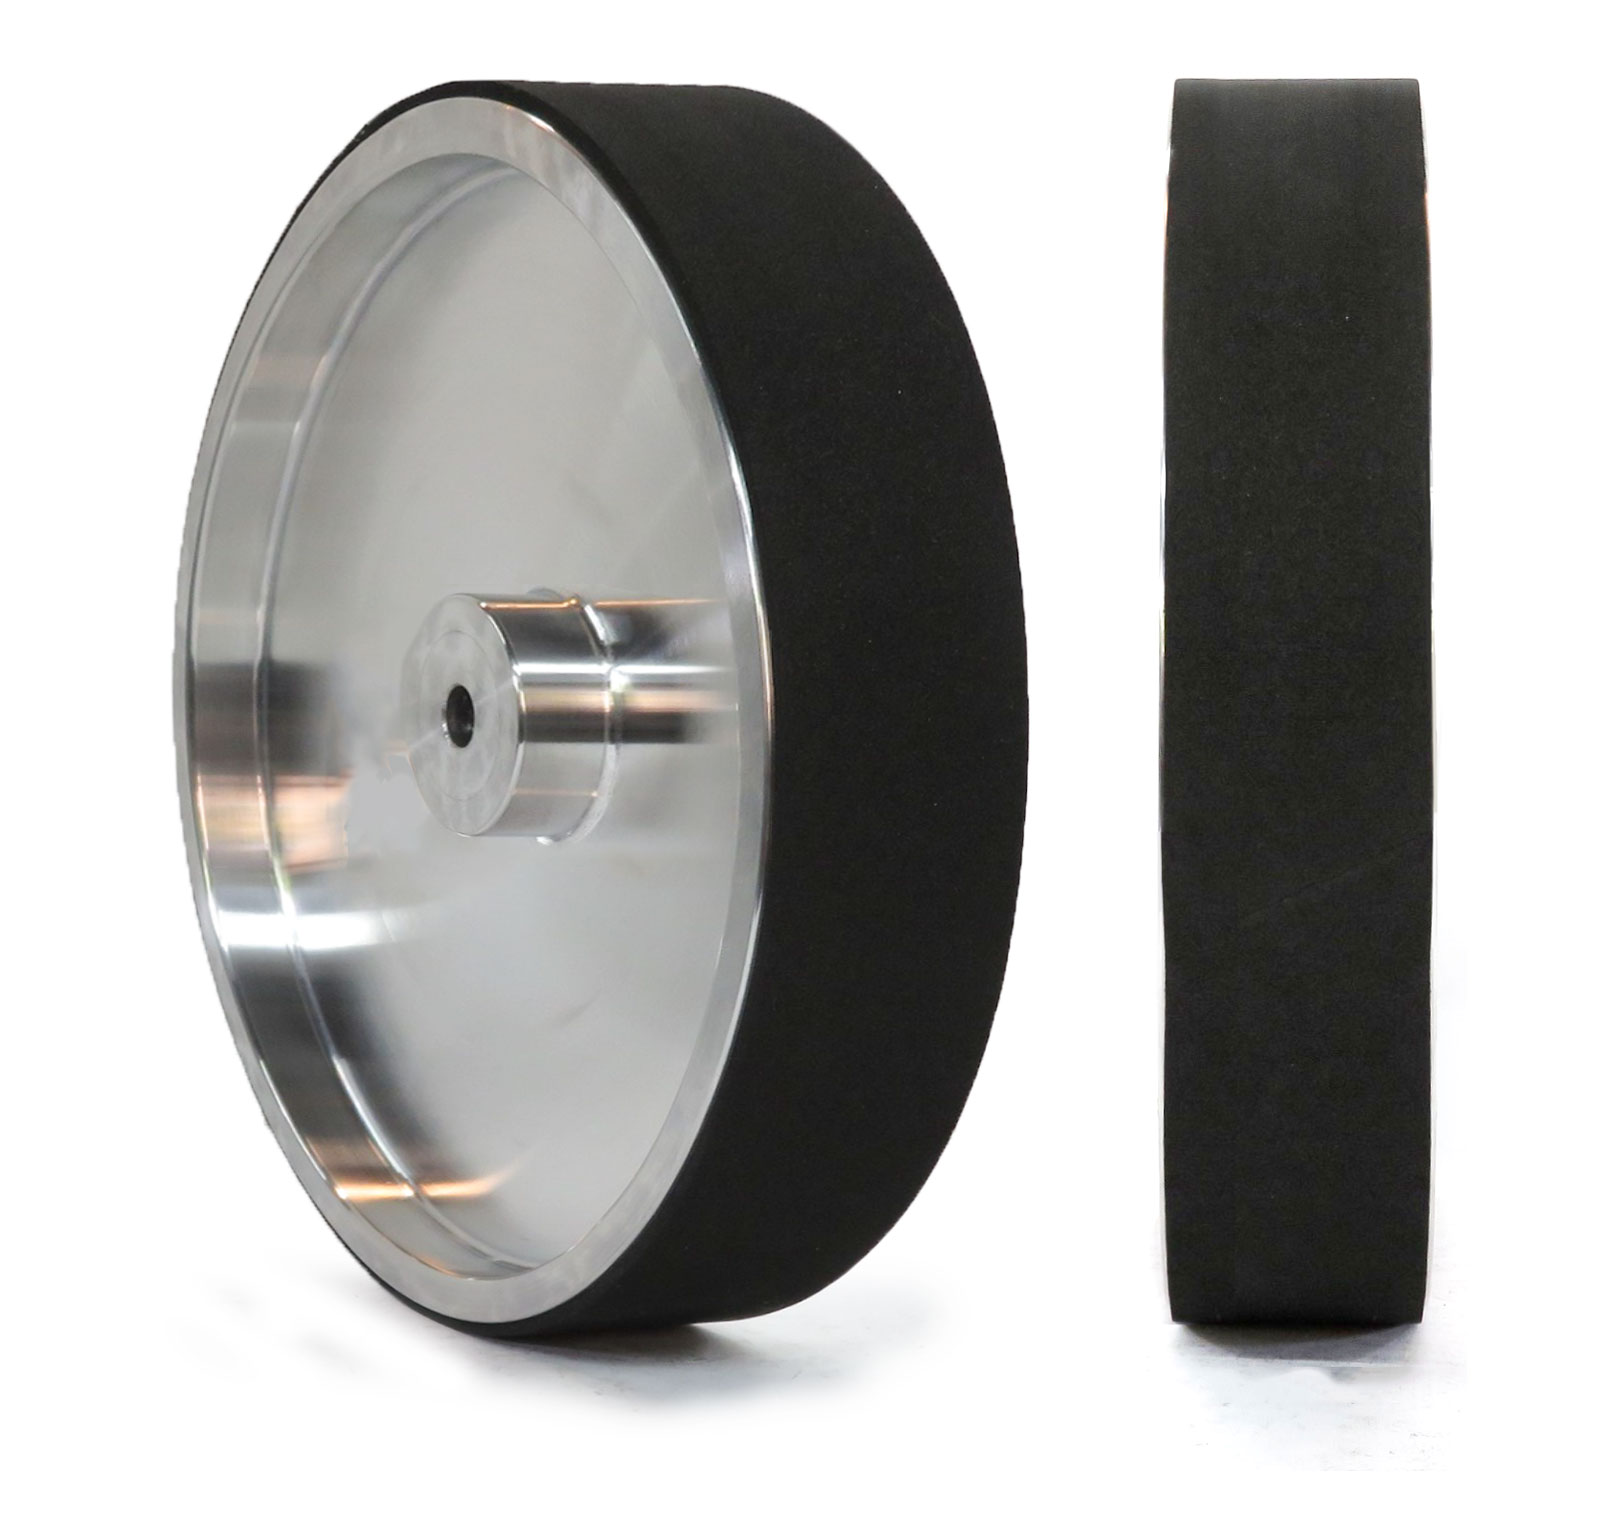
Tradesman Radial Hone Same exact diameter as the Plated bond wheels
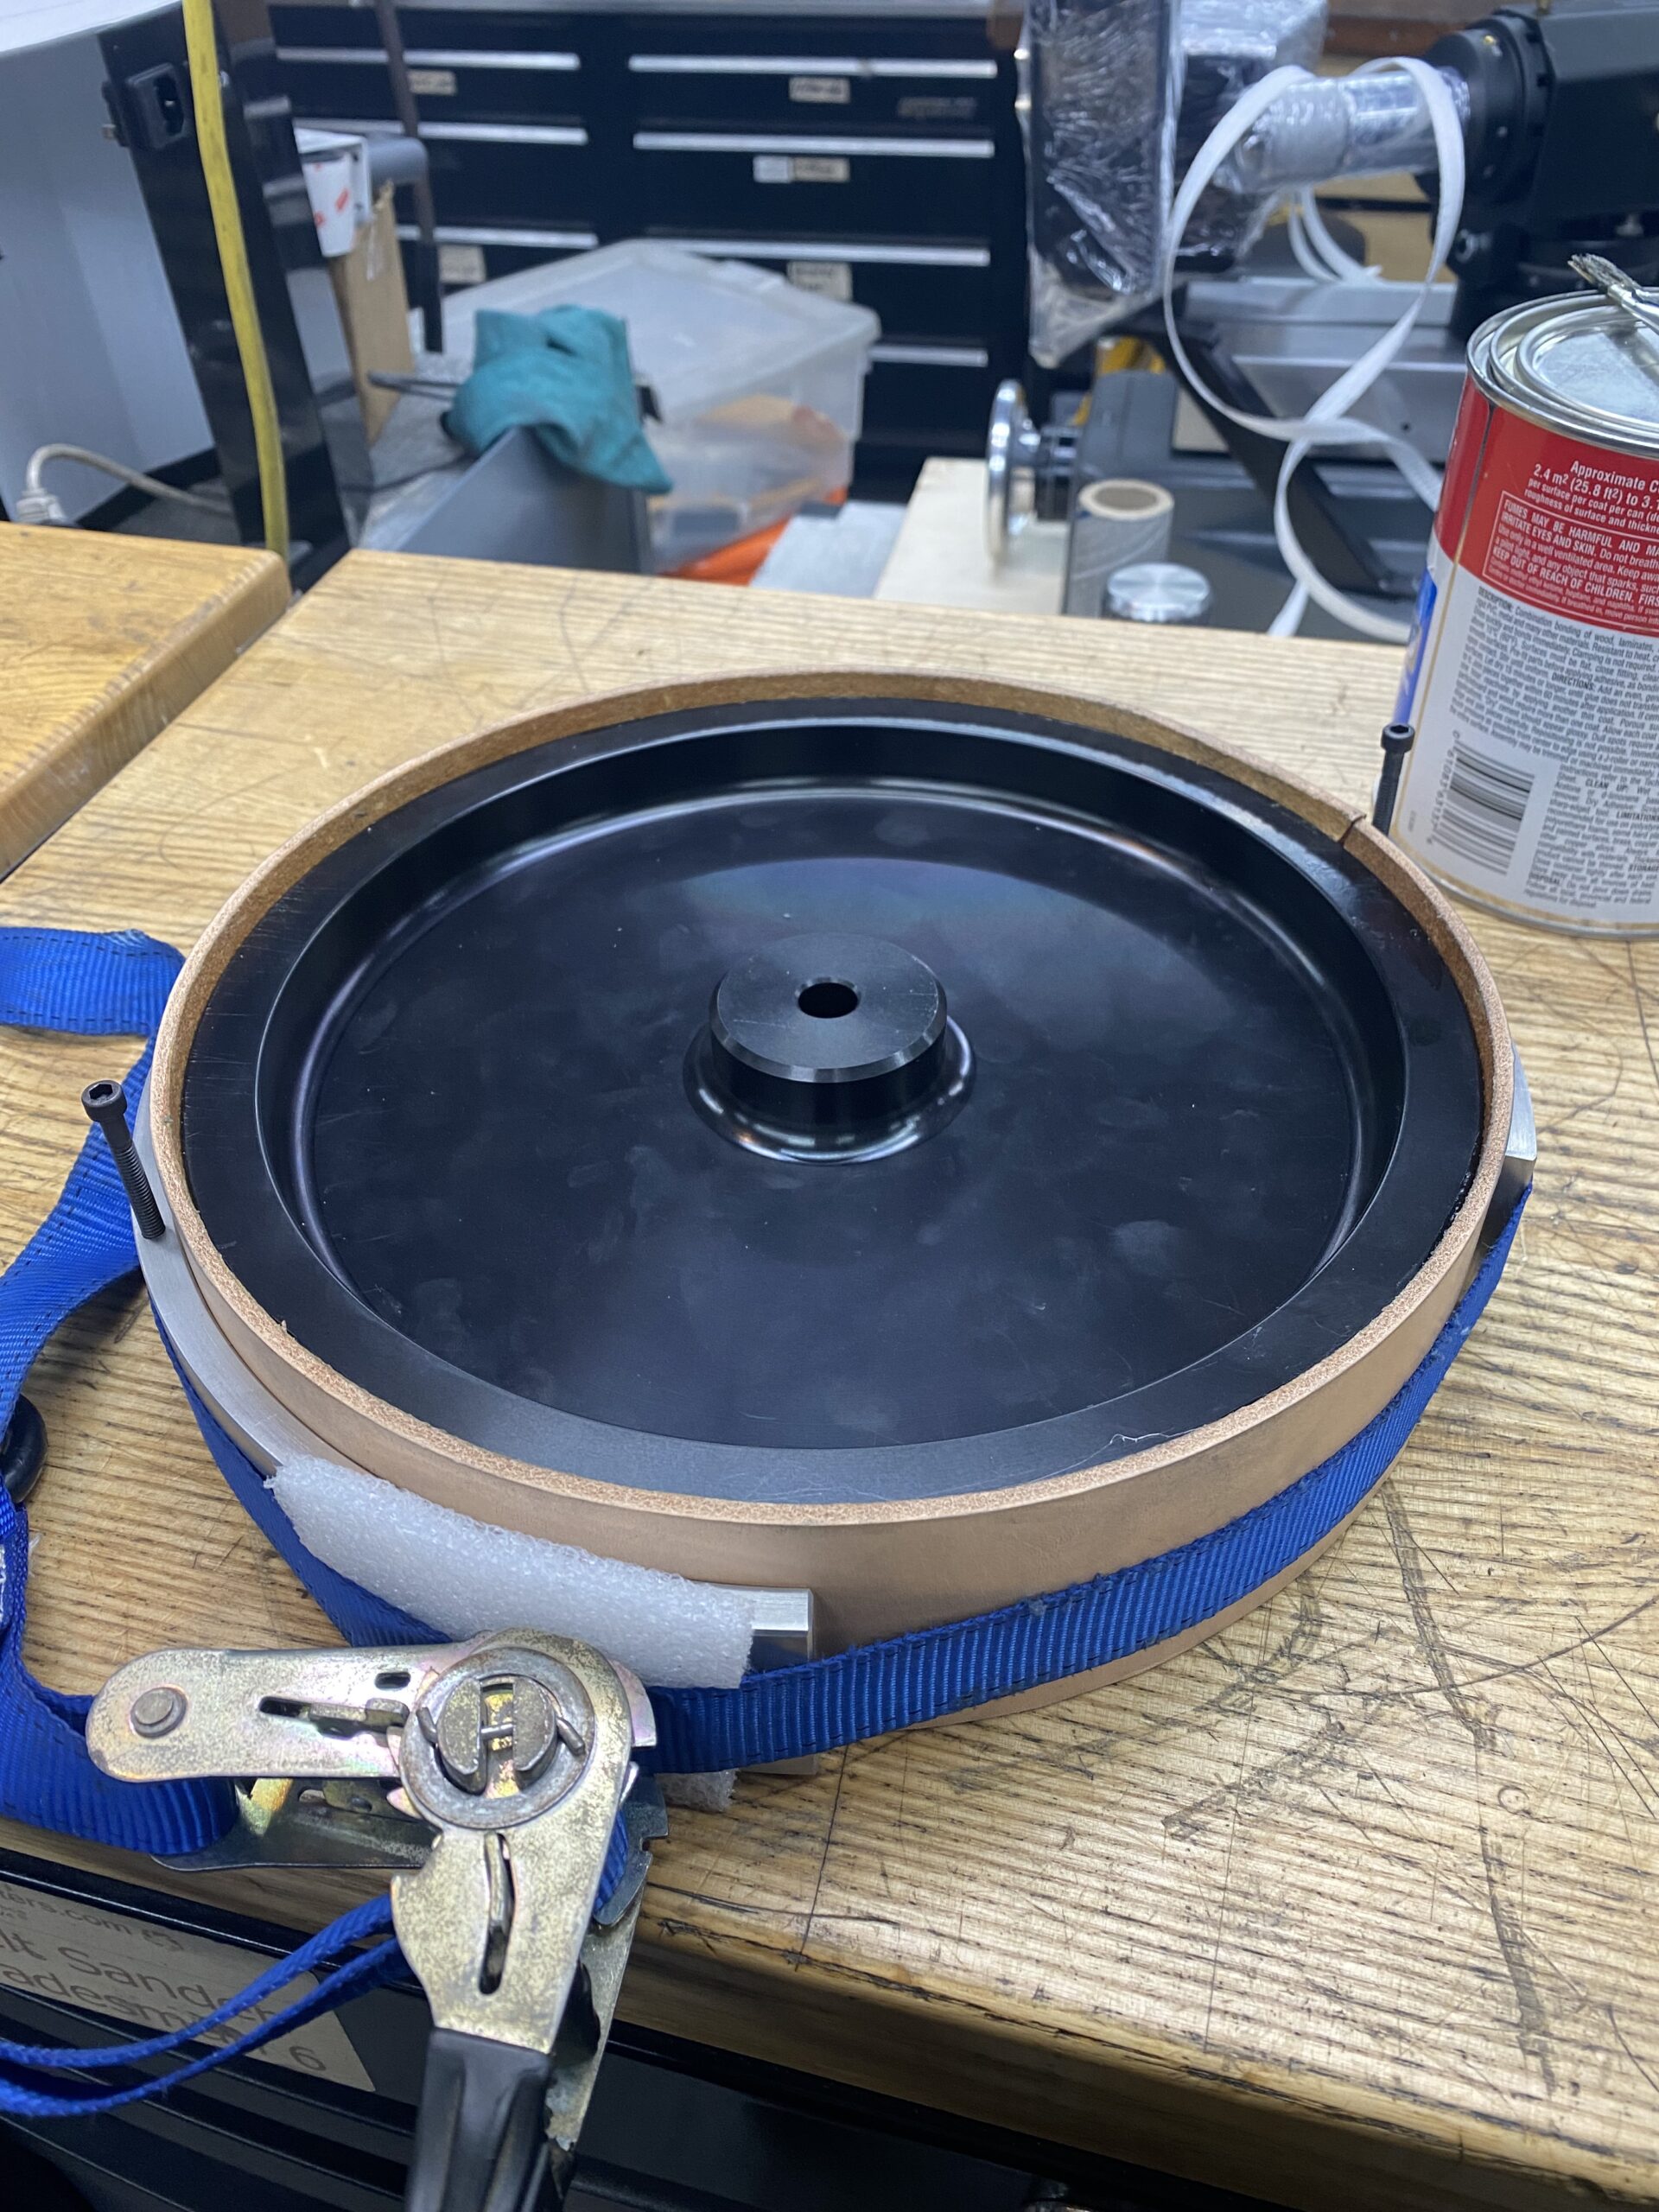

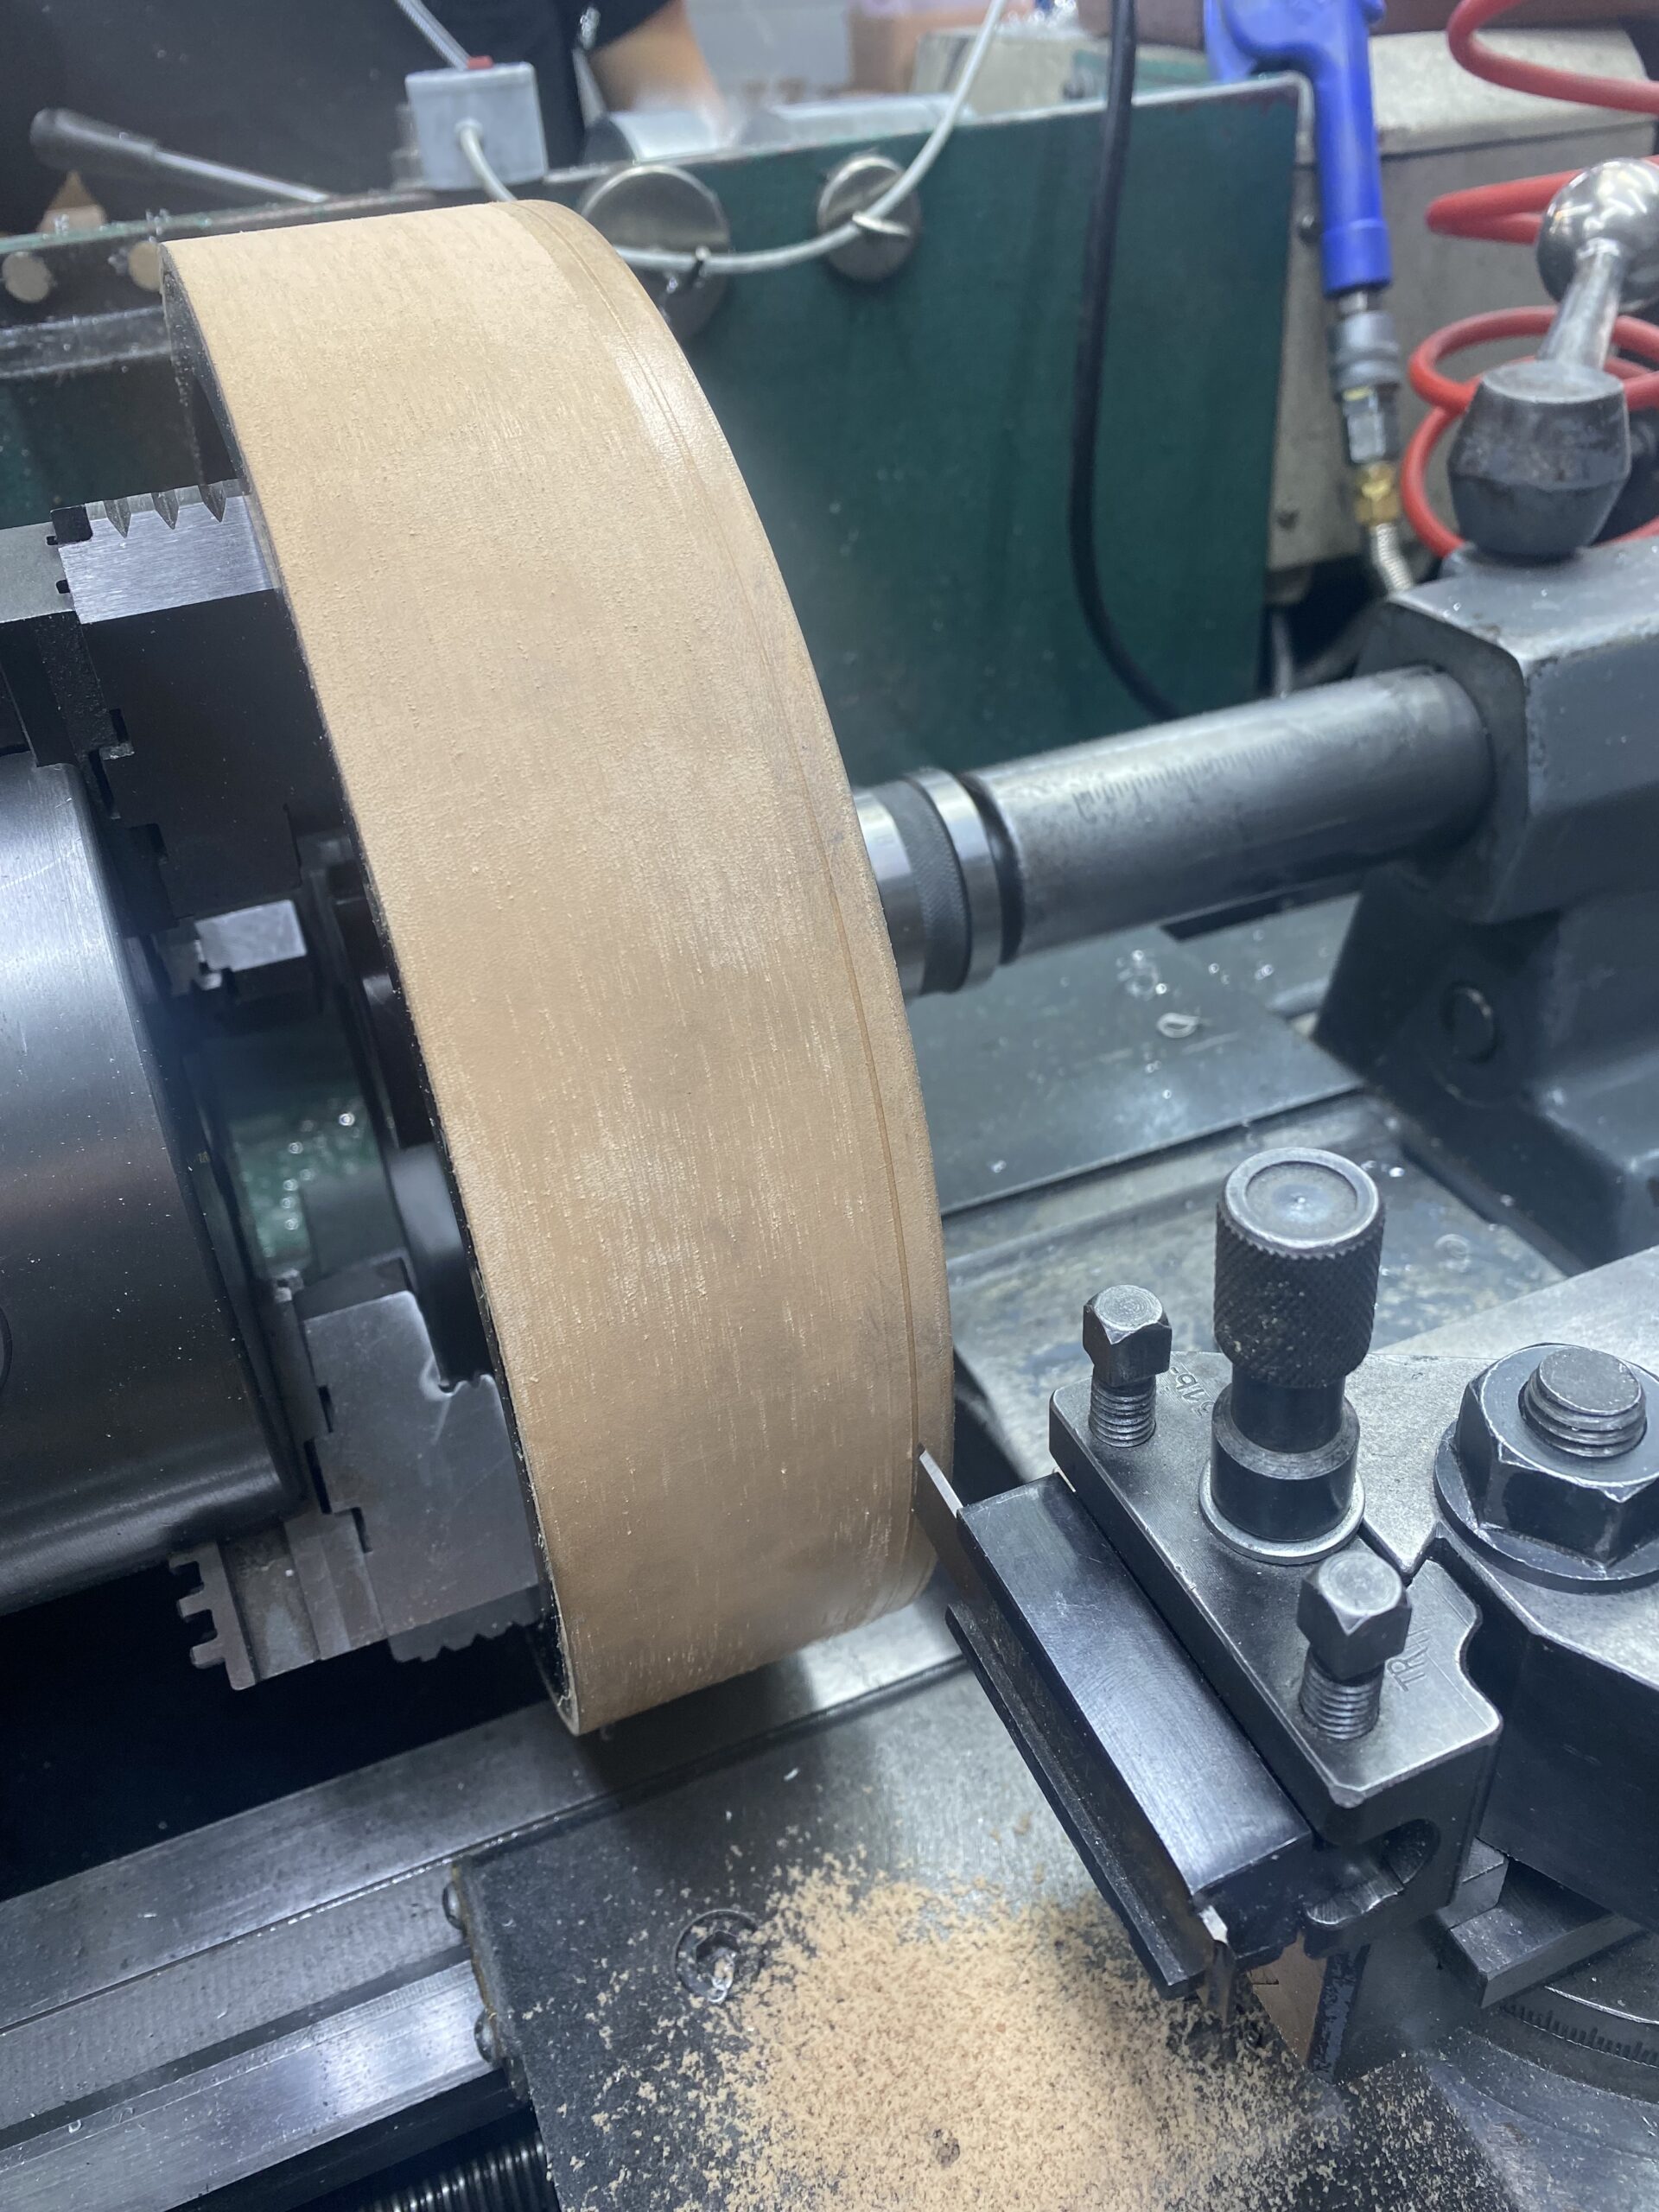
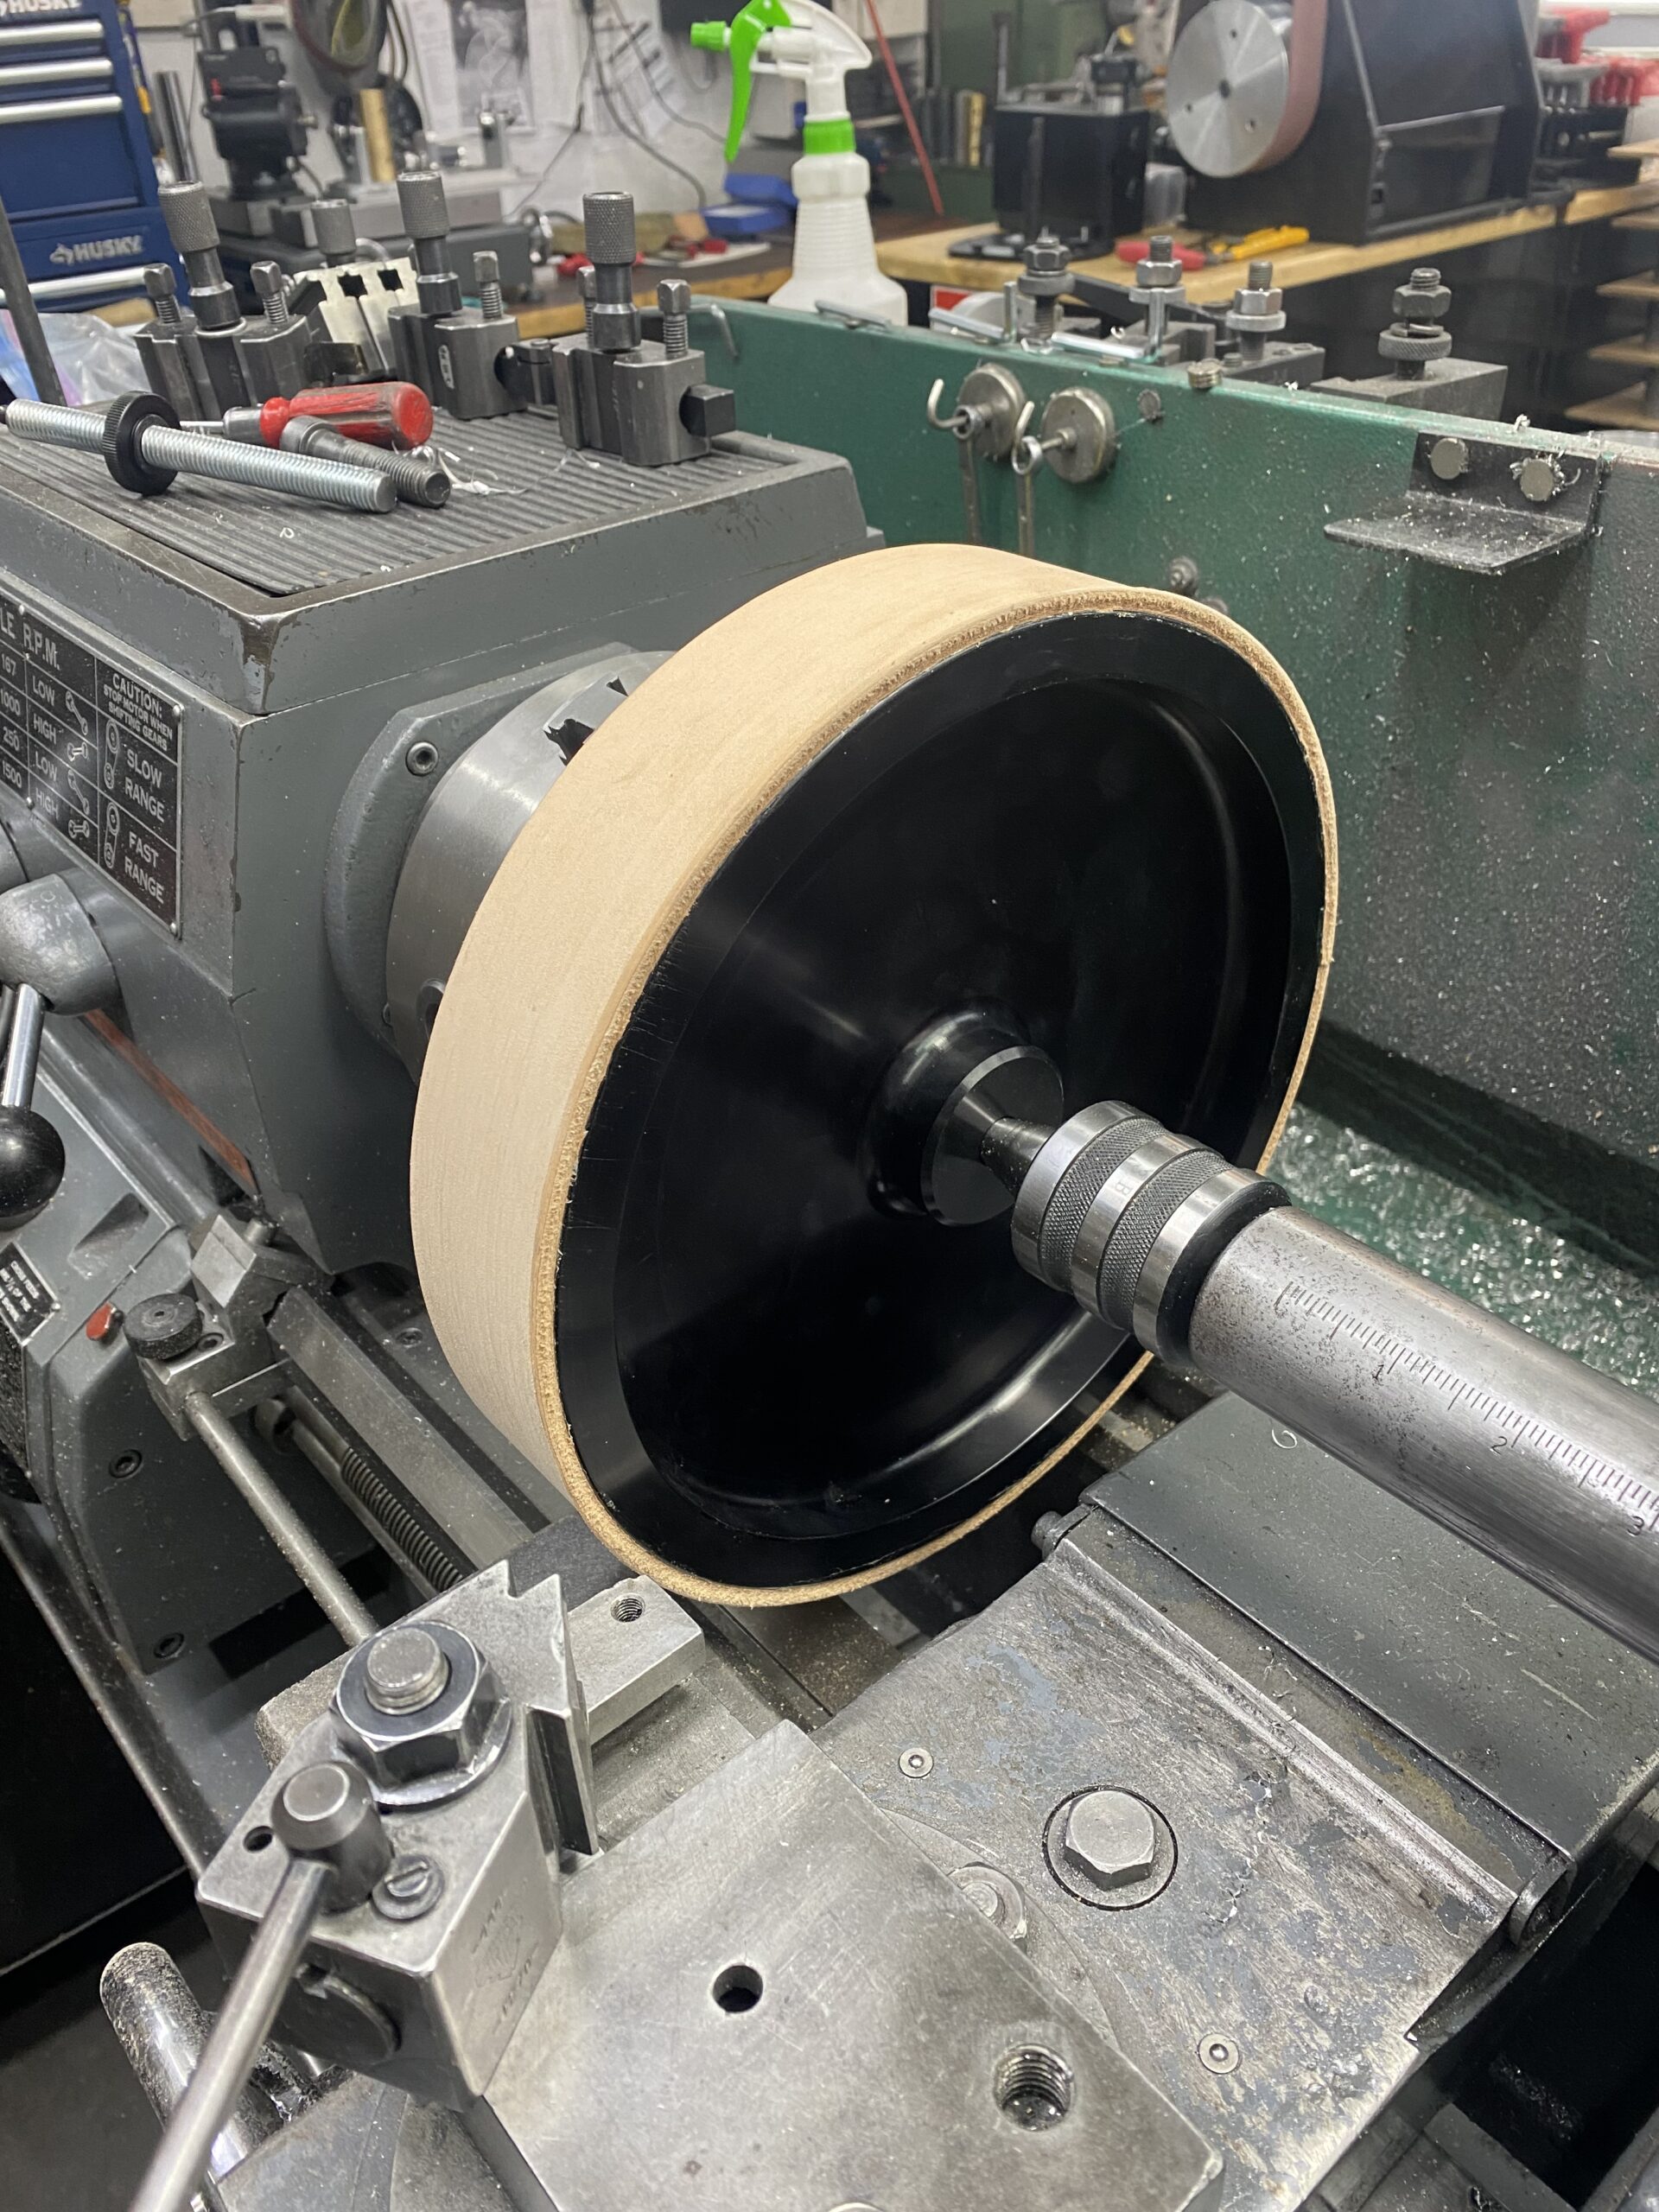

Aluminum core Perfectly balanced , ground round after fabricating
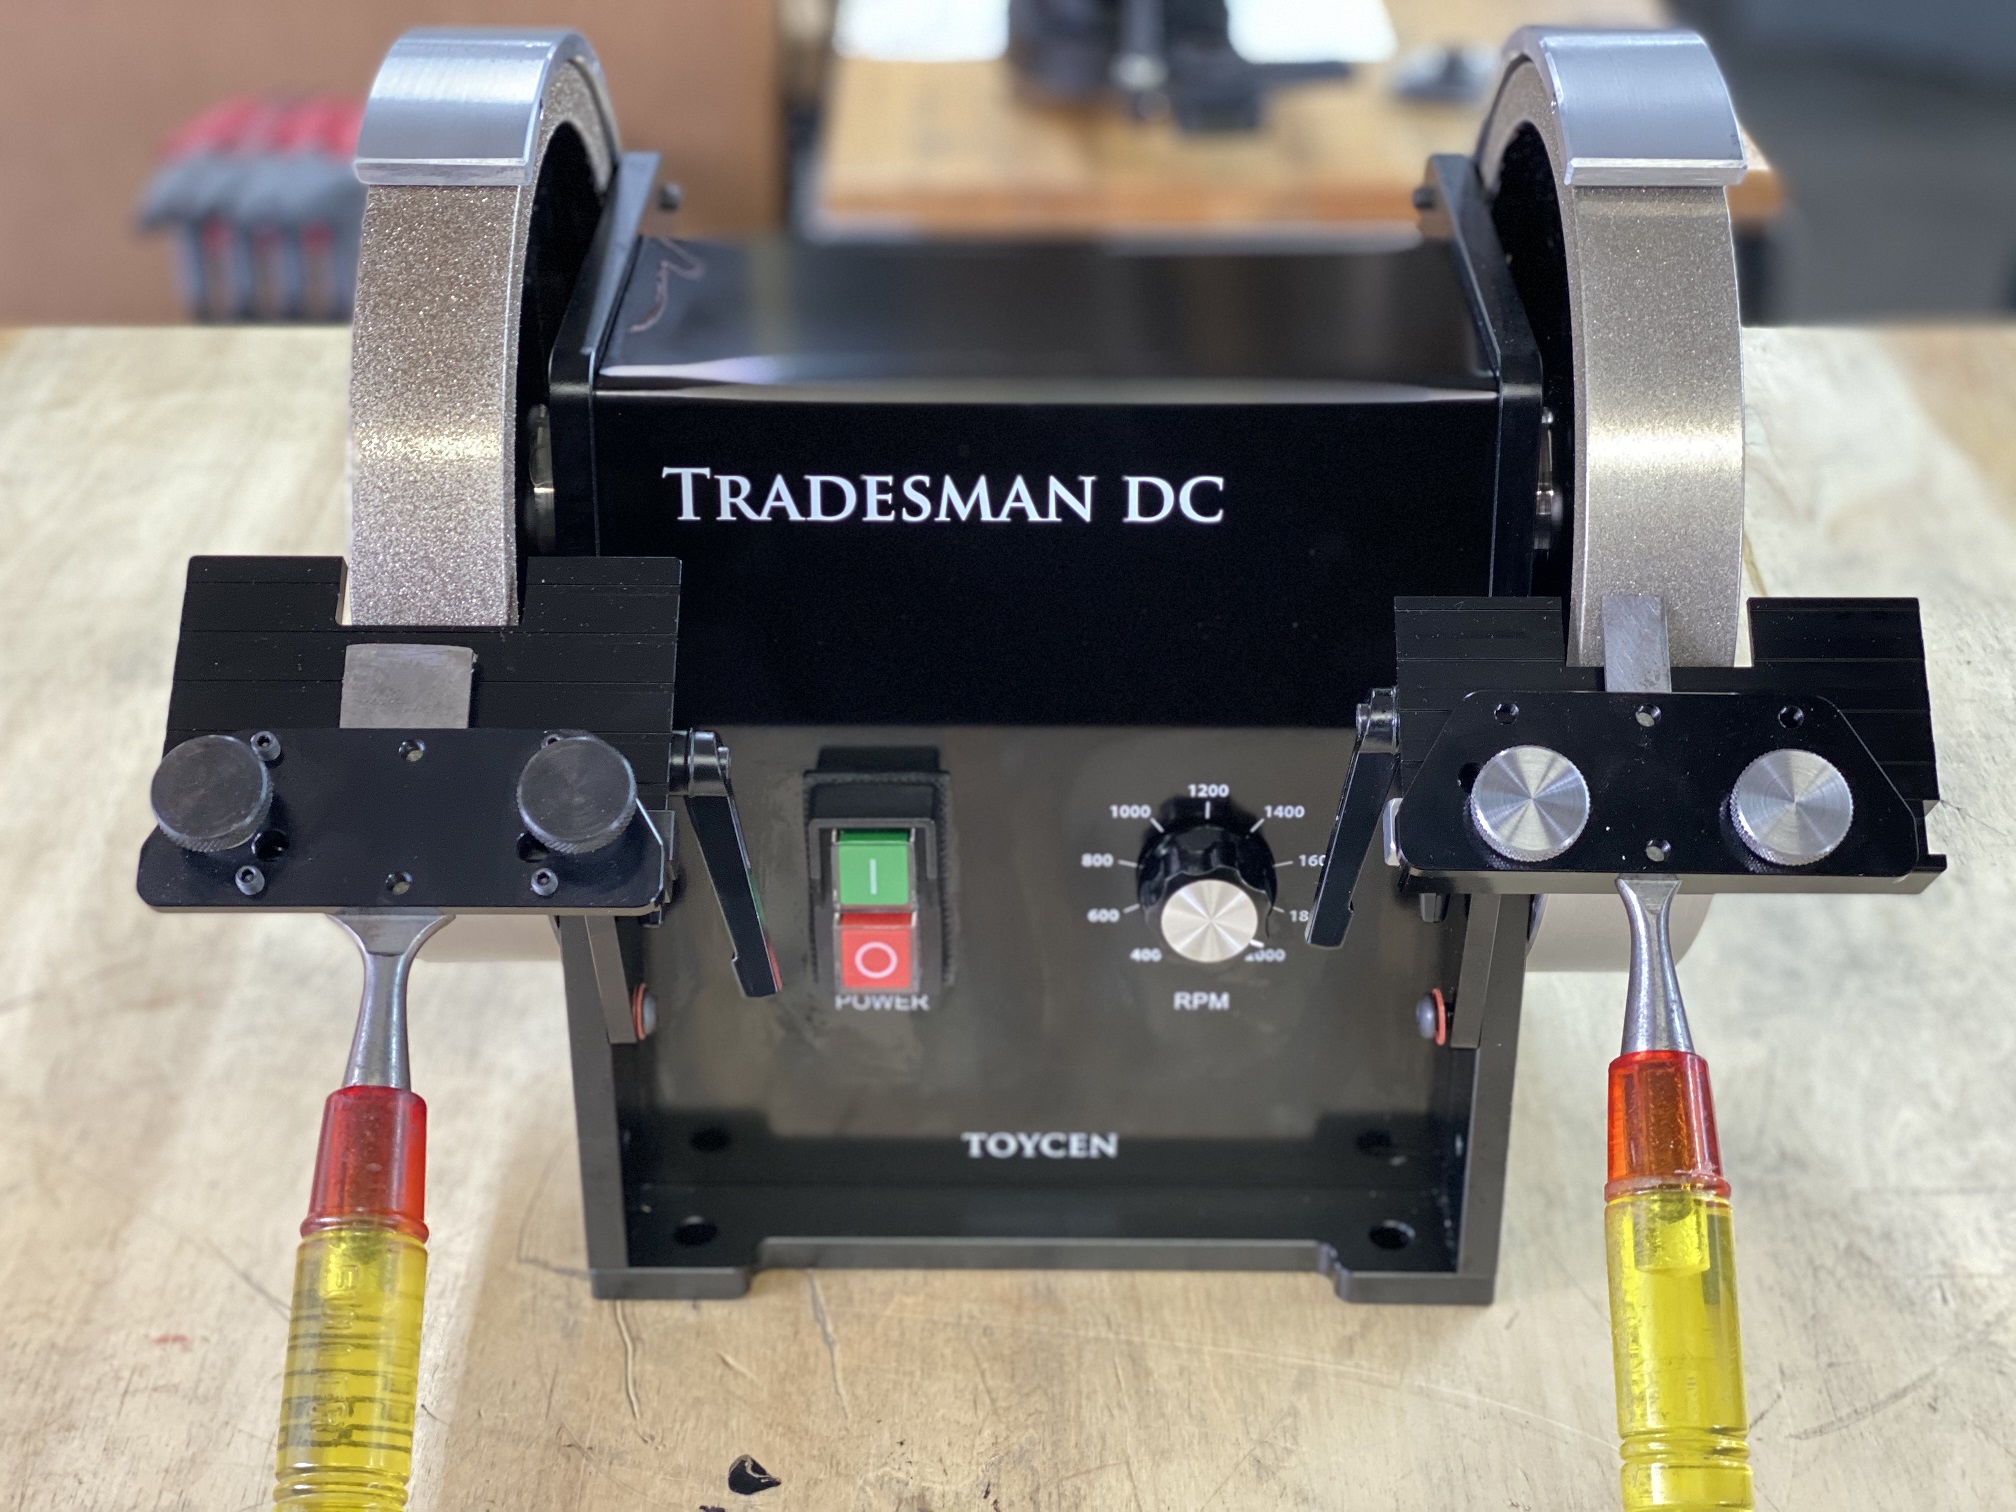
Tradesman Blade Grinder E3 1×42 Belt Sander and Edge APEX Apex Angle Calculators
Tradesman Blade 1×42 belt grinder Angle Calculator
EDGE Apex workstation Angle calculator for 250 mm Wheel Diameter
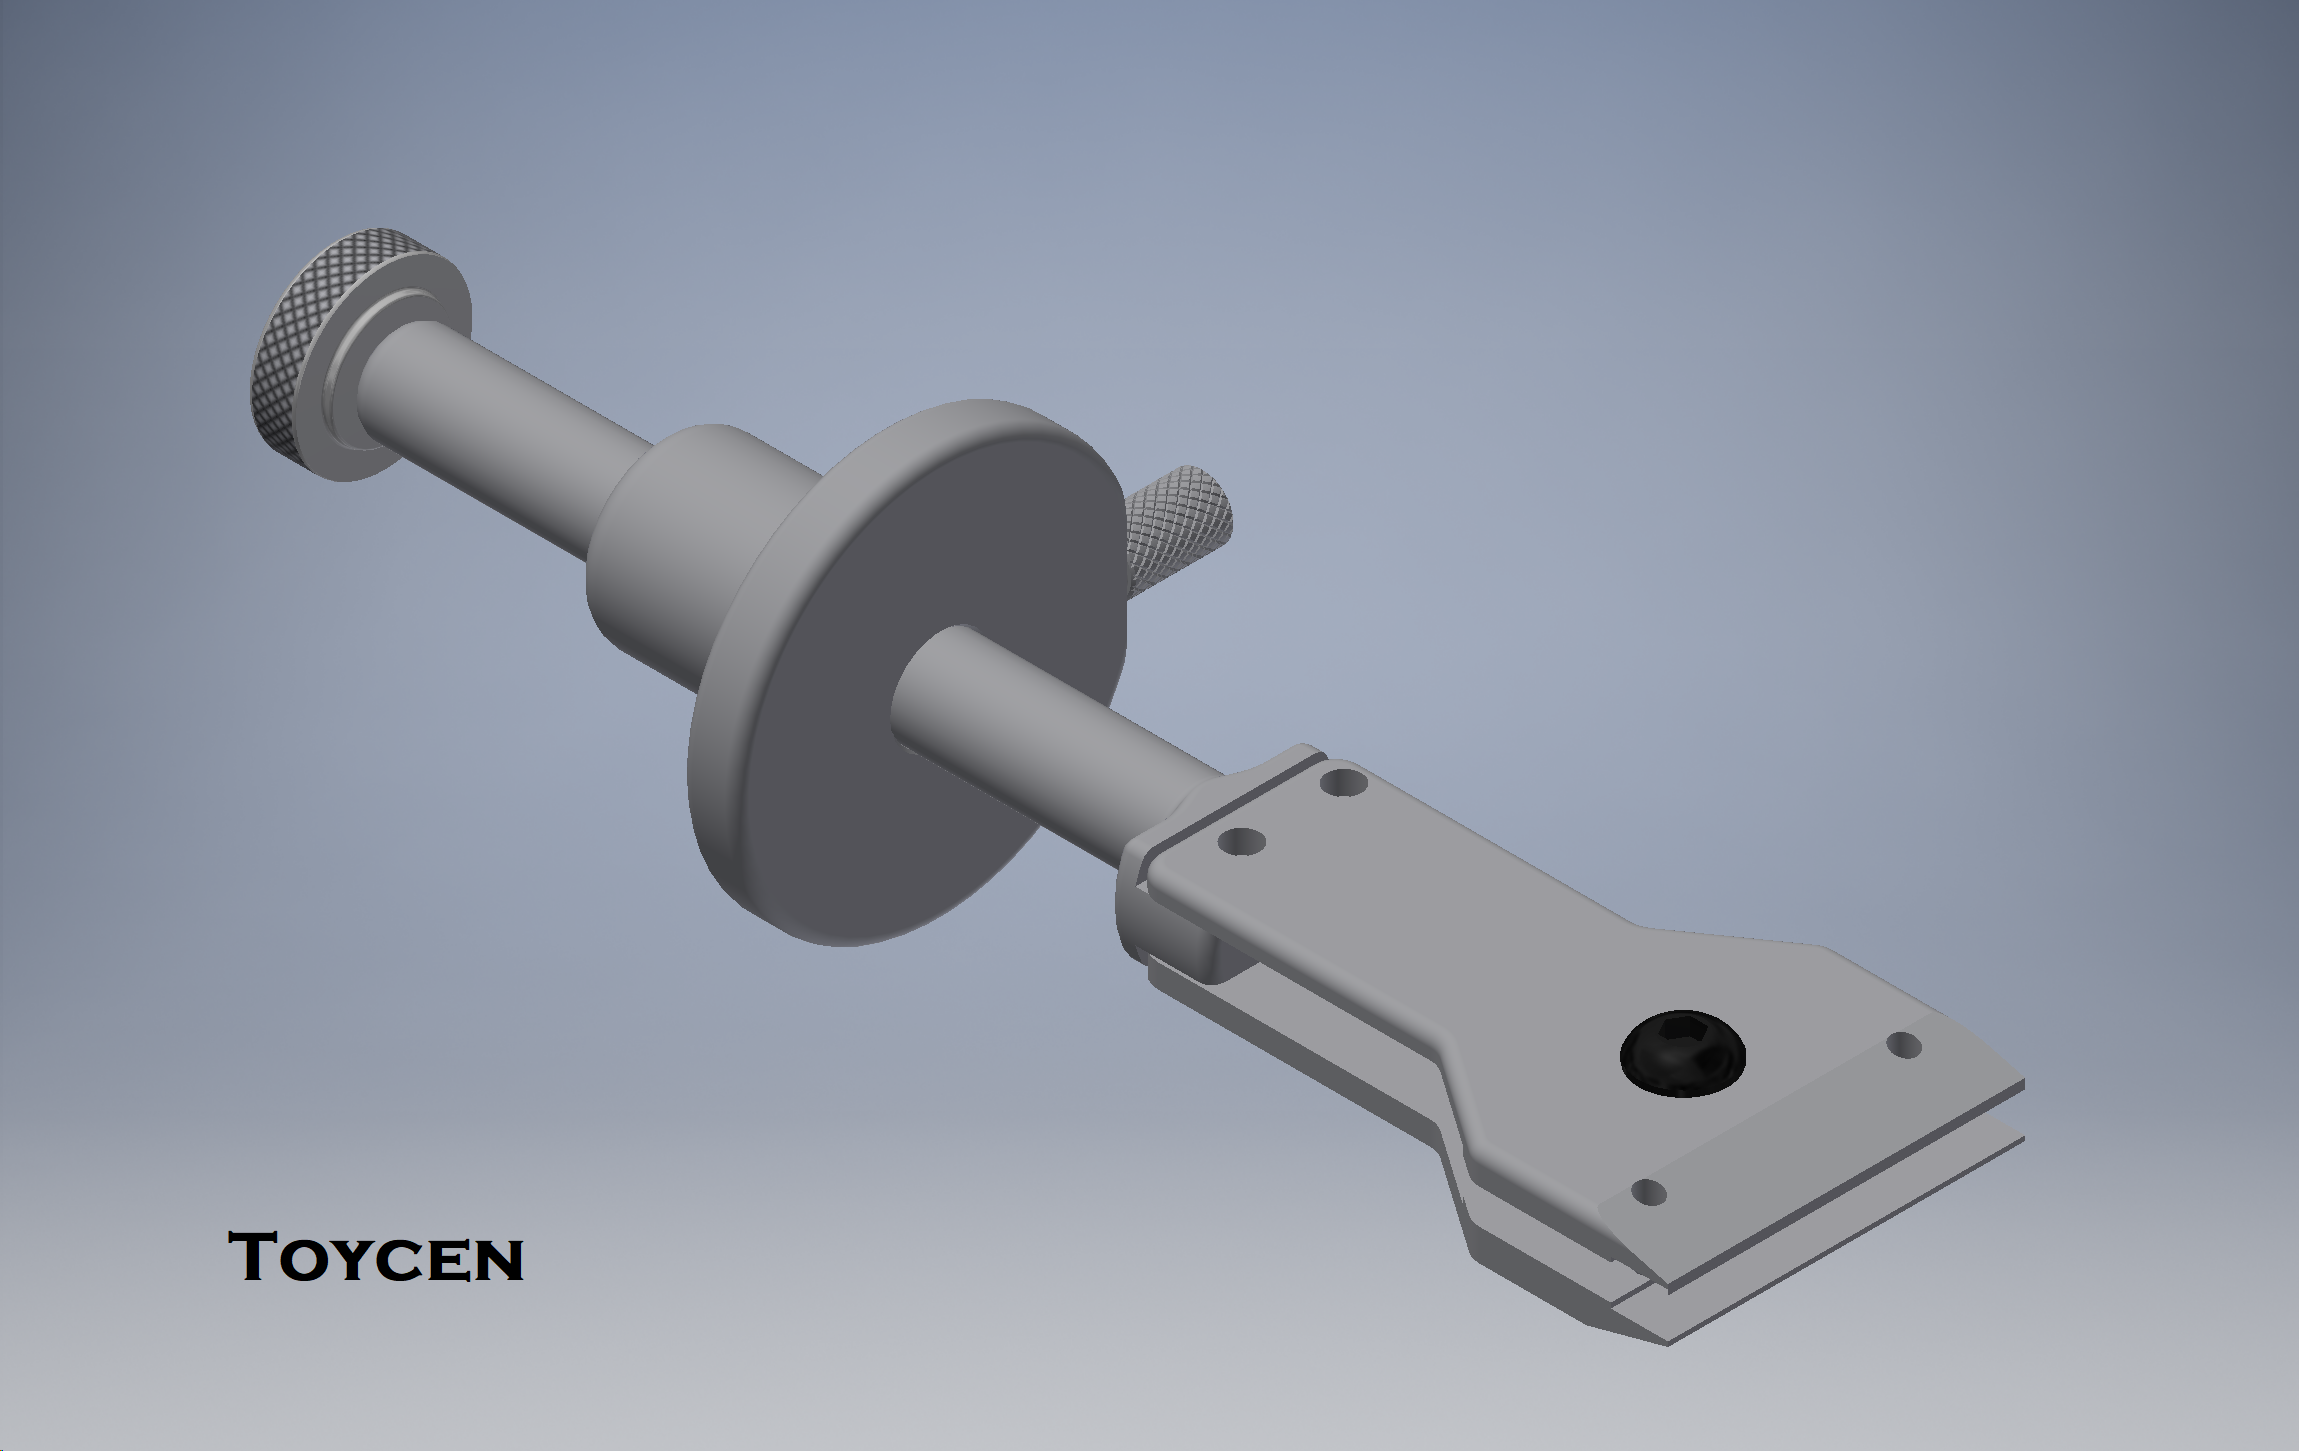
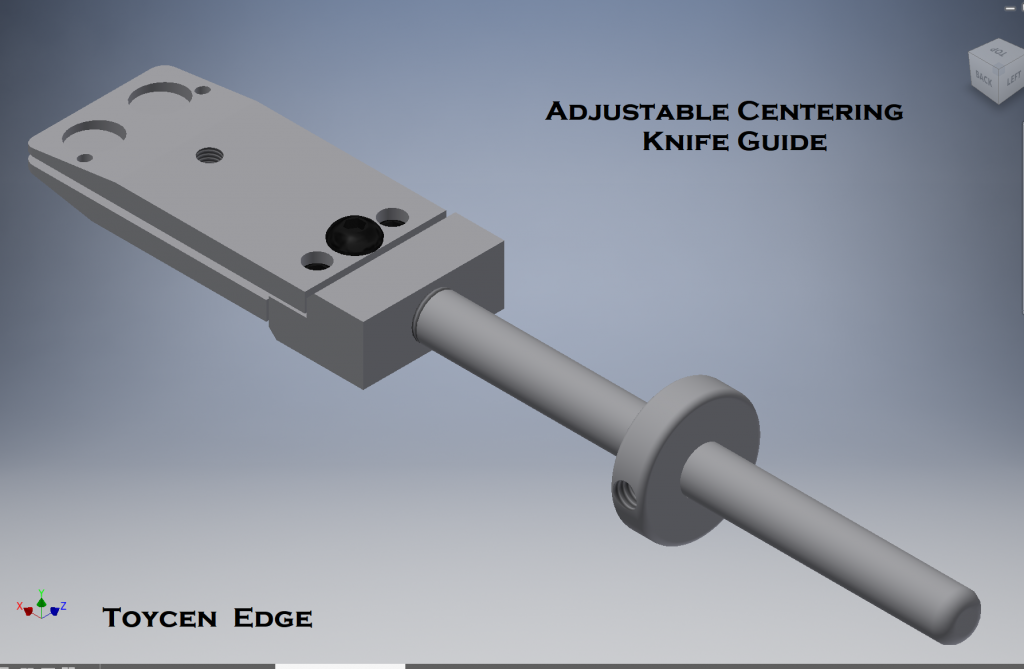
Tradesman Knife Guide 2024
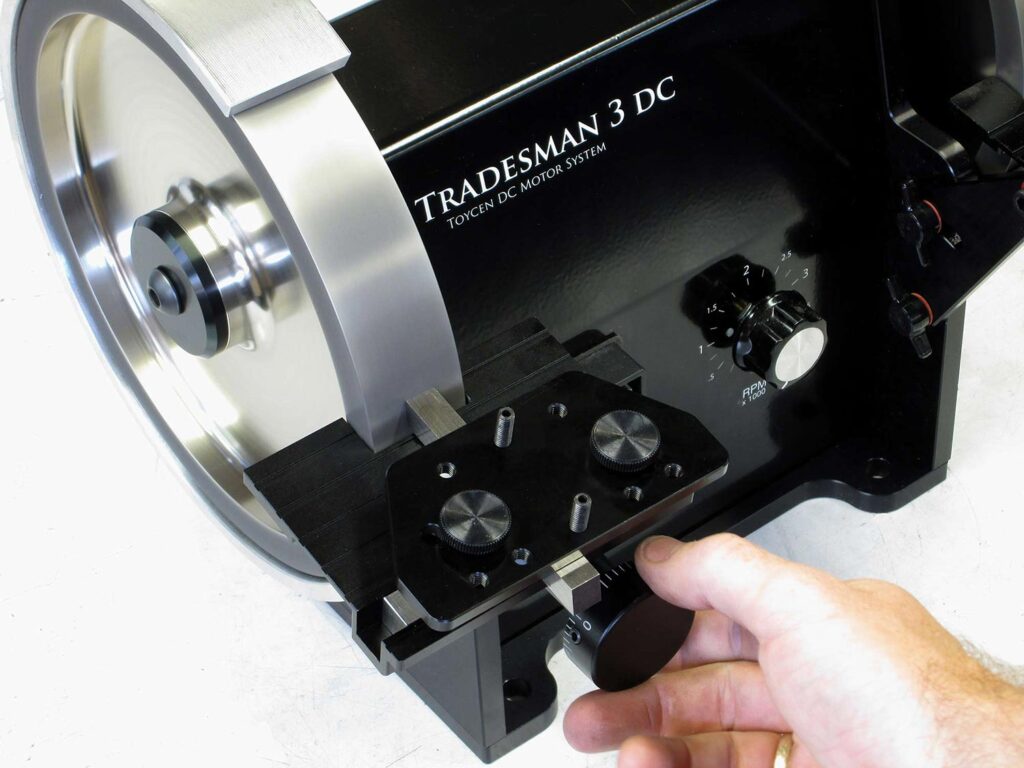

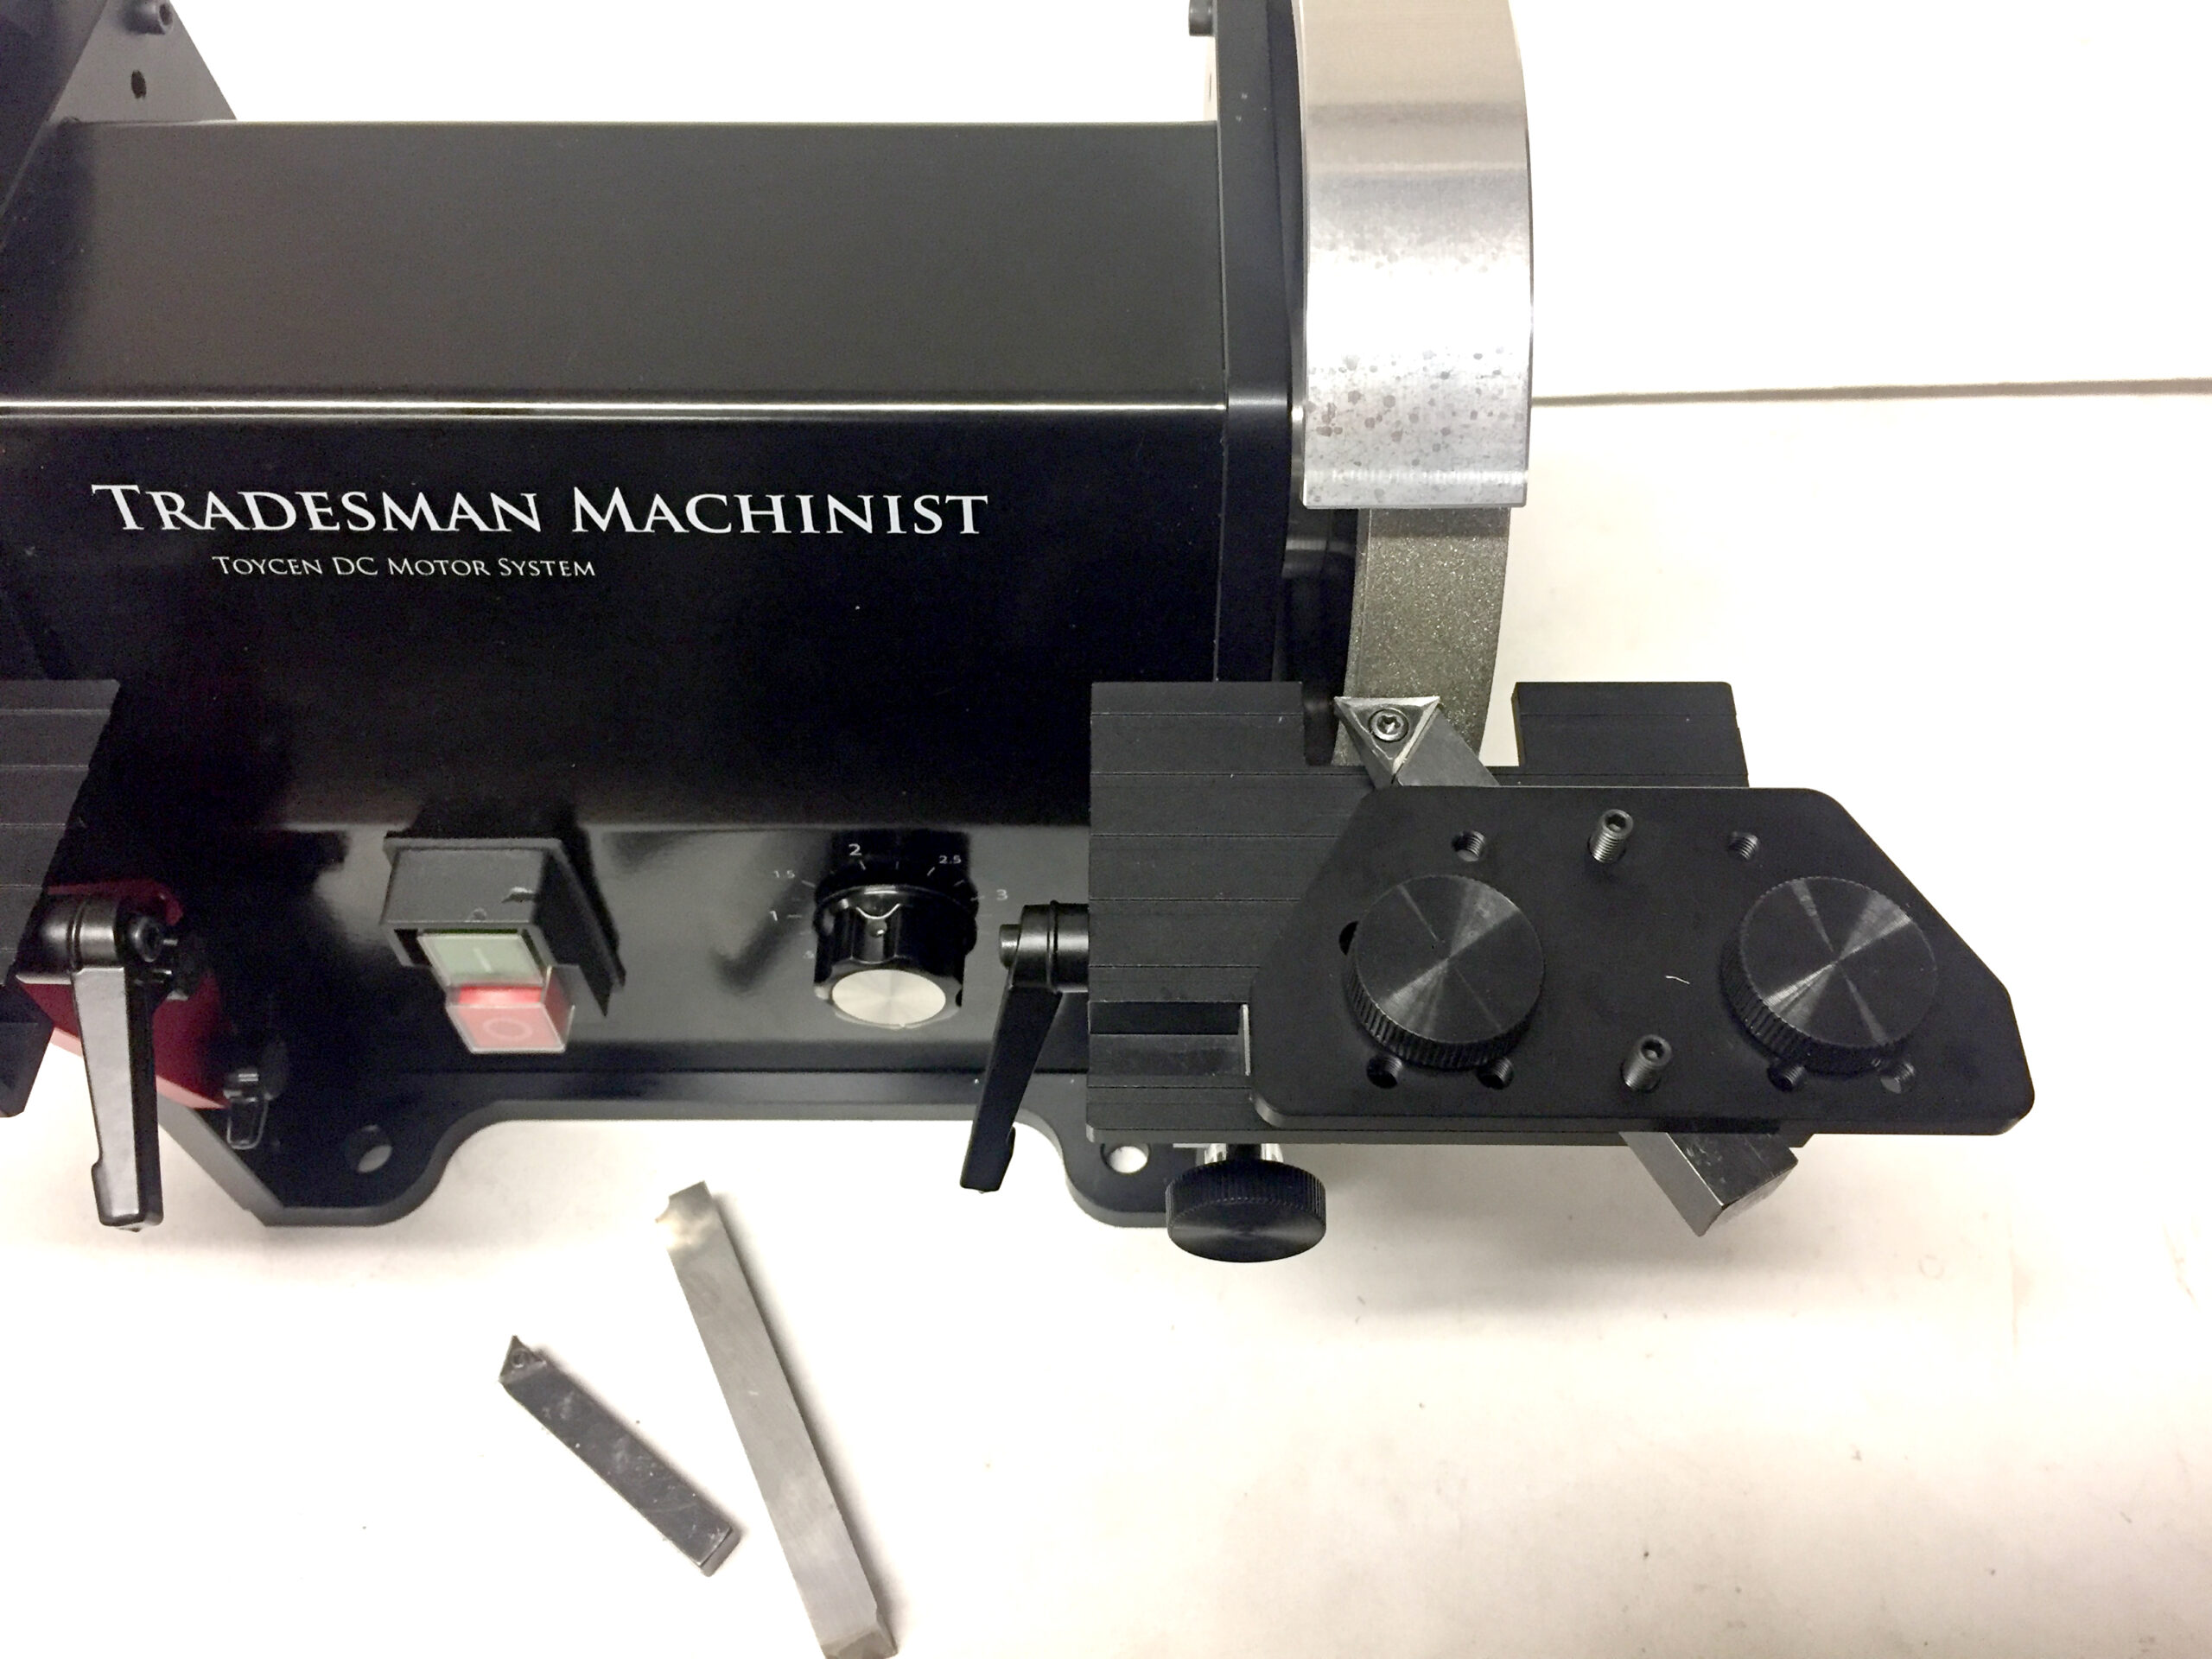
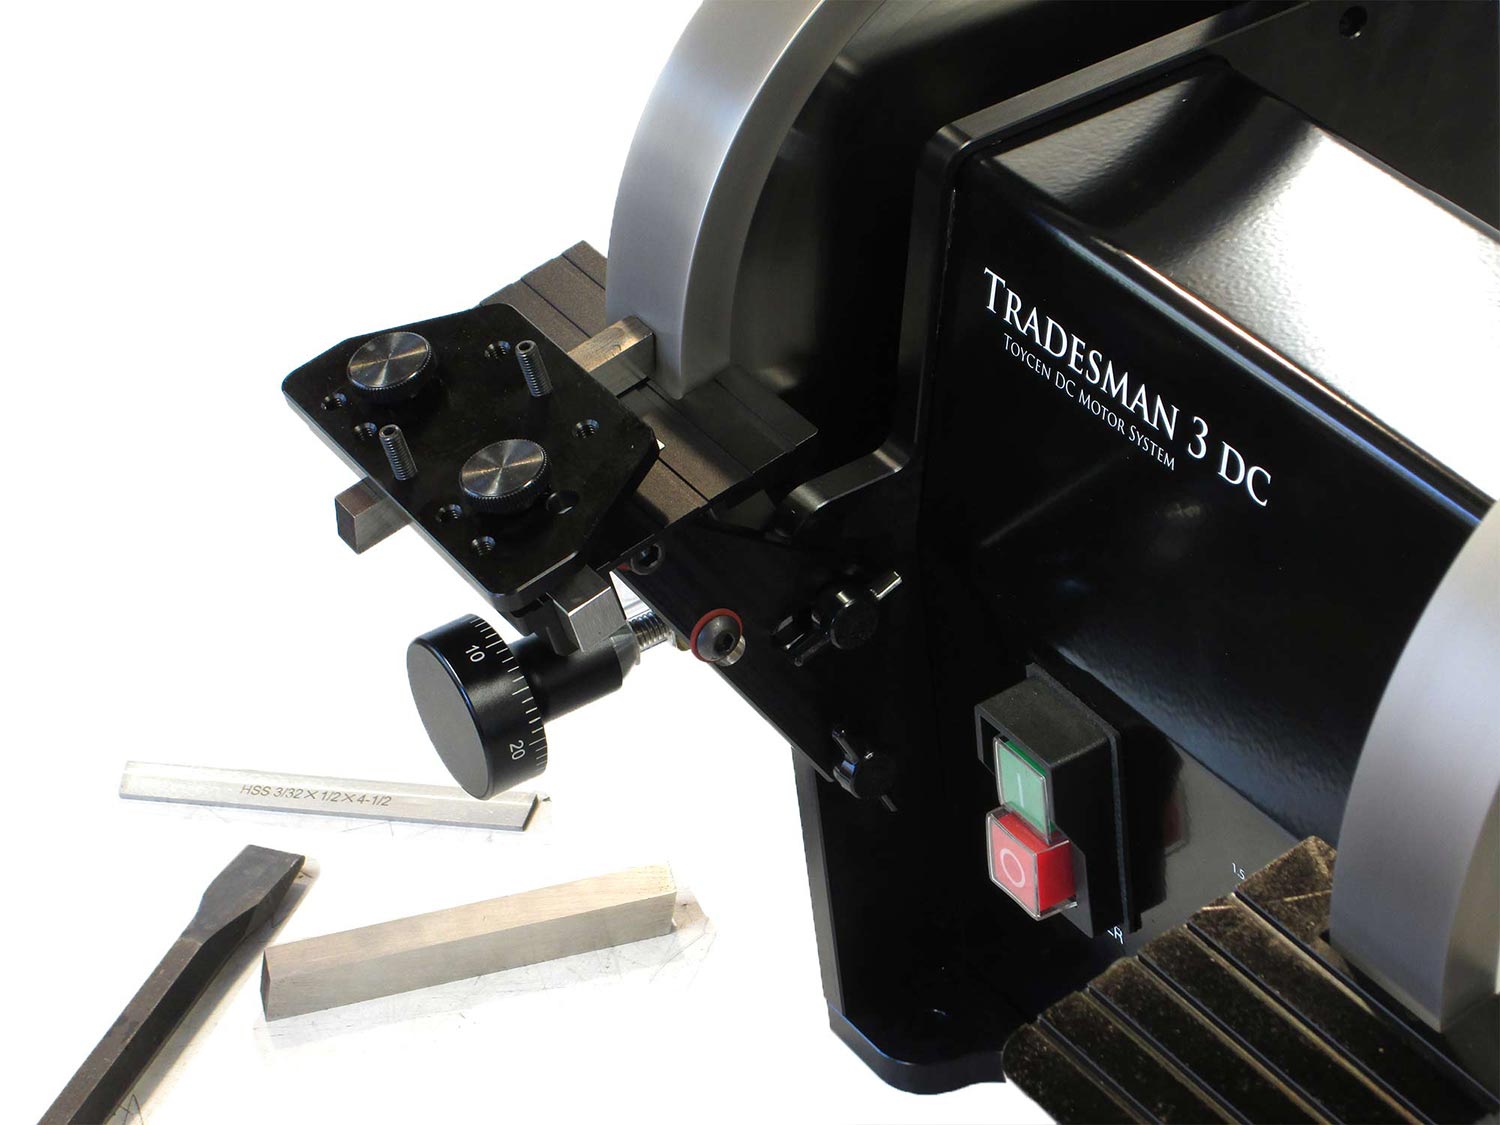
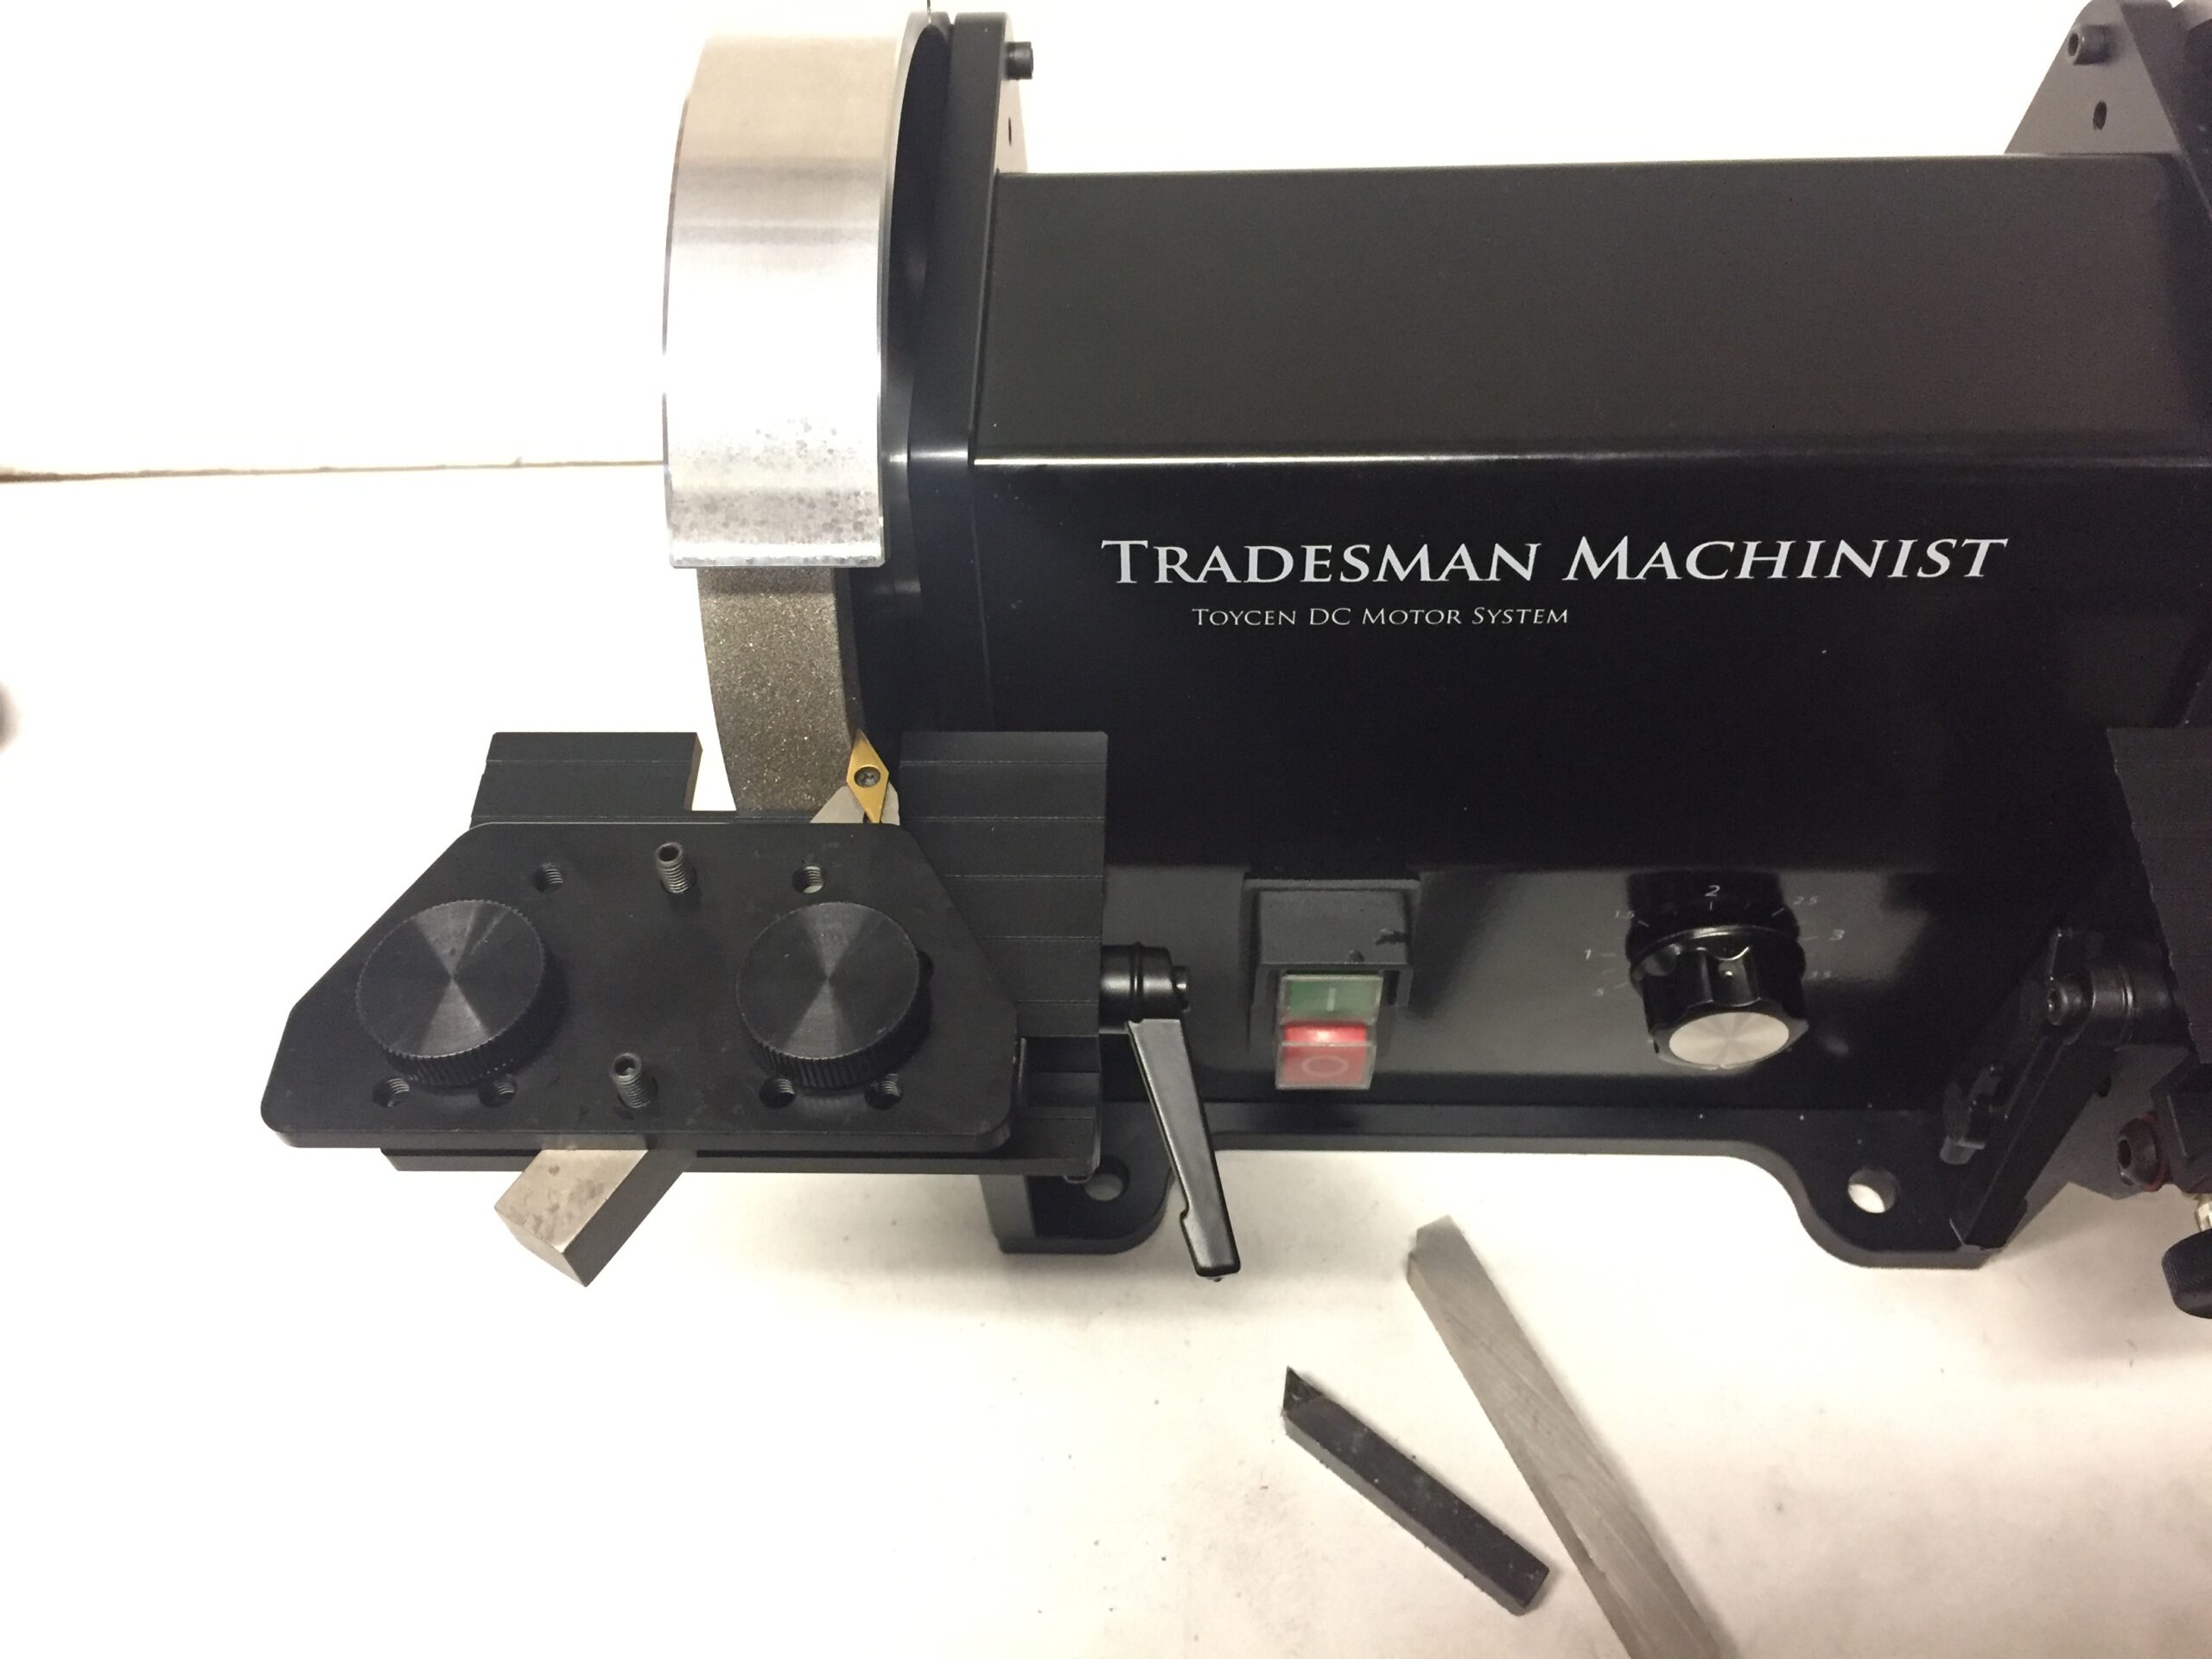
 Super cool for making chipbreaker on HSS Tools
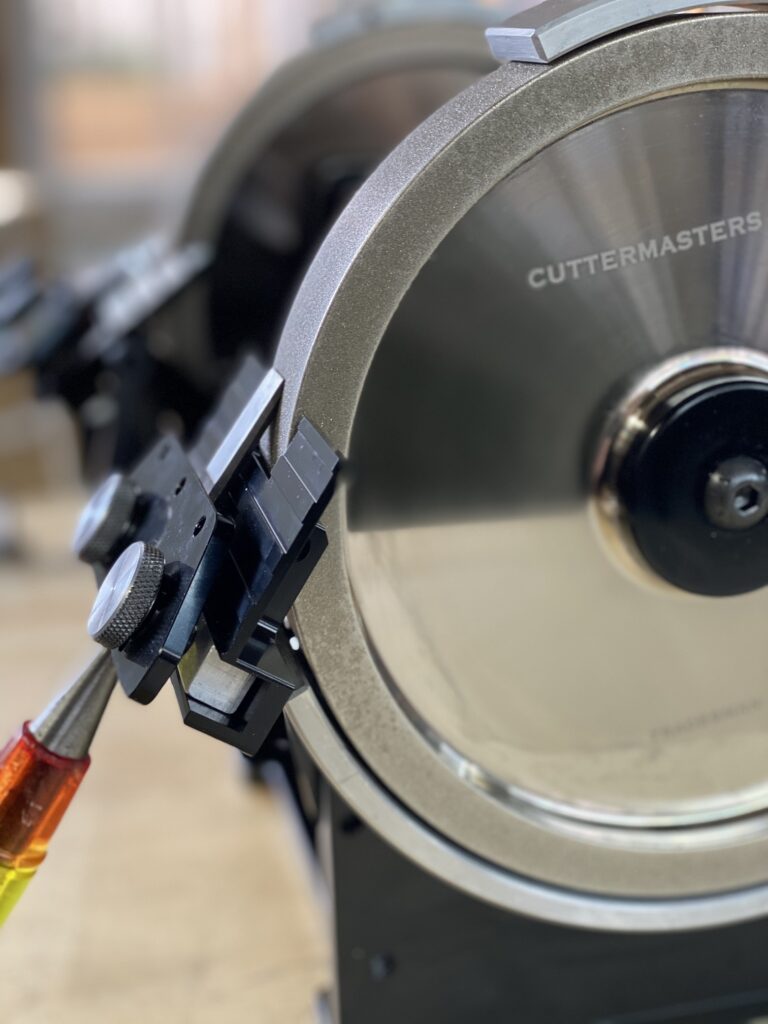

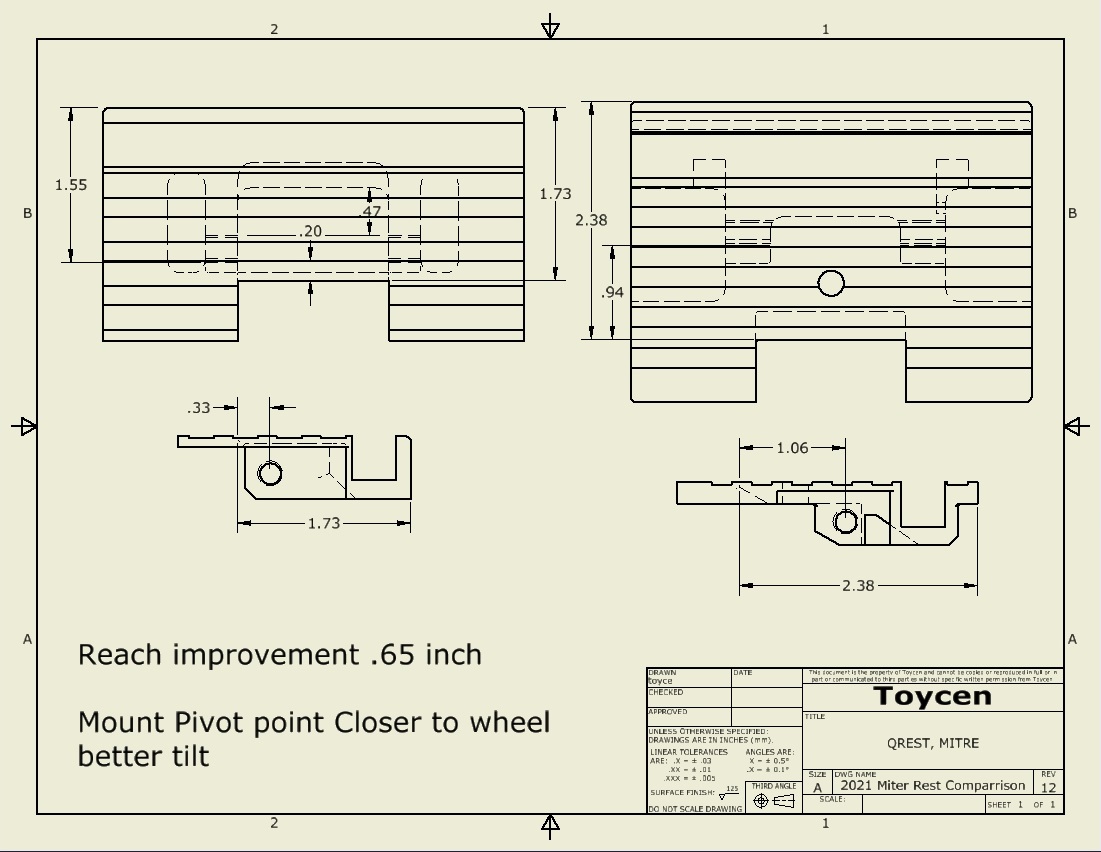
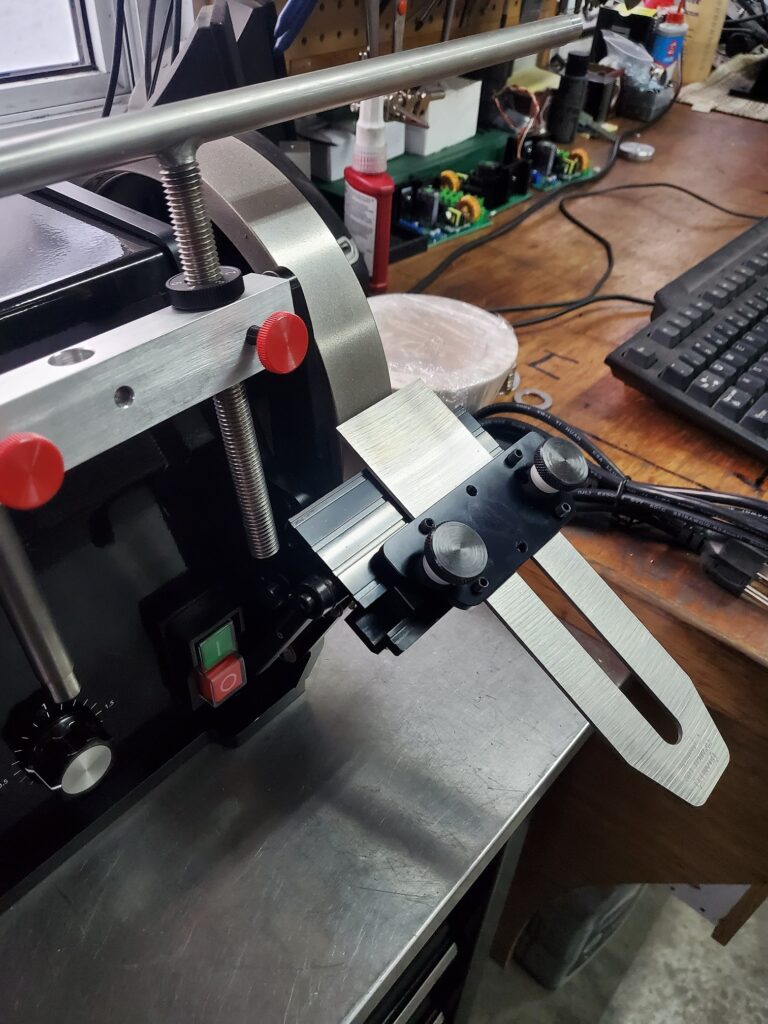
Tradesman Edge Mitre Jig (Micro feed rest) and Tormek Mount Leave both in place


Note: the existing Tormek rails have long legs this length is not really needed on the Edge
The edge has been designed to be fairly versatile
Regarding the Veritas miter rest, This is a no brainer
It is marginally useful if you cant adjust the feed while leaving the tool clamped.
Toycen solution: we added a feed mechanism no need to unclamp the tool and lose your angle to take another pass.
Here you can see our standard Feed rest and Tormek bracket mounted at the same time
no need to unmount our feed rests to use the standard work rest
Static Electricity
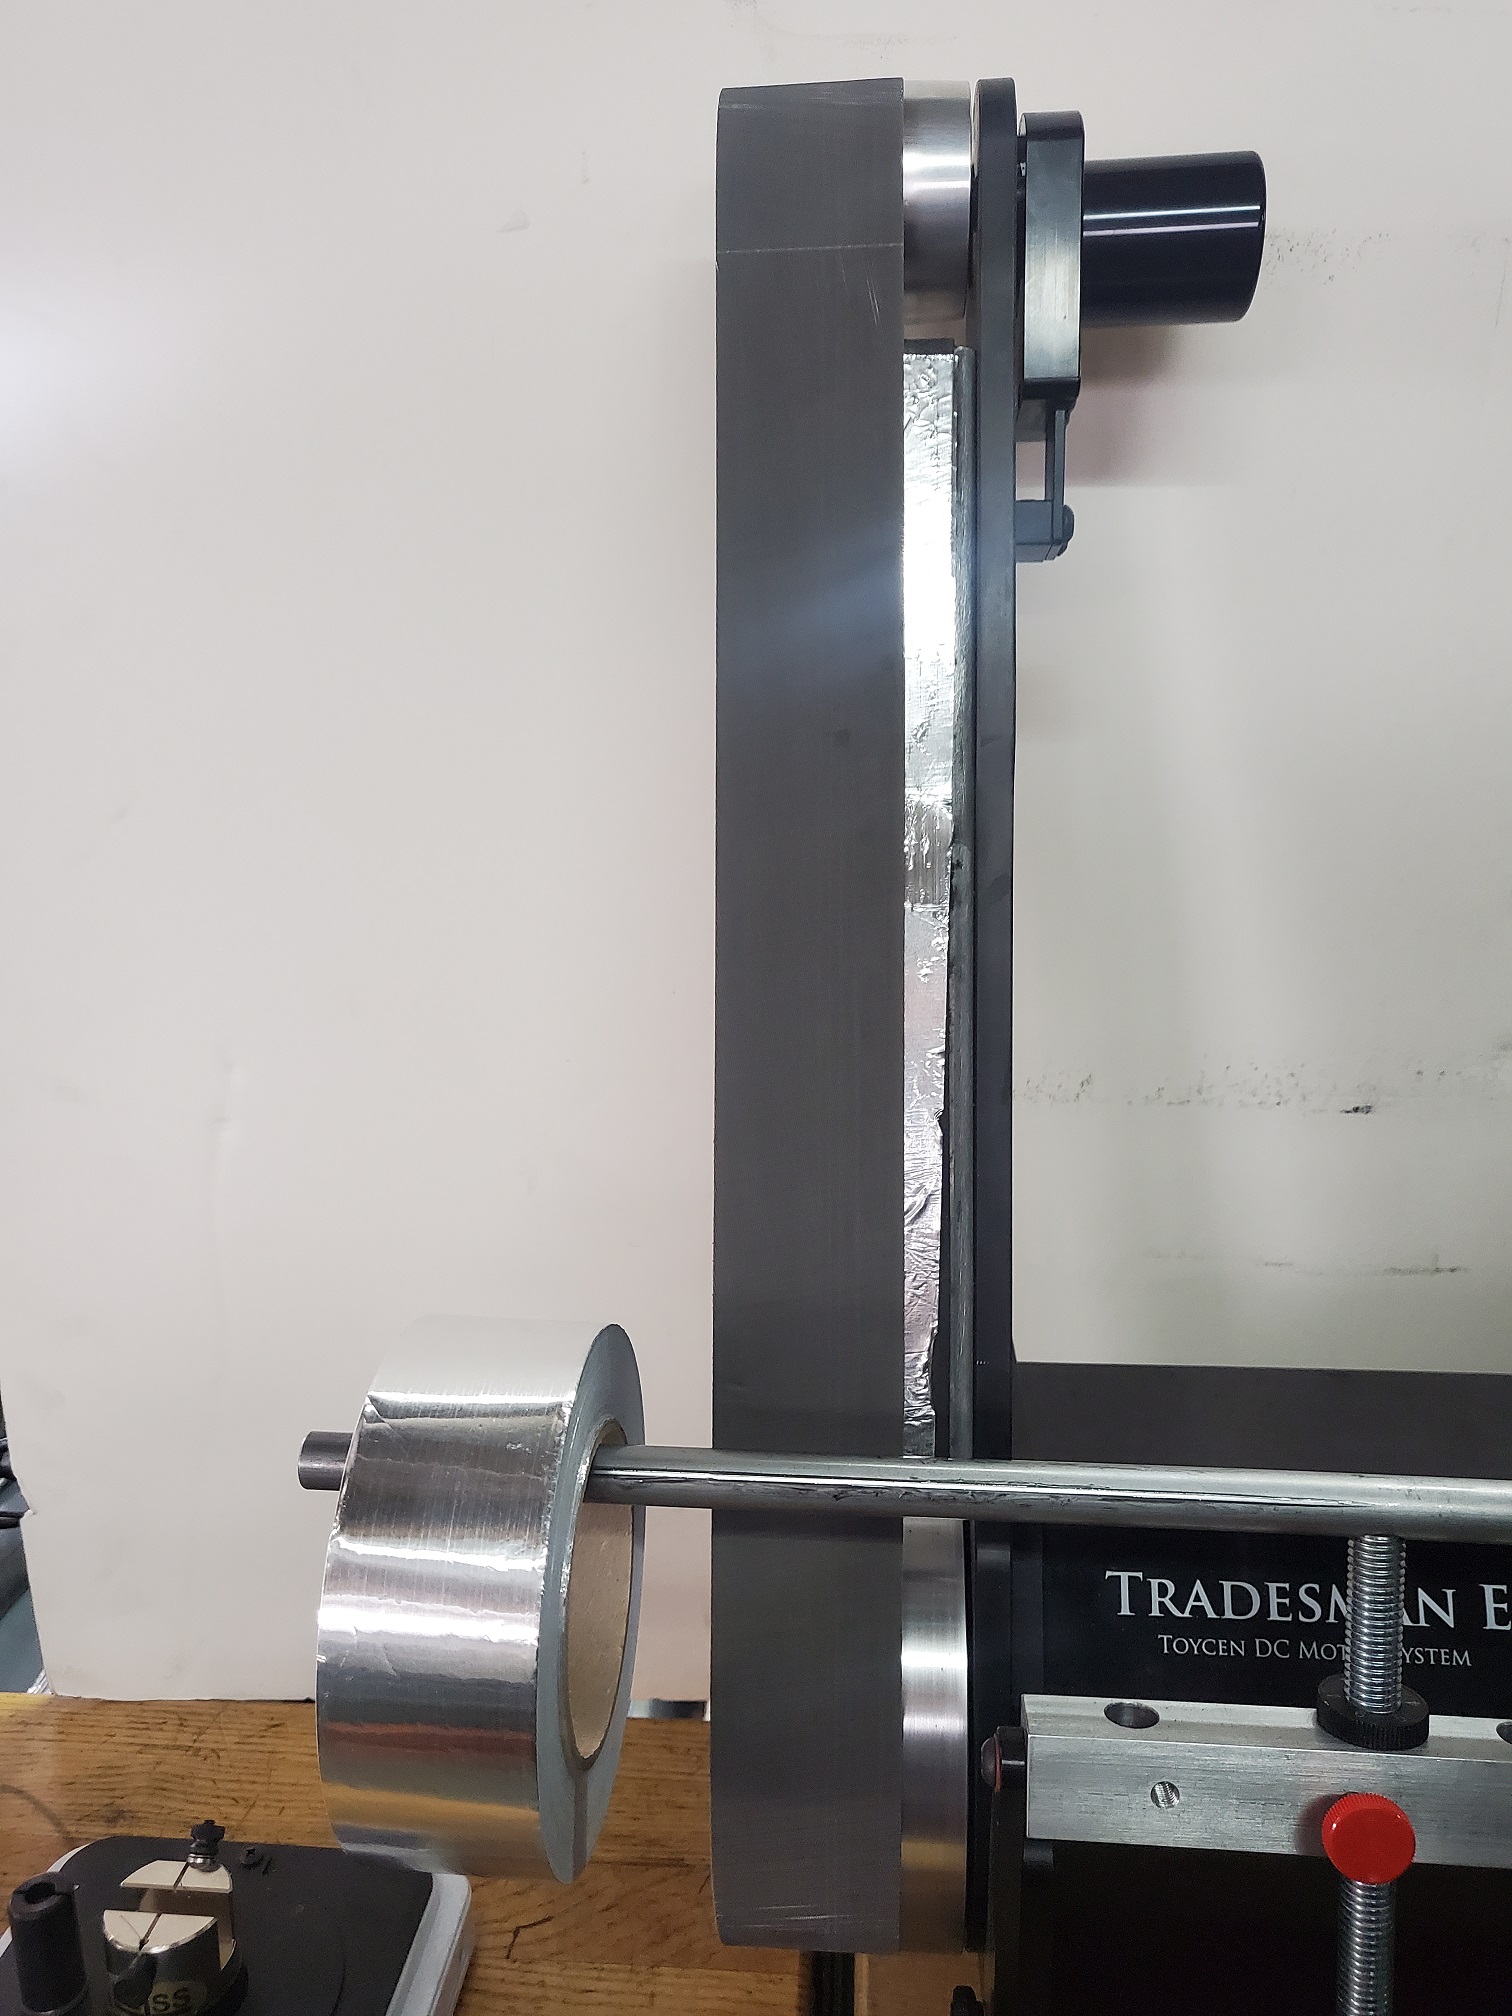
With our smart platen, there is a 1/8 inch layer of 30 durometer closed-cell foam.
This isolates the belt from the machine ground, using our 3M belts static electricity builds up.
This will discharge thru your fingers for a little wake-up jolt if your the ground.
Either you can spray some laundry static guard on the back of the belt
Or you can use Aluminum Tape which is a good replaceable wear surface.
works well
Jeff